Easy DIY File Cabinet and Printer Stand
Need organization in your home office? Build a simple and easy wooden DIY file cabinet that works as a printer stand.

I am on a mission to re-organize my home office, and one of the things that needs to go is a 2-drawer metal file cabinet I bought on Craigslist 10 years ago. The printer sits on top of it. We use the bottom drawer as a filing cabinet; the top drawer is a deep abyss of office supplies.
I built this gorgeous office cabinet to replace that metal cabinet, and I am in love! I have been on the fence about how I want to take the office decor, and this cabinet will set the tone for the office makeover.
***This project is sponsored by Kreg Tool Company. All ideas and opinions are my own. Thank you for supporting the brands that make it possible to bring you new projects.***
Table of Contents
It is a straightforward design and project. I decided to give it a little extra with the fluted design, which, by the way, can be skipped. You can have plain plywood drawer fronts if you like.
It is a very basic cabinet with drawers. The Bottom drawer is designed in depth and width to hold the file folders. The other two drawers are designed for storage and can be combined into one large filing drawer if needed.
There is a shelf to hold printer paper and the 3-hole punch, and the printer can sit on top.

All the organization and a great-looking cabinet – the best combination.
I have the complete detailed plans available to you through my friends at Kreg Tool. You can see the step-by-step tutorial and the entire build video below.
DIY File Cabinet/ Printer Stand Video
As always, I have the full project video of of how to build a printer cabinet with a file drawer. Step-by-step instructions follow below.
I am partnering with my friends at The Kreg Tool Company to bring you free plans for this File Cabinet and Printer Stand. You can download them here.
***This post contains referral or affiliate links. It is a way for this site to earn advertising fees by advertising or linking to certain products and/or services. Please read my full disclosure here ***
Materials Needed
- Lumber per the plans. I used 3/4″ and 1/2″ plywood.
- Half-round trim
- 1 1/4″ Pocket hole screws
- 1″ pan head pocket hole screws
- Wood glue
- Rapid dry wood glue
- 16″ ball-bearing drawer slides
- Hanging File Rails
- Drawer pulls of your choice. I used these.
- Metal feet. You can also make your own wood feet or use casters.
- Wood Filler
- Kreg Rip Cut (optional but highly recommended)
- Kreg Multimark
- Kreg Quick-Flip
Tools Needed
- Miter saw. I use this one. But this is a great starter miter saw.
- Circular saw
- Power Drill
- Staple Gun
- Random orbital sander
- Table saw (optional)
- Pocket Hole Jig. I used the Kreg 720. and the Kreg 230. See which Kreg Jig is right for you.
Step-By-Step Tutorial
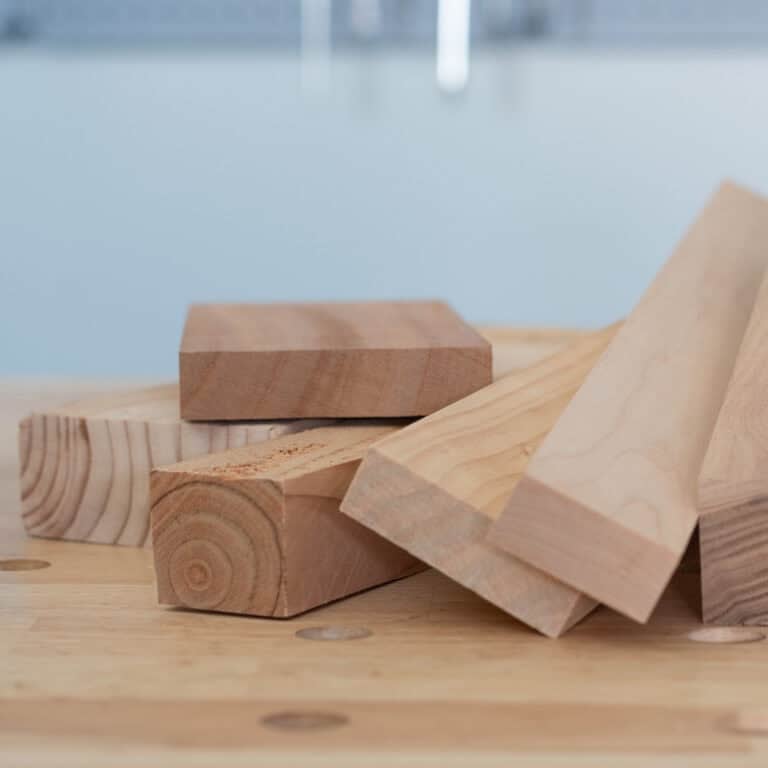
This entire project is built using plywood – 3/4″ for the body and 1/2″ plywood for the drawers. Half-round molding adds the fluted look.
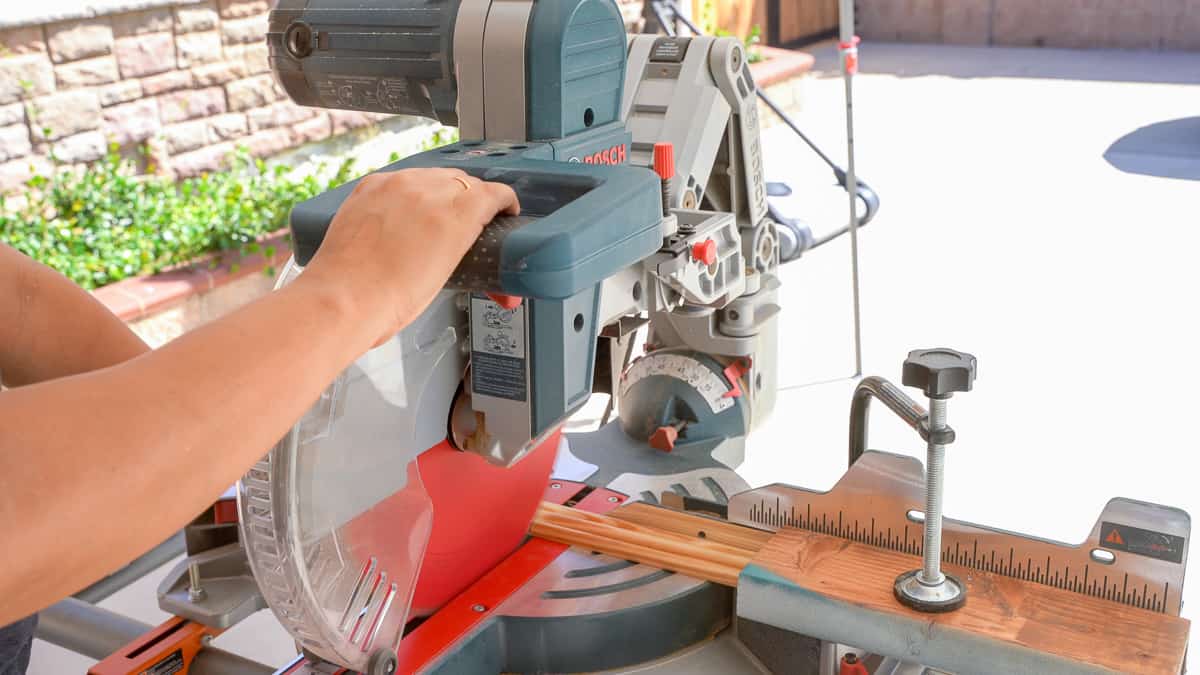
Step 1: Prepare the Boards
- Make all the cuts per the cut list.
Since the entire project is built using plywood, a circular saw and a Kreg Ripcut work well to make all the cuts. The Kreg RipCut is easy to set up and can make accurate, repeatable cuts. You can also use a table saw to cut the boards if you like.

- Finish all the plywood edges that will be visible. See how to finish plywood edges.
I recommend using Birch plywood if you are planning to paint the project. I could not find it in my home store, so I had to purchase sanded plywood, which has a very rough surface with voids. Getting a smooth finish is a little work, but not impossible. See how to paint plywood.
Step 2: Build the Cabinet
- Attach the sides to the top, bottom, and shelf using pocket hole screws and wood glue.
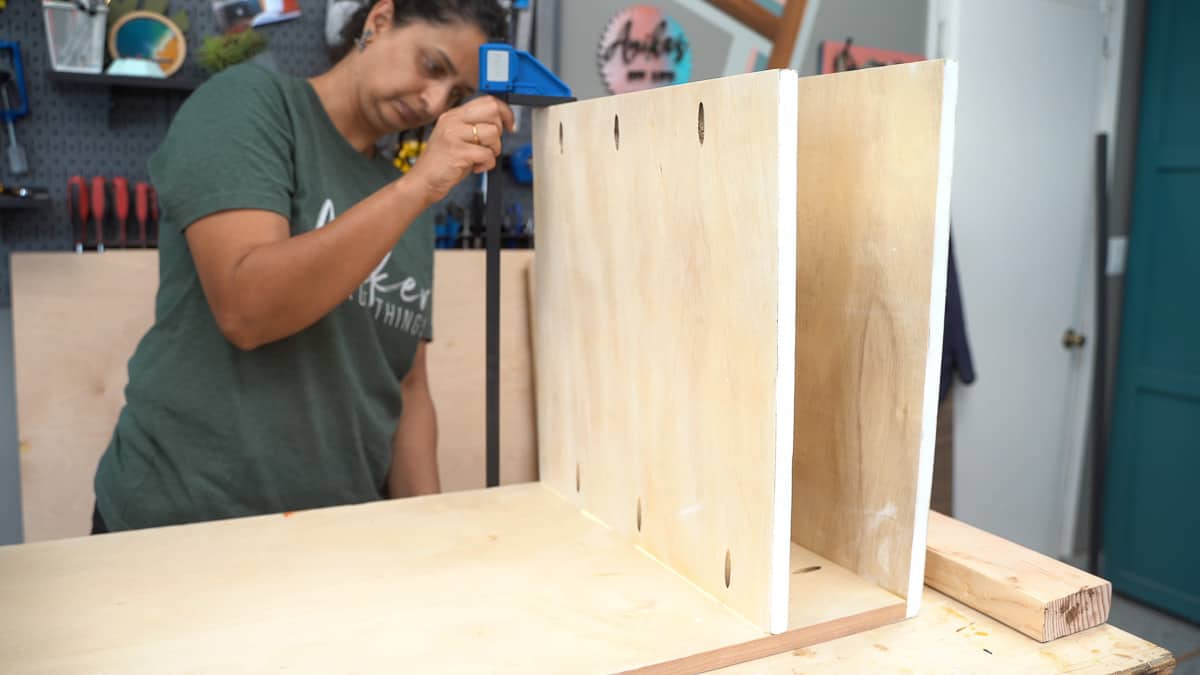
Tip: Since we want to keep the pocket holes on the inside, it can be a little hard to hold everything in place as you add the pocket hole screws. Clamp a scrap 2×4 to support the boards in place as you attach them.
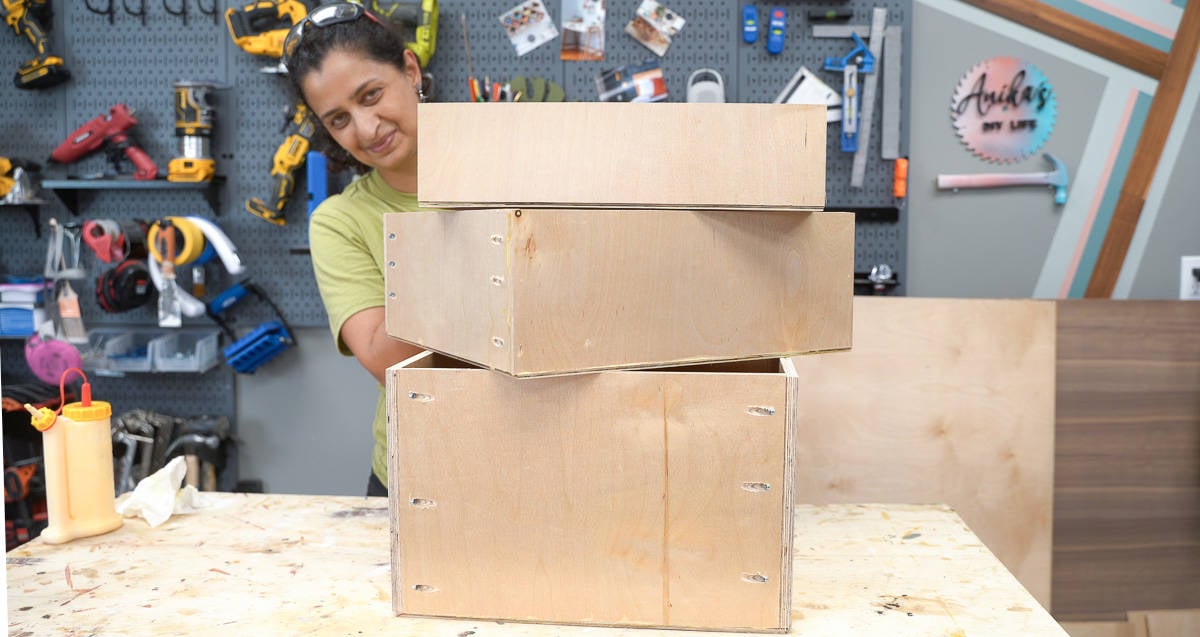
Step 3: Build and Install the Drawers
The drawers are built using 1/2″ plywood.
- Make pocket holes using the Kreg230 or any other pocket hole jig set to a 1/2″ setting. I used the Kreg 230.
- Use 1″ pocket hole screws to attach the boards together. If you use the Kreg 230 or the micro attachment in the 720, use the pan head screws.

- Attach all the boards to build the drawers. I found it easiest to clamp all the boards together and then add the pocket hole screws.

Be sure to check for square. See how to check and correct for square here.
There are a total of three drawers. The biggest drawer is the filing drawer, the other two are for organization.
- Attach the drawer bottoms using wood glue and staples.
You can create inset drawer bases if you like, but this technique works well. I have built many drawers like this and have yet to have a problem. They aren’t going to take a lot of weight anyway and
- Install the drawer slides and drawers in place.

I used 16″ drawer slides. These are inset from the front edge by the thickness of the drawer fronts. If you are using 3/4″ plywood, you would use that. I was going to make a fluted design on 1/2″ plywood for the drawer front, so I used the total thickness of the molding and 1/2″ plywood.
I also highly recommended using full extension drawer slides so that you are able to access all the files in the back of the drawer.
See my full guide to build and install drawers here.
Step 4: Make the Drawer Fronts
I was going for the fluted design. I grabbed a bunch of half round molding from the home improvement store and cut it up to the height of each drawer front. Each drawer front has 26 pieces.This was easily achieved by setting up a stop block to make repeatable cuts.
I glued each piece of molding to the drawer fronts using a quick dry adhesive, so I didn’t need to clamp the molding and wait for it to dry. As I was attaching, I used a scrap 2×4 on one side to help align all the pieces of molding.

There were a few end pieces that were a little longer than needed but were too short to trim on the miter saw safely. I decided to keep them and then trimmed them off on the table saw. If you don’t want to use a table saw, you can make sure you use only the correct length molding pieces.
Step 5: Paint
If you are planning to paint or stain the file cabinet, this is a great time.
- Fill all visible pocket holes with wood filler.
- Apply wood filler to the edges of the drawer front to blend the plywood and the fluted edges together to look like a single piece.
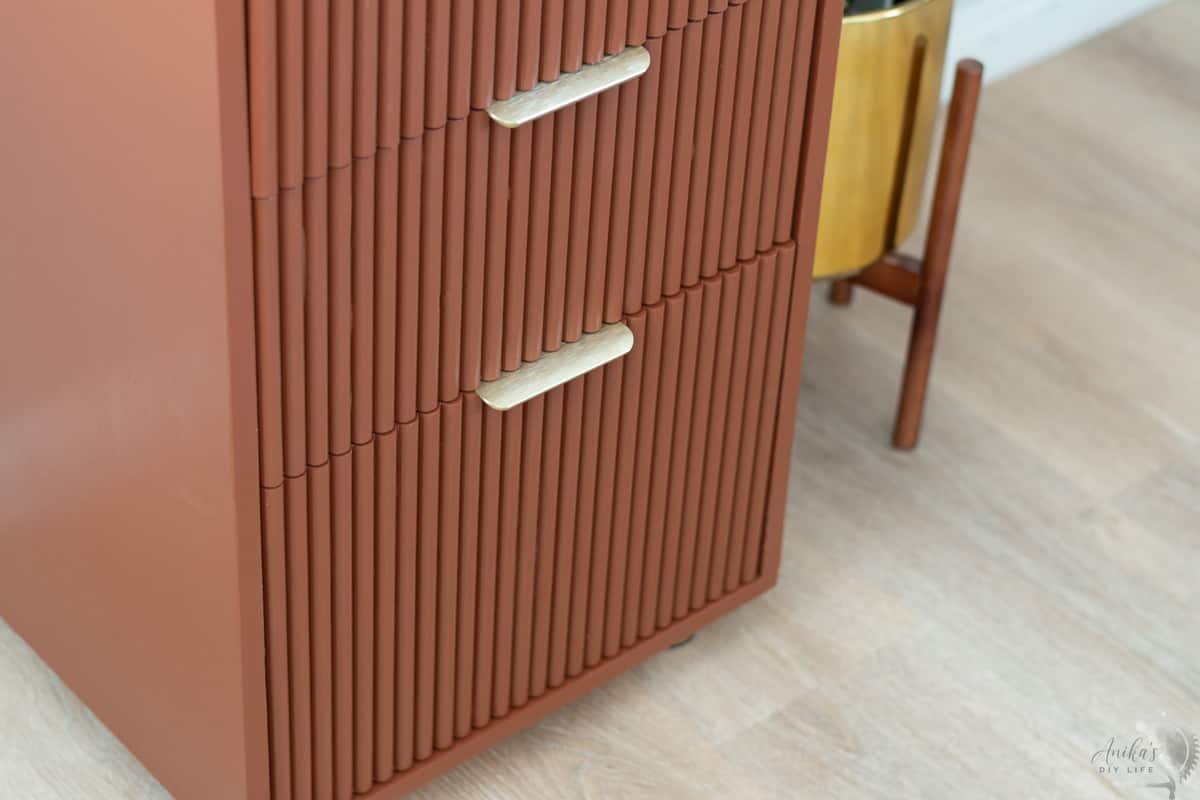
I decided to paint it a deep terracotta color. I was a little skeptical at first but in the end, it turned out to be the perfect choice.

I applied two coats of primer and two coats of paint with a paint sprayer. The paint sprayer was essential to get an even coverage on the fluted drawer fronts.
Step 6: Attach the Drawer Fronts
If you install regular drawer fronts and add hardware, you can easily attach the drawer fronts as shown here.
Since I wasn’t going to attach hardware to the drawer front, getting them in place was a little tricky. After a few trials, here is what I came up with:
- Attach a couple of pieces of two-sided string tape. You want to use the foam kind. You can also use hot glue, but it makes a bit of a mess.
- Align and place the drawer fronts and hold them in place for a minute or two to help attach to the foam adhesive tape.
- Open the drawer and add countersunk screws from the inside.

- Once attached, you can add the drawer pulls. I went with brass pulls that look beautiful with the terracotta color.
Step 7: Finishing Touches
- Attach 1/4″ plywood to the back of the cabinet.
If you want it to have a more finished look, you can use a router to inset it on the back. If you want to keep things simple, you can simply attach the 1/4″ plywood to the back using wood glue and staples. I like to cut it 1/8″ shorter on all sides so the raw edges aren’t visible on the side.
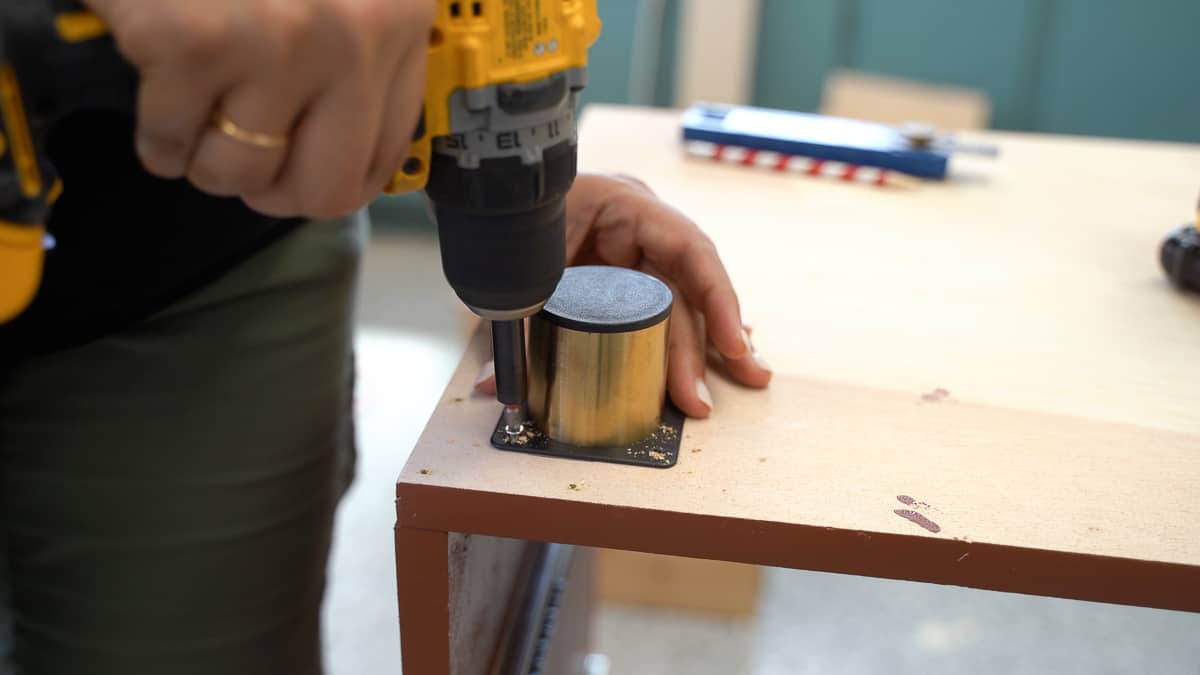
- Add feet or casters.
If you want this cabinet to be mobile, you can add casters at the bottom. You can also use pre-made feet. I used these short brass feet. You can even build your own legs if you like.
Step 7: Add the File Rails
I got these hanging file rails that fit on 1/2″ plywood and are super easy to use. You just pop them onto the sides of the file drawer and done!
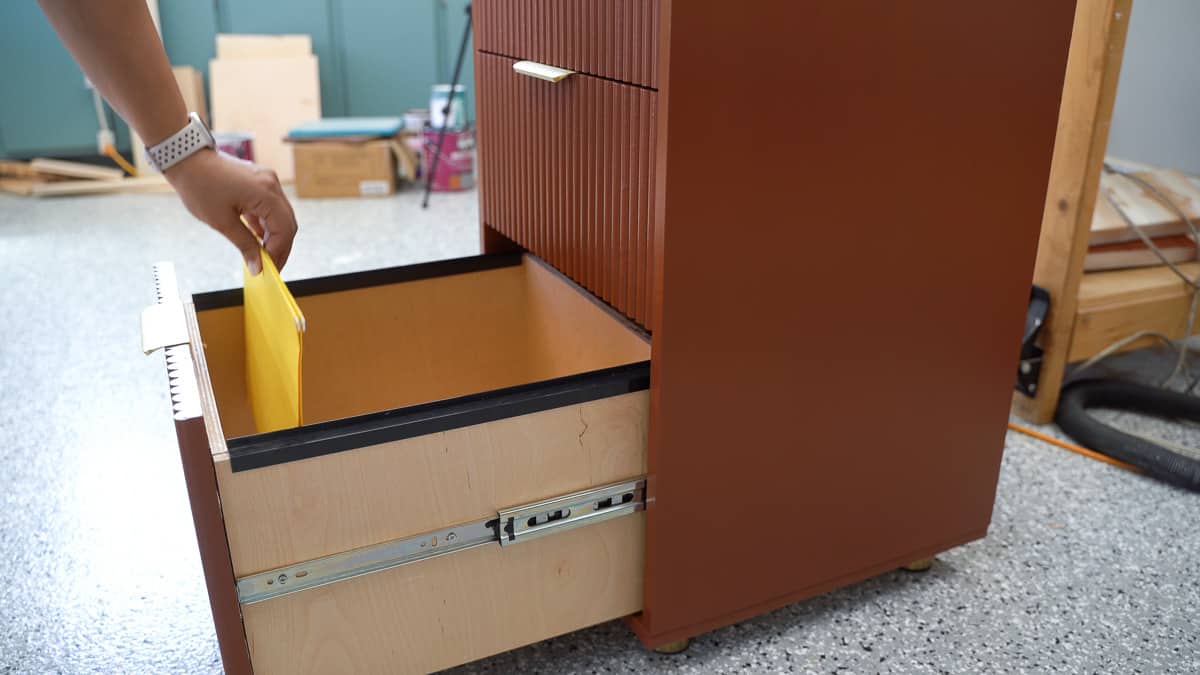
We have a file drawer.
The top drawers will work well for organizing office supplies and printer accessories.

It fits the printer perfectly. I am very excited to kick the metal cabinet out of my office. But first, I need to sort through a ton of paperwork that has accumulated in that drawer. That’s what I will be doing this weekend.
Wood File Cabinet Plans
As always, I have the step by step plans with the cut list, schematics and dimensions available for you. am partnering with my friends at The Kreg Tool Company to bring you free plans for this File Cabinet and Printer Stand. You can download them here.
If you build it, I would love to see it! Feel free to email photos to me at [email protected] or tag me on Instagram @anikasdiylife for a chance to be featured on social media! I can’t wait to see what you build!
Anika's goal is to inspire and empower beginners with woodworking, DIY, home improvement, and home decor ideas.
She wants everyone to unlock their creative potential and experience the feeling that comes with making something. Nothing feels better better than seeing something and saying "I can make that!"