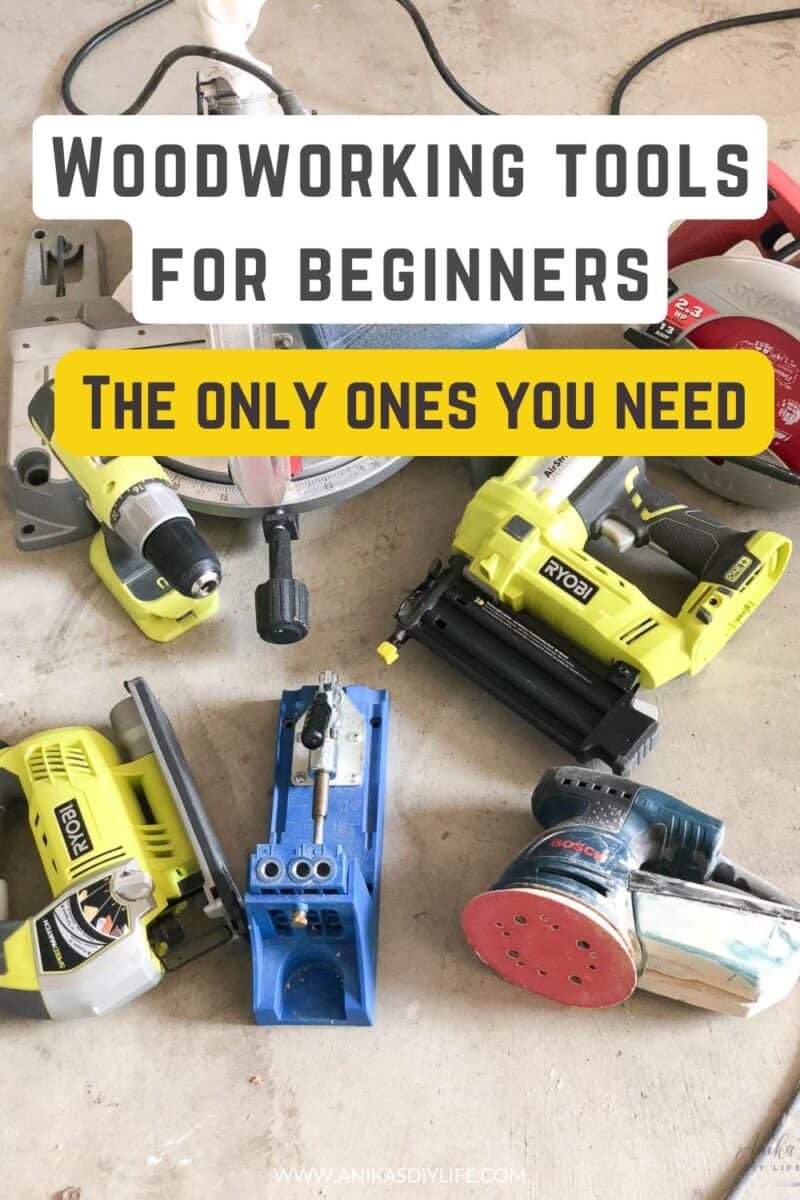
Woodworking Tools for Beginners: The Essential Guide for 2026
Stop feeling overwhelmed by expensive shop tours. Here are the exact essential woodworking tools for beginners you need to start building furniture today, without breaking the bank.
Getting started with woodworking projects can feel really overwhelming, especially if you have never really used tools before.
You see tutorials from people with large workshops that seem to hold $10,000 of more worth of tools, and it is easy to think “I will never be able to make something that good with the basic tools I can afford!”
But here is a secret: You do not need a massive workshop to build beautiful, custom furniture or projects.
It isn’t about buying every tool on the shelf. It’s about having the right foundational tools. Most of my early projects, the ones that started this whole journey, were built with just a handful of basics.
Here is my list of the best woodworking tools for beginners to get started with, so you can start building projects you’re proud of without overspending.
The Golden Rule: Start Small
The most important thing to remember is to buy as you go. When I was starting out, my goal was to add a new tool to my toolkit every 2–3 projects. This gave me time to actually master one tool before being overwhelmed by the next.
Table of Contents
***This post contains referral or affiliate links. It is a way for this site to earn advertising fees by advertising or linking to certain products and/or services. Please read my full disclosure here ***
The “Quick Start” Essentials
If you want to shop once and start building this weekend, here is the “Bare Minimum” kit:
|
Tool |
My top Pick |
Where to Buy |
|---|---|---|
|
The Saw |
10″ Miter Saw |
Amazon | Lowe’s | Home Depot |
|
The Assembly |
20V Cordless Drill |
Amazon | Lowe’s | Home Depot |
|
The Joinery |
Kreg Pocket Hole Jig 720 |
Amazon | Lowe’s | Home Depot |
|
The finish |
Random Orbital Sander |
Amazon | Lowe’s | Home Depot |
Watch the Video
Want to access this list anytime? Download my printable checklist so you don’t miss anything.
Safety First (Non-Negotiable)
Safety isn’t just about fingers; it’s about your long-term health. Sawdust is a respiratory irritant, and power tools are loud.
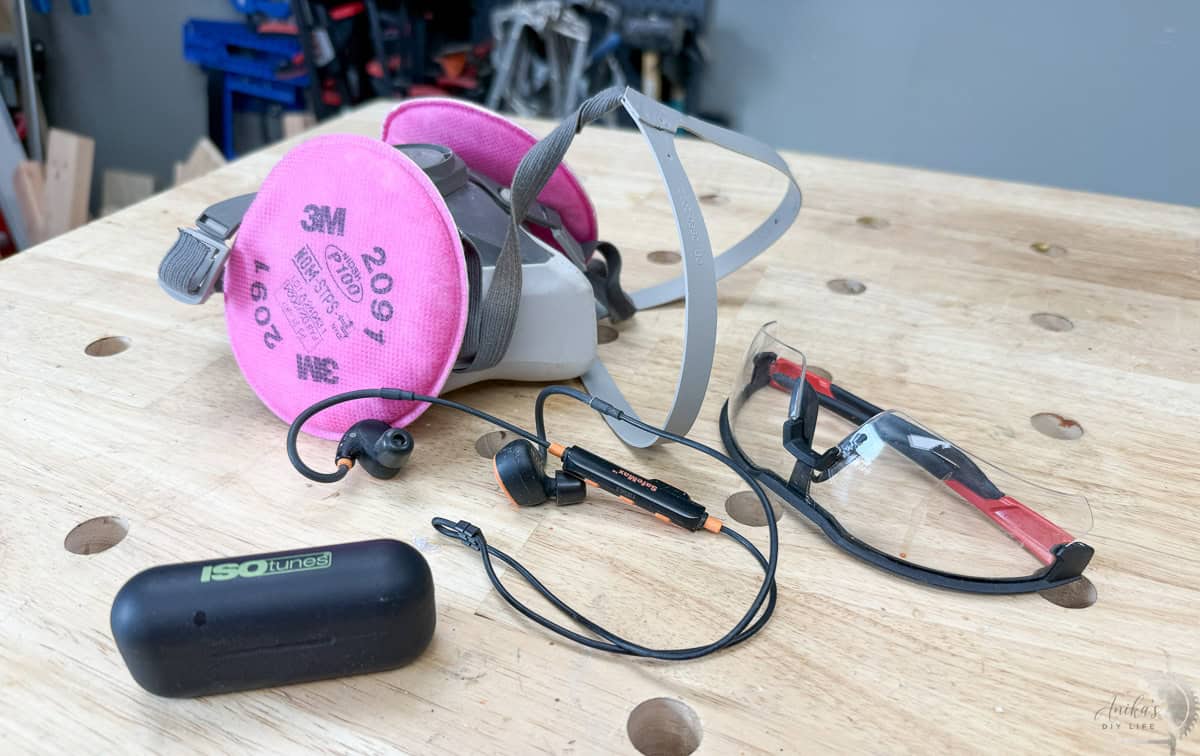
- Eye Protection: Use safety goggles that fit your face properly. I like the ones that have a side shield to prevent debris from entering the gaps.
- Airway Protection: Sawdust and fumes from stains or oils (VOCs) are harmful to your lungs. Use a high-quality mask or respirator with replaceable filters. This one is my personal favorite.
- Hearing Protection: Loud saws cause cumulative hearing loss. I personally use ISOtunes wireless earbuds. They are OSHA-compliant and let me listen to podcasts while I work.
💡 Pro Tip: Use code ANIKA10 at Isotunes.com to save $10! I personally use the ISOtunes Free earbuds to protect my hearing while listening to my favorite podcasts.
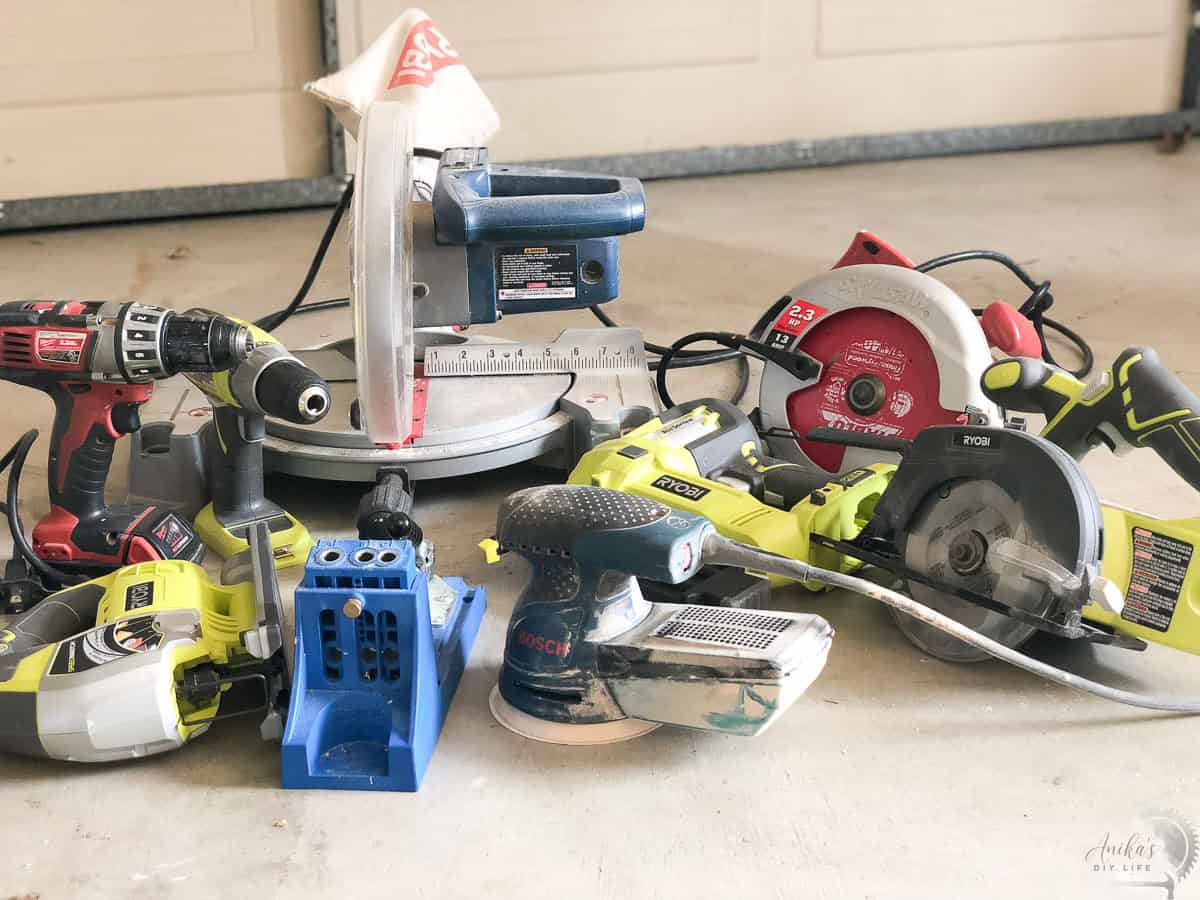
Essential Woodworking Tools for Beginners
While there are literally hundreds of types of tools you could buy, as a beginner, focus on two primary needs to get started with simple projects:
- something to cut with (a saw),
- and something to join with (a drill or a nail gun)
With just these, you can start building basic projects. As you get more confident, you can add more tools one by one. This also gives you time to really learn one tool at a time instead of being overwhelmed by many new tools and concepts.
When I was starting out, my goal was to add a new tool every 2-3 projects, so I had time to learn and work with it before adding another.
Quick Shop My Beginner Toolkit:
I have hand-picked the best starter models for each of these tools. You can find them all in my curated storefronts here
Choosing Your First Saw
There are dozens of saws, but as a beginner, you only need to focus on these three.
1. Miter Saw (The Best Place to Start)
A miter saw is often the best first saw because the board stays still while you move the blade, making it less intimidating and highly accurate.
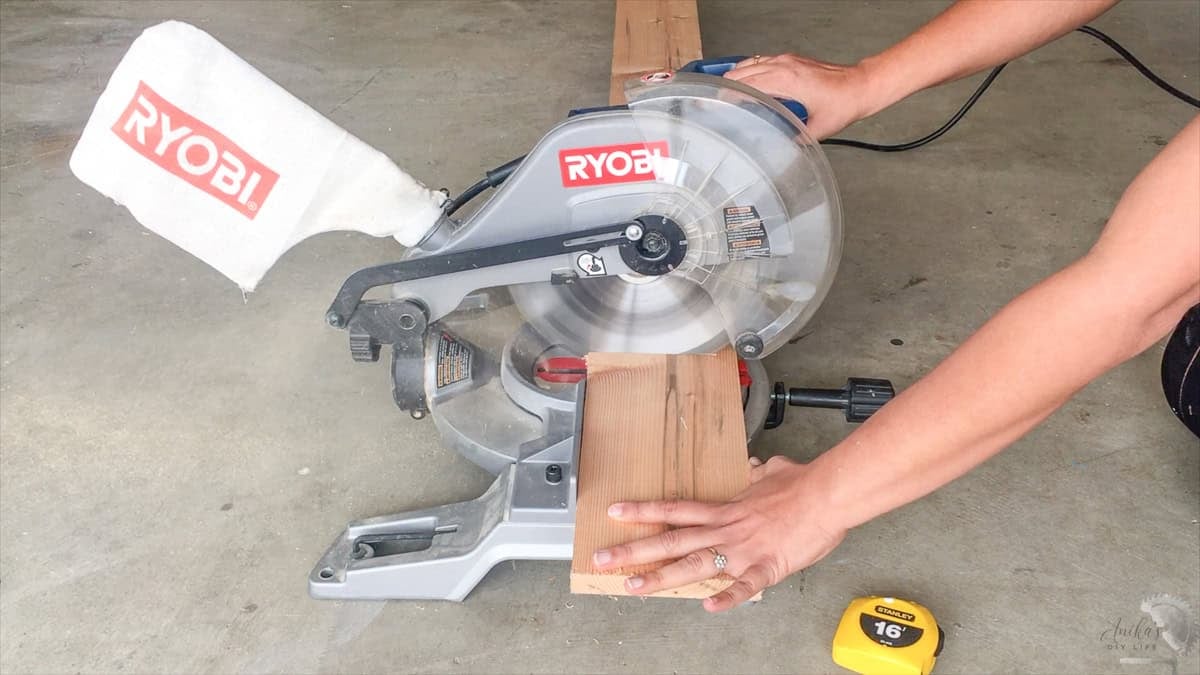
- Starter Option: A simple 7-1/4″ non-sliding miter saw is a great budget-friendly option for boards up to 6 inches wide. I used a basic Ryobi for my first five years!
- Upgrade Option: A 10″ or 12″ sliding miter saw (like the Bosch I have now) allows you to cut wider boards (up to 12″ or 14″) and is worth the investment when you can afford it.
The “Budget Tip”: Don’t buy a circular saw yet! Most home improvement stores will rip your plywood to size for free or a small fee.
If you go this route, check out my full guide on how to use a miter saw safely.
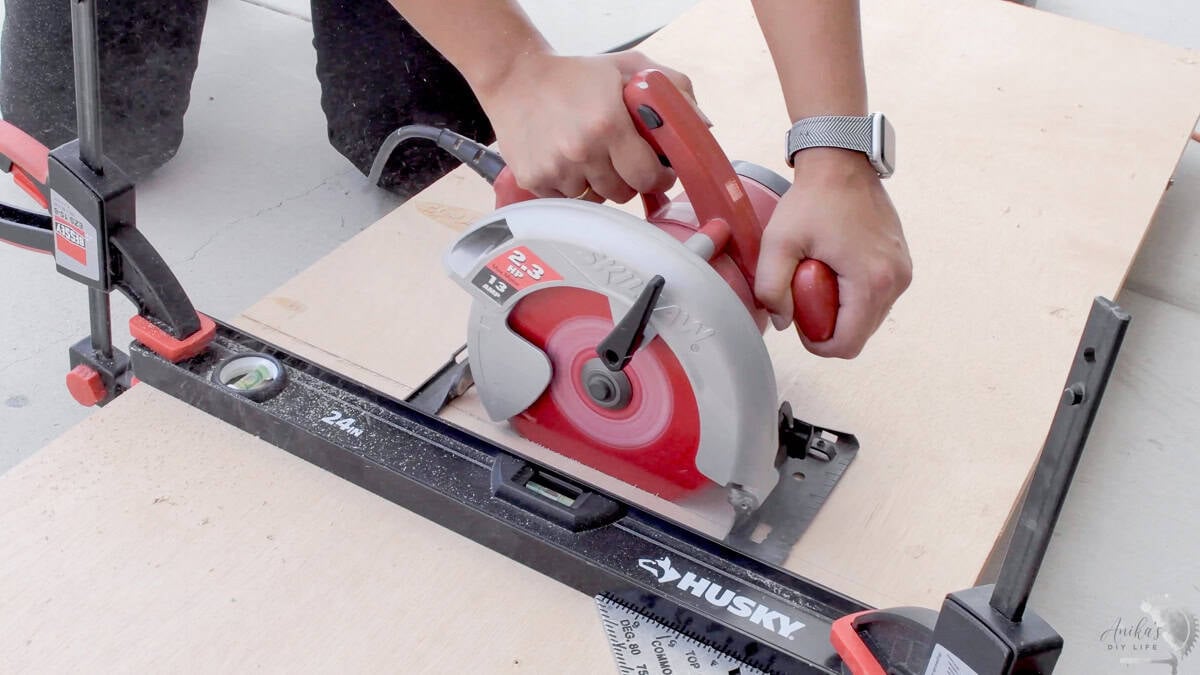
The Circular Saw
If you need to make “rip cuts” (long cuts through large sheets of plywood), you’ll eventually need a 7-1/4″ circular saw.
My Experience: I used a corded Skil saw for 12 years. I added a corded Dewalt to the mix because of a brand partnership, and it has now become my primary saw. Recently, I tried the Kreg battery-powered version and was shocked by the power.
Beginner Tip: For the first two years, I actually had the hardware store cut my plywood down for me so I could just use my miter saw at home!
See how to use a circular saw.
Miter saw or circular saw?
If you are nervous about safety, start with a Miter Saw. It is stationary and predictable. While a circular saw is cheaper, it carries a higher risk of “kickback” if not handled perfectly, which can be scary for a first-timer.
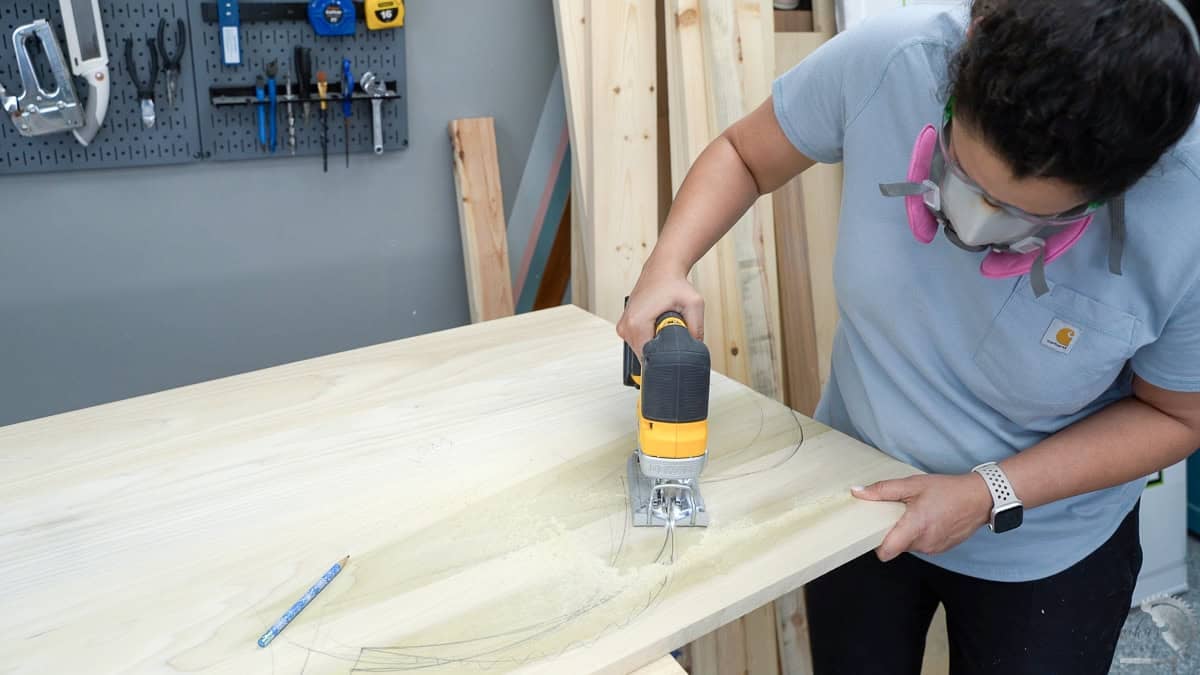
The Jigsaw
Jigsaws are for cutting shapes and decorative details. They are very safe because the blade is small and sits below the surface, but they aren’t great for perfectly straight lines. Add this once you want to start making arched headboards or organic shapes.
I like using my cordless DeWalt jigsaw because it gives me the freedom to cut shapes without a cord coming in the way.
Joining and Assembly Tools
How you put pieces together is the core of woodworking. And there are a few basics you would need.
Power Drill
You likely already own a drill, but a high-quality 12V or 20V cordless model (like DeWalt, Milwaukee, or Ryobi) is essential for both drilling pilot holes and driving screws.
You might see pros using an “impact driver” alongside their drill. It’s a “nice to have” addition because it’s more powerful for long screws, but it is not strictly necessary to get started. A good cordless drill will do 90% of the work.
You will also need:
- Driver Bits: A good set of varied heads (Phillips, Square, Torx) so you’re never stuck with a screw you can’t drive.
- Drill Bits: Don’t just grab the cheapest set. Get a good quality set that doesn’t break easily and stays sharp for a long time.
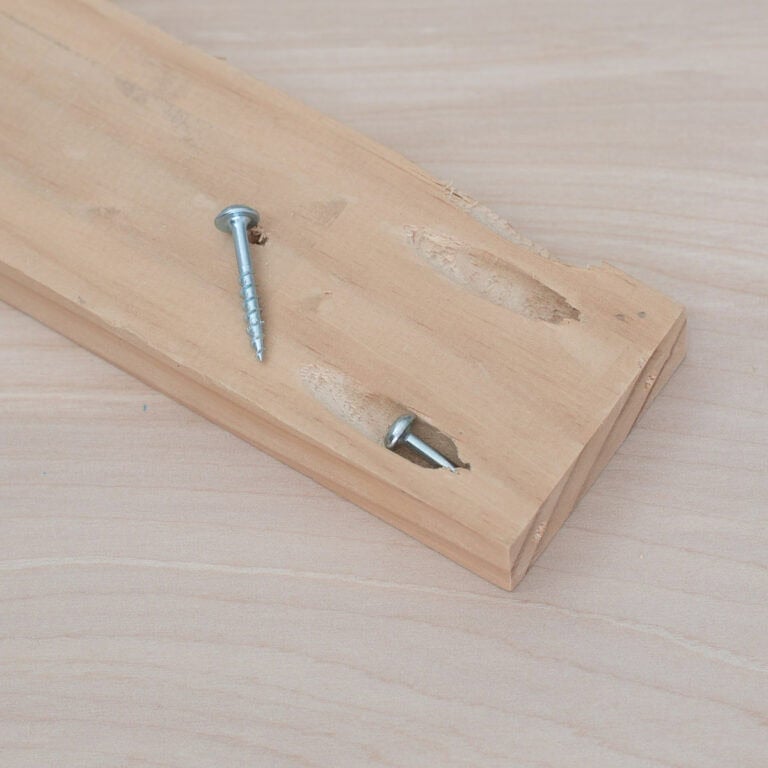
- Countersink Drill bits: I highly recommend getting a set of these. They drill a pilot hole and a wider “divot” at the top so your screw heads sit perfectly flush with the wood.

Bonus: I highly recommend also getting a set of Brad point drill bits which have a tiny sharp point at the tip that prevents the bit from “walking” or sliding across the wood when you start a hole.
Here is how to use a power drill and get the most out of the tool.
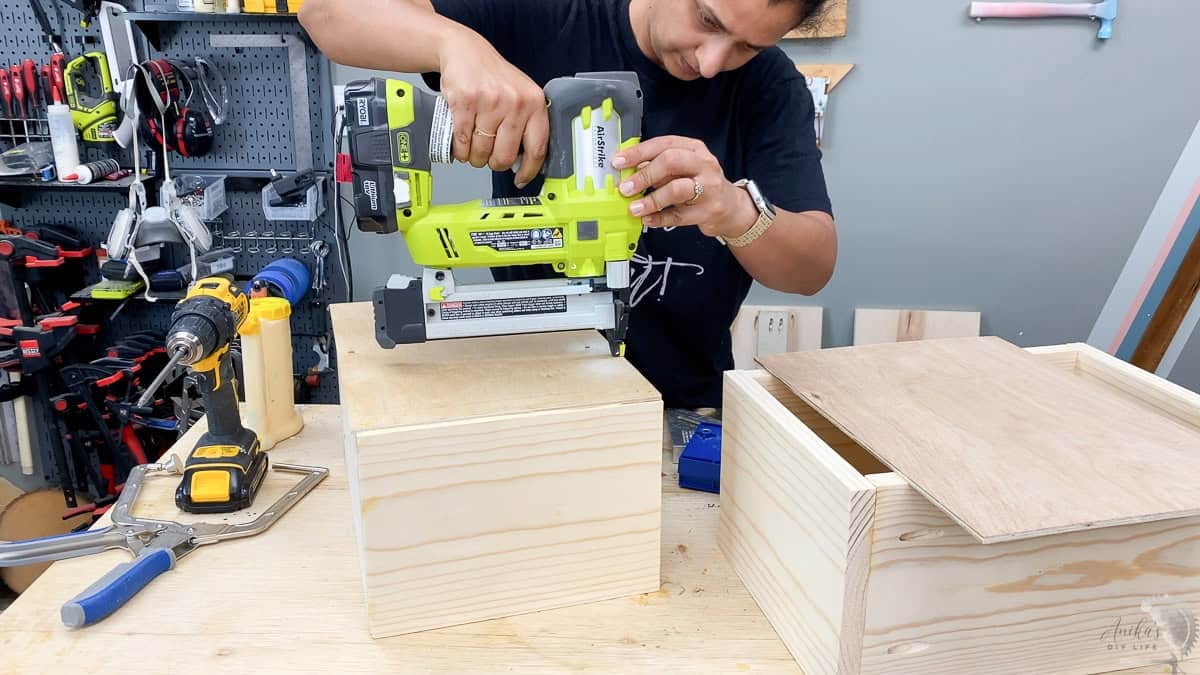
Nail Gun
A brad nailer (like the Ryobi or Milwaukee 18-gauge) makes assembly so much faster because it holds pieces in place instantly while the glue dries.
- Budget Tip: If a power nailer isn’t in the budget yet, don’t sweat it! You can always start with a simple hammer and nails, or use trim head screws and your drill to drive them in for a similar look.
Pocket Hole Jig
This is the tool that changed everything for me. It makes it possible to create strong, professional-looking joints without complicated wood joinery.
- My Favorite: The Kreg 720 is my go-to, but there are several models to choose from depending on your budget. If you aren’t sure which one to pick, check out my guide on which Kreg Jig is right for you.
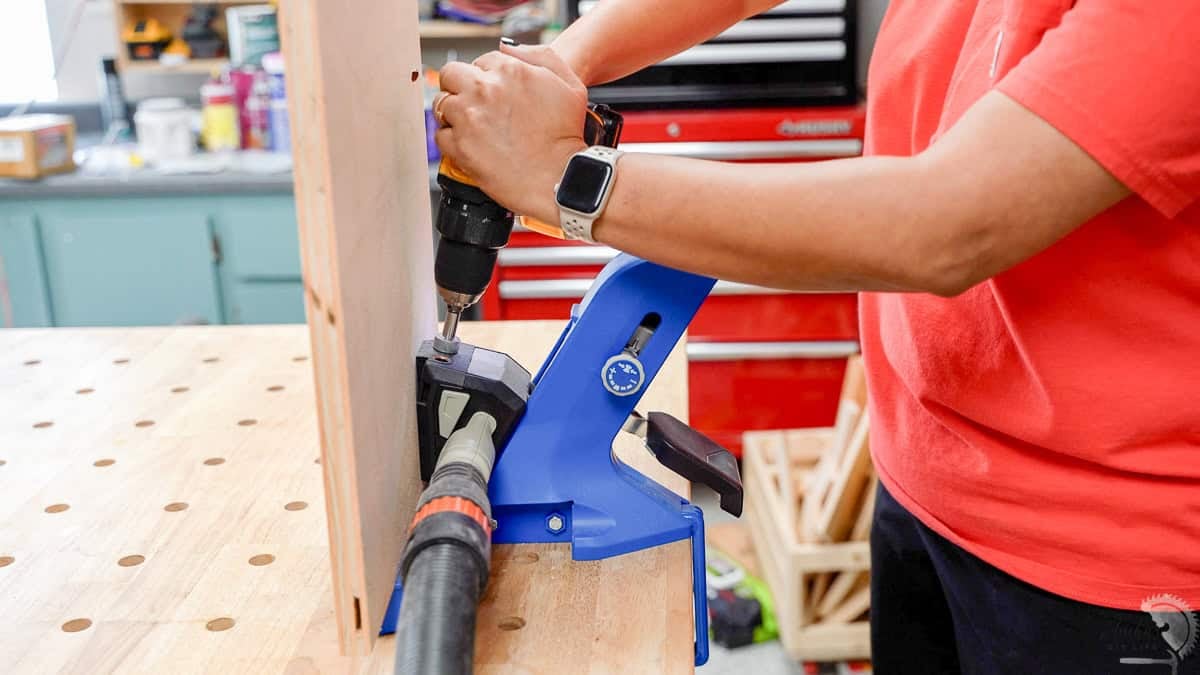
Clamps
Clamps are like having a second, third, and fourth set of hands in the shop. But remember, you don’t need a wall full of them to start!
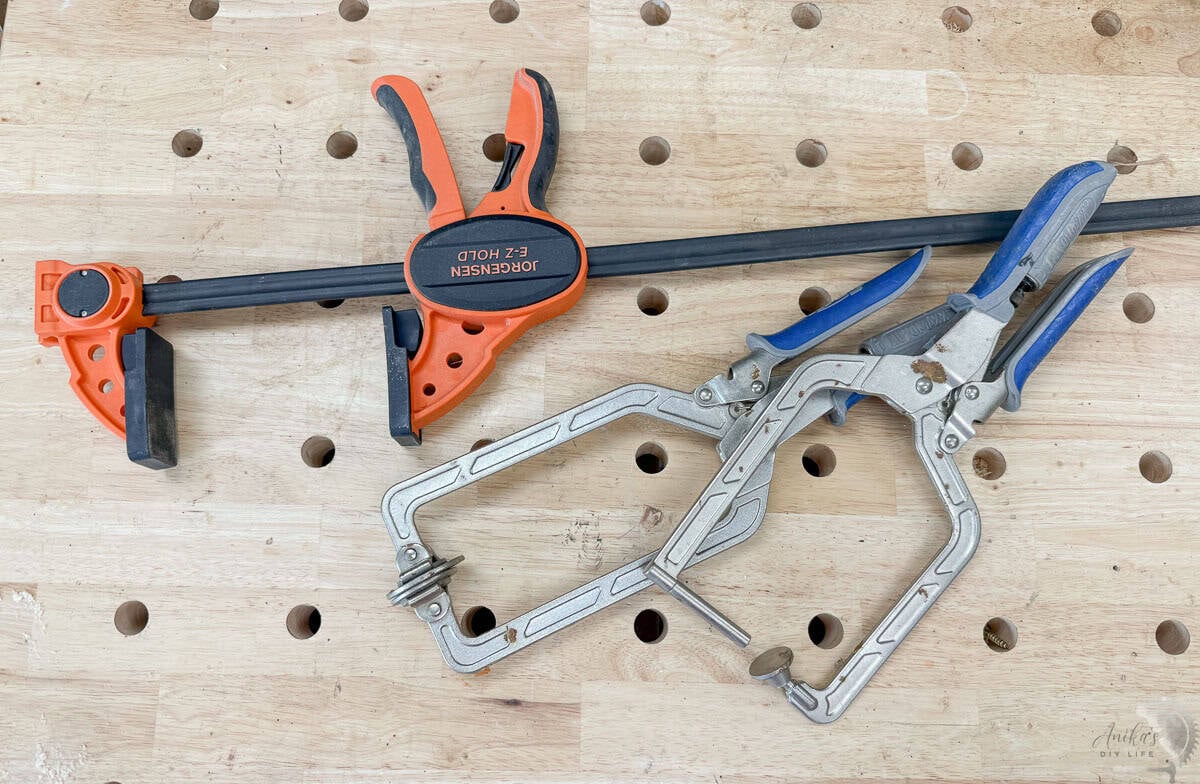
- Grab a couple of F-style trigger clamps (12 or 18 inches are a good starting sizes).
- If you use Pocket Holes, I highly recommend grabbing a face clamp and a right-angle clamp.
Sanding and Dust Management
Sanding is one of the most important parts of a project. It is the difference between a project that looks “DIY-ish” and one that looks like it came from a high-end furniture store.
Random Orbital Sander
This power sander moves in a circular, vibrating pattern to prevent swirl marks. It will save you hours of “elbow grease.”
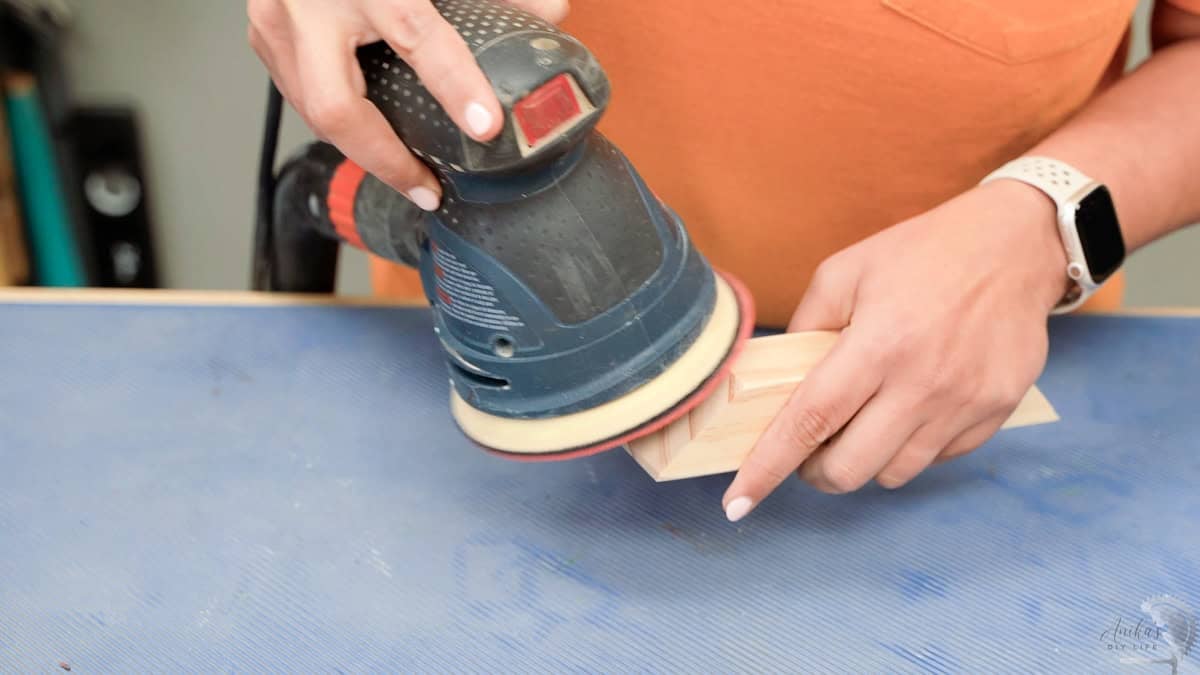
My Recommendation: I have had my Bosch Random Orbital Sander since 2015, and it is still going strong! It’s a reliable, durable investment that won’t let you down.
Sanding Blocks
Sometimes you need to hand-sand and get into corners. This set of sanding blocks is my new favorite because it takes the same 5″ sanding sheets as the random orbital sander and are very comfortable to hold.
I know this is a lot to keep track of. Download my printable checklist so you don’t miss anything.
Dust Management
Woodworking creates A LOT of sawdust. Beyond just being a mess to clean up, breathing it in is a health hazard. Here’s what I recommend:
- A Shop Vac – A dedicated workshop vacuum is essential. The DeWalt Stealthsonic (you won’t believe how quiet it is!) is a great starter option.
Pro Tip: Most power tools have a dust port. You can buy a simple set of adapters to connect your shop vac directly to your saw or sander. This catches (at least some of) the dust at the source before it reaches the air.
- Dust Separator: If you want to level up, add a dust separator (my favorite is the Kreg one) to a five-gallon bucket and connect it to the shop vac. It captures the heavy sawdust before it reaches your vacuum, which keeps your expensive vacuum filter clean and running at full power for much longer.
See more details about dust collection for small shops here.
Measuring and Marking
In woodworking, “measure twice, cut once” isn’t just a cliche; it’s the law! You don’t need an engineering degree, but you do need a few reliable tools to make sure your projects actually function.
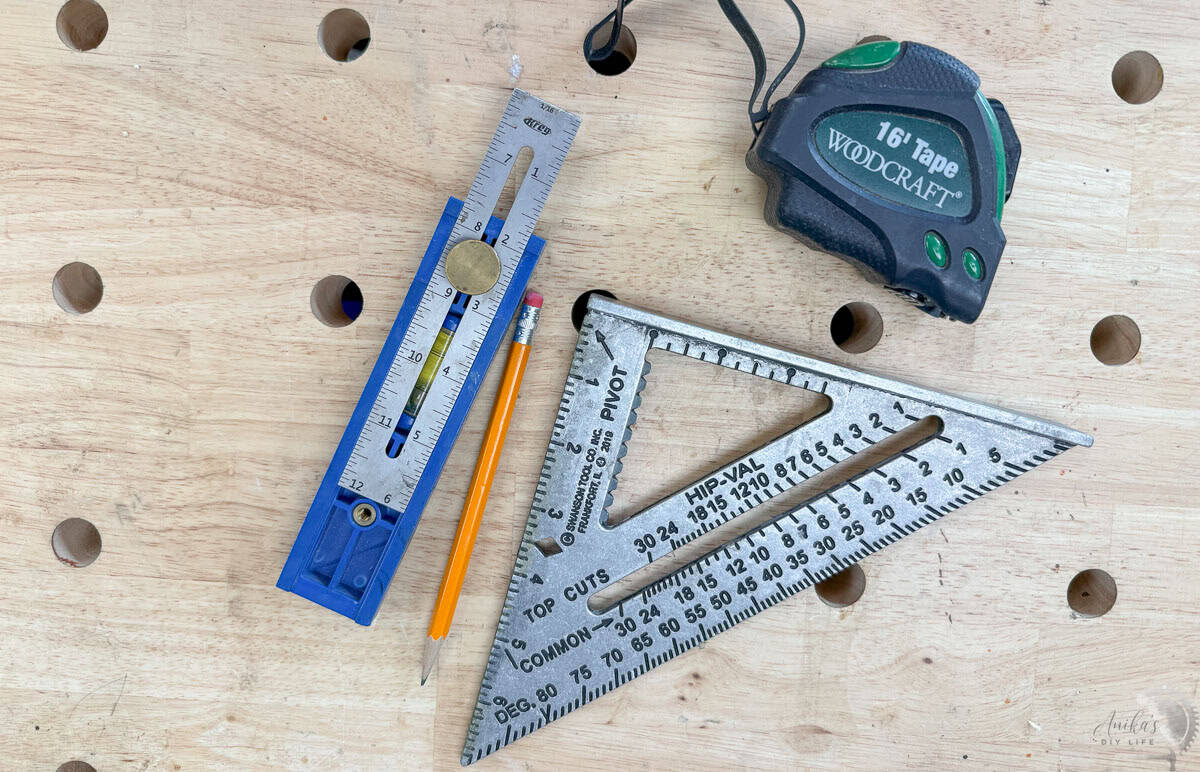
- The Basics: You’ll need a 16–25 ft tape measure, a sharp pencil (I always have three or four lying around because they disappear!)
- A Speed Square. A Speed Square is very handy for a lot of tasks when building. See all about what a speed square can do here.
- The Kreg Multi-Mark: This is a versatile little ruler with a sliding stop that helps you measure spacing, check alignment, and transfer dimensions. I use it in 90% of my projects and cannot recommend it enough for a beginner.
The Consumables
These are the items you’ll use up as you go. I always recommend keeping these stocked in your workspace so you don’t have to run to the store mid-project.
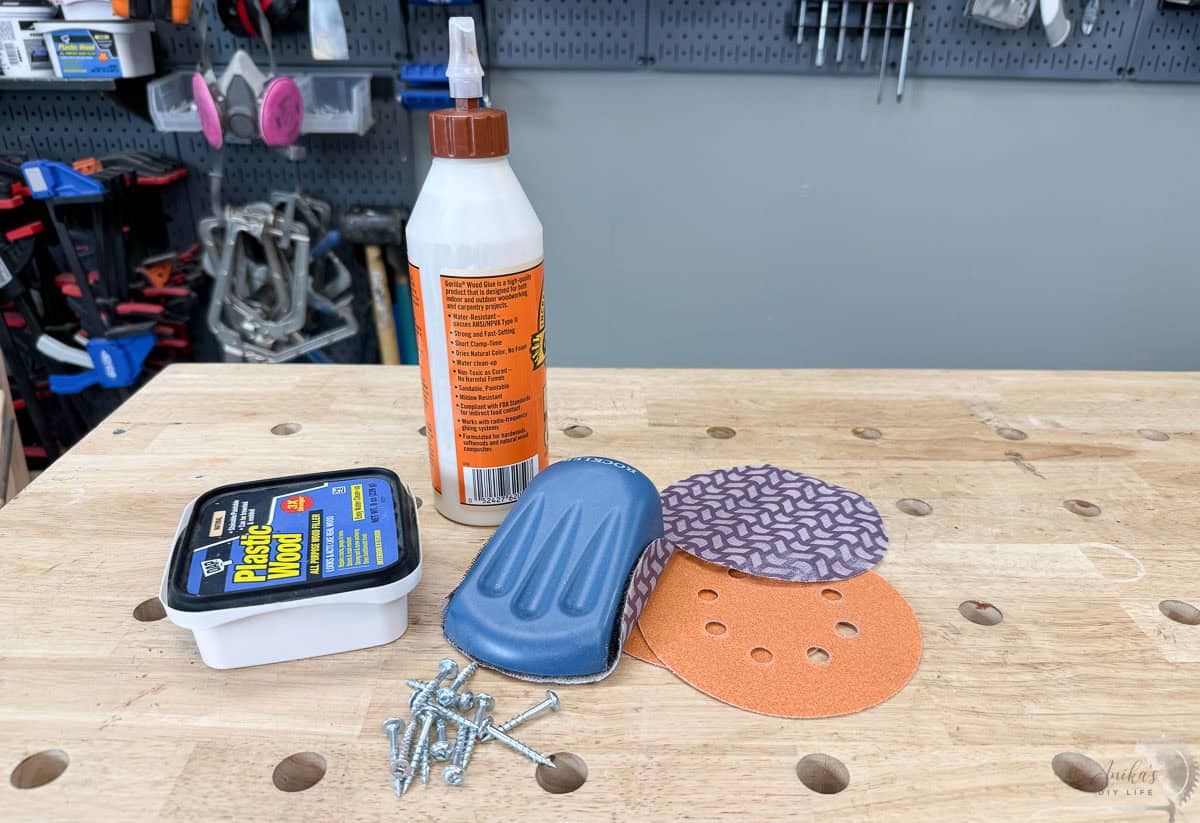
- Wood Glue: This is what actually holds your furniture together (the screws just act as clamps while it dries!). I like DAP, Gorilla Glue, or Titebond III (specifically for any projects that will live outdoors).
- Sandpaper Grits: You’ll need a variety. I suggest keeping 80, 120, 180, and 220 grit on hand. You start with the lower number (coarse) to remove bumps and move up to the higher numbers (smooth) for that buttery finish.
- Wood Filler: A good wood filler helps hide small gaps in joints or covers up nail holes before you paint or stain.
- Screws: Start a collection of various standard sizes like 1-1/4″, 2-1/2″, and 3″ wood screws. If you are using a pocket hole jig, make sure you have the specific Kreg pocket hole screws.
Setting up Your Workspace
Having a good workspace is important to safely build projects. The most important being a flat surface to work on. There are a couple of choices for that:
- Workbench: There are so many choices for this. You can buy a premade one, or build your own.
- The Worx Pegasus and the Kreg workstation are good options to buy and get started.
- If you want to build your own, this DIY workbench built with 2x4s and plywood is a great beginner-friendly project. It was actually my 2nd build.
- Sawhorses: If you don’t have space for a permanent bench, folding sawhorses are a great alternative. You can build your own or get good-quality ones for a great price.
- Organization: It is important to store tools and supplies safely and keep them easily accessible. A tool chest or a metal pegboard (like Wall Control) is a great option for this.
Tip: Use code ANIKA at wallcontrol.com for 10% off!
Quick Shop My Beginner Toolkit:
I have hand-picked the best starter models for each of these tools. You can find them all in my curated storefronts here
Quality Over Quantity
I always recommend going for the best tool you can buy for your budget. Choose durable, reliable brands within your budget. High-quality tools last longer and work more efficiently, making your learning process much smoother.
But remember, you don’t need everything at once. Just start with the basics and build your collection as your skills grow.
It’s Time to Start Building!
Remember, the goal isn’t to have the most expensive shop on the block; it’s to have a space where you feel empowered to create. Every expert woodworker you see online started with one tool, one board, and probably a few mistakes along the way.
The best way to learn is to pick a project, grab the basic tools you need for that specific build, and just get started. You’ll be amazed at what you can create with just a miter saw, a drill, and a little bit of patience.
Don’t forget to download my printable checklist so you don’t miss anything.
Looking for Your First Project?
Now that you know which tools you need, let’s put them to work! Check out these beginner-friendly projects that only require the basic tools

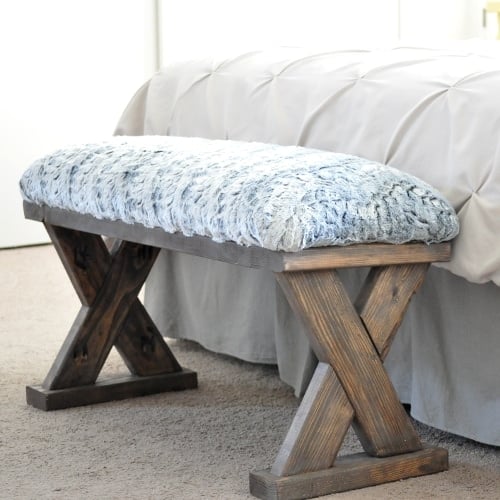


See 30+ beginner-friendly woodworking projects here
Anika's goal is to inspire and empower beginners with woodworking, DIY, home improvement, and home decor ideas.
She wants everyone to unlock their creative potential and experience the feeling that comes with making something. Nothing feels better better than seeing something and saying "I can make that!"


Great list! I had Bosch sander and Kreg K4 tools. Both are awesome!
This is a great guide for beginners! I really like the idea of starting small and adding tools as you build more projects. When I started learning woodworking, I also realized that having just a few essential tools like a drill, circular saw, and clamps can go a long way. It’s easy to feel overwhelmed by large workshops online, but this article does a great job showing that beginners can still build amazing projects with a simple toolkit. Thanks for sharing such a helpful resource!