DIY Concrete Planter With Wood Feet
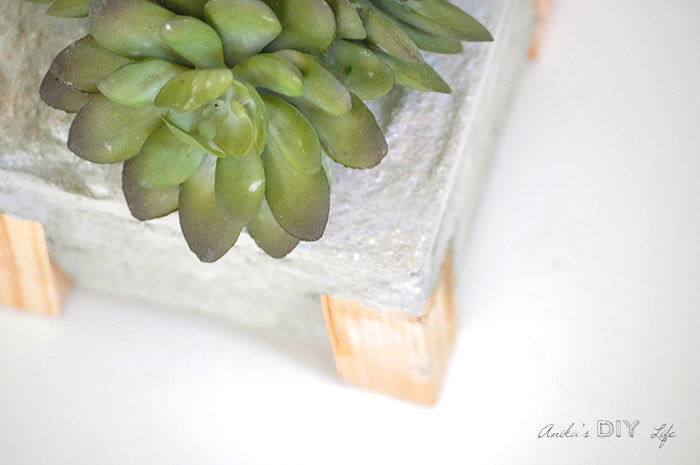
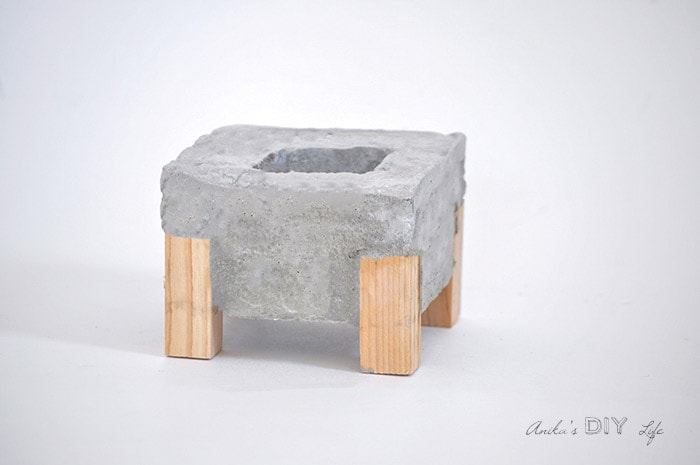
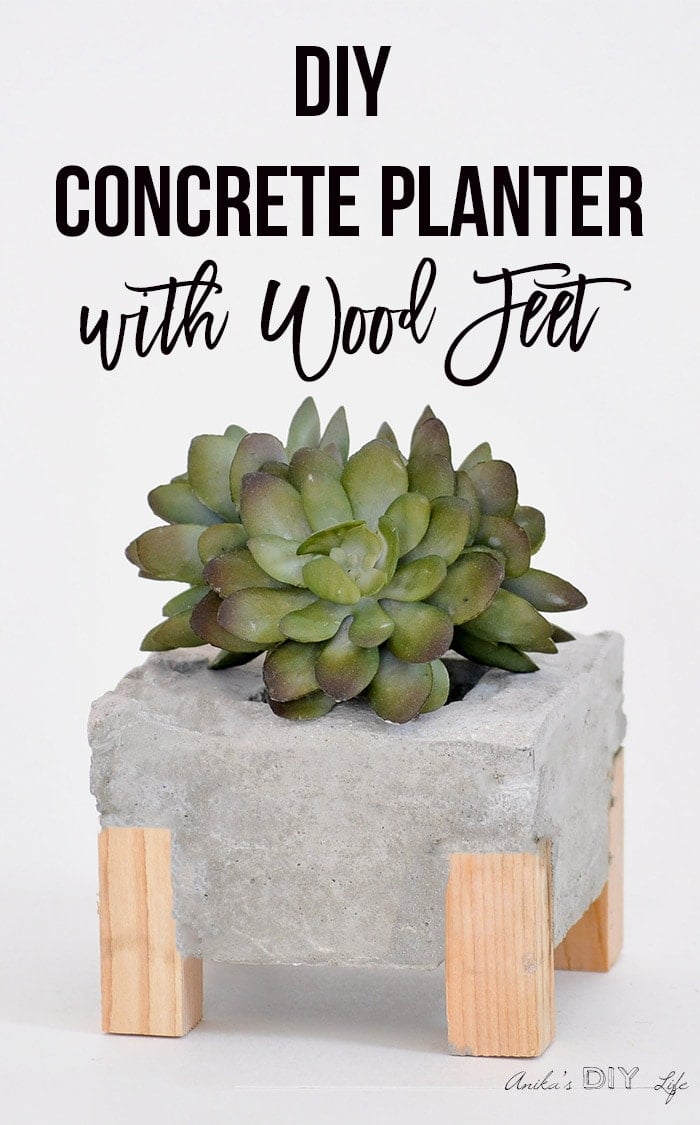
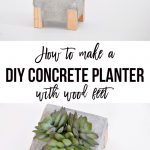
How to make a DIY Concrete Planter with Wooden accents. This DIY concrete and wood planter is easy to make and creates a gorgeous concrete planter with an unexpected twist.
This DIY concrete planter is my fun take on the ubiquitous DIY concrete planters you see everywhere. Yes, I added wood feet!
If you have been around here, you know I have been experimenting with concrete and having a lot of fun with it!
DIY Concrete planters are one of the concrete project ideas that are very popular right now and also easy to make!
I had fun making tiered concrete planter a few months ago and decided to make a simpler version of the cement planter but I can’t stop myself from adding a quick twist to it!
If you have been thinking about making something with concrete, this is a great beginner concrete project!
***This post contains affiliate or referral links. It is a way for this site to earn advertising fees by advertising or linking to certain products and/or services. Please read my full disclosure here ***
Materials Needed for DIY Concrete Planter:
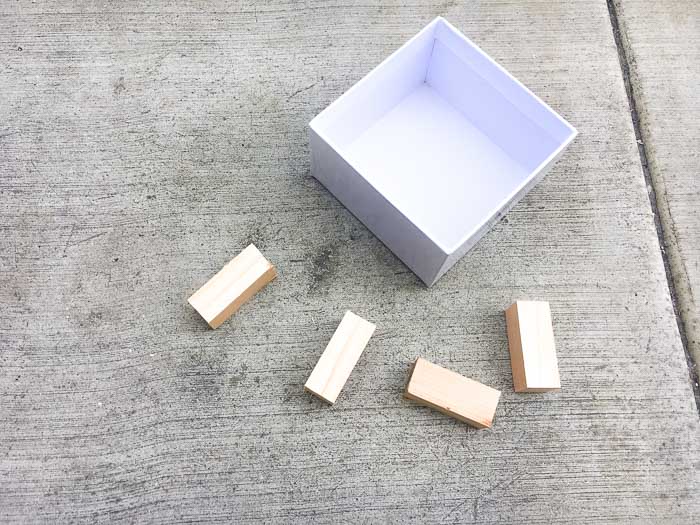
- 1″ square dowel
- Miter saw or hand saw
- Fast setting concrete
- Box of your choice for the outside mold
- A smaller box of your choice for the inside. (This should leave enough space around the sides to create a strong wall – at least 1″ thick)
- X-Acto knife
- Cooking spray
- Medium grit sandpaper
How to Make a Concrete Planter:
Step 1 – Cut the square dowel into four 2″ pieces for the feet. You can use a miter saw or a hand saw for this.
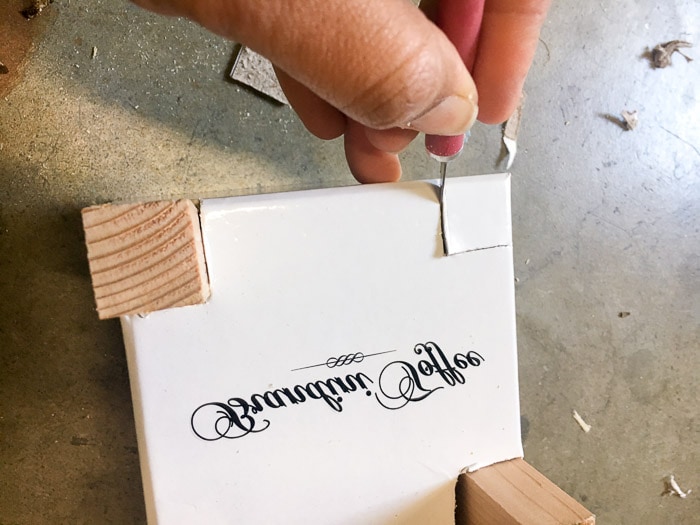
Step 2 – On the outside box, mark the corners where the dowels will fit. (As a side note, you have to try these toffees! They are AMAZING!)
Step 3 – Using an X-acto knife, cut out the marked corners. It is important that the dowels fit in there tight so the cuts need to be as accurate as possible.
Step 4 – Insert the dowels halfway into the openings and spray the inside of the box with cooking spray.
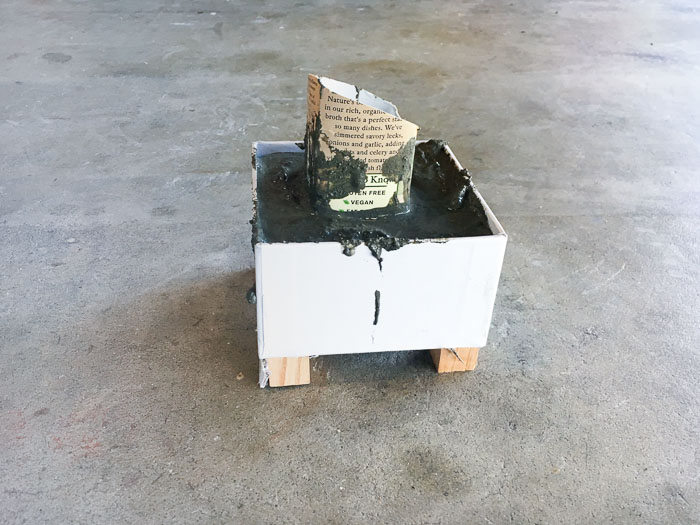
Step 5 – Mix and pour the concrete into the box. Start by pouring a small quantity for the base and then set the smaller box in the middle. Then, continue adding the cement mix into the sides till you have reached the desired level.
While it dries, you might need to add some weight to the smaller box to hold it down. I put some rocks inside the smaller carton.
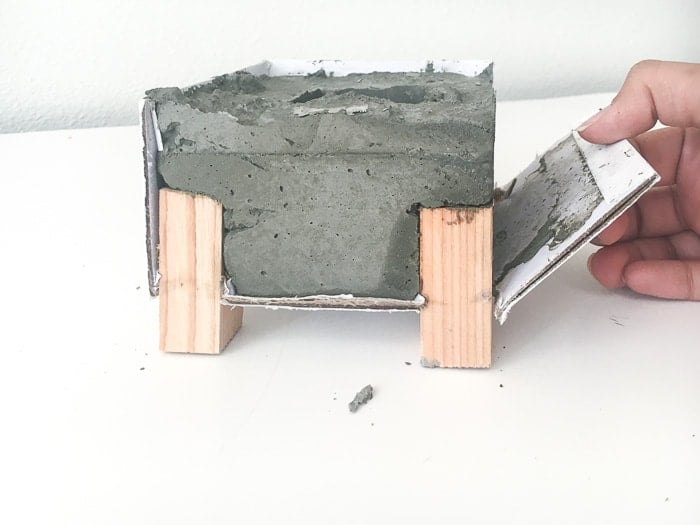
Step 6 – Tap the sides to make sure the bubbles rise up. Then, let the concrete mix cure for about 12-15 hours. Once dry, the cardboard should peel off very easily if because of the cooking spray.
Step 7 -The planter might need a couple more days to dry completely. Once the planter has dried for 3-4 days, smooth out any uneven edges with a medium grit sandpaper.
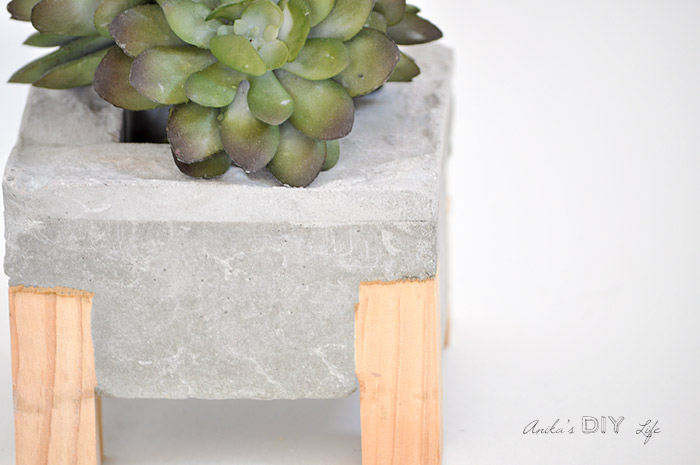
You can paint the wood legs or add painted accents to the concrete planter if you like. I chose to leave it plain because I am kind of digging the natural combination.
It is the perfect little planter but I can imagine a larger version too! So many ideas so little time!
Have you created a concrete project? I would love to see! Tell me all about it!
If You Enjoyed This DIY Concrete Planter, You Might Also Like –
Looking For More DIY Concrete Planter Ideas?
Here are a few more for you –
Anika's goal is to inspire and empower beginners with woodworking, DIY, home improvement, and home decor ideas.
She wants everyone to unlock their creative potential and experience the feeling that comes with making something. Nothing feels better better than seeing something and saying "I can make that!"







This looks fantastic and easy enough to do.
What a pretty project. I would like to invite you to share at our party at https://www.farmhouse40.com/inspire-me-monday-196 I know my readers would love this project. Hope to see you there.
Thanks for sharing your concrete project at the Inspiration Spotlight party @DearCreatives I love the idea of adding wood feet.
This is really sweet! Thanks for sharing it with SYC.
hugs,
Jann