How to Build a Modern Coat Rack
Learn how to make a DIY modern coat rack with this step-by-step tutorial! Build a functional and stylish piano coat rack that doubles as wall art, perfect for any space.

Is it just me, or does the coat rack always seem to run out of space way too quickly?
Between coats, jackets, bags, and everything else that gets tossed on it, the DIY wall-mounted metal coat rack I made a few years ago was practically begging for help. With just five tiny hooks and growing kids – one of whom now wears adult-sized (!!!) jackets, and the other one is almost there, it was becoming a bit of a frustrating mess.
I knew it was time for an upgrade—not just any upgrade, though. I wanted something that would hold all the things and not look like an eyesore.
That’s when the idea for this DIY piano coat rack came to life. I have seen many racks that use the same concept but are in one line and look like a coat rack. I wanted to embrace a little fun unpredictability and make the coat rack a little more like artwork.

It’s the perfect combination of function and style, and you will be surprised by how easy it is to put together!
***This post contains referral or affiliate links. It is a way for this site to earn advertising fees by advertising or linking to certain products and/or services. Please read my full disclosure here ***
Material Required
- Lumber per the plans.
- Three 2×2’s for the rack
- A few plywood scrap strips or 1×3 or 1×4 boards for the back
- 3/8″ dowels
- 3/8″ drill bit. Brad point drill bit or Forstener bit is highly recommended.
- 2″ wood screws
- 3″ screws
- Sandpaper in various grits
- Stain or paint in the color of your choice
- Top Coat. I used this one
Tools Required
How to Build a Piano Coat Rack
As always, I have a detailed video showing you the full process. The detailed step-by-step written tutorial, including supply links, follows below.

Plans for the Piano Coat Rack
I am sharing the exact lengths to cut the boards and the configuration I used in the plans. You can download them by clicking the button below.
Step-By-Step Tutorial
Step 1: Make the Cuts
You’ll need two types of cuts for the 2x2s:
- 45-degree cuts for the hooks
- straight cuts for the supports.
I started by cutting all the straight pieces first. Then, I moved on to the hook pieces, cutting them to size and trimming the ends at a 45-degree angle.
The plans go into all the details of the cuts required.

Looking back, I don’t recommend doing this as a two-step process. When I returned to make the 45-degree cuts, some pieces were small, making it tricky—and a bit unsafe—to cut. Instead, set your saw to a 45-degree miter and cut the hook pieces in one go. Trust me, it’s much easier this way!
I had to cut some replacement pieces, and when I directly cut them off of the full board, it was much easier!
- Cut off 1/4″ from one end of the hook piece. This gives them a flat edge for hanging coats and avoids sharp corners.

This is also a good time to cut up the dowel.
- Cut the dowels to 3″. I set up a stopblock on my miter saw and made all the cuts.
Step 2: Make the Dowel Holes
Mark where the dowel holes will go on the hook pieces:
- 1.5″ up from the bottom edge
- 3/4″ in from the outer edge
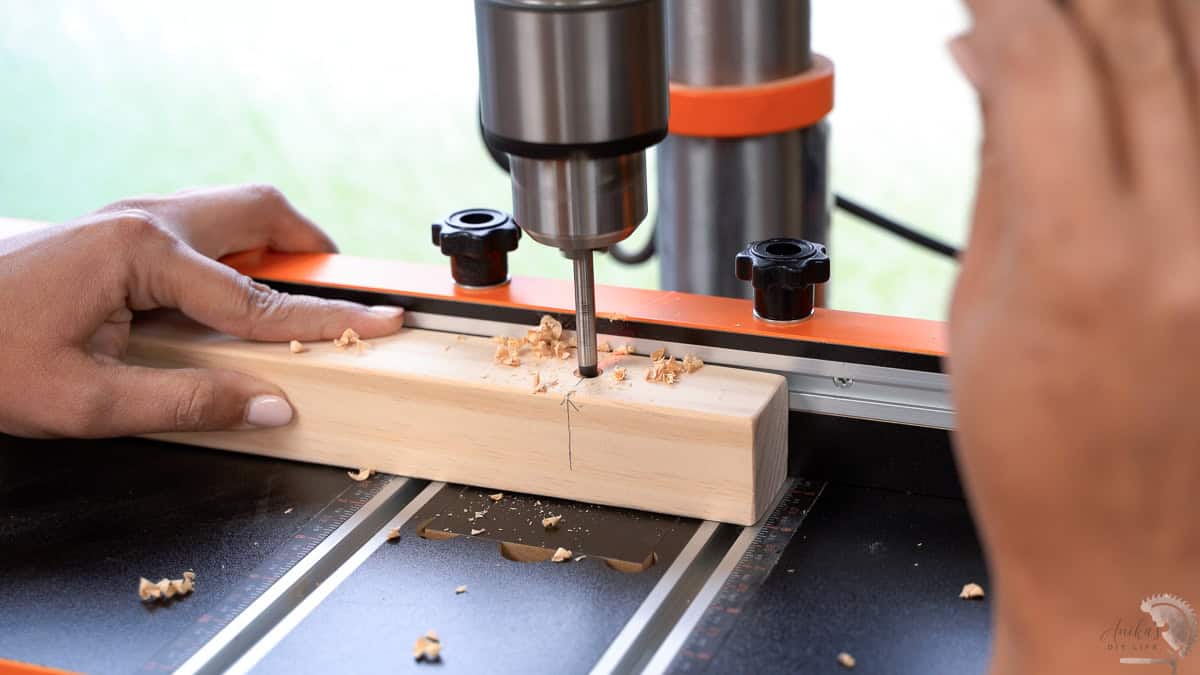
- Using a 3/8″ drill bit, make a through hole.

Important: These holes need to be perfectly straight. I found this really hard to do with just a power drill, so I highly recommend using a drill press or a drill guide.
I used my drill press because it let me set up a fence and stop block, making the process quick and easy. If you don’t have a drill press, a doweling jig or drill guide will work, too!
Step 3: Finalize the Layout
Each hook piece needs a stationary piece on both sides to cover the dowel holes.
For my coat rack, I used two hooks per column and left at least 3/4″ of space between the hooks so there’s room to pull them down. I also added two stationary pieces between each hook set for a more balanced look, but you can go with just one if you prefer.

Play around with the layout until you’re happy. I aimed for a random, fun look!
Step 4: Drill Holes in Stationary Pieces
- Once your layout is set, extend the dowel hole line onto the stationary pieces.

- Drill 3/4″ deep holes in these spots.
You can use a painter’s tape on a drill bit to work as an indicator. I used my drill press and set the depth stop to make the holes.
This is a good time to do a test run to see how the hooks and the coat rack are working. I was so excited when my setup came together perfectly!

Step 5: Apply Finish
- Sand all the pieces using a random orbital sander, starting with coarse grit and working your way up. See how to sand wood.
I also ran my sander over all the edges to soften them a little—just be careful not to overdo it!

- Apply pre-stain conditioner and then stain the pieces in the colors of your choice. I went with 4 different colors of stain. See how to stain wood.
- Once the stain is dry, apply 2-3 coats of a good-quality top coat. I used this top coat.

Step 6: Put It Together
Once the top coat has completely cured, it is time to assemble the coat rack.
- Insert the dowel into the stationary piece
- Add the hook pieces onto the dowels
- Add the other stationary piece.

Sometimes, it can be a little tight and needs a little help from a mallet.
- Flip the coat rack over and attach a French cleat to the back with 2″ wood screws. You want to make sure it is positioned such that it covers most of the boards and isn’t visible when the hooks are closed.
- Attach another brace on the back. This one should cover all of the boards.

Important – Make sure you only add screws to the stationary pieces because the hooks will need to move.
How to Mount the DIY Coat Rack
The best way to mount a coat crack on the wall is to use French cleats. The wall-mounted coat rack will be taking a lot of weight from the jacket and bags, etc., and French cleats are super strong.
French cleats are really easy to make using a wooden board. See how to make your own French cleats here. You can also buy pre-made French cleats like this one.

And that is it!

A DIY coat rack that is not only functional but also looks like wall art when the hooks are tucked away. I’m obsessed with how it turned out!

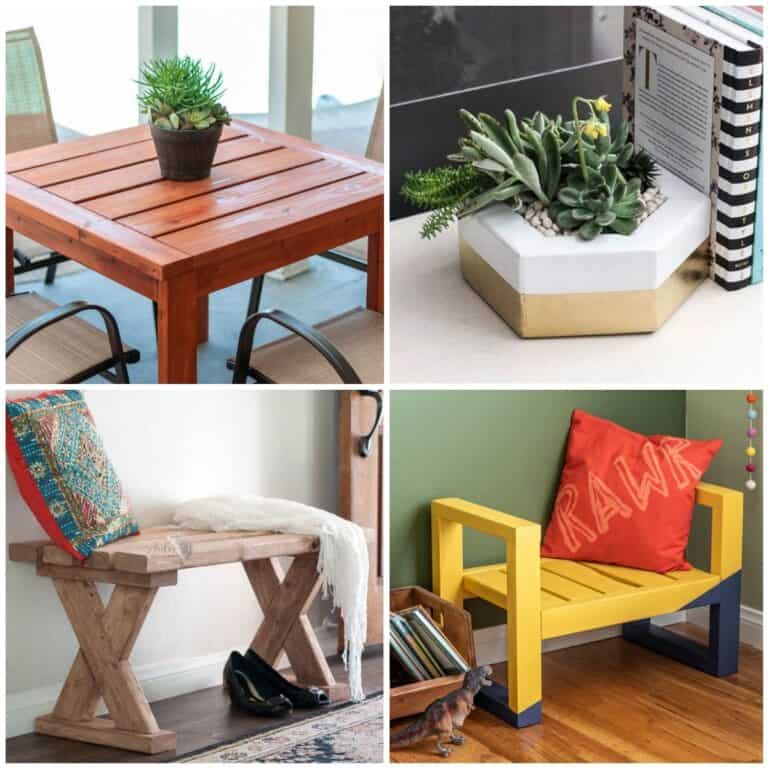
You might also like:


Anika's goal is to inspire and empower beginners with woodworking, DIY, home improvement, and home decor ideas.
She wants everyone to unlock their creative potential and experience the feeling that comes with making something. Nothing feels better better than seeing something and saying "I can make that!"