DIY Kitchen Remodel – The Reveal!
You guys! The kitchen remodel is in the books.
After 3 long months of working on it piece by piece, lots of hard decisions like paint colors and cabinets vs. shelves, learning how to tile, installing flooring, and many more big and small projects, it is DONE.
And it is my dream kitchen!

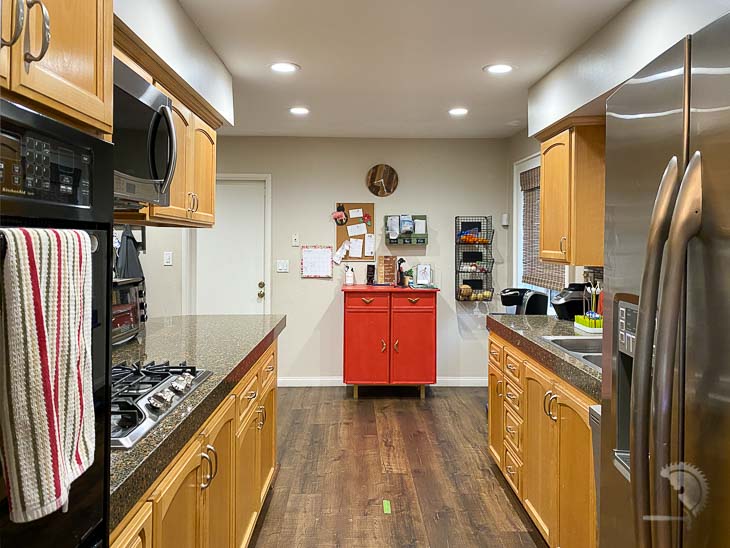
The Before
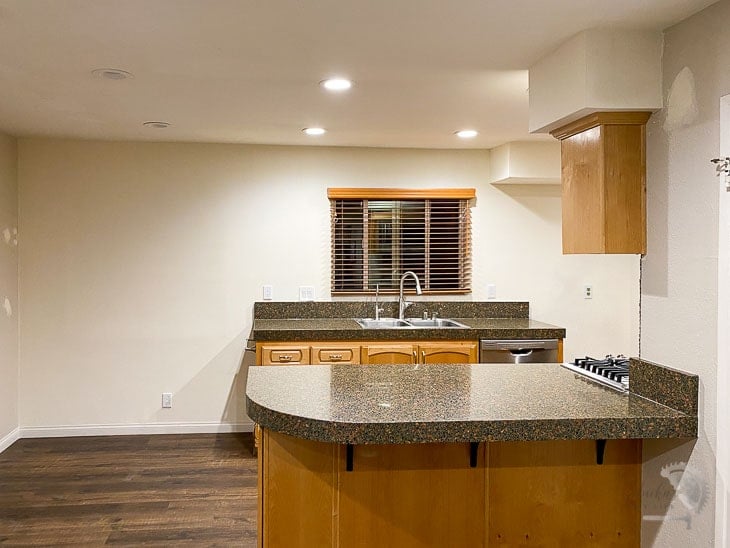
Meet the various shades-of-brown kitchen.

The counter space was almost non-existent. There were cabinets but not enough. It was tiny with lots of wasted space next to it which was supposed to be an “eat-in” area.
Finally, I got to transform it into everything I wanted it to be!
***A huge thanks to The Home Depot for sponsoring this project. Thank you for supporting the brands that make it possible to bring you new projects***
The Plan
When I decided to redo it, I instantly knew the cabinets had to be green. Because it’s a small space, I didn’t want upper cabinets to be dark and make it top-heavy. Plus, I kind of dig dual-tone kitchens. I think it adds so much more interest and dimension. To bring in some warmth, I planned on adding wooden floating shelves. I shared the plans here.

The Demo
We hired out this part specifically because of the exterior window. Since the contractors were there, we also asked them to demo the soffits. We are glad we did so instead of doing it ourselves because there was ducting and plumbing inside the soffits which needed to be moved.
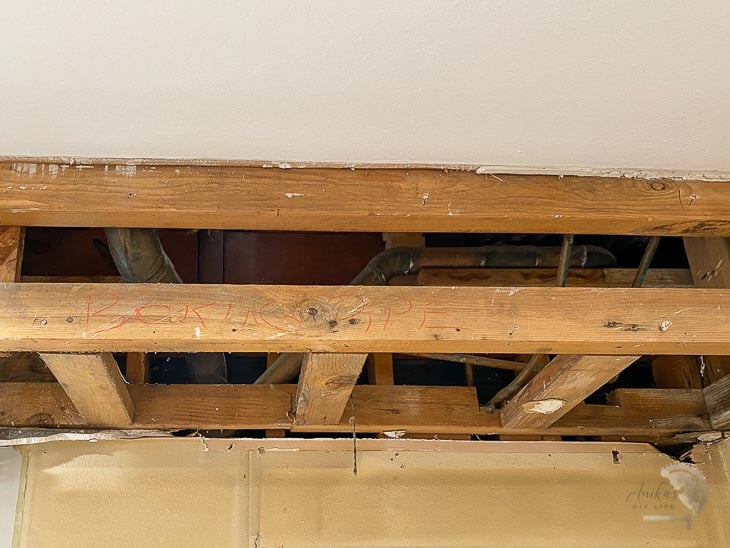
In the end, we were only able to remove part of one of the soffits because the plumbing to the upstairs bathroom passed through there. It isn’t an ideal situation, but we have to kind of live with that.
Additional Base Cabinets
To add the new base cabinets, we ripped out the existing vinyl plank flooring and installed them. Base cabinets or any immovable object cannot go over vinyl plank flooring. Installing the base cabinets was really easy. I just made sure they were level and attached them to the studs in the wall using cabinet screws.
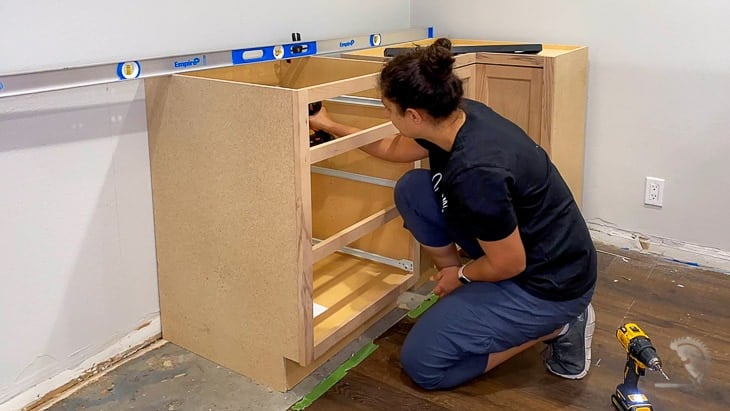
These are Hampton Bay cabinets in unfinished beech from The Home Depot. They come pre-assembled and are simple but solid and budget-friendly. They are a great value for the money. I ordered them online and picked them up at my local store with curbside pickup. They loaded it straight into my car.
Flooring
The flooring is actually what triggered this entire makeover.
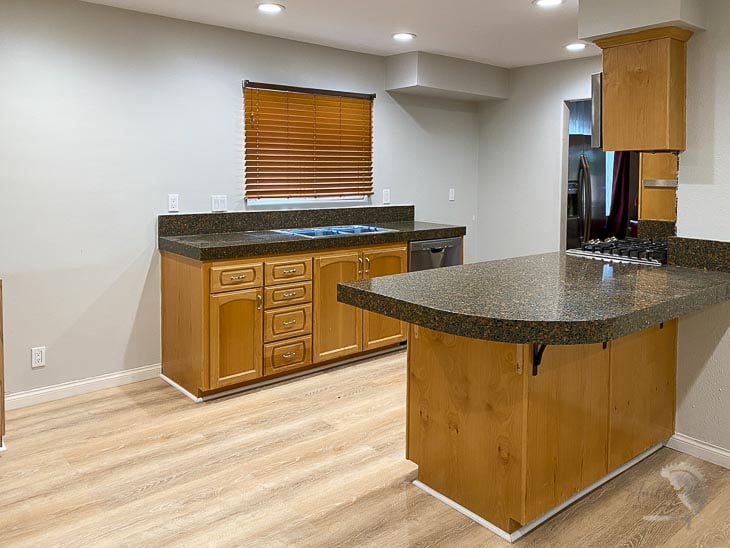
I shared how we switched out the old dark flooring in partnership with The Home Depot to install these beautiful lighter flooring, instantly making the entire space look so much brighter and bigger. I have all the details of how we installed it here.
Countertops
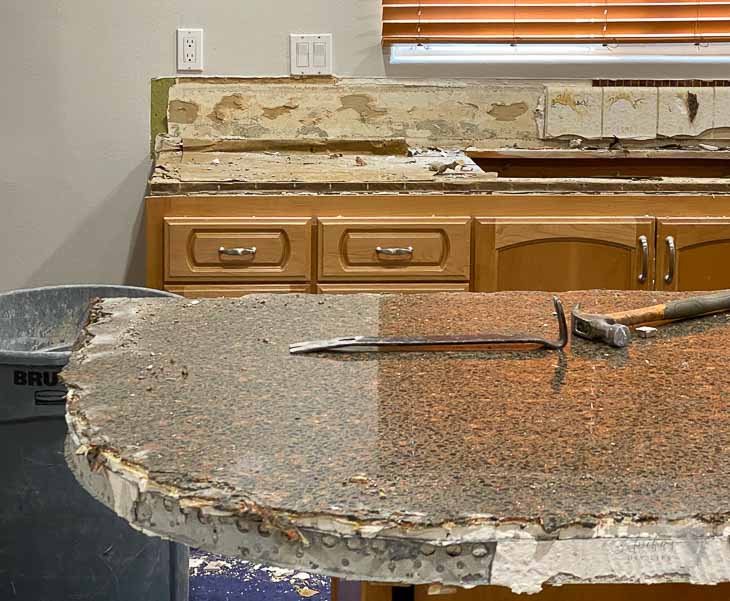
We definitely needed new countertops with the new cabinets, but the old countertop needed to go anyways. It was a quartz overlay on top of the old tile countertop. It was dark and had orange sparkles in it, which was definitely not my style. See what I mean – so many layers!
After looking at many different local suppliers, we decided to go with this beautiful quartz from The Home Depot. It is the perfect creamy white with the right amount of character. The veins are subtle and beautiful.
The prices were extremely comparable to other local suppliers. Plus, the countertop installation through Home Depot included a demo. All the other local suppliers charged a lot more to add on demo.
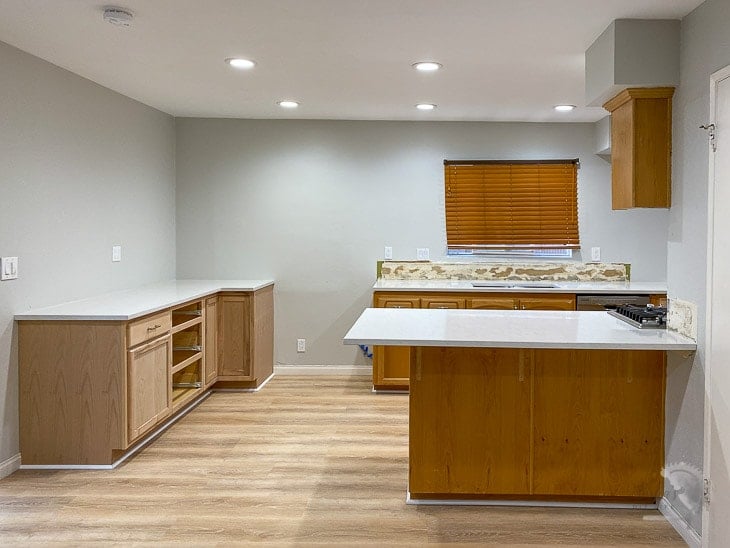
I also loved that the countertops through The Home Depot because the entire countertop is a thick slab and includes a slightly rounded edge finish. In comparison, the other suppliers had a thin slab and then an edge attached to make it look bulky. If you added miter edges for a more professional finish, the prices shot up.
Upper Cabinets
Once the counters were in, we installed the Hampton Bay cabinets on one side of the kitchen.

The plan was to also install one on the other side where the refrigerator used to be. Because of the soffit, it needed to be a custom size which I built and installed. But once it was up there, everyone in the family, including me, thought it was too bulky, and we liked the openness without it. So down it came.

Backsplash
Once I saw this gorgeous marble and gold tile, I knew it had to be the backsplash. I had never installed tile before. I called in my friend Joanie to help with the install. We used an adhesive tile mat instead of mortar. We talked about the entire process here.

Cabinet and Island Trim
Before painting, I gave the entire peninsula/island some character with wood slat trim. See the full tutorial here.
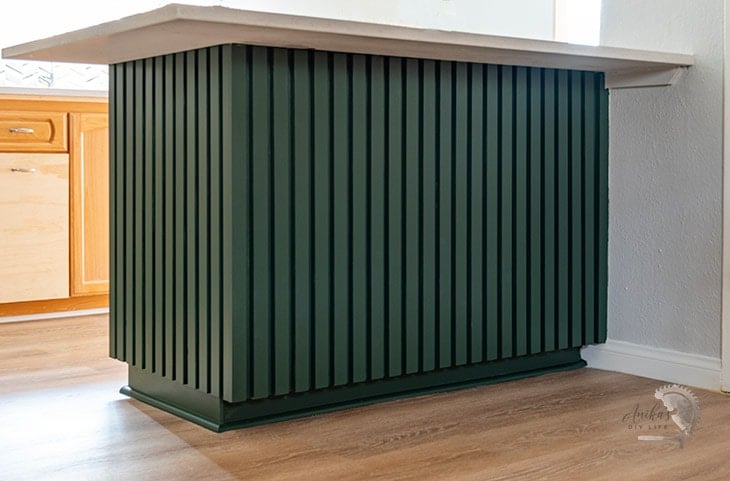
I also trimmed the ends of the base cabinet with 1×3 boards for a finished look.

I also trimmed out the window, following the same process as before. I have waited so long to have a window sill to place plants on it!
Refacing the Cabinets
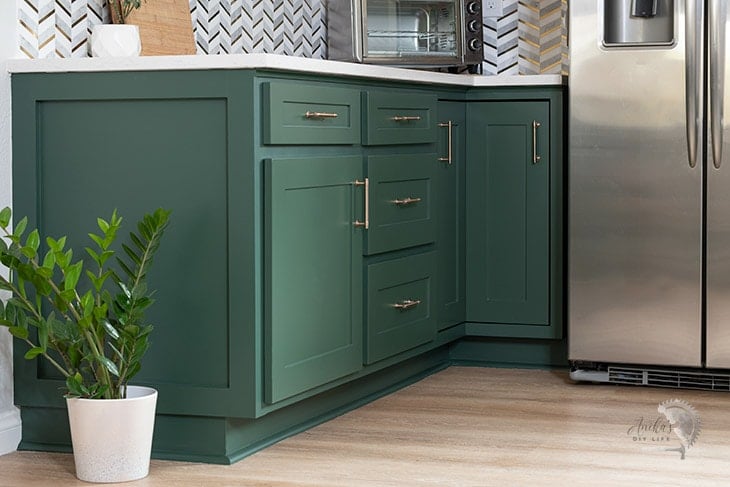
With the mix of old and new cabinets, I needed to paint and change their doors to make everything uniform. It was a straightforward process, and I have all the details here.
Floating Shelves
The last project in the kitchen was floating shelves. I found these floating shelves at The Home Depot to go between the upper cabinets. They fit in perfectly and were exactly the color I wanted.
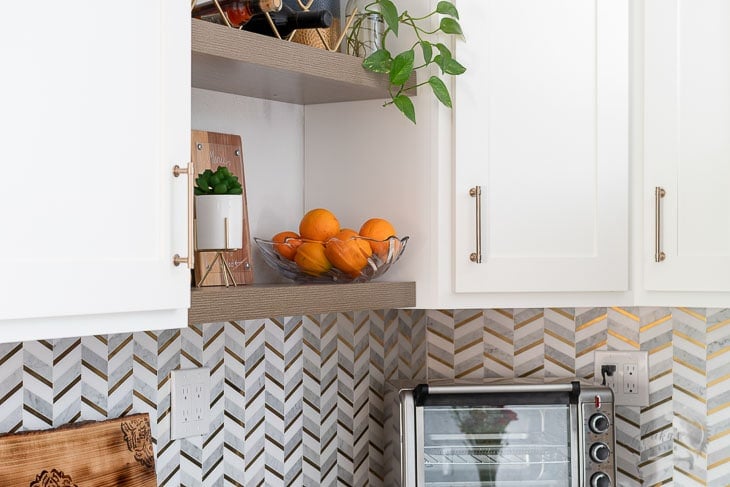
They are straightforward to install. Just a few toggle bolts to install the brackets, and the shelf slid right on.
For the other side of the kitchen, I needed shelves that were 20″ and 50″ in length, and I could not find any that worked. So, I did exactly what any DIYer does – built them. Take a look at the full tutorial here.

The kitchen is all done!
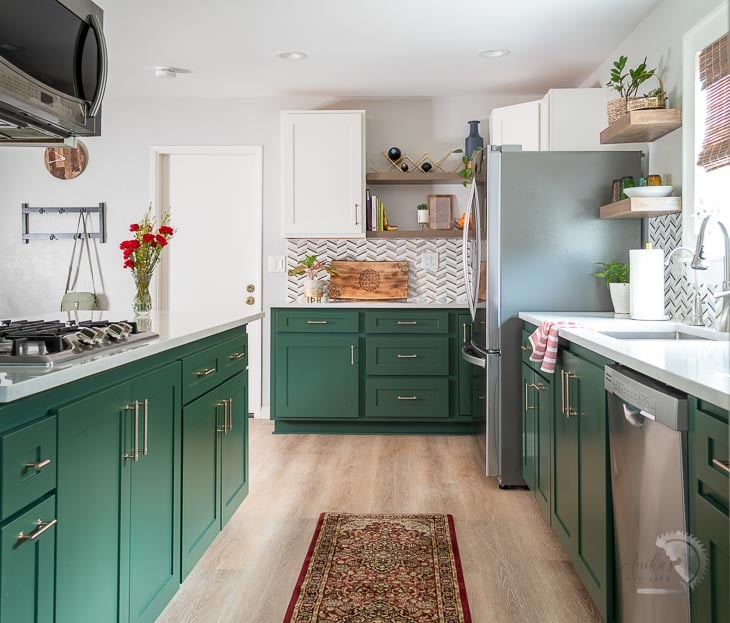
There is so much more counter space and storage, and it feels so open and bright. AND it is totally me!
And because we all love before and after pictures, I leave you the view from every angle! 🙂

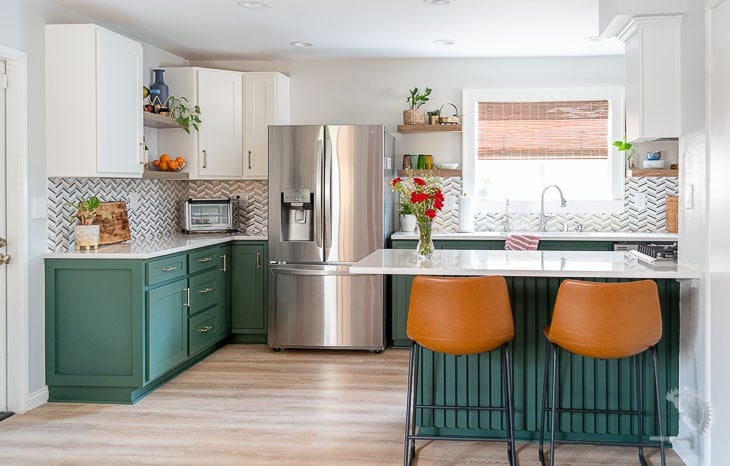
The other angle –


And most of all, this view is my favorite – so much more storage and counter space!
Sources –
- Hampton Bay cabinets
- Backsplash tile
- Flooring
- 3′ floating shelves
- Hand bookend
- Blue and gold vase
- Runner
- Cabinet pulls
- Counter height stools
- DIY Wine bottle holder
- Mandala charcuterie tray
- Metal coat rack
- Wood wall clock
Check out all the projects in this kitchen makeover here.
Learn how to make your DIY plywood countertop here.
See more kitchen projects:
Anika's goal is to inspire and empower beginners with woodworking, DIY, home improvement, and home decor ideas.
She wants everyone to unlock their creative potential and experience the feeling that comes with making something. Nothing feels better better than seeing something and saying "I can make that!"




Gorgeous. Are you for hire?
Your kitchen turned out BEAUTIFUL! I enjoyed following your progress & showing that girls can throw a hammer, cut a board, making corners come together correctly, well done Anika! I, also, enjoyed learning your tips, tricks & detailed instructions, making my projects come together as well. Love the Kreg. I hope you will continue with your projects & schooling us in the process. Good job!