DIY Under Bed Shoe Storage
Learn how to make DIY under bed storage which is perfect for anything including shoes with the full tutorial, plans, and video.
You will also like these 21 Brillieant Shoe Storage Ideas and how to make divided vegetable bins
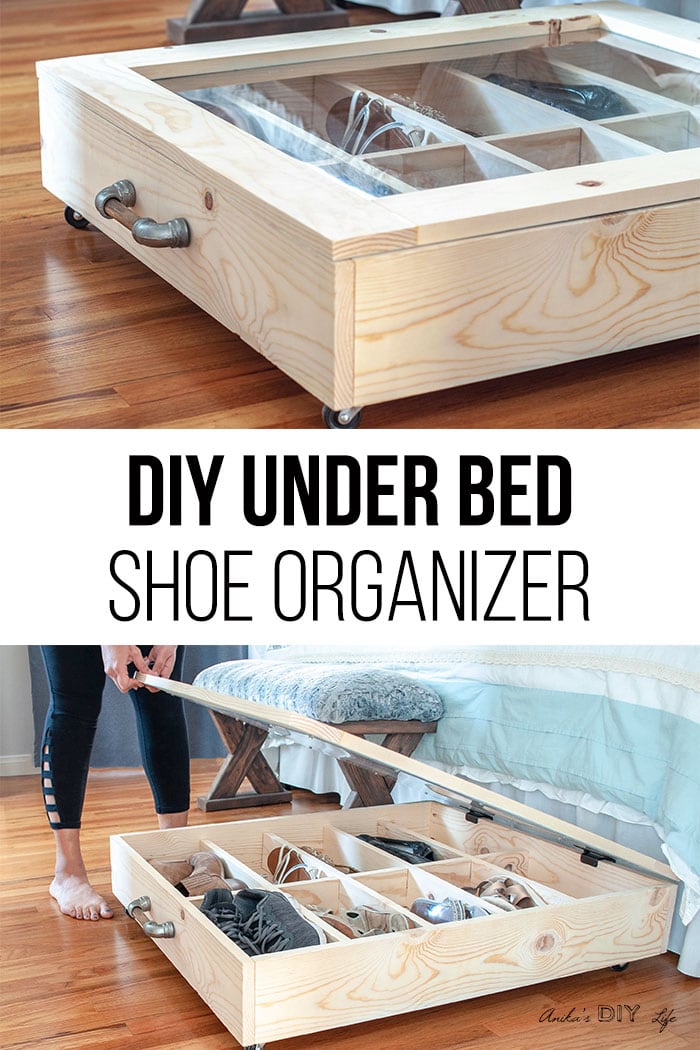
Table of Contents
- About the DIY shoe storage
- Material needed
- Video of how to build the under bed storage
- Step by step tutorial
- Under bed shoe storage plans
- Pin this to Pinterest
The space under the bed is valuable real estate that seldom gets used to its capacity.
Whether you live in a small home or not, you want to be able to use every possible space for organization and storage.
Under the bed makes a great space to store lesser used items or shoes for that matter!
This helps free up space in your closet too making it look less cluttered – or for you to add more things 😉
About This DIY Shoe Storage
I recently built this simple DIY shoe organizer which –
- fits under the bed and out of the way
- keeps my lesser-used shoes not just well organized but also free of dust.
- has a transparent plexiglass lid, so I can easily see what’s inside.
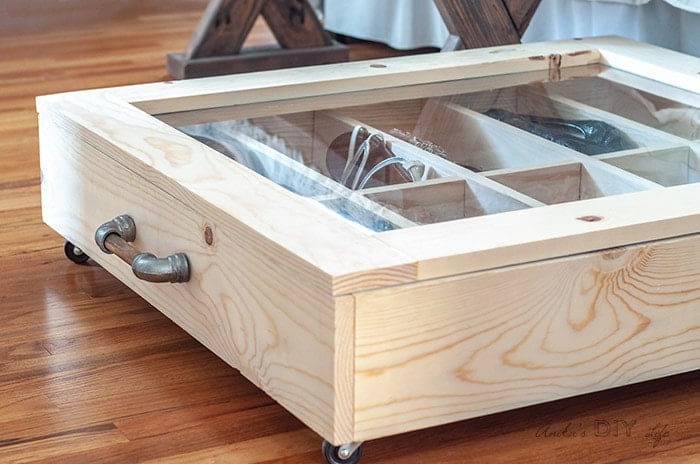
Even though this is a shoe organizer, it doesn’t have to be. It can be used to store anything.
The dividers are easily removable too!
RELATED: Check out how I built my DIY Custom Craft Organizer
*** I am partnering with BuildSomething.com to bring you free plans for this cabinet! ***
***This post contains affiliate or referral links. It is a way for this site to earn advertising fees by advertising or linking to certain products and/or services. Please read my full disclosure here ***
Materials Needed
- Lumber per plans
- Plexiglass sheet
- Casters
- Pulls of your choice. I used this one.
- Hinges. I used my favorite lid support hinges.
- 1¼” pocket hole screws
- ¾” wood screws
- Wood glue
- Kreg Pocket hole Jig. Check out the full tutorial on how to use a Kreg Jig!
- Kreg right angle clamp.
- Power Drill
- Circular Saw
- Miter Saw
- Jig Saw or BladeRunner X2
RELATED: 7 basic woodworking tools for beginners
How to Make Under Bed Storage Drawer –
Below is a full video tutorial showing how I built this under bed shoe storage.
Full written tutorial and lots of tips and tricks to assemble follow below.
Step by Step Tutorial
Step 1 – Build the Box
- Follow the cut list on the plans and make all the cuts.
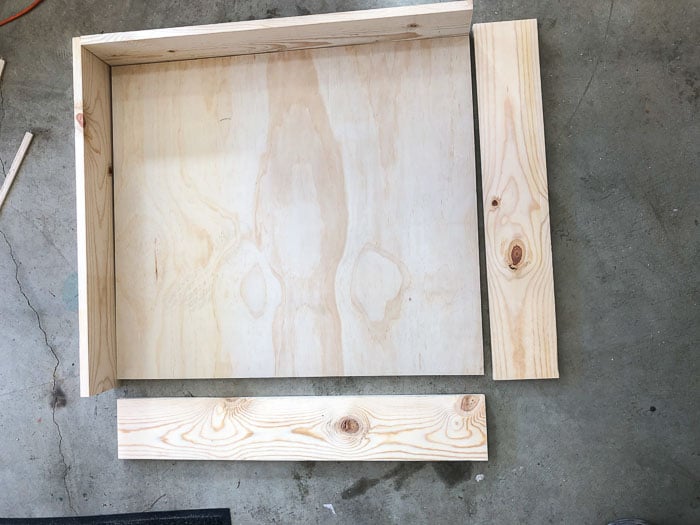
- Build the box by attaching the plywood to the 1 x 6 sides.
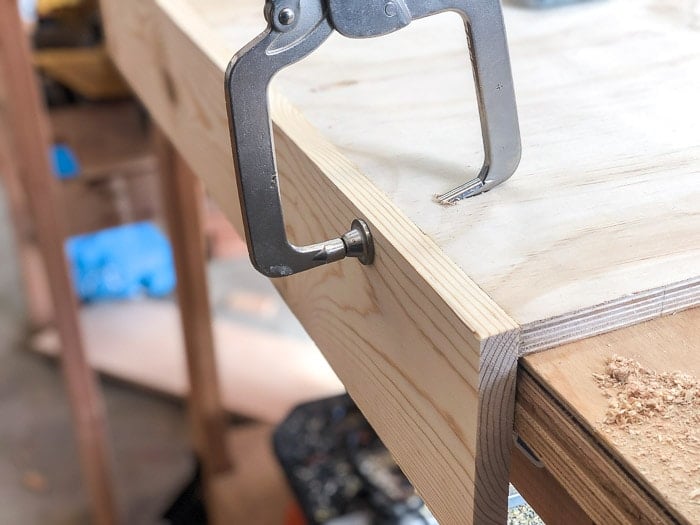
Tip – All the pocket holes are on the underside of the plywood. To join it to the sides, I used the edge of the workbench as support and clamped using the Kreg right angle clamp to hold while I fastened them.
- Once two sides are attached, attach the other two sides. There are pocket holes on the inside of the two shorter as well.
Be sure to check for square once assembled.
Step 2 – Build the Lid Frame
Build the lid frame out of 1x4s using pocket hole screws and wood glue.

Important – make sure everything is square.
Step 3 – Cut the Dividers.
The dividers are cut using 1×4 to create interlocking boards.
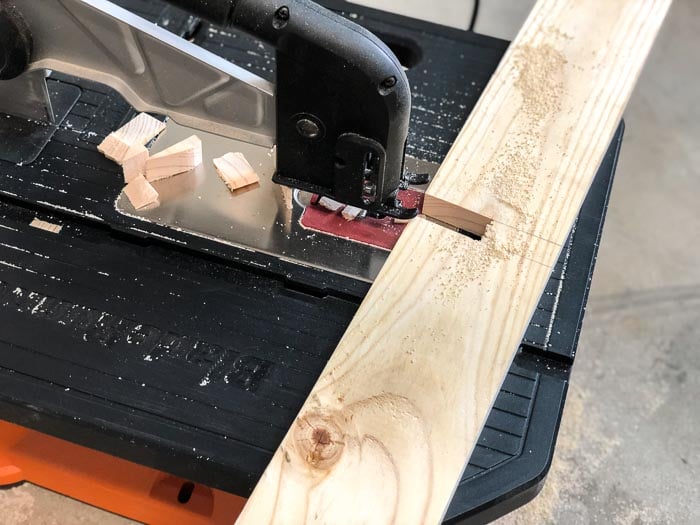
I used my BladeRunner X2 for this but you can also use a Jigsaw.
Step 4 – Cut and Attach Plexiglass to Lid
To cut the plexiglass – I used the blade runner. You want to slowly feed the material through. If you push it too fast, it can crack.
Attach the plexiglass sheet to the lid using ¾” wood screws.

Important – Drill holes in the plexiglass very slowly. Use a masking tape to keep it from shattering and stop as soon as you hit the wood underneath.
You can also route the insides of the lid to inset the plexiglass. I decided to keep this build simple to use simple tools.
Step 5 – Add Hardware
- Add hinges.
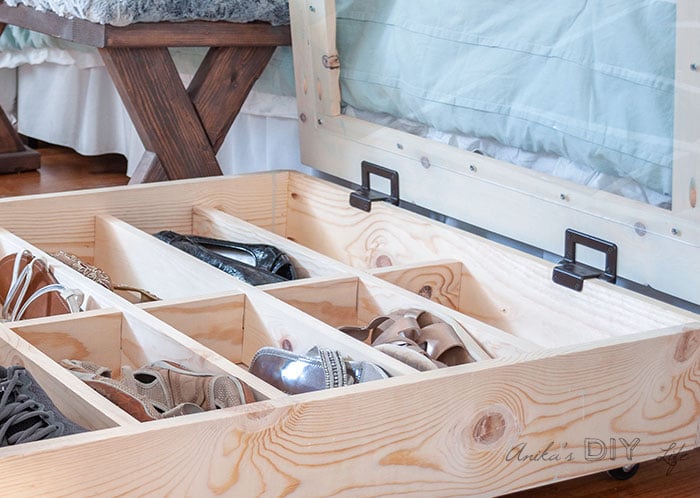
You can use a regular piano hinge. I decided to use the lid support torsion hinges to make it safer.
- Attach casters – 1 on each corner.
- Add a pull – because you need to be able to pull it out.
I am totally crushing over this pull I got from Hobby Lobby!
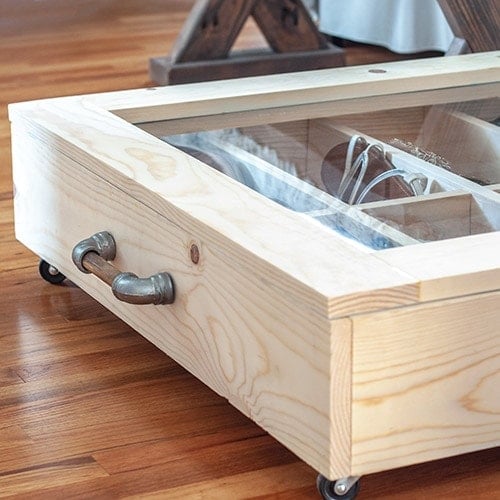
That’s it! Its a simple build!
Plans for the Under Bed Shoe Storage Drawer
I am sharing the plans for this under bed shoe organizer on the Build Something website. You can access them here –
I love that there is a place to keep all the shoes organized and save them from collecting dust.
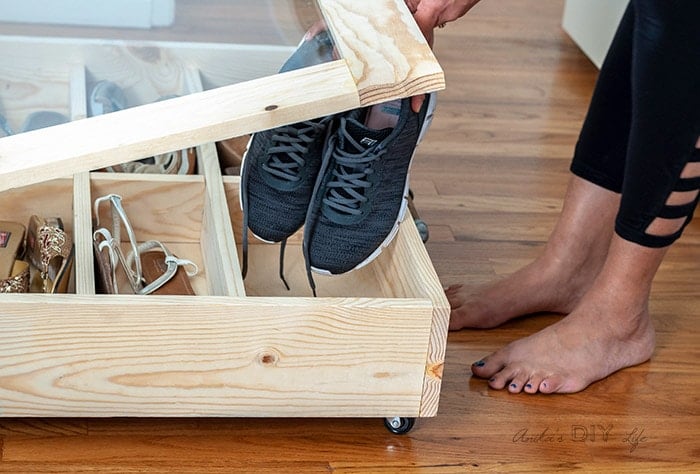
I think I need to make a version of this for each of my family members.
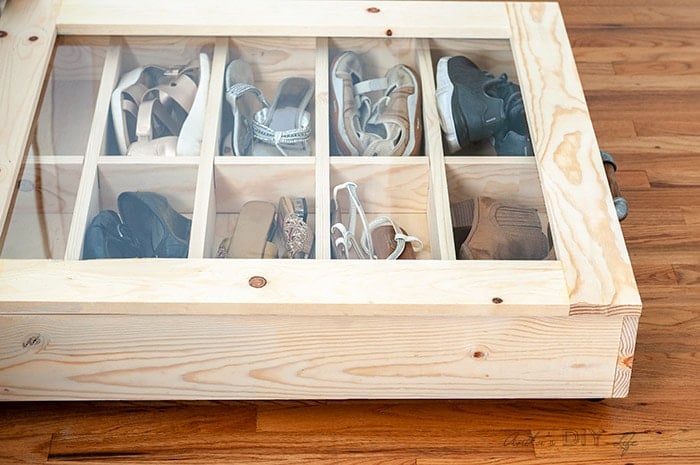
I can make it smaller or add more dividers for the kids shoes.
Or if you don’t want to use it for shoes, you can just remove the dividers and use them as simple under bed storage drawers.
GET PLANS TO BUILD THIS ORGANIZER!
You Might Also Like
- DIY nightstand with hidden compartment
- 18 unique DIY Ikea Moppe hack ideas
- DIY entryway bench with storage
- DIY Spice rack
[mv_create title=”DIY Under Bed Shoe Organizer” type=”diy” key=”38″]
Anika's goal is to inspire and empower beginners with woodworking, DIY, home improvement, and home decor ideas.
She wants everyone to unlock their creative potential and experience the feeling that comes with making something. Nothing feels better better than seeing something and saying "I can make that!"


I like the hardware you used, the copper and galvanized pipe!
This is fantastic and a great use of that space under the bed that so many have. Thank you for sharing.
Hey Anika…catching you from the Friendship Friday Blog Hop. I love this idea! We have a small home and, admittedly, too many shoes. Right now my daughter’s shoes are in an under-bed tote in a jumble. The creative pull is just the cherry on top!
What a great project. I will be featuring this tonight at my Winter Blues Wednesday party that opens at 8pm EST. Please stop by and pick up an I’ve Been Featured button. Thanks. http://diybydesign.blogspot.com
Anika, this is one of the nicest shoe organizers I’ve seen. Pinning!