DIY Rustic X-Leg Console Table With Plans
Learn how to build an easy farmhouse style DIY X-leg console table with the full tutorial and plans using 2x4s and other construction lumber.

I have had the idea for this DIY Rustic X-leg Console table for a while! I got an overwhelming love for the upholstered X-leg bench and I wanted to spin-off that bench into a console table. Now if I simply made it taller and added a plank top, it would have made a nice table too.
I decided it needed something more. It needed storage aka shelves.
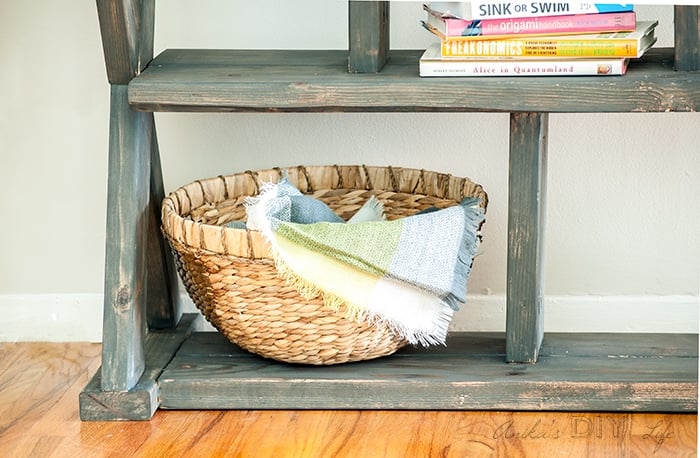
Made using 2x4s and construction lumber, this easy DIY console table can be stained or painted to fit perfectly in modern or farmhouse decor.
The lumber cost just under $45. Plus all you need is a Kreg Jig, a miter saw and a power drill.
Table of Contents
- How hard is it to build?
- Do you need a lot of tools to build?
- What type of wood do you need?
- Materials needed for the console table
- How to build the console table
- Plans for the console table
- Pin this to Pinterest
***I partnered with BuildSomething.com on this project. Thank you for supporting the brands that help bring you new projects.****
How Hard Is It to Build This Console Table?
Not hard at all! It is a basic project that needs a few cuts on the miter saw and pocket holes. There are angled cuts but the plans show you exactly how to make those cuts.
Do You Need a Lot of Tools to Build This Console Table?
Nope! Just a miter saw, power drill, and a pocket hole jig to build it! I built it out of my driveway. We had just moved and the garage was full of boxes. I just set up the miter saw on the floor and got to work.
RELATED: How to make accurate cuts with a miter saw.
What Kind of Wood Do You Need?
This console table is made out of 2×4 and 2×4 boards. They are relatively cheap and can be found at a home improvement store. However, the important thing is to make sure you use only kiln-dried lumber. If not, the boards will warp and bow with time and the console table can become wobbly/deformed.
RELATED: DIY Ballard Designs inspired console table
Material Needed –
- Lumber per the plans
- Miter saw
- Kreg Jig. I use the K4. Learn more about the Kreg Jig and pocket holes here.
- Power drill
- 2 ½” pocket hole screws
- 2½” wood screws
- Kreg face clamp
- Kreg right angle clamp
- stain or paint in the color of your choice. I used this stain.
How to Build the Console Table
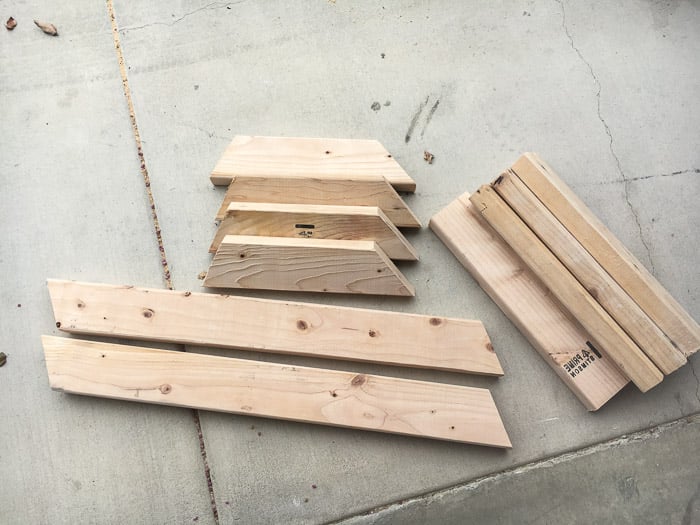
Step 1 – Make the Cuts
- Make the cuts per the cut list in the plans. I would recommend dry-fitting the cuts as you go to get the best possible fit.
- Sand them smooth.
Tip – When cutting angles – leave your miter saw set at the angle you need for all the cuts to get reproducible cuts.
Step 2 – Make the Pocket Holes
- Set the Kreg Jig and the drill bit collar at 1½” thickness and make all the pocket holes as shown in the plans.
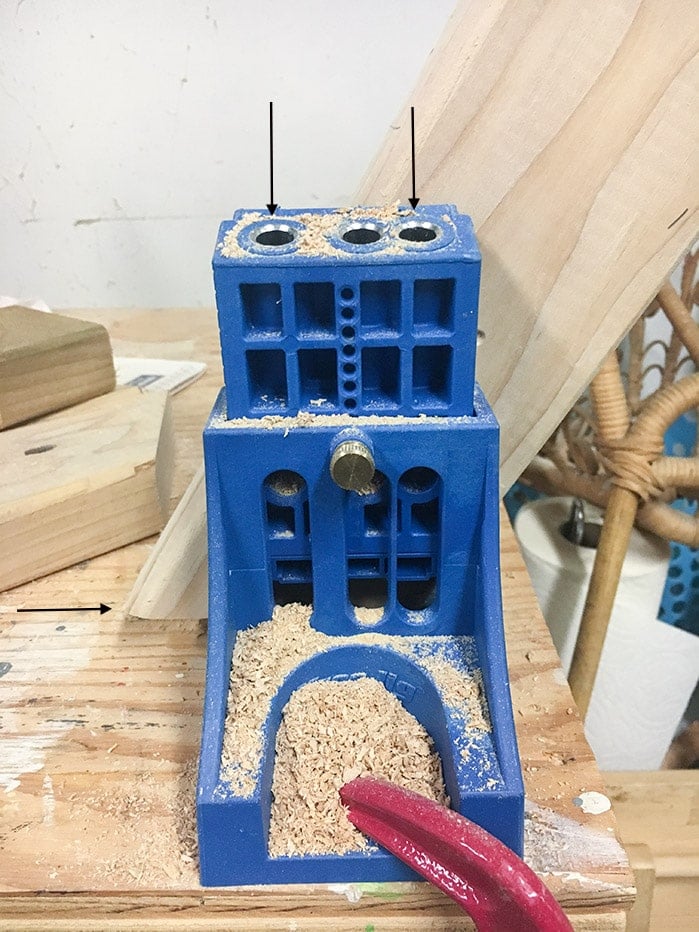
Read more about how to make pocket holes in angled boards.
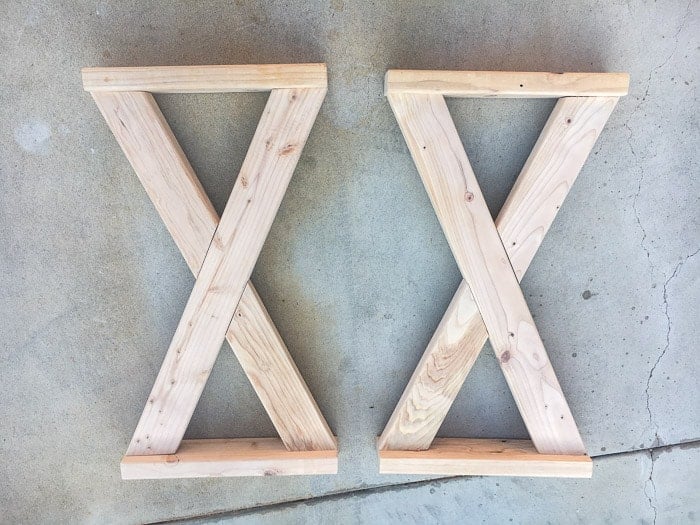
Step 3 – Assemble Legs
- Using wood glue and 2½” pocket hole screws, attach the boards to build the legs.
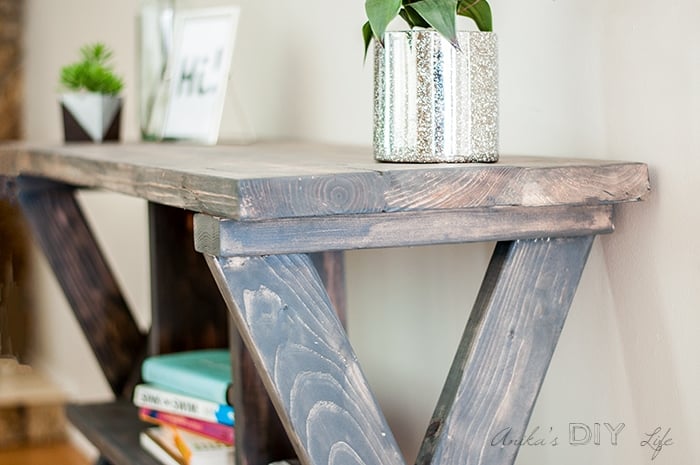
Note – the 40-degree angle is towards the middle of the X.
Step 4 – Build Top and Shelves
- Build the two shelves and top using wood glue and 2½” pocket screws.

As you are building these, be sure to use face clamps to make sure the boards are flat and aligned.
Optional – If you have a table saw, you can trim off the rounded edges of the boards to get a plain flat top and shelves.
Step 5 – Assemble the Console Table
- Lay the top face down and attach the two X-legs using 2½” wood screws drilled into the leg supports. Make sure the pocket holes on the legs are facing inside.
- Add the dividers and middle shelf using pocket hole screws
- Add the next set of dividers and bottom shelf.
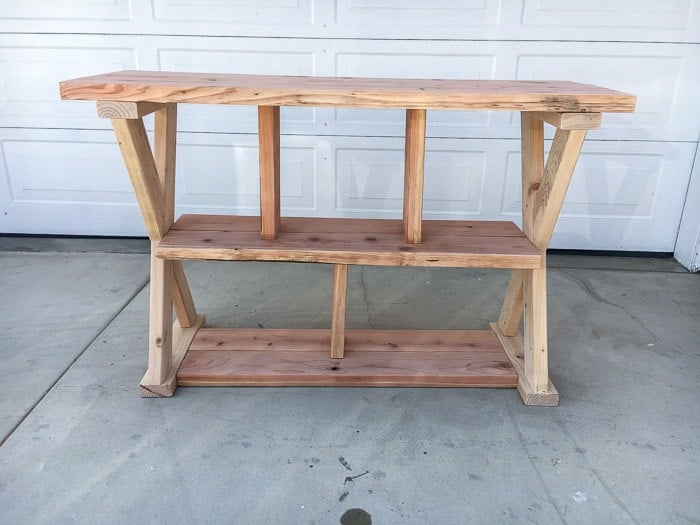
Step 6 – Finish the Table
Stain or paint the table in the color of your choice. I used this stain color.
That is it!
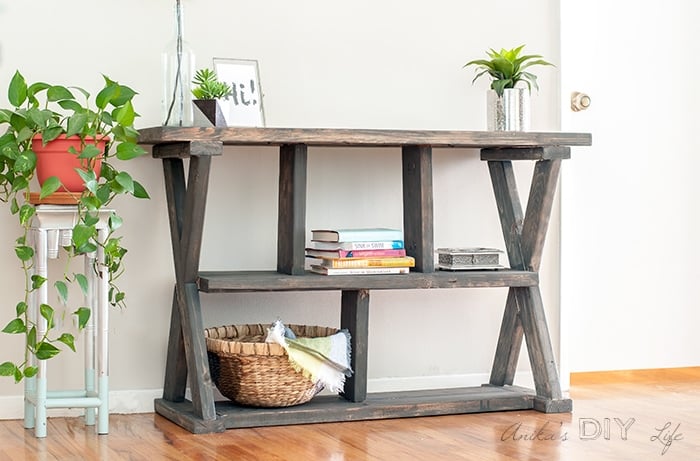
A simple and easy build. It took me about 2 hours to build and that included taking it apart at step 5 and rebuilding because I attached one of the legs the wrong way – with the pocket holes facing outward.
I love the chunkiness of it and it makes a great simple entryway table. The bottom shelf can be used for shoes if needed and the middle shelf can hold baskets for other things like wallets etc.
OR it can also be used a behind the sofa table with baskets to hold throws etc.
Plans for the DIY Entryway Table
Get the printable plans in your email here.
Or, take a look at the plans at buildsomething.com.
More Console Table Ideas
See 19 other DIY console tables with plans here.
Anika's goal is to inspire and empower beginners with woodworking, DIY, home improvement, and home decor ideas.
She wants everyone to unlock their creative potential and experience the feeling that comes with making something. Nothing feels better better than seeing something and saying "I can make that!"


Your console table turned out just lovely! I never would have guessed you had a boo boo during assembly. Wood putty is awesome stuff, #amiright and I’m glad you were able to recover!
I have one wonky table leg on one of my 2×4 side tables. I want to tear it apart and start over, but no way. It’s for the patio so I just added a little spacer on one leg.
I can’t wait to see what you create next 🙂
Thanks Toni!! Wood Putty makes up all perfect 🙂
You should just build a new table 😉
Nice design Anika. Loved your work. Thanks for sharing with us.
I can’t figure out what the individual length of each piece of wood is supposed to be. I chose this as my final project for my ag class this year. I can’t finish the project if I can’t even start it… help?
Hi Sam,
DId you check out the plans on Buildsomething.com? There is a full cut list there. Let me know if you can’t find it. You can email me [email protected]