Boho Kitchen Remodel – The Plan
When we moved into this house over 3 years ago, I liked everything about it but the kitchen. The finishes were just not me. As we settled in, we realized there were many limitations in this kitchen.
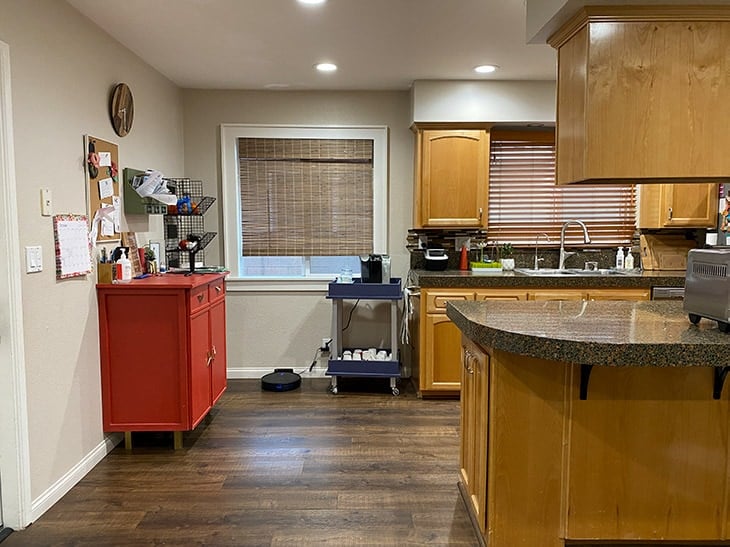
The Before
Apart from the fact that the finishes – the brown cabinets, the black-brown counter with orange sparkle weren’t exactly our style, there were some functional problems.
- There wasn’t enough counter space and cabinet storage.
- All the appliances were crowded in one corner, making it very hard for more than one person to do stuff in there at a time.
- With the window in the “eat-in” area, it drastically reduced the options for extra storage.
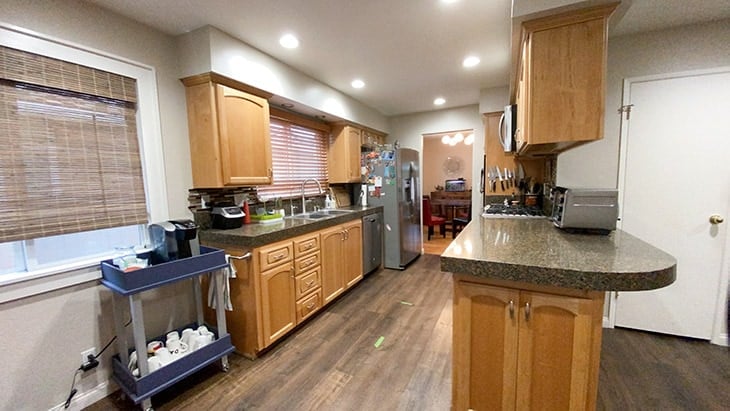
Overall, we felt like it there was so much wasted floor space and not enough functional storage and surface.
The Trigger
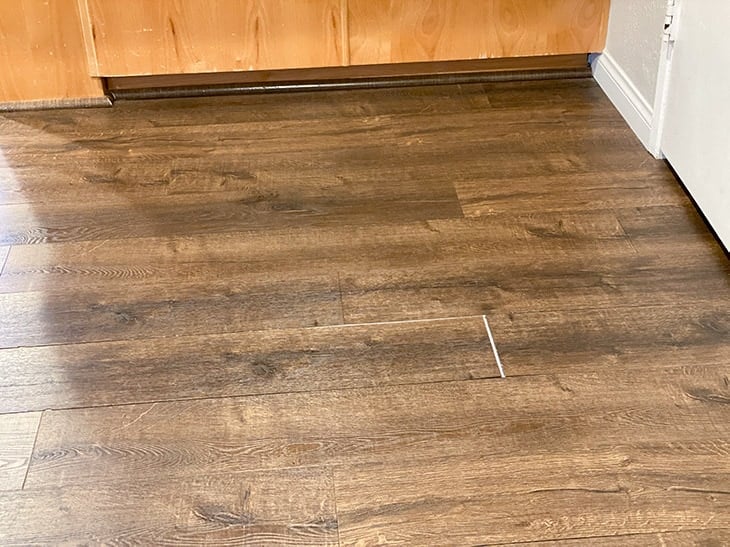
We got new flooring installed in this area before we moved in. There was tile in the kitchen and carpet in the adjoining “family room” area. We have converted said family room into an entryway/study room because it was too small to even fit a regular size sofa.
Over the last 6-7 months, the floor started to come apart – becoming a trip hazard causing us to trigger changing the floor. If we were going to be changing the flooring, we thought it would be a good time to change up the layout of the kitchen too!
A kitchen remodel is always a huge deal – not just in terms of $$$ but also in terms of a very important room in the house being out of commission. Here is how we approached it –
- We decided on not moving the utilities which drastically cut down the cost.
- We decided to co-ordinate everything ourselves as opposed to a contractor which meant very little downtime. Of course, we were going to be doing a lot of it ourselves anyway!
- A combination of DIY, buy and hiring out for the best value for money.
The Plan –
If you have noticed in the past, I am always drawn to deep rich colors which I think is the Indian in me. Our living room has a lot of deep red hues. The main bedroom has a lot of deep blue-green.
With the kitchen, all I could think of was deep green and wood tones – earthy and warm.

So, here is what we plan to do –
- Close up the large window (it looks into the neighbor’s bedroom anyway!)
- Move the refrigerator to the window location and add cabinets to extend the countertop
- Remove all upper cabinets and soffits
- Add L-shaped cabinets on the wall next to the current window.
- Add a mixture of upper cabinets and shelves.
- Change the countertop
- New backsplash
- New cabinet doors to make everything uniform
- Paint cabinets
DIY or Hire –
The entire makeover is going to be a mix of DIY, buy and hire-out.
Here is what we will be hiring out –
- We will be hiring out the closing of the window because we would rather have a professional handle exterior walls. While they are it, they will also remove the upper cabinets and soffits.
- The countertops will obviously be hired out too.
We will be buying a few of the cabinets since they come in standard sizes but a few other custom-sized cabinets will need to be built and I will be tackling those. Everything else – the trim, the backsplash, the flooring and all the little details in between will be DIY!
I am thrilled to be teaming up with Home Depot for a large part of this project – the flooring and the cabinets/backsplash. For the cabinet doors, I will be working with Nieu Cabinet Doors because this girl could but isn’t going to be building 35 doors and drawer fronts.
To Do List –
If you have been following me on Instagram, you know that we kicked off this project at the end of November and have a few things underway already.

The window and upper cabinets and soffits are gone. In fact we already have the new counters and cabinets but you will have to wait to see them.
It’s time to roll up my sleeves and hit the gas on this remodel and get it done by early February!
The list as it stands today –
Close windowRemove upper cabinets and soffitsInstall new base cabinetsNew countertopsInstall new flooring– Here is the full LifeProof Vinyl Plank Flooring InstallBuild upper cabinet –I built it but then decided against installing it for a more open feel.Install upper cabinetsTrim cabinets– See how I added trim to the islandFrame window– I followed my original tutorial to trim out the window.- Add shelves
Install backsplash– We installed the backsplash and I am obsessed with it!Paint cabinets– All done! See how I painted them- Switch out the doors/drawers – See how I attached and switched out all the doors
- Install hardware – done along with the doors.
Follow along on Instagram to see all the progress and updates in real-time! As always, I will keep it simple and easy for beginners!
Anika's goal is to inspire and empower beginners with woodworking, DIY, home improvement, and home decor ideas.
She wants everyone to unlock their creative potential and experience the feeling that comes with making something. Nothing feels better better than seeing something and saying "I can make that!"


İ see your projet .Very nice.
I excited to see the finished project! I hope you donated the countertops and any cabinets you aren’t keeping to Habitat Restore or some other charity. I hate seeing things that can be reused sent to the landfill!