DIY Desk Organizer – How to Make a Homework Station
Keep all the papers and desk supplies organized with this DIY Desk Organizer. Make a homework station with wood using this step by step tutorial. This is the perfect back to school project!
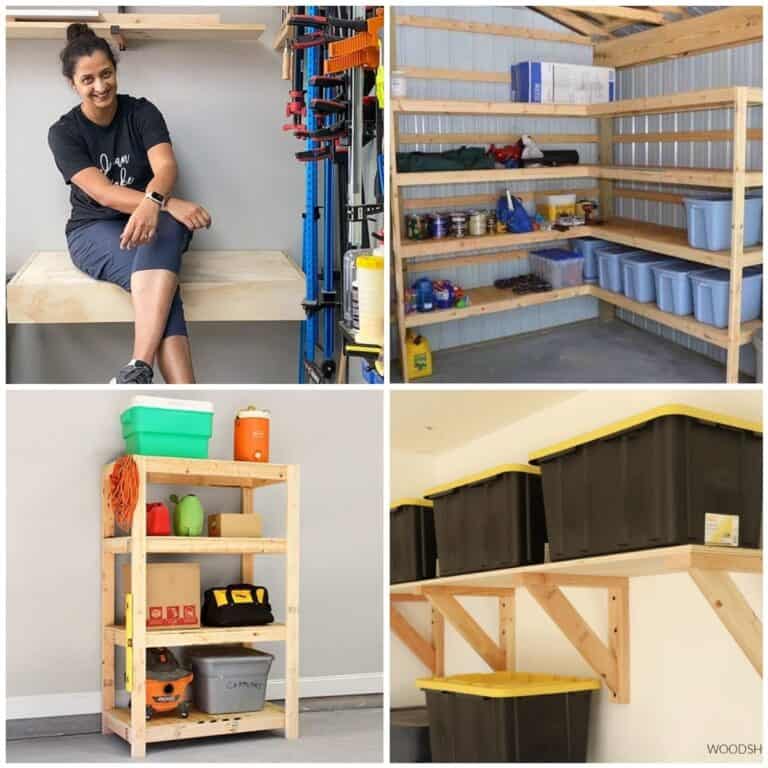
You will also love the DIY Kids table and chairs, the freestanding kids’ art center and the DIY magnetic chalkboard.
This DIY desk organizer has been such a great addition to any study space!
I didn’t realize until we were a few weeks into Kindergarten that we desperately needed someplace to hold homework and other in-progress paperwork.
It would be all over the kitchen table, counter, in the bedrooms…
Also, apart from the fact that I don’t like cluttered tabletops, my daughter’s desk has built-in storage. That is only useful if the table top is clear or everything comes tumbling down!
What Should a Kids’ DIY Desk Organizer Have –
- A place to hold paperwork
- A place to hold all the supplies – pencils, crayons, etc.
- Should be compact
- Should be fun!
RELATED: DIY Mason Jar Desk Organizer
My first stop for inspiration was Ana White as usual and she had a solution that was close to what I needed.
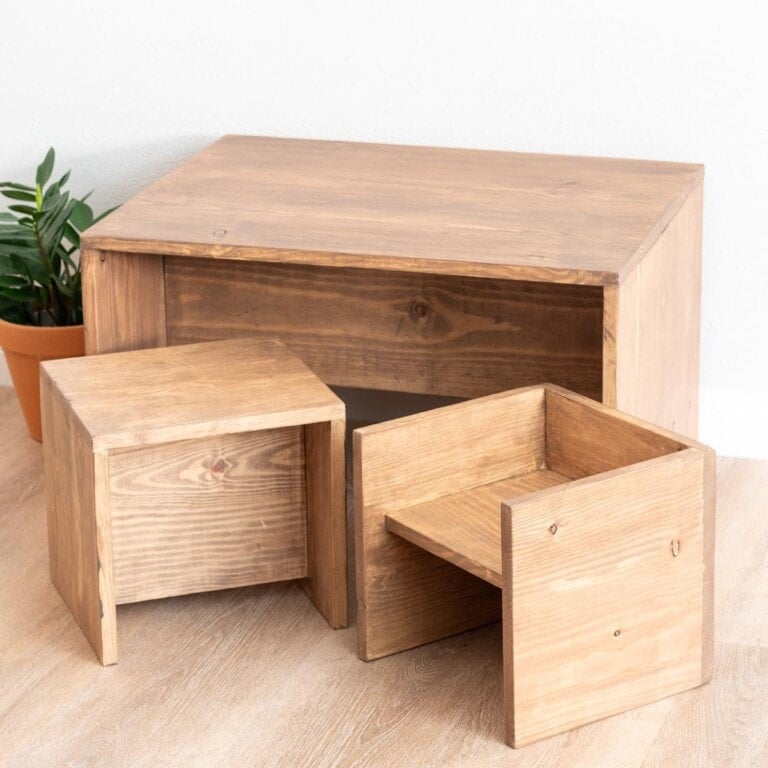
Based on her idea, I came up with my version using an old shelf and scrap wood.
The old shelf I have had been laying around for about 7 years…it belonged to an Ikea organizer (seen used as a bedside table). As you see, it had been stained and tested for paint at some point in its garage life. Yes!! I save everything! 😉
***This post contains affiliate or referral links. It is a way for this site to earn advertising fees by advertising or linking to certain products and/or services. Please read my full disclosure here ***
Materials Need for DIY Homework Station –
- Old Shelf for the back. If you don’t have that, you can use more scraps – 1″ x 8″ or 1″ x 10″ or even some 3/4″ plywood cut to the size you need for the back.
- 2 “x 3” scrap boards – sides, the tops cut at 45 degrees.
- 1″ x 3″ scrap boards- for the bottom
- 1″ x 4″ scrap boards- front rail.
- 1 1/4″ spax wood screws
- Wood glue
- Large cup hooks or a key hook like I used.
- Drill/driver
- wood putty
- Paint – color of your choice
How to Make DIY Desk Organizer –
I am not giving you the measurements, because I just used the shelf and marked out what I needed. You can customize the size to your space.
Step 1: If you don’t have a shelf like me, you can with a 3/4″ plywood for the backing with a size depending on your space or you could even build the shelf like mine.
Step 2: Attach the 2″ x 3″ boards on the sides using glue and countersunk screws from the back.
Step 3: Attach the bottom of the shelf with wood glue and countersunk screws from the back and from the two sides.
Step 4: Attach the front rail – if you have a brad nailer, you could use that… or use countersunk screws and then fill it in with wood putty.
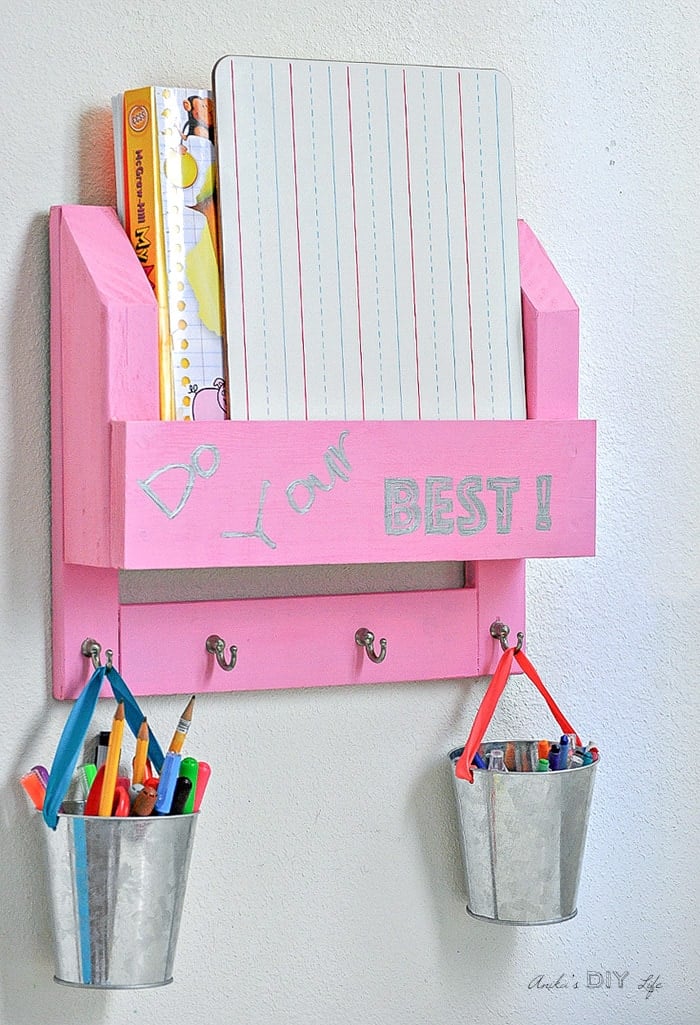
Step 4: Paint it! I used a hot pink from my endless collection of oops paints.
Step 5: Add a quote or a monogram if you like.
I had picked “Do something amazing”. I even printed it out and was ready to trace it. But Mi was home sick from school that day and she totally vetoed it! She wanted me to write ” Do your best”. It’s like their motto in class. I tried to explain the difference in the depth of meaning of the two quotes… but well, as you see she won because – its what Ms. Lee says!

I used the same technique of transferring the letters to wood like I did in the puzzle love sign and used silver craft paint to paint in the letters.
Step 6: Add the hooks. Home Depot was out of the single prong hooks or large cup hooks I had in mind. I ended up buying a key hook set and took apart the hooks. I am actually happy it ended up this way because I like the look of these hooks better and they turned out cheaper than the other ones I was looking for.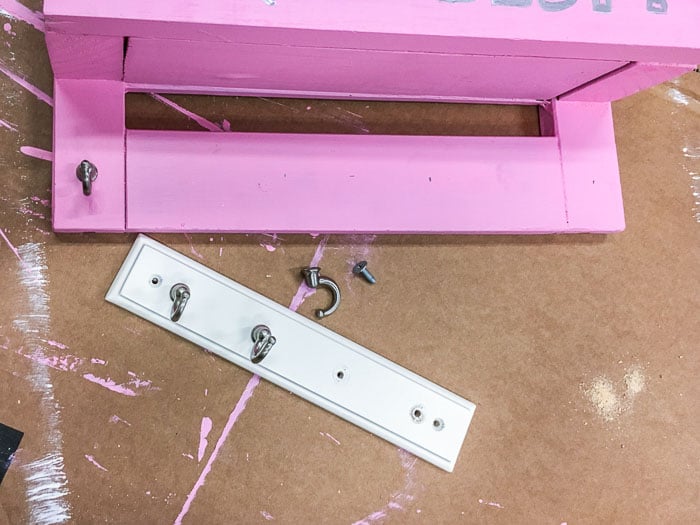
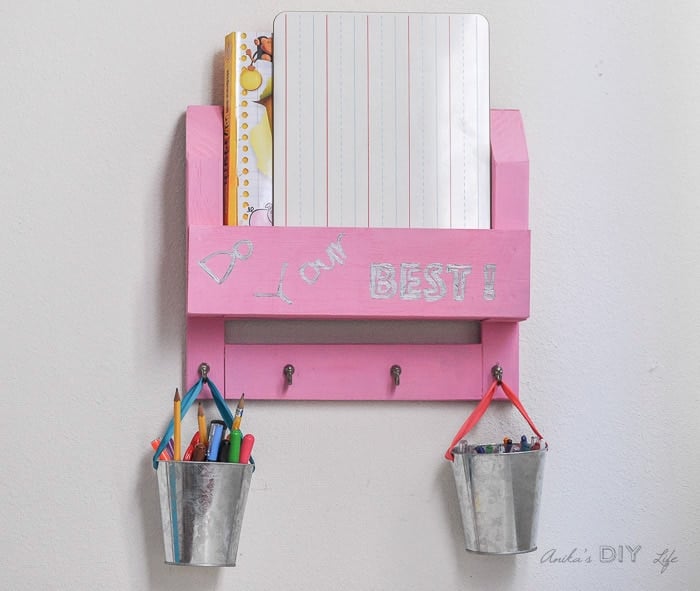
Here is the final desk organizer mounted on the wall above Mi’s desk.
The buckets are from Target’s dollar spot and I just noticed as I was editing these pictures that they are not the same size!
The upper pocket will hold her workbooks and other paperwork.
All her markers, pencils and crayons can be off the desk, in the buckets, and within reach. Also, if she needs them someplace else, she can just take the bucket with her.
The top of her desk is finally clear and now she can use the space underneath too!
How do you organize all the school paperwork?


Anika's goal is to inspire and empower beginners with woodworking, DIY, home improvement, and home decor ideas.
She wants everyone to unlock their creative potential and experience the feeling that comes with making something. Nothing feels better better than seeing something and saying "I can make that!"


What a cute idea! Thank you for sharing on Merry Monday! Hope to see ya next week!
Kim
It looks very easy, thanks.
Great idea for homework time! I will be featuring this tomorrow at Merry Monday!