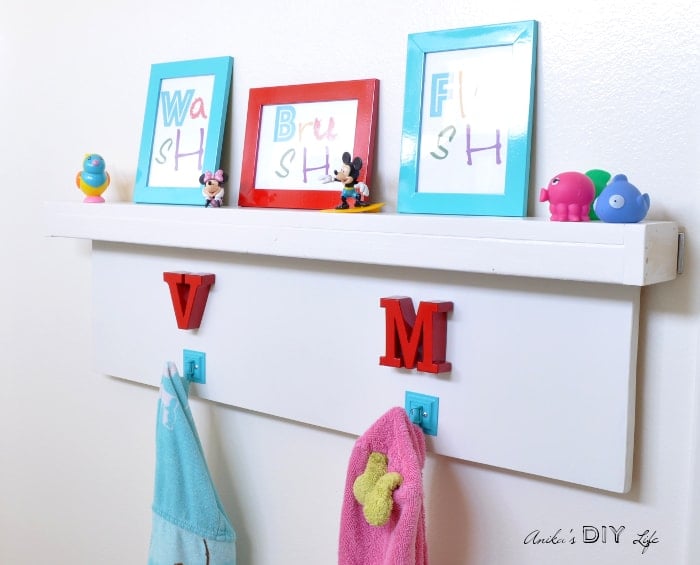
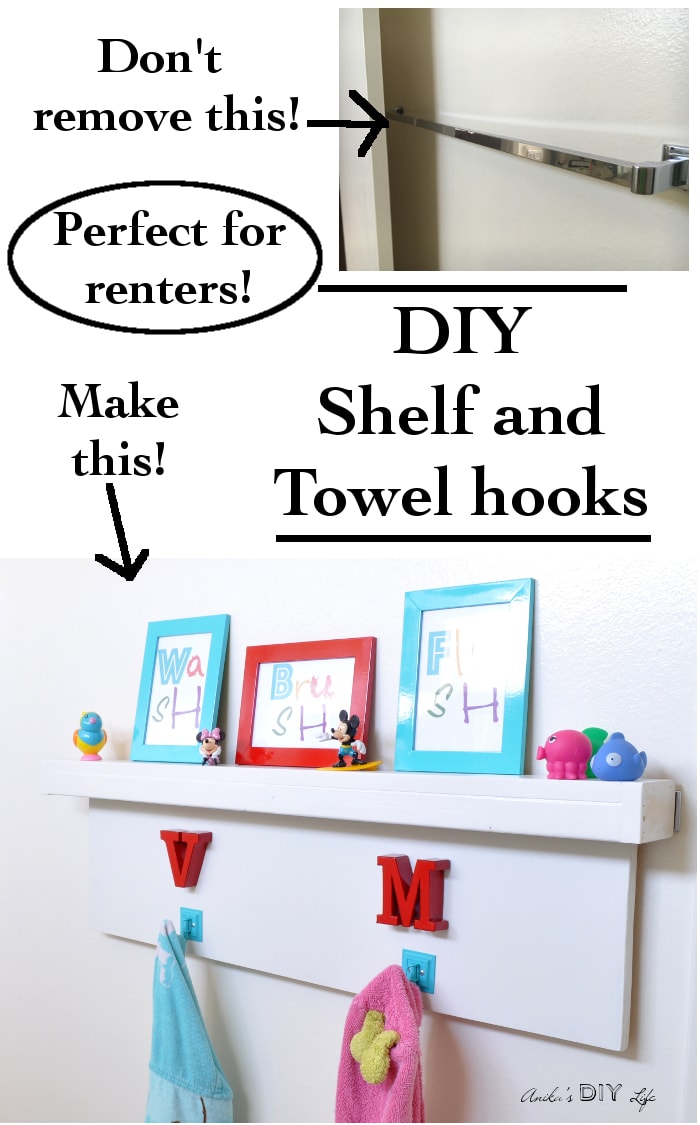
DIY Floating Shelf With Hooks – Rental Bathroom Makeover
The week before last I showed you the Kids bathroom makeover complete with the DIY towel hooks and shelf. It is a rental space and I needed to do everything without adding anything permanent or making too many holes in the walls. I even updated the countertops to beautiful “marble” without replacing them!
As part of the makeover, I really wanted to give the kids hooks to hold their towels.
Originally, there was a towel bar that was already distorted from the door bumping into it. Now, it has a shelf to display art and a few hooks to hang their towels! And guess what, it is totally temporary and the old towel bar is still underneath!
Towel bars are definitely not good for kids because they will never put the towel properly. The towels would always fall and stay on the floor (ugggh!! ) Given my constraint of not being able to make any holes, I had to figure out how to add hooks for them to use. I could take off the towel bar, but it would leave behind holes in the walls and also various layers of paint. Here is the before – the distorted dysfunctional towel bar.
While playing around with the towel bar, I realized it was really quite sturdy and I thought – why not use it as an anchor for a floating shelf. All floating shelves always have an anchor that goes on the wall and the shelf slides over it. That is exactly what I did! I made the shelf to wrap around the towel bar and use it for support.
Also, be sure to check out the inspiration behind the bathroom.
RELATED: Check out the Floating Ladder Shelf I built for our guest bathroom.
***This post contains affiliate or referral links. It is a way for this site to earn advertising fees by advertising or linking to certain products and/or services. Please read my full disclosure here ***
Materials Needed to Make the DIY Towel Hooks and Shelf –
- 1″ x 4″ board – cut to the length of the towel rack
- 1″ x 2″ board – cut to the length of the towel rack
- 1″x 4″ board – 2 pieces cut at 2 1/4″
- 3/4″ plywood – length equal to 2″ less than towel rack (to allow space for anchors) and width as needed.
- Hooks
- Letters to personalize (optional)
- Miter Saw or miter box
- Circular saw
- Orbital sander
- Drill/driver
- Kreg Jig
- 1 1/4″ pocket hole screws
- 1 1/4″ finish nails and nailer or hammer
- Wood glue
- E6000 glue
How to make a towel hook with shelf –
Important – Do a dry fit over your towel bar at every step before attaching to make sure everything works
Step 1 – Start with the 1″ x 2″ board. Make pocket holes on the long side and attach to the 1″ x 4″ board using wood glue and pocket hole screws.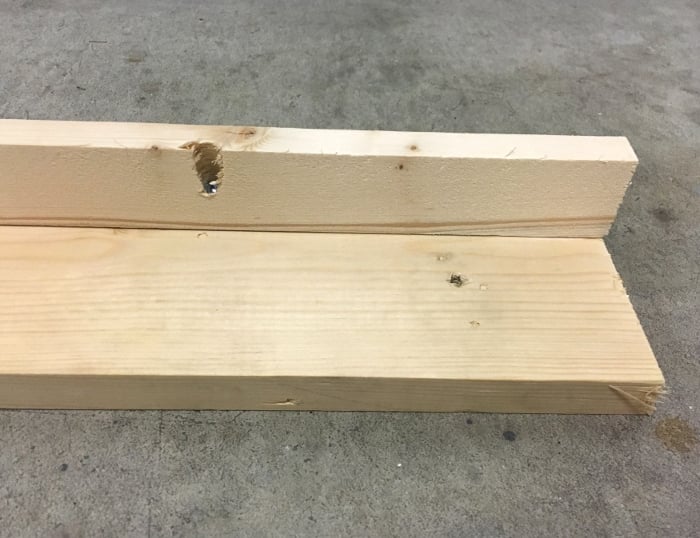
Step 2 – Attach the 2 pieces of 1″ x 4″ board on the two ends using wood glue and finish nails.
Step 3 – Attach the 3/4″ plywood to the back side of the 1″ x 4″ board.
Step 4 – Place the shelf over the towel bar and attach the letters and hooks. I spray painted them in the colors to coordinate with the rest of the bathroom. I used E6000 to attach the letters.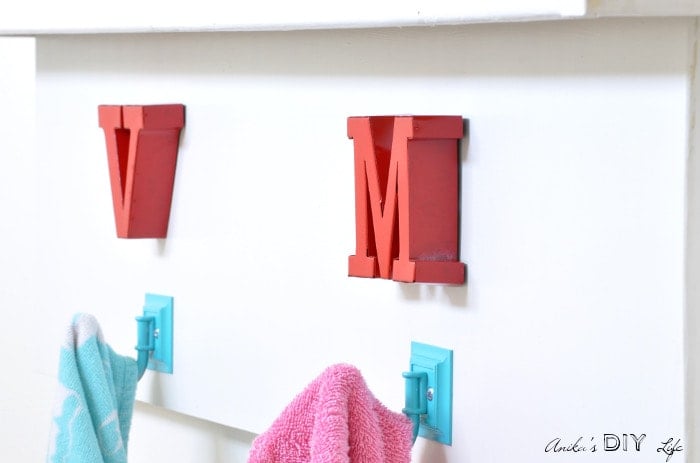
That’s it! Did I mention how sturdy this thing is!! The shelf is a pretty snug fit over the towel bar and does not move at all! I love the fact that the towels are so accessible to the kids and they have been doing a great job hanging up their towels! Well… at least for now 🙂
Be sure to check out the rest of the tutorials in this bathroom – how I added a simple wooden valence to hide the ugly pink blinds or how I added some fun to the boring light fixture – and my favorite part of the bathroom – how I updated the old yellow countertops to look like beautiful marble without replacing them! Remember – everything is temporary and removable!

Are you a beginning woodworker? Find out everything about the basic tools you need!
I love easy and quick woodworking projects that help with organizing. Like this Homework station and organizer I built for my daughter from scraps –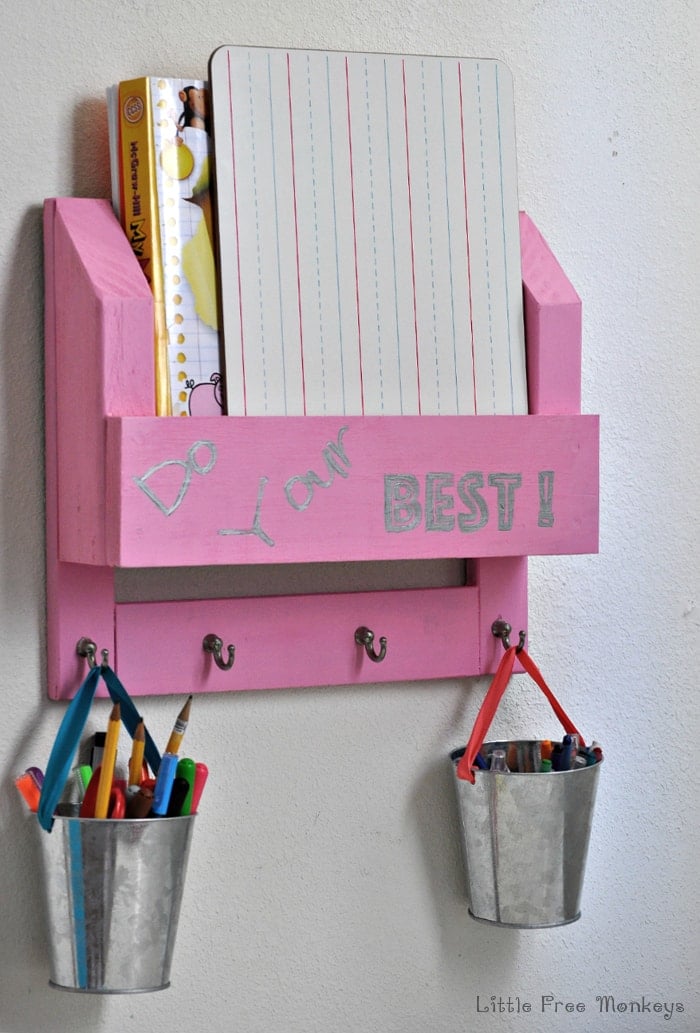
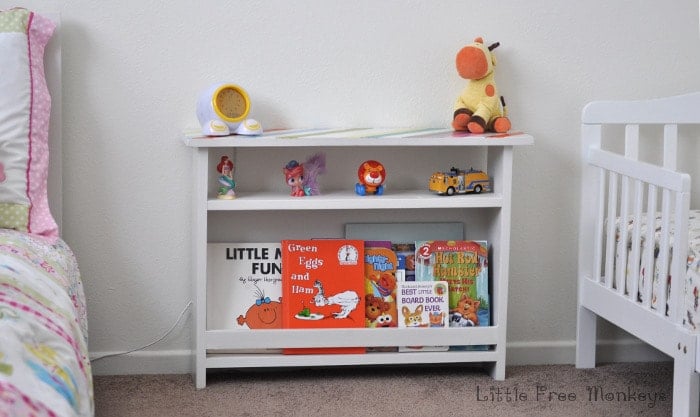
Or this fun Kids bedside table with book storage.
The bathroom is now so well compatible with the fun and colorful Kids room I have been working on – like this Ikea Tarva dresser makeover – 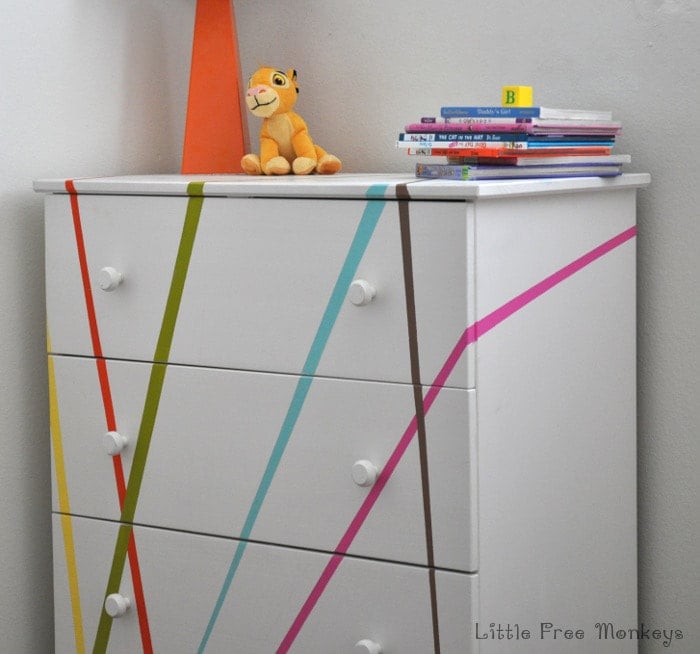
You might also enjoy these articles on Kids Bathroom ideas –
Anika's goal is to inspire and empower beginners with woodworking, DIY, home improvement, and home decor ideas.
She wants everyone to unlock their creative potential and experience the feeling that comes with making something. Nothing feels better better than seeing something and saying "I can make that!"


That’s a really smart solution! Love it.
Thank you Brittany! 🙂