DIY Wooden Step Stool Using Scrap Wood
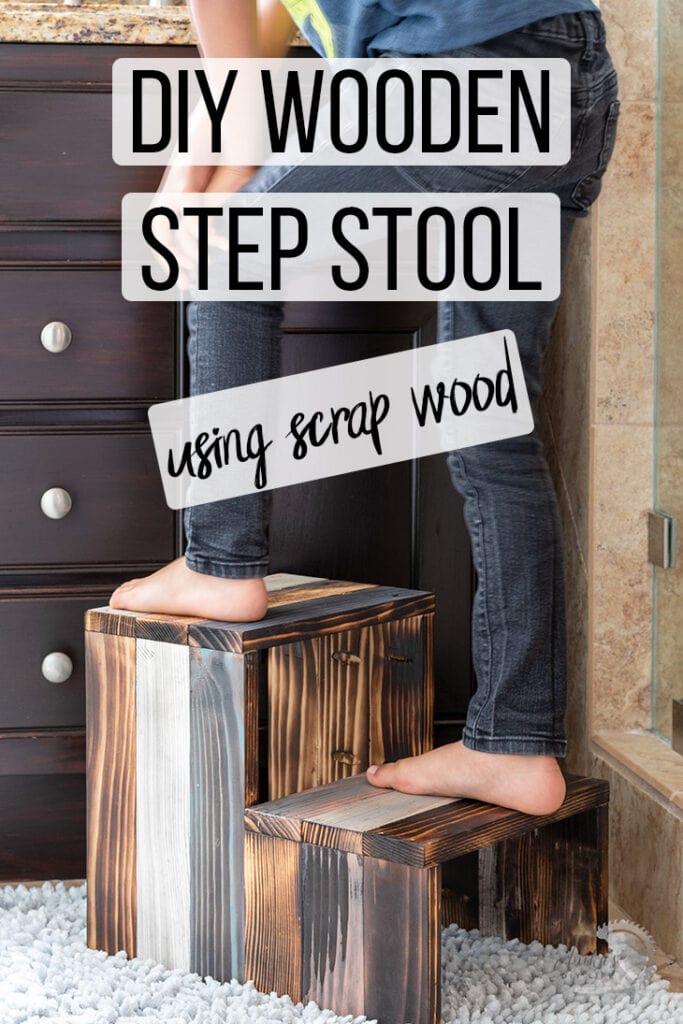
A simple DIY wooden step stool made using scrap wood! Learn how to build a step stool with detailed plans, step-by-step tutorial, and video!

You know that one simple project that you have wanted to for a long time but never really got around to it?
This is one of those.
We have been using 2-3 plastic Ikea stools around the house for the kids – sometimes us when we need a little lift. Over the years we have been through at least 5 of those stools and I wanted something a little sturdier.
When my friends at Bernzomatic challenged me to make something using material I had at hand, aka scrap wood, I knew it was time to finally tackle the step stool!
DIY Wooden Step Stool
*** This post is sponsored by Bernzomatic. All opinions are my own. Thank you for supporting the brands that make it possible to bring you new projects. ***
Materials Needed for the Step Stool
- Lumber per the plans
- Miter Saw
- Sanding sponge
- Tack cloth
- BZ4500HS Heat Shrink Torch
- Bernzomatic Propane Cylinder
- Kreg Jig
- 1-1/4″ pocket hole screws
- Wood glue
- Spray polyacrylic
- Paint (optional)
Wooden Step Stool Plans
You can get the printable plans for the step stool by clicking the link below.
How to Make the Step Stool
Here is a quick video showing how to build the step stool. Written step by step instructions follow below.
Click here to subscribe to my YouTube Channel for more great videos!
Step by Step Instructions
Step 1 – Cut Lumber
- Cut lumber per the plans.

The stool is made up of 1×3 boards and I went through my scrap wood pile and collected all the 1x3s I could find. There were a few painted boards in the mix as well. I was a couple of boards short so I found a few 1×8 and 1×10 and ripped them up on my table saw.
Step 2 – Torch the Wood
- Lay the wood pieces on a concrete surface outdoors.
- Using the Bernzomatic BZ4500HS Heat Shrink Torch and the Bernzomatic propane tank, torch each piece of wood.

I torched the various pieces to varying degrees – I went over a few one time, some a couple of times, and some 4-5 times till they were nice and dark.
Tip – Keep the Torch moving slowly across the surface for a uniform look.
I liked the gray that came through the painted white boards so I decided to add a little more color.
- I painted a few boards of each size in pink and teal, wiped off excess paint, and torched them.

Step 3 – Make Pocket Holes and Join
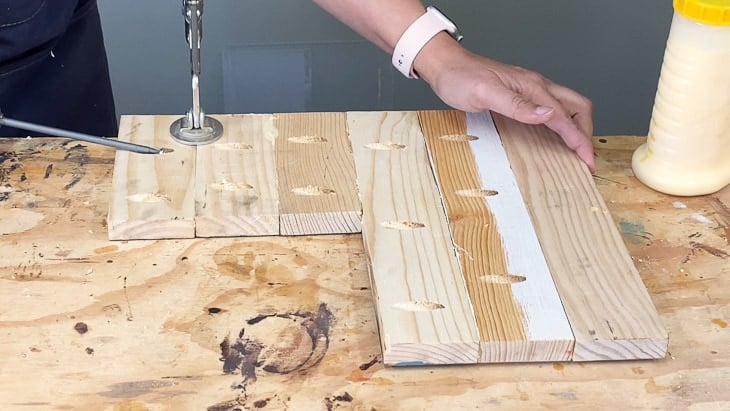
- Make pocket holes with the Kreg jig in the 3/4″ setting. There are holes going from one board to the next with no holes in the last board.
- Join using wood glue and pocket hole screws to build the two sides of the step stool.

Step 4 – Attach Treads
The treads are attached using wood glue and 1-1/4″ finish nails.

I attached them to one side and then placed them over the other side and attached them.

Step 5 – Finishing Touches
- Torch the underside of the step stool using the BZ4500HS torch. This also created the torched effect inside the pocket holes and helped blend them in.

- Torch any edges that I had missed earlier – like the front edge.

- Using a fine sanding sponge, remove all the soot and wipe down to remove any residue.
- Apply a few coats of spray poly to keep the ash from falling or rubbing onto feet. Allow to dry and cure for a couple of days

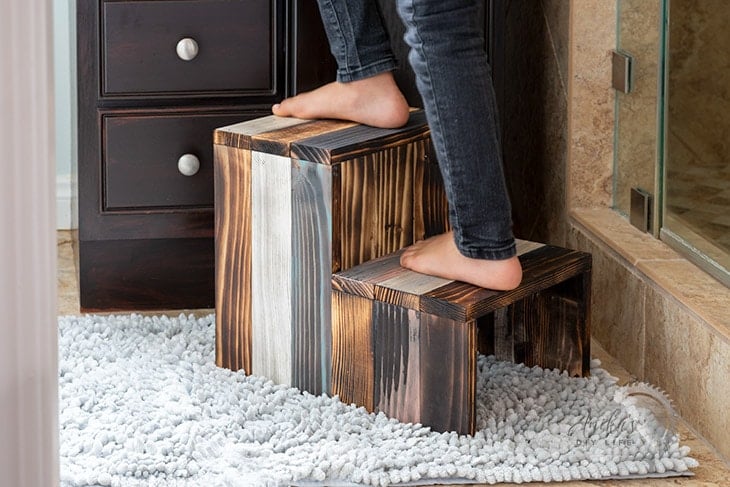
Bring it into your home and put it to work! The top tread is the perfect height for my 6-year old but the lower tread works just fine for my 9-year old.

I have also used it a couple of times to reach a few top shelves.
I like it so much more than the old plastic stools!
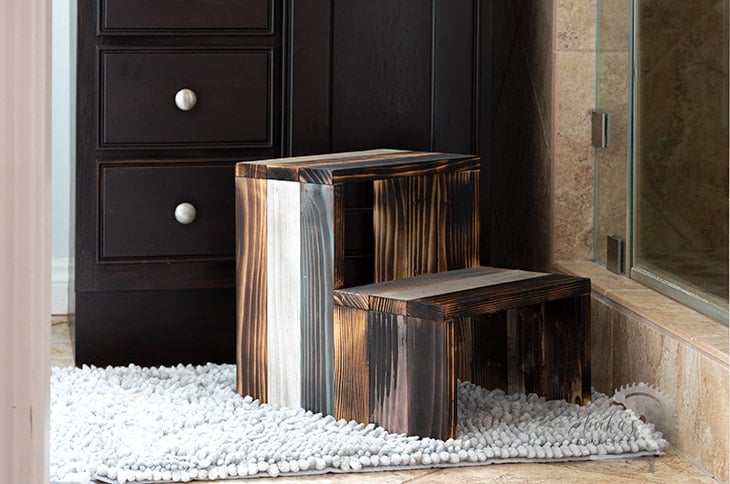
The torched wood gradients and the mix of color give this step stool a unique look.

Now, I need to make at least one more. But that would need a trip to a store so it will have to wait. Or maybe I can come up with another design using what I have!
Once again, remember you can get the printable plans for this step stool by clicking the link below.
DOWNLOAD PRINTABLE STEP STOOL PLANS
If you are curious about Bernzomatic torches and all the things it can do, you are in for a treat! Check out more at Bernzomatic.com
More Project Ideas Using a Blowtorch –
- DIY House number sign
- DIY Wood burned mandala tray
- DIY wood and acrylic mail organizer
- DIY upholstered metal bench
Anika's goal is to inspire and empower beginners with woodworking, DIY, home improvement, and home decor ideas.
She wants everyone to unlock their creative potential and experience the feeling that comes with making something. Nothing feels better better than seeing something and saying "I can make that!"


This is such a cute idea! I’m short so I find it hard to reach things on the top shelves in my kitchen. This step stool would be perfect!