DIY Wood Slat Kitchen Island Trim
Add character to the plain back of a kitchen island using wood slat trim with this step-by-step tutorial & video. It’s a quick 2-day project!

I am so excited to share this with you today! It is the first glimpse you are getting into one of the colors I picked for the kitchen cabinets. You can see the complete mood board and before pictures here.
I have a peninsula that I am going to pretend is an island because that is as close to an island as I will get in this house. The back of the island was really plain and needed some love. Before painting, I decided to give it loads of character by adding the trim.

I decided to go with a modern slatted look which I think will blend in well with the shaker doors I have planned for the cabinets. This is a quick project and took me a total of 2 days including all the primer and paint!
What Wood to Use for Kitchen Island Trim
The choice is really endless. If you are using decorative molding, you can get pre-primed or raw boards and paint them to make your own. If using common boards, I prefer using the pre-primed boards as well. Although they are more expensive, they save me a lot of time in not needing primer and sanding.
How Much Trim Do You Need for a Slatted Kitchen Island
To calculate the number of boards you need for the slat trim, measure the width of the island.
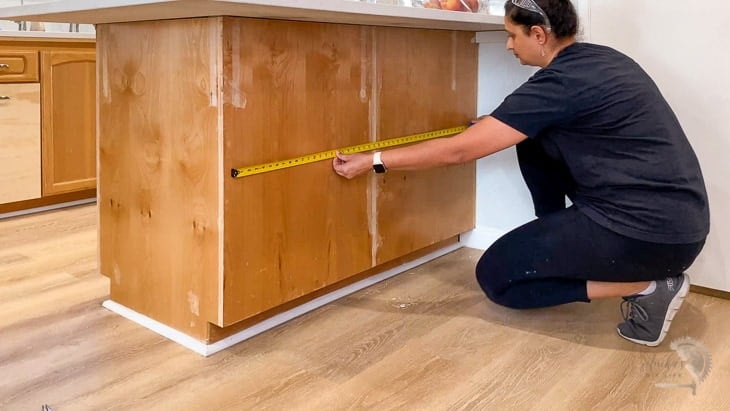
I used 1×2 boards with ¾” spacing for my trim so we will use that as an example.
- Subtract 1½ from the width.
- Each slat will take up 1½” + ¾” = 2 ¼”
- Divide the result of step 1 by 2 ¼ to get the total number of slats. This may not be a whole number which is ok. We can compensate for it in the spacings so the difference is not visible to the eye.
- Use the number of slats and length of the slats to figure out t he total number of boards you will need.
***This post contains referral or affiliate links. It is a way for this site to earn advertising fees by advertising or linking to certain products and/or services. Please read my full disclosure here ***
Material Needed
- Lumber for the trim
- Miter Saw
- Wood Putty
- Brad nailer
- 1 ¼” brad nails
- Sanding sponge
- Caulk
- Paintbrush
- Paint roller
- Primer. I used the Shellac based primer and sealing primer
- Paint in the color of your choice. I am used Rock Garden by Sherwin Williams
Video of the Kitchen Island Makeover
As always, I have a full detailed video showing you how I gave my kitchen island an upgrade. The full step-by-step tutorial follows below.
How to Trim the Island With Wood Slats
Step 1 – Prep
- Remove any old trim and nails.
- Fill in any holes and seams with putty and sand smooth.
My “island” is made up of laminate veneer and removing the trim exposed a bunch of seams that I had to fill in.

Step 2 – Prep for Paint
This step will depend on the material of your cabinets/island. Since I have laminate veneer, I followed the same steps I followed when painting my laminate bookshelf and lightly sanded the entire surface with a sanding sponge.
Step 3 – Measure and Cut Boards
- Measure and calculate the number of boards needed for the slats. See above for how to calculate.
- Cut up the boards using a miter saw, circular saw, or a miter box.

If using a miter saw, you can set up a stop for the cuts to ensure that they are all perfectly equal.
To wrap around the corner of the island – I ripped up one of the boards to ¾” on the table saw to keep consistent width. Watch more details in the video.
Step 4 – Attach Trim
- Attach the trim to the island using 1 ¼” brad nails.
It is best to start at the corner so you can control where the seams are. I wanted a nice wrap around the corner and the seam on the short side of the island.
I ripped the first board for the short side to 3/4″ on my table saw to get the 1.5″ thick slat.
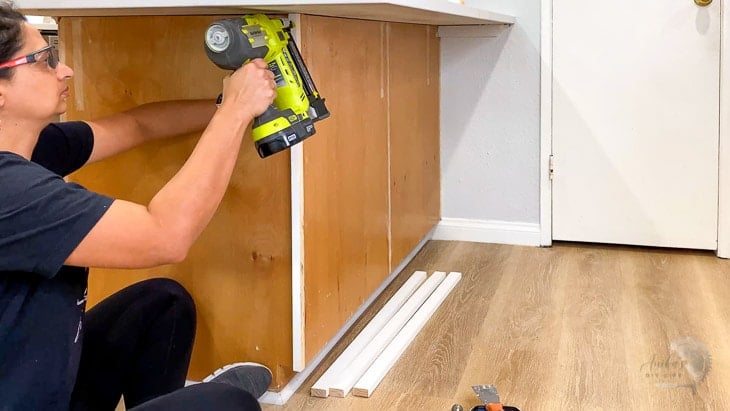
Then I aligned and attached the next board making the seam as tight as possible.
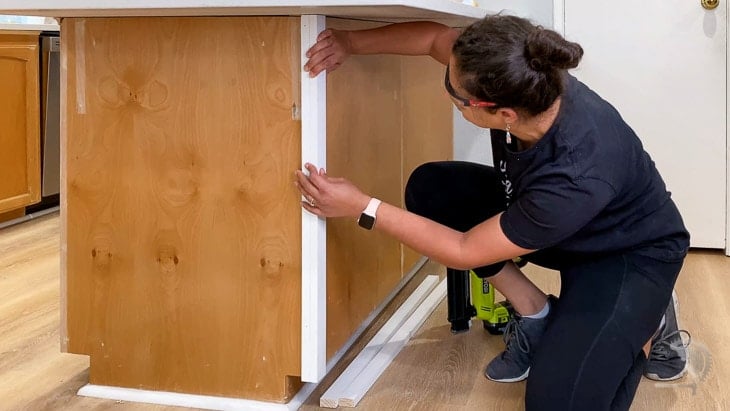
Once the two boards were in place, I continued from there. I used a 3/4″ scrap board as a spacer to make sure all the boards were equal in distance.
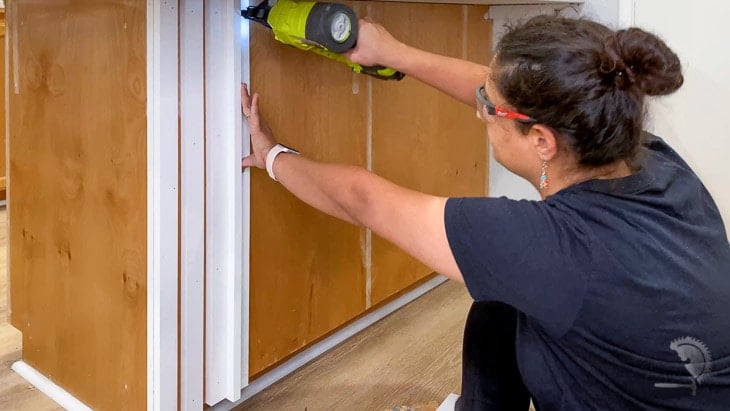
You can use adhesive if you like but I opted not to. The brad nails are strong enough to hold the boards in place.
- Once the trim is attached, fill in any nail holes with wood putty and any seams with caulk.
Step 5 – Paint
- Tape the space around the cabinets and get ready for paint.
- Prime the cabinet and boards based on the material of the cabinets.
- Apply primer to the wood filler in the nail holes as well.

Important – Applying primer on the wood putty helps reduce flashing with time because paint absorbs differently on primed boards vs. areas with just wood putty.
- Paint in the color of your choice. You can use a paint brush and roller like me or you can tape off everything and use a paint sprayer.
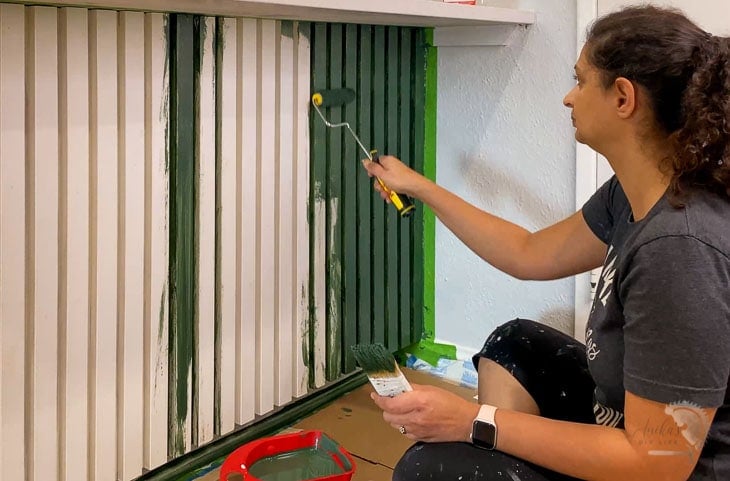
My recommendation is to use a paint sprayer if possible. It will make it a lot easier and faster to get a uniform coverage on the slats. Once I was halfway through, I wish I had used a paint sprayer.
And that’s it!
This is the first glimpse at what the cabinets will look like all painted and I absolutely love it!
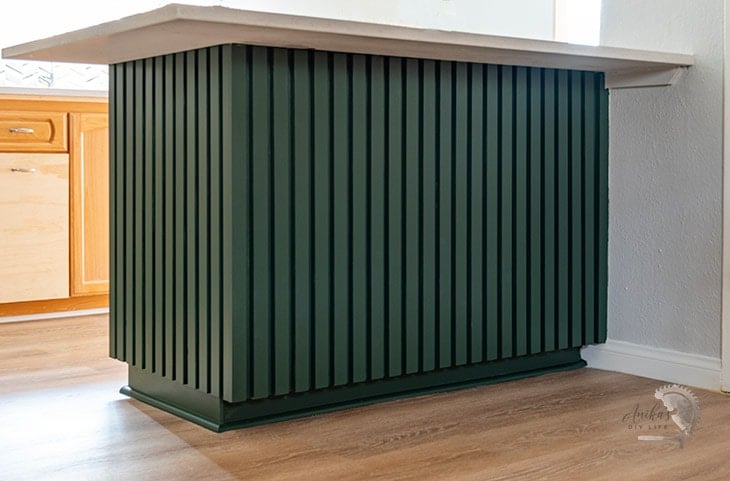
The modern kitchen island trim will fit in perfectly with what I have planned for the rest of the kitchen.
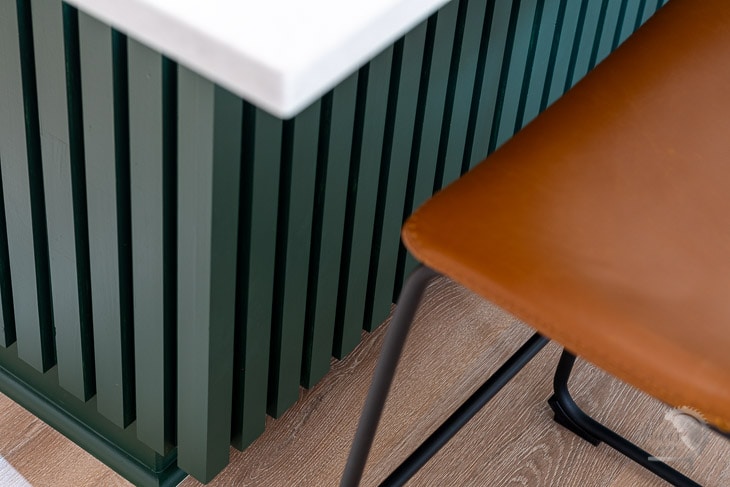
Next up is painting the rest of the cabinets, new doors, new hardware, AND lots of finishing touches.
We are so close to the finish line! I can’t wait to get it all done!
Check out all the projects in my kitchen remodel here.
More Easy Weekend Home Improvement Projects –
- DIY Board and Batten Wall
- How to update stair risers quickly
- How to stain concrete
- Update cabinets using gel stain
- Faux marble countertop update
Anika's goal is to inspire and empower beginners with woodworking, DIY, home improvement, and home decor ideas.
She wants everyone to unlock their creative potential and experience the feeling that comes with making something. Nothing feels better better than seeing something and saying "I can make that!"





Son neat! Now I have to find a place to do this in my house!
Hi, Anika; I love the color you picked out! Hope it goes well for you from here on – big job!
Anika! I love what you did! This is doable by anyone and would be a total upgrade to builder cabinets! Great job!