DIY Lazy Susan Using Patterned Plywood
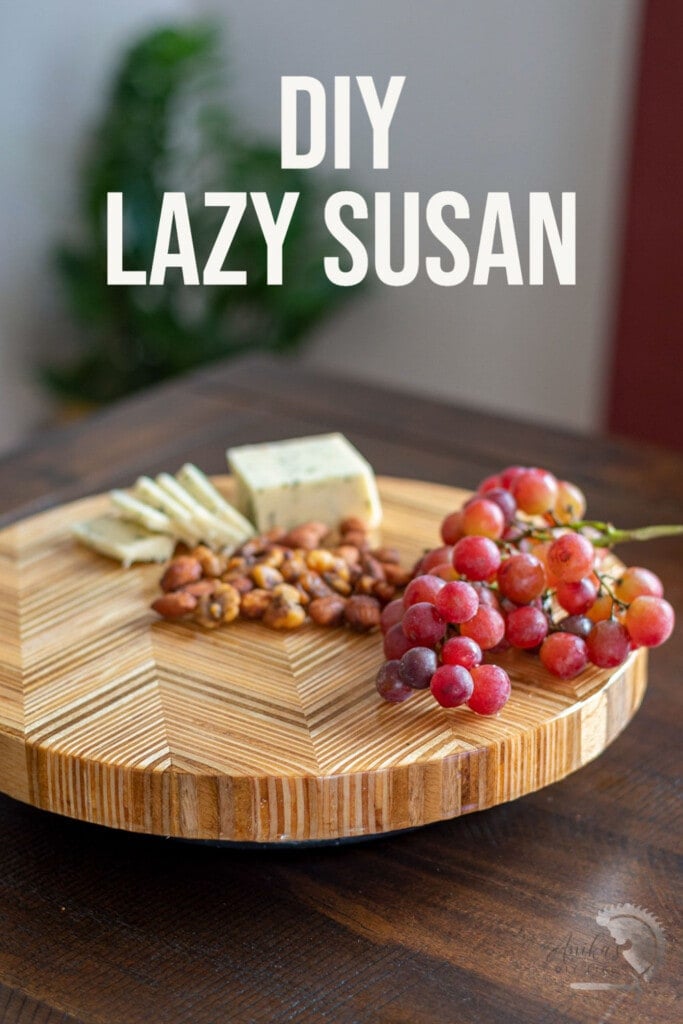
Learn how to make a DIY Lazy Susan with this step-by-step tutorial and video. We use patterned plywood to take it up a notch!
In the last few months, I have made a lot of plywood projects like the floating shelves, the record player Cabinet, the little dresser, etc.
What happens with every project? My scrap wood pile keeps growing.
It was finally time to put them to work.
I have wanted to try my hand at patterned plywood for quite a while and the truth is that I had no idea going into the project, what the end product would be. All I knew was that I was going to make some gorgeous patterned plywood.
I first discovered it when my friend Sam from DIY Huntress made this incredible key holder. Then I discovered Alm Fab and all the possibilities!
I am so happy, I ended up with a lazy susan. I think it makes the perfect centerpiece.
I have got the full tutorial below.
***This post contains referral or affiliate links. It is a way for this site to earn advertising fees by advertising or linking to certain products and/or services. Please read my full disclosure here ***
Material Needed
- Plywood sheet or scrap cut-offs
- Bar clamps
- Wood glue
- Lazy susan hardware
- Screws
- 1/4″ straight cut router bit
- Epoxy (I used this one)
Tools Needed
- Table saw
- Table saw cross-cut sled. You can even make a homemade version.
- Router
- Planer
- Sander
How to Make
I did use scrap cut-offs of plywood for this project and most of them were about 3′ long. There was a variety of plywood in my pile and you can see the character in the pattern.
You could definitely use one sheet of plywood and that would give you a lot more uniform variation on color across the pattern
Step 1 – Cut the strips
- Start by ripping the plywood into strips on the table saw.
The width of the strips is going to end up being the thickness of the patterned plywood panels you build.
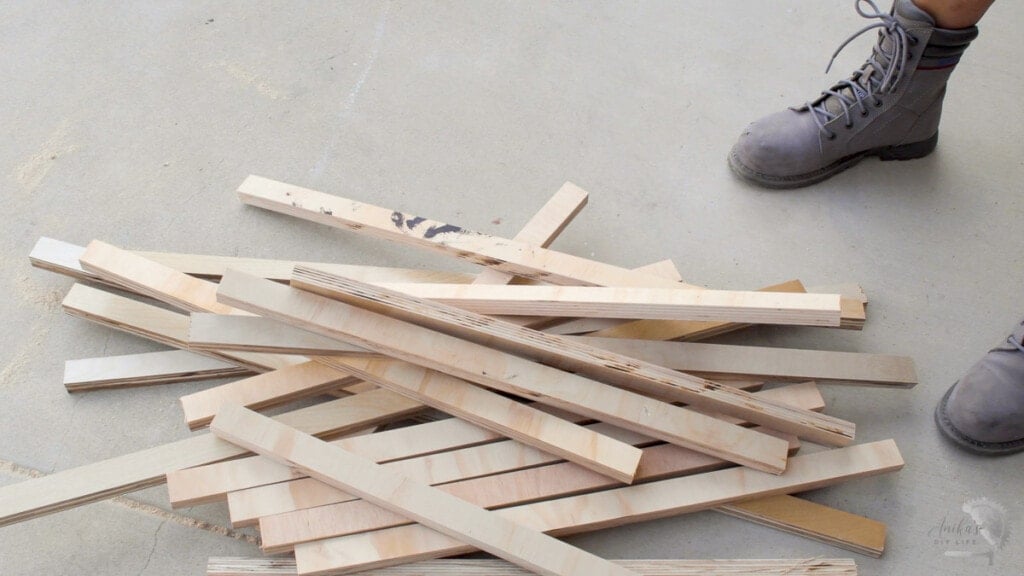
I wanted the thickness to be 1″ so I started with a 1 1/8″ setting to allow for material loss during planing and sanding.
Step 2 – Glue it up
- Set up the bar clamps for the glue up.
I also put down a plastic sheet underneath to protect my workbench from the glue drips.
- Apply glue generously across the plywood strips. I like using a silicone brush to spread it all out.
- Once ready, you can turn to the side and clamp together.
- As you clamp, use a speed square to offset the strips at the 45-degree angle. This will allow for minimum wastage since we will be cutting the panel at 45-degrees later.
- Clamp well and allow to dry overnight.

Once the glue-up is dry, run it through the planer to get the entire panel even. If you don’t have a planar, a sander is perfectly ok to use. It might take a lot more patience though.
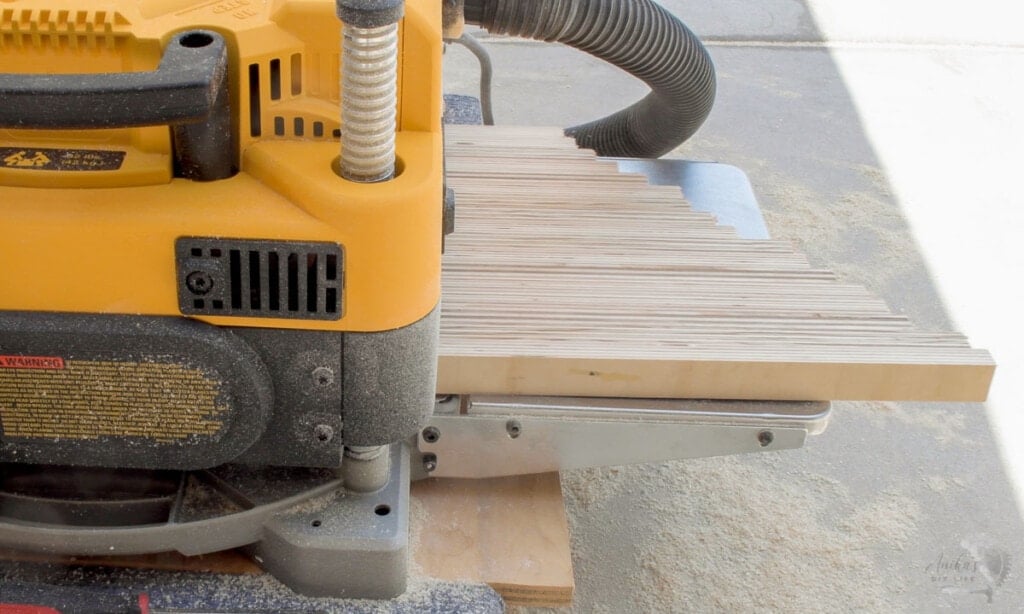
Step 3 – Cut into angled strips
- Set up a crosscut sled on the table saw at 45-degrees.
- Cut off the zigzag end of the panel.

This gives you a straight edge to start with.
- Set the table saw fence to the desired thickness for the width of the strips. I set it to 2″
- Cut up the panel into strips.

IMPORTANT – As you make the cuts, keep them all in the same order. This is important to get the correct continuous chevron pattern.
Step 4 – Arrange the chevron and glue up
- Once all the cuts are laid out in the original order they were cut, creating a chevron pattern is simply flipping every other strip.
- Apply glue and clamp to create the next pattern.
- Allow to dry overnight.

Again, run it through the planar or sand to get rid of any unevenness.
That gives you the gorgeous chevron panel!
Step 5 – Cut a circle
There are many ways to cut a circle out of wood. You can use a jigsaw or a router and a circle jig.
I set up a quick homemade circle jig for my router and cut out the circle.

I used a 1/4″ straight cut bit and went 1/8″ deep at the time, vacuuming after every pass. I have a detailed explanation of how I made the jig and the cut in the video.
I also cut out a smaller circle from a 1×10 board to use as the bottom of the lazy susan.
Step 6 – Apply finish
- Apply the desired finish to the patterened lazy susan.
I applied an oil-based finish to bring out the colors of the patterned plywood.
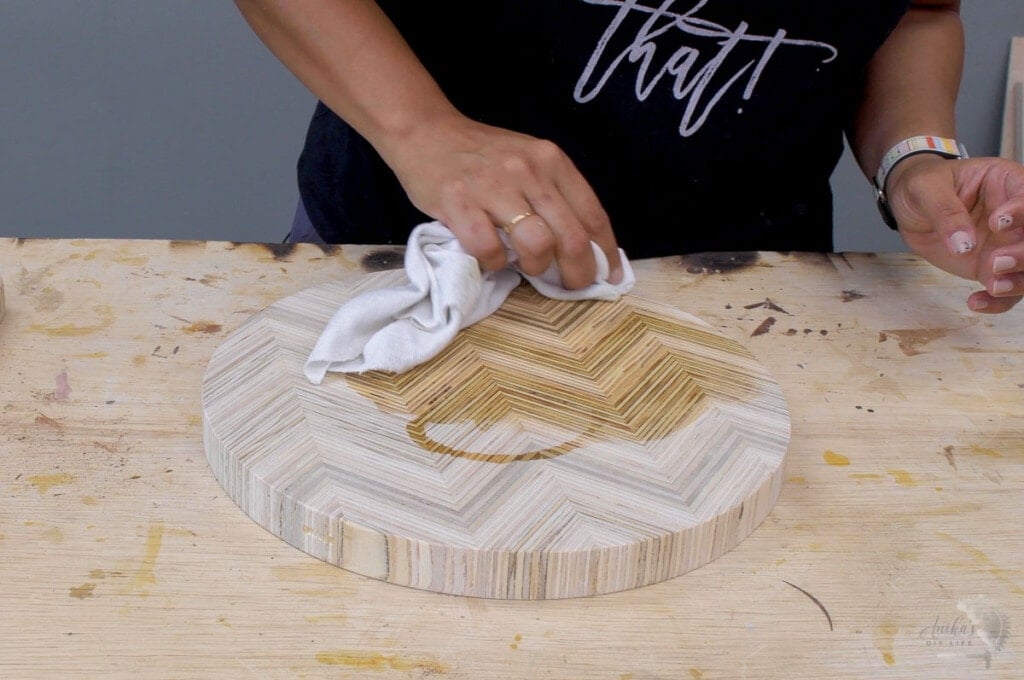
I wanted it to be food contact safe and seal the plywood so I went ahead and poured a layer of clear epoxy.
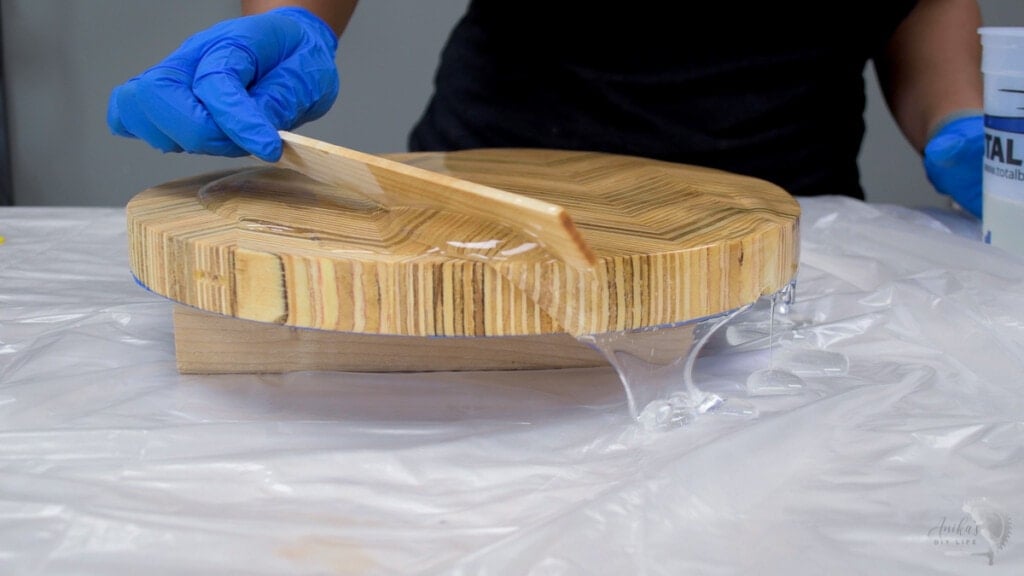
This epoxy is food contact safe once completely cured. It is like any plastic- you can’t cut on it or it will scratch but is ok to keep and serve food.
- I painted the bottom circle with black paint.
Step 7 – Attach lazy susan hardware
I went ahead and attached the lazy susan hardware to the back of the patterned plywood circle and then to the black bottom circle.
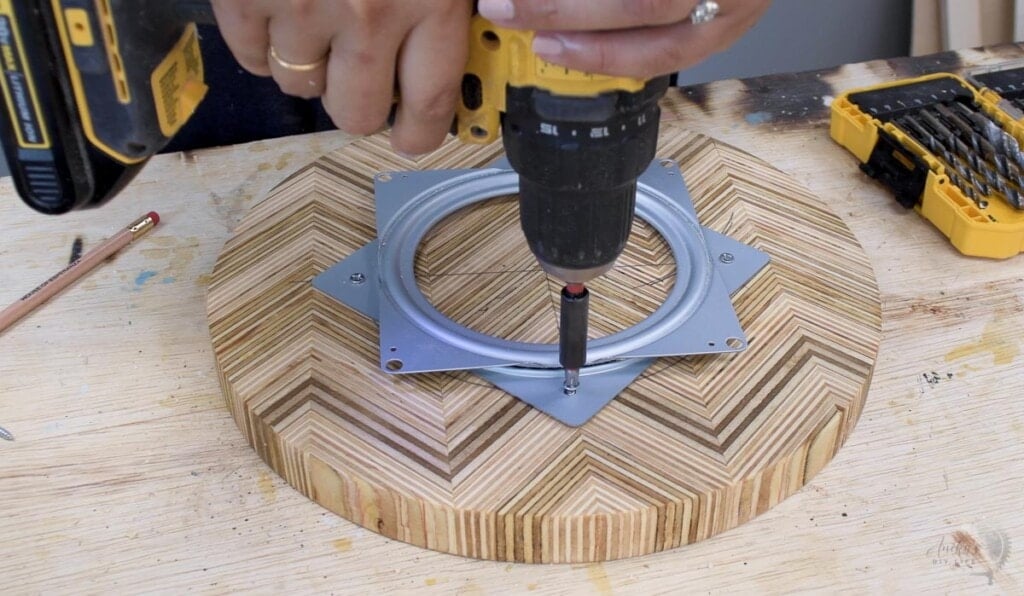
Check out all the details on how to install Lazy Susan Hardware or take a look at the video for the details.
I added a few bumpers on top of the screws to cover them
And DONE!
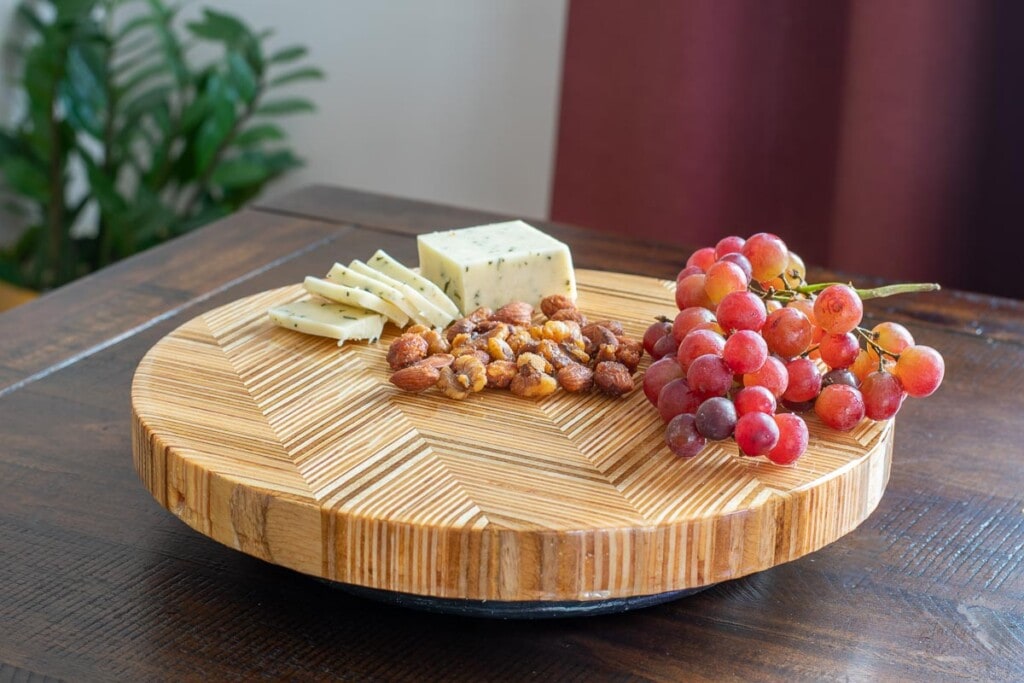
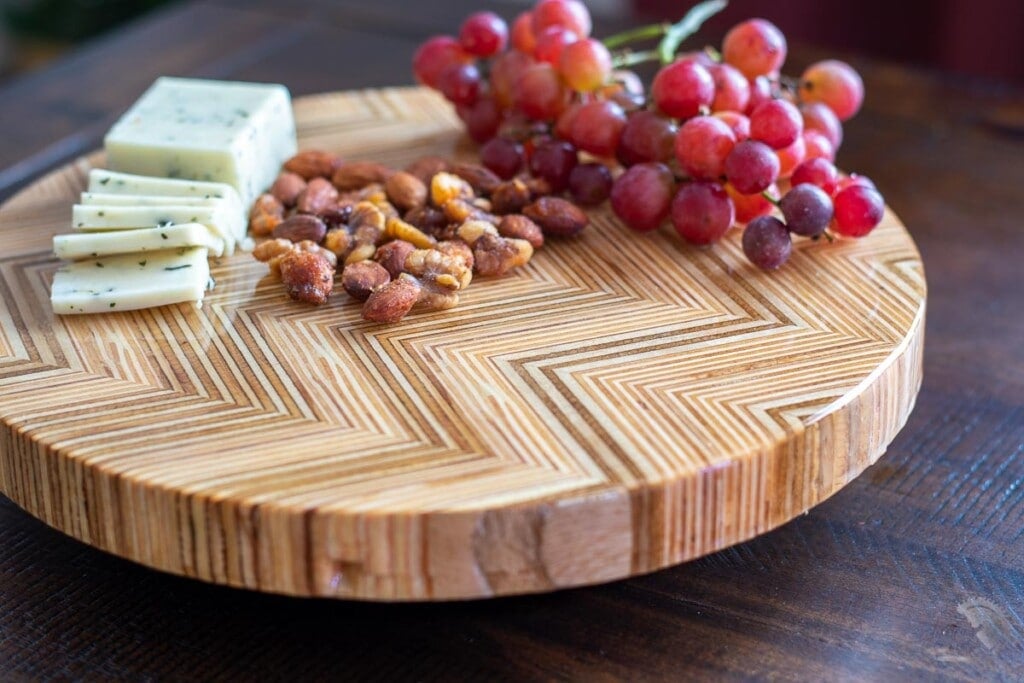
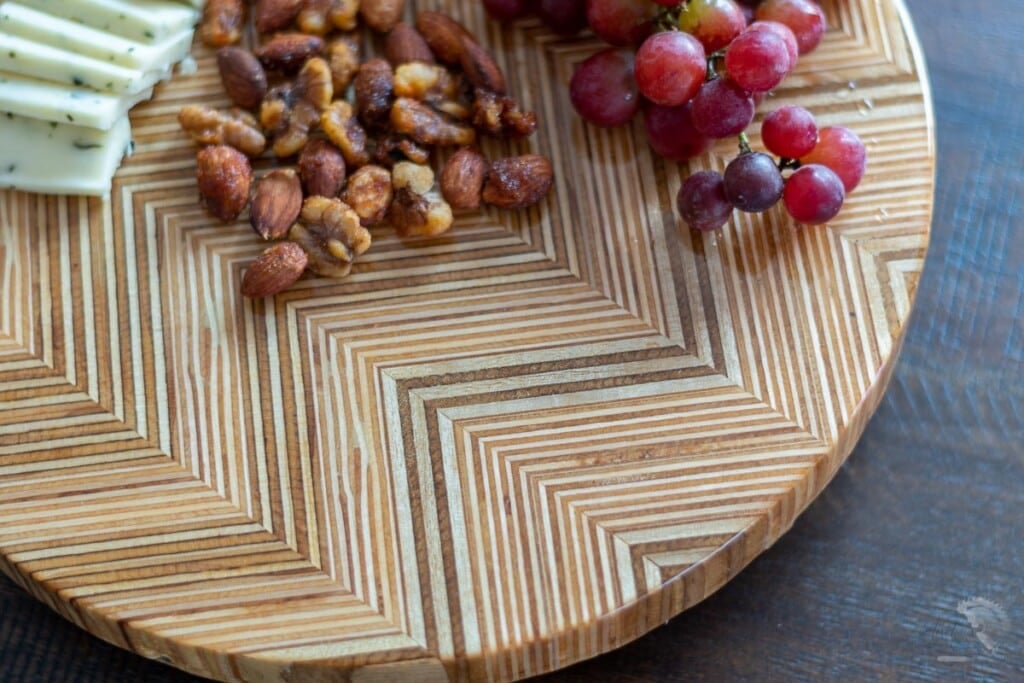
Here is a close look at the patterned plywood.
I have to admit I am obsessed with how it turned out. I definitely am looking at the pile of scrap plywood in the corner of my garage because you bet, I have lots more!
What should I make next?
You Might Also Like
Anika's goal is to inspire and empower beginners with woodworking, DIY, home improvement, and home decor ideas.
She wants everyone to unlock their creative potential and experience the feeling that comes with making something. Nothing feels better better than seeing something and saying "I can make that!"


