How to Cut Plywood: A Beginner’s Guide to Making Accurate Cuts
Learn how to cut plywood accurately, safely, and quickly using a circular saw. Perfect for beginners and DIYers – no table saw needed!

Plywood is one of the most versatile and widely used materials in woodworking and DIY projects. It comes in various thicknesses and wood types, making it a go-to material for projects. Whether you are building furniture, cabinets, shelves, or home decor, plywood offers a strong, stable, and cost-effective solution.
However, cutting plywood accurately is very important for professional-looking results and making sure that your project comes together seamlessly.
***This post contains referral or affiliate links. It is a way for this site to earn advertising fees by advertising or linking to certain products and/or services. Please read my full disclosure here ***
Video Tutorial
As always, I have a detailed video showing you how to cut plywood easily using a circular saw. A full written tutorial follows below.

Getting Plywood Cut at the Store
One of the biggest challenges when working with plywood is its size—most sheets are 4 feet by 8 feet, which makes them heavy (some weighing 60-80 Lbs!), awkward to handle, and difficult to transport. If you don’t have a truck or a large workspace, just figuring out how to move and cut a full sheet can feel overwhelming.
You might think about buying smaller pre-cut sheets (like a 4′ x 4′), but they come at a premium price. For example, at my local store, a full 4′ x 8′ sheet of birch plywood costs about $85, while a 4′ x 4′ sheet costs $54. That means buying two half-sheets would cost $23 more than a full sheet! So, while smaller pieces are easier to manage, they’re not the most budget-friendly option.

Thankfully, most big-box home improvement stores and lumber stores offer free or low-cost cutting services to make it easier to handle and transport.
Why I Always Get My Plywood Cut at the Store
I don’t have a truck—just an SUV that can fit a maximum of 6 feet in length. So, I always have the store cut my plywood into more manageable pieces, both for easier transport and to make it easier for me to handle.
But it is important to remember that –
- Store cuts are NOT precise. Their saws are built for rough cuts, not accuracy.
- Store saws can cause a lot of tear-out, especially on plywood with a nice veneer finish.
That’s why I always have them cut my pieces slightly larger than I actually need, so I can trim them down accurately at home with a good-quality saw blade.

For example, if I need a 33” piece for my project, I’ll ask them to cut it at 35” instead. That way, I end up with a 35” piece and a 61” piece, both of which are easier to transport. Once I get home, I can trim them down to the exact size I need.
A Few Things to Keep In Mind
- Plan your cuts ahead of time. Have a rough cutting list before heading to the store.
- Check the store’s cutting policy. Some places limit the number of cuts per sheet or charge after a certain number.
- Consider bringing a battery-powered circular saw. If the store’s panel saw is out of order (which has happened to me!), you can cut the plywood yourself in the parking lot.
Getting your plywood cut at the store won’t replace precise cuts at home, but it can make your life MUCH easier—especially when you’re just starting out!
Note: I highly recommend a panel carrier to make it easy to carry the plywood pieces. I can even carry full sheets of plywood with it!

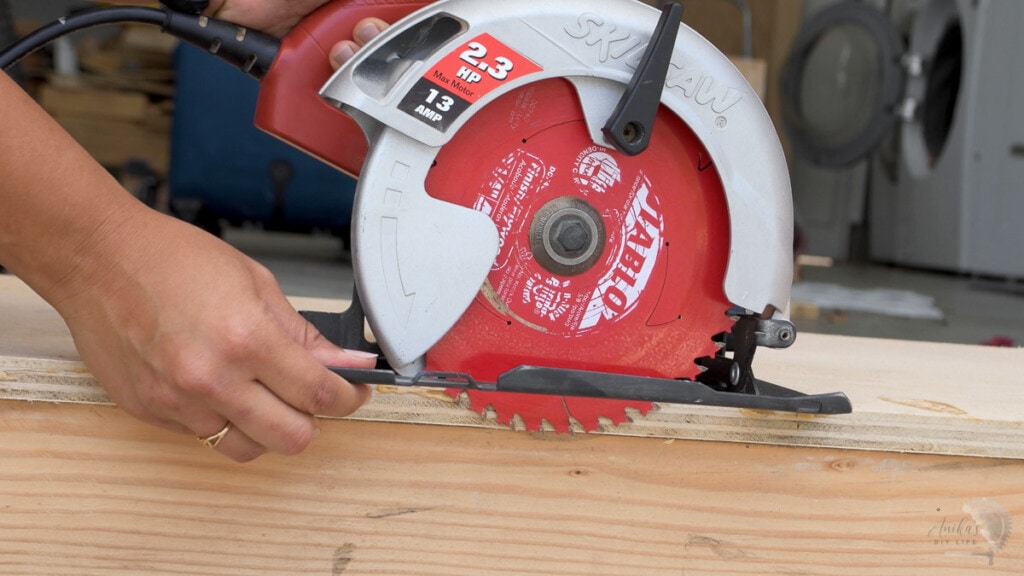
Cutting Plywood With a Circular Saw
Once you have your plywood home, the next step is cutting it down accurately—and for most beginners, a circular saw is the best tool for the job.
A circular saw is affordable, portable, and easy to use, making it a great choice if you don’t have a table saw or a large workspace. Unlike a table saw, which requires lifting and maneuvering heavy plywood sheets, a circular saw lets you cut the plywood right where it’s laying, making the process safer and more manageable—especially when working alone.
See how to use a circular saw.
There are two important things to remember –
- The blade you use plays a huge role in getting clean, splinter-free cuts on plywood. A fine-tooth plywood blade with at least 40 teeth or more is ideal for smooth, precise cuts. I use a 60-teeth blade.
- Supporting the plywood properly while cutting is extremely important. Without proper support, plywood can bind the saw blade (causing kickback) or break before the cut is finished. You want to always support both sides of the cut as close to the cut line as possible. 2-inch thick rigid foam insulation board, scrap 4x4s boards (which is what I use), or a stack of 2×4 boards are great options.

Be sure to take Kerf into account
Guides for Cutting Plywood Accurately
It is extremely important to use guides when cutting with a circular saw. The most important reason is that without it, slight deviations from the cut line can lead to blade binding and kickback, which can be dangerous.
Of course, getting straight, accurate cuts on plywood can be tricky as well, and circular saw guides are the easiest and most efficient way to get the cuts.
Here are some of my favorite options.
The Kreg rip-cut guide
The Kreg Rip-Cut is a simple, easy-to-use guide that attaches directly to your circular saw, allowing you to make consistent, repeatable rip cuts.

It has an adjustable fence that rides along the edge of the plywood, making even, parallel cuts without needing to measure and mark multiple times.
The Kreg Rip-Cut guide is perfect for making cuts between 1″ and 24″ and for cutting multiple strips of the same width. If my project needs cuts under 24″, you ca bet I will be using my Rip-cut.
This was especially helpful when I was making the cuts for the closet makeover. I just set the Rip-cut to 11.5″ and made cuts for all the sides and shelves.
Straight edge guide (DIY or store-bought)
Another option is a straight-edge guide. This method is affordable, versatile, and works for a variety of plywood cuts.
For a homemade version – you can clamp a straight edge on the plywood and ride the circular saw base plate along the edge to make a straight cut. The key is measuring and offsetting correctly for the base plate of the saw.

There are various options for this –
- A long level
- A straight board (the factory edge of plywood works)
- An aluminum guide
To set up the homemade guide –
- Measure the offset – Place your saw on a scrap board and measure the distance from the edge of the base plate to the inside of the blade (usually 1 to 1.5 inches).
- Mark your cut line – Use a tape measure and straightedge to draw the exact line where you want to cut.
- Position and clamp your guide – Offset the guide by your base plate measurement (e.g., if it’s 1.25 inches, place your guide 1.25 inches away from the cut line) and secure it with clamps.
- Make the cut – Keep the saw’s base plate flush against the guide, move steadily, and let the saw do the work for a clean, straight cut.
Store-bought circular saw guide
The Kreg Straight Edge Guide is my go-to anytime the Kreg Rip cut is too small for the cuts. It is quick and easy to set up. It is as simple as aligning the cut mark with the marker on the guide, snapping the guide to the plywood, and cutting.

Track Saw Alternative
A track saw like the Kreg ACS system, which is a plunge saw, and a track is a premium option designed specifically for ultra-precise, straight cuts on plywood. It uses a built-in track system that eliminates the need for measuring offsets, making it extremely accurate and easy to use. However, track saws are expensive and not necessary for most beginners.

If you frequently work with plywood and need perfect, splinter-free cuts, investing in a track saw might be worthwhile. But for most DIYers, a Kreg Rip-Cut or a simple straight-edge guide will get the job done just fine!


Using a Table Saw for Cutting Plywood
A table saw is great for making precise, repeatable cuts on plywood, especially for smaller panels. However, handling full 4′ x 8′ sheets can be tricky and even dangerous without proper support.
To stay safe, use an outfeed table, or roller stand to support the plywood as it moves through the saw, preventing tipping or binding. If possible, have a helper assist with large sheets, and always use a push stick or push block like the GRR-Ripper to keep your hands away from the blade.

Even with a table saw, I always cut down my plywood into manageable sizes close to the final measurement before taking it to my table saw for the final cuts. This makes handling the material much easier and reduces the risk of mistakes or injury.
See my DIY Table saw stand that has a folding outfeed table and an extension wing.
That said, a table saw isn’t necessary for DIYers. I’ve built entire closets and furniture projects using only a circular saw with a guide. With the right blade, proper support, and a simple cutting setup, a circular saw can handle plywood just as effectively.
Learn More About Plywood


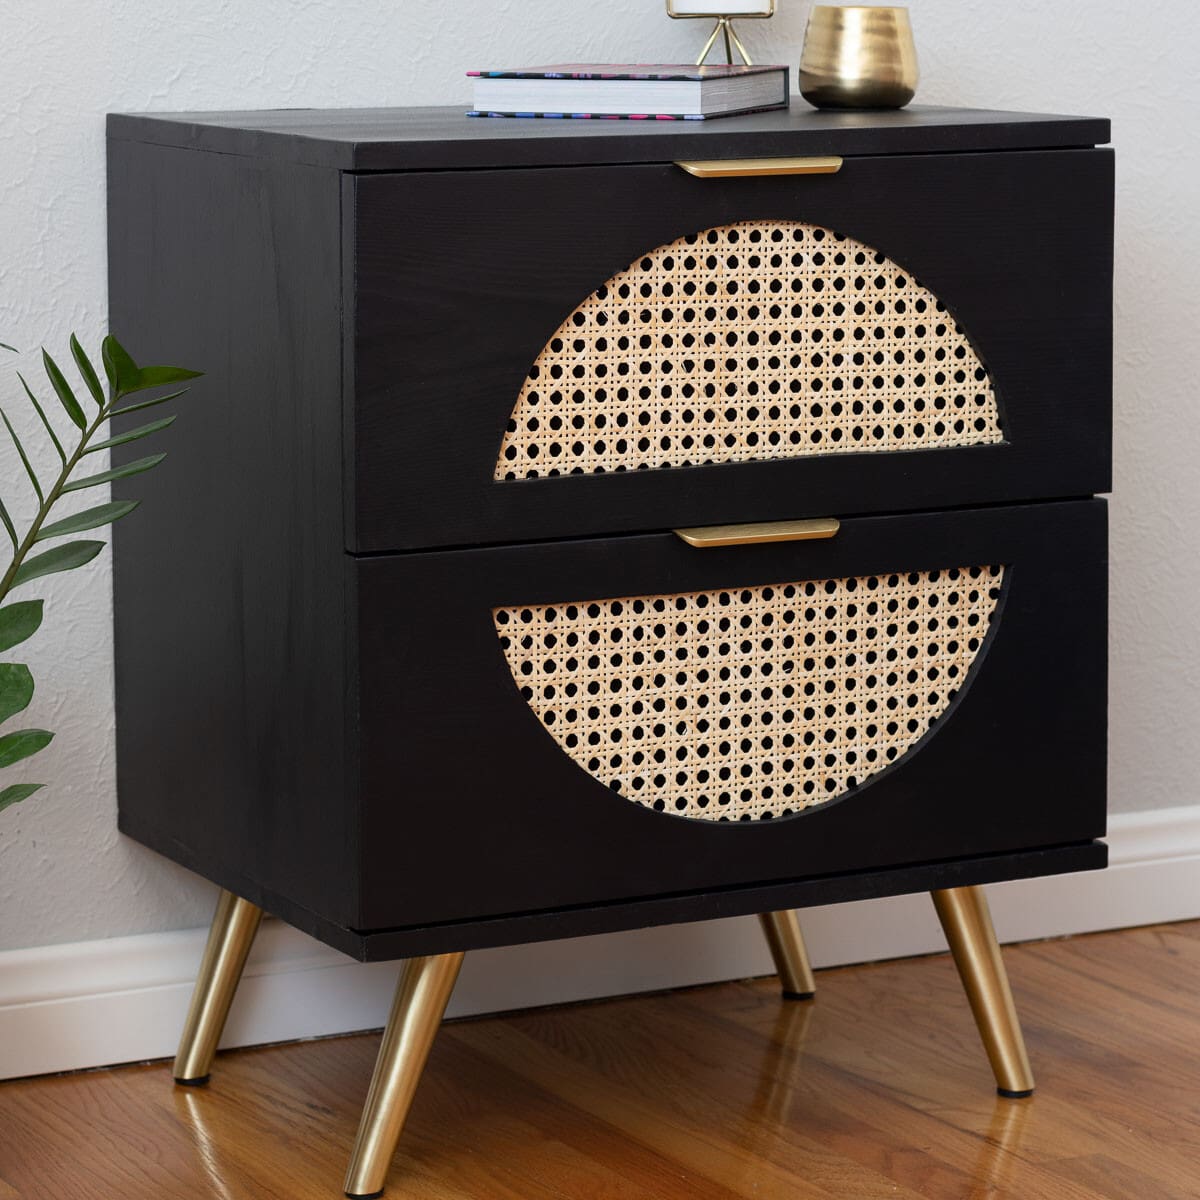
Plywood Project Ideas


Anika's goal is to inspire and empower beginners with woodworking, DIY, home improvement, and home decor ideas.
She wants everyone to unlock their creative potential and experience the feeling that comes with making something. Nothing feels better better than seeing something and saying "I can make that!"


