Unique IKEA Rast Makeover Using Custom Cricut Wood Cutouts
Learn how to transform a basic Ikea Rast dresser into a stylish statement piece with colorful custom Cricut wood cutouts. This is an easy DIY tutorial for beginners!

Ikea furniture is a great place to start making custom furniture—that is exactly how I started out, too! It is like a blank canvas to which you can add your creative spin.
The Ikea Rast is especially popular among Ikea hackers because it is budget-friendly and a great small dresser or large nightstand.
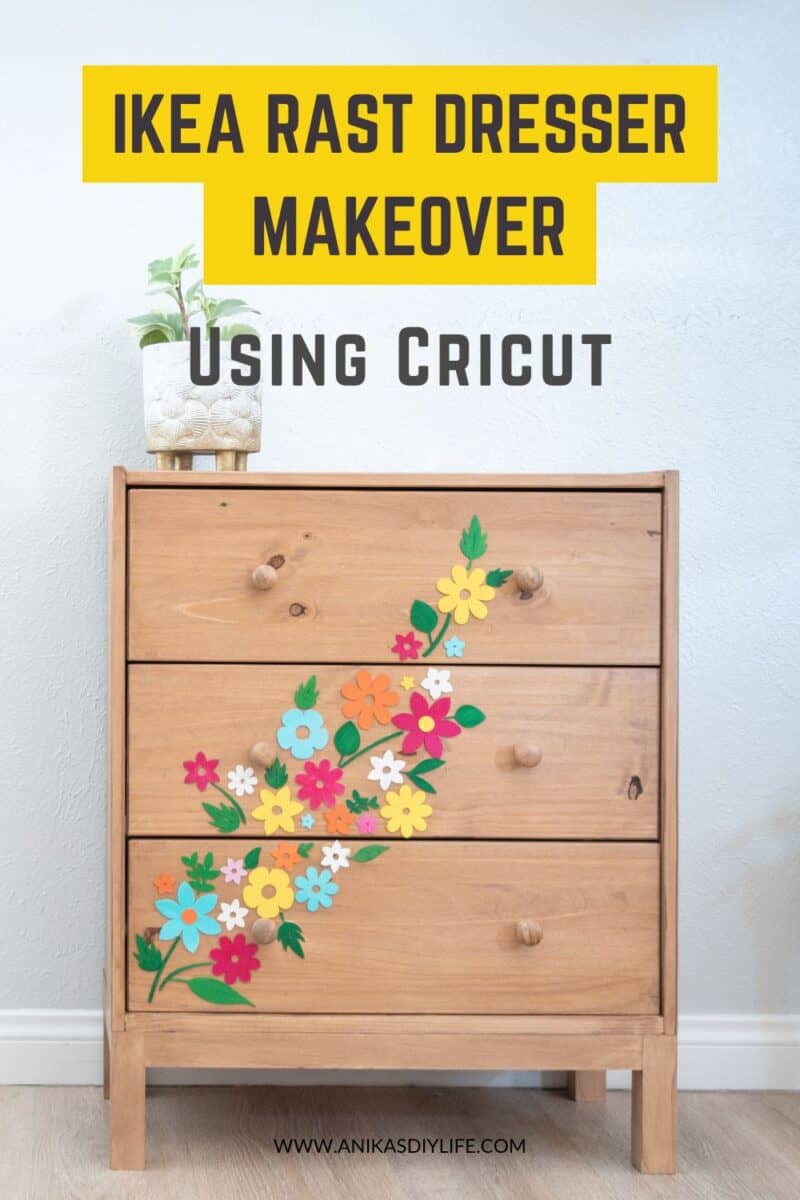
For this Ikea Rast makeover, I took inspiration from the stunning Anthropologie dresser and gave it my own unique twist by adding color using custom Cricut wood cutouts.
I also built and added a new set of legs to the dresser. Of course, this is totally optional, but I like how it gave the entire dresser a whole new “non-Rast” look.
My goal was to create a stunning statement piece, and I am very excited to show you how it turned out.
***This post contains referral or affiliate links. It is a way for this site to earn advertising fees by advertising or linking to certain products and/or services. Please read my full disclosure here ***
Material Needed
- Ikea Rast dresser. Ikea is the best place to get this. But it is also available here.
- Basswood sheets
- StrongGrip cutting mat
- Masking tape
- Quick drying wood glue
- Paint or stain in the color of your choice (optional).
- Top Coat. I used this one.
- New knobs or pulls (optional). I just reused the ones that came with the dresser.
- 2×2 boards (if building stand)
- Wood glue (if building a stand)
- 2 1/2″ pocket hole screws (if building stand)
Tools Needed
- Cricut Maker
- Knife blade
- Cricut Design Space (for designing your cutouts)
- Sander and sandpaper.
- Circular saw (if building stand)
- Pocket Hole Jig (if building a stand). Learn more about pocket holes here.
How to Makeover the IKEA Rast Dresser
As always, I have a detailed tutorial if you want to watch the transformation. The full, detailed, step-by-step tutorial follows below.
Step-By-Step Instructions
Step 1: Build and Attach the Stand (This Is Optional)
- If you just bought the dresser, you can assemble it without the bottom front support.
I was using an Ikea Rast dresser I already owned, which had been in my son’s closet for a few years. I removed the screws that held the board and then used an oscillating tool to cut out the dowel.

Pro Tip: Whenever assembling unfinished Ikea furniture, I highly recommend applying wood glue to all the joints to add some extra strength.
- Decide the length of the dresser sides to cut off. This is 3/4″ (the thickness of the board you will be reattaching) plus 1/8″ (the space the drawer needs to operate smoothly) from the bottom of the drawer.
- Cut off the sides using a circular saw.

- Attach 1×3 or broader boards on the front and back of the dresser using pocket holes. These are essentially replacing the front support we removed.

- Build the stand using 2×2 boards and pocket hole joinery. Watch the video to see exactly how I built it.

Pro Tip: Measure the exact dimensions of your dresser and cut boards to build accordingly, as there can be variations in Ikea furniture.
- Attach the dresser to the 2×2 stand using countersunk wood screws through the 1×3 supports.

Step 2: Prepare the Dresser
- Sand down the dresser—especially if you’re planning to stain it like me. Even if it’s brand-new, you want to give the entire dresser a light sanding to remove any coatings.

My dresser was not only about three years old, but it had been sitting in the garage for almost a year, so it definitely needed sand to bring out the fresh wood.
- If you plan to paint or stain the dresser, this is a great time to do that.

See how to paint unfinished wood.
Step 3: Design the Cutout Patterns
Decide the pattern you want to cut. I went with flowers and leaves because I was emulating the Anthropologie dresser. Design Space has many designs to choose from. Watch the video to see exactly how to find the perfect designs and set them up.

You can see the exact designs I used here.
Pro Tip: Remember to pick simple designs without tiny details, as it becomes more challenging for the knife blade to cut cleanly.
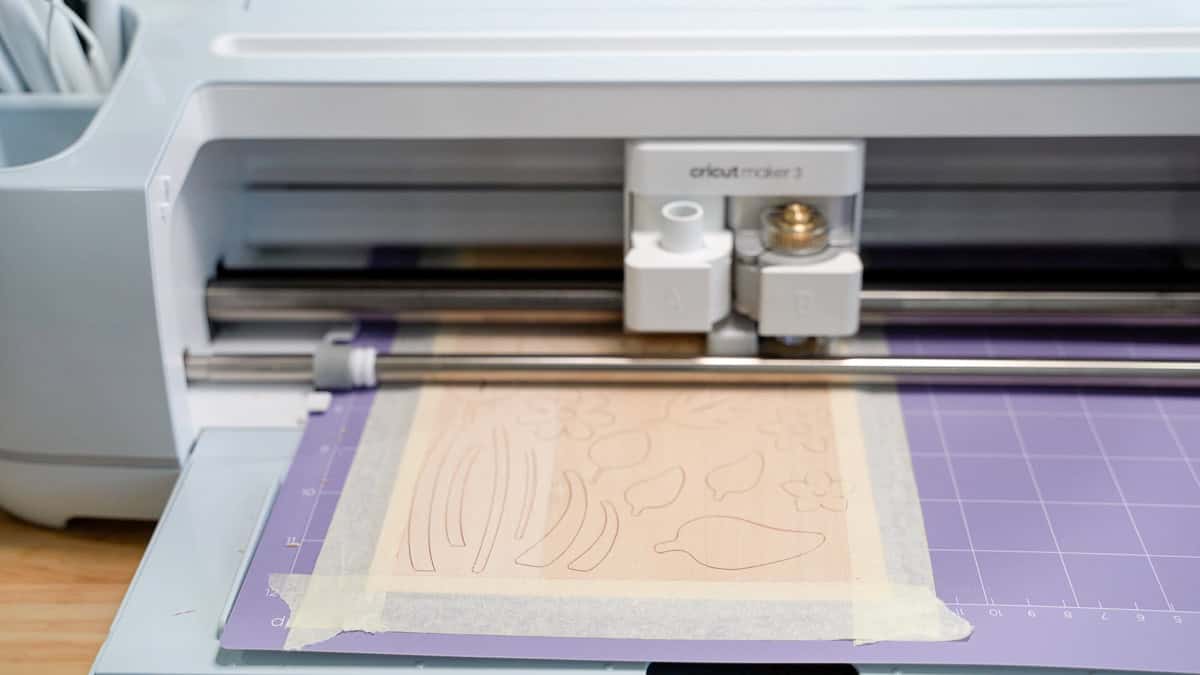
Step 4: Cut the wood cutouts on the Cricut Maker
Now for the fun part.
- Load the basswood sheets on the StrongGrip mat and apply masking tape all around. The masking tape helps keep the wood from shifting during the cutting process.
- Be sure to load the knife blade in clamp B.
- In Design Space, you will choose the material, and then you can hit go.

Now, it’s all about patience! It took about 4-5 hours to finish all the passes.
- Once cut, you can carefully separate the cutouts and clean up any splinters with sandpaper.

Step 4: Paint and attach the cutouts (optional)
- Figure out the placement of the cutouts on the dresser.
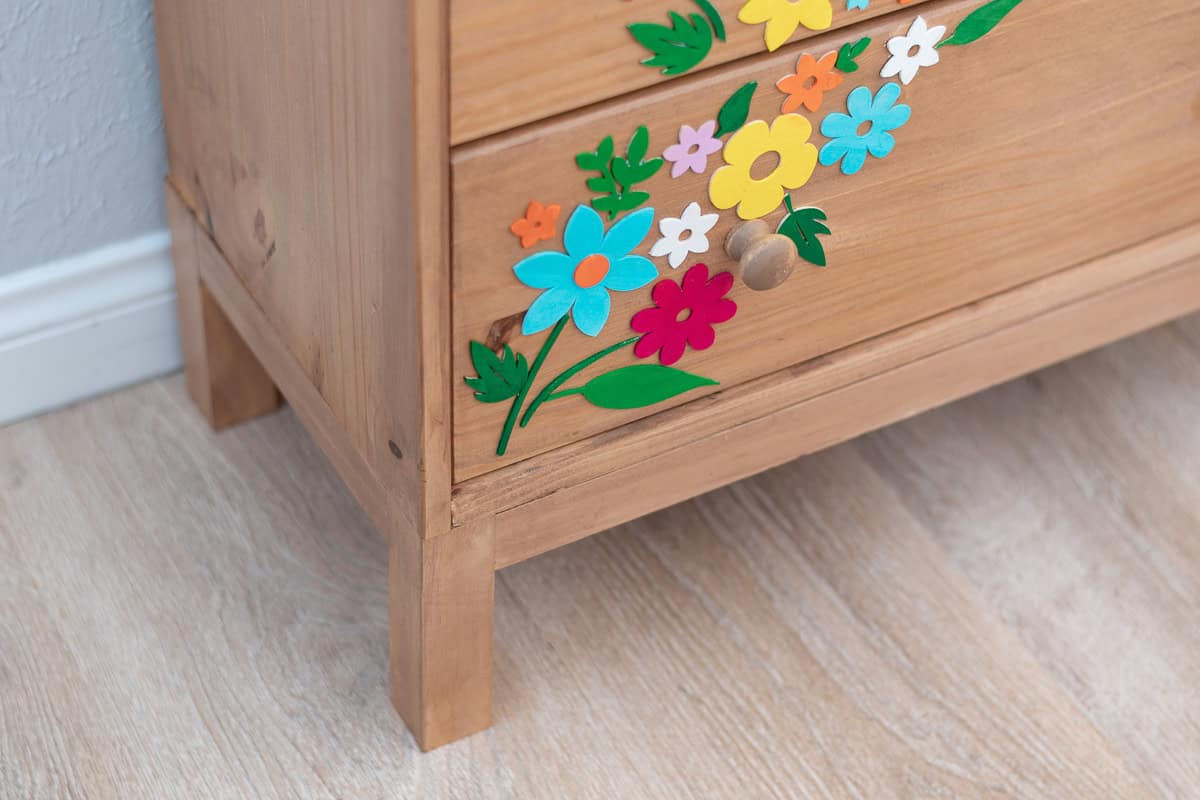
This one was probably the hardest. I played with the pattern I wanted for a long time and ultimately decided to go with one diagonal(ish) pattern.

- Paint or stain the cutouts.
You can decide whether to keep the cutouts natural or paint them. You can keep it a single color or go with a ton of color like mine.
I used gel stains to create those vibrant colors.

Pro Tip: Be sure to paint the edges, too, as they will be visible.
- Attach cutouts using a quick dry adhesive.

Step 5: Finishing Touches
- Once all the glue has dried, apply a top coat. I used this one with my paint sprayer. You can read all about sealing wood here.

- Attach the knobs. I used the wood knobs that come with the dresser. I stained them the same color as the dresser because I didn’t want them to take away from the colorful pattern. This way, they blend into the background.
That is it!

Adding the wood cutouts completely transforms the plain Ikea Rast into something special and personalized.
Think about the possibilities!

Whether you go for modern geometric shapes, floral patterns like mine, or something entirely unique, Cricut wood cutouts provide endless possibilities for customization.
You might also like:
Anika's goal is to inspire and empower beginners with woodworking, DIY, home improvement, and home decor ideas.
She wants everyone to unlock their creative potential and experience the feeling that comes with making something. Nothing feels better better than seeing something and saying "I can make that!"


