DIY Closet Organizer
Do you need a way to organize your closet but don’t want to spend too much money? Follow this DIY closet organizer tutorial to show you how to make an easy and customizable wood organizer for your clothes.

I decided it was time to take my daughter’s builder-grade closet and give it some much-needed organization. It is a reach-in closet with mirrored sliding doors.
In the perfect world, I would switch out those doors for bifold doors to make the insides of the closet more accessible, but you cannot take away large mirrors from a dancer, so they stayed.
One of the challenges with having two sliding doors is that you can only access one half of the closet at a time – which means you cannot have a central tower with drawers as commonly seen in custom closets. I designed the closet to get around that problem.
This concept can be used for any big or small closet, linen closet, pantry, etc.
Yes, you can build your own closet!
DIY closet systems are a great DIY project for beginners. They are not difficult and only require basic tools. In fact, you can build this with just a pocket hole jig, a power drill, and a small saw.
I’ll go over what materials you’ll need, step-by-step instructions on how to assemble, and some tips on using them in your home!
***This post contains referral or affiliate links. It is a way for this site to earn advertising fees by advertising or linking to certain products and/or services. Please read my full disclosure here ***
Material Needed
- Plywood for the organizer ( I used Shelf Help)
- wood glue
- 1-1/4″ pocket hole screws
- 10″ drawer slides (optional)
- 1×3 boards
- 1×8 and 1×10 boards for drawers – optional
- 3″ cabinet screws
- Shelf pins (optional)
- Backer Rod
- Caulk
- Wood Putty
Tools Needed –
- Pocket hole Jig. I used the Kreg 720Pro. You can use any pocket hole jig.
- Power Drill/Driver
- Saw to cut boards. A miter box works for 1x3s. If you are building drawers, I recommend a miter saw or Circular saw.
- Shelf pin jig
- Cabinet hardware jig (optional)
- Stud finder
- Kreg Multi-mark
Plywood for Closet Organizer
One of the advantages of building your own closet organizer is that you get to choose the material you put in. Plywood is a great option for building closets because it is strong. Birch plywood specifically is great if you would like to paint the closet.
You can easily cut down plywood to size with a table saw and/or circular saw, but it can feel intimidating if you are a beginner.
In fact, making a DIY closet organizer plan can be equally intimidating, and I have a solution for you!
Ana White recently launched Shelf Help Now which is a great alternative for this. They have a configurator that you can use to design your closet, built-ins, cabinets, etc. Once you purchase, accurately cut, edge-banded boards will be delivered to your doorstep, ready to be installed.
It definitely cut down a LOT of my project time. I would highly recommend looking into Shelf Help Now if you build any cabinet/built-in/furniture.
Dealing With Walls
Walls are never square, making a huge difference in how you measure and build the closet organizer; there are a few tips to keep things flowing smoothly.
- When measuring for the closet consider the difference in measurements. My closet was almost an inch wider in the front compared to the back. The closet boards were only 11.25″ wide so I measured the width at that point.
- Since the walls are not square, you can’t directly attach the plywood to the walls to build the closet – especially if you are building drawers. Always build it separately and then attach to the closet.
- Never attach the sides to the walls – only the back. This will warp the plywood and the orgnizer will not be square anymore.
- Caulk and putty are your friend to fill gaps. More on this below.
How to Build the Closet Organizer
Watch the full video below to see how it came together – from demo to finished product.
Step by Step Tutorial –
I kept the sliding doors for the reach-in closet, so I designed it to be in 2 halves. However, the below tutorial works for any number of divisions. Just start with the center or the one with the drawers and build around it.
Step 1 – Design and Make the Cuts
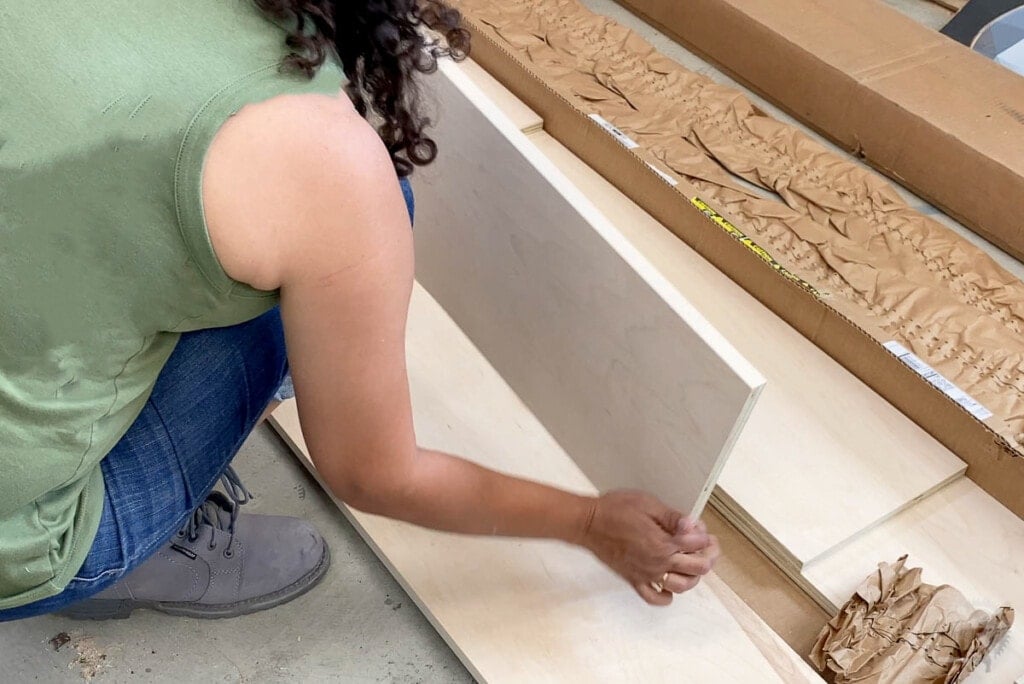
This is easy if you are using Shelf Help to get all your boards. The boards arrive accurately cut, edge-banded, and ready to be installed.
I also wanted to add a few drawers, so I cut up a piece of plywood to size and edge-banded it.
You also need 1×3 or 1×4 boards to act as cleats to attach the organizer to the wall. This is cut to the size of the shelves. I ripped up a piece of scrap plywood to size and used it instead.
Step 2 – Make Pocket Holes
You need pocket holes on both ends of the permanent shelves. On the cleats, you need pocket holes on both ends and one of the edges.
You want the top and bottom shelves to be permanent for stability. You can have other shelves or all the shelves permanent if you want. I was adding drawers, so those shelves/dividers were permanent.

The pocket holes are made with a 3/4″ setting on the drill bit and jig.
I used the Kreg720PRO to make the pocket holes, but really any pocket hole jig works just as well.
RELATED – Check out all you need to know about pocket holes.
Step 3 – Build Drawer Dividers
For the drawers, I wanted 4 smaller drawers and divided each of the shelves into half.
I cut up a piece of scrap birch plywood, edge banded it, made pocket holes, and attached it between the shelves with pocket hole screws.
It is essential to ensure that the divider is perfectly square between the shelves for the drawers to work well. I used a speed square and a right-angle guide and measured and checked in every direction as I attached.
Step 4 – Build First Box
I started by building the side that had the drawers and went bottom to top.
The bottom shelf is attached with pocket holes, leaving space for the baseboard to cover. I measured my baseboard and used that measurement. You could also use a 1×3 to cover up the front, in which case you would start the bottom shelf at 2.5″.
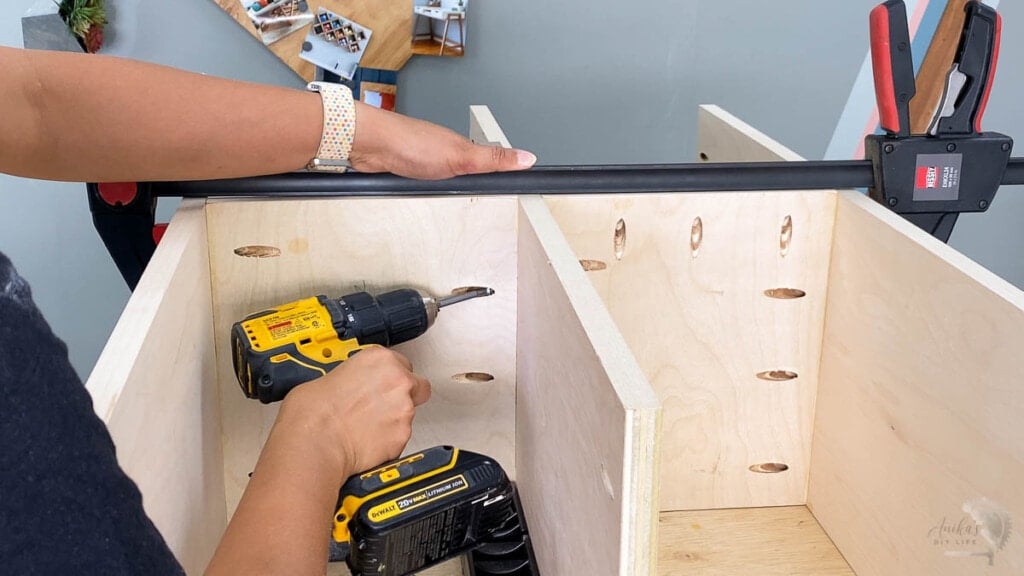
I used a scrap piece to measure and space out the drawer dividers which I attached with pocket hole screws.

Finally, I attached the topmost shelf, followed by the cleat. The pocket holes for the top shelf face the top and on the cleat face outwards and will be hidden once installed.

This is a good time to make shelf pin holes for the adjustable shelves. I used the shelf pin jig to make them. They are a little tedious but worth it for the flexibility.
Step 5 – Install Drawers
I put the box I built in the closet and installed the drawers before attaching it to the wall. That way, I was able to access the back of the drawers as needed.
The drawers are very simple. I built them out of 1×8 boards with 1/4″ plywood bottoms using pocket hole screws. Check out my guide to building drawers for beginners here.

The drawer faces are made with 1×10 boards. Once the drawers were installed, I removed them until they were painted and ready to put back.
Step 6 – Attach Box to Wall
I made sure that the back corner was aligned with the corner of the closet wall and attached the box to the back wall using a couple of 3″ cabinet-grade screws through the 1×3 and into the studs. I put the screws in at a small angle.
This is obviously the most important step. The weight of the closet and its contents tends to pull the top forward. Just these screws are enough to hold the closet in place, but if you are unsure, you can add an extra cleat towards the bottom and screw into the studs as well.

You don’t want to add any screws to the sides because that will warp the plywood, and the drawers won’t work well anymore.
There was a large gap in the front, but that’s ok. We will fix that later.
Step 7 – Build the Other Side.
I built the top shelf for the other side by attaching the cleat to the shelf with pocket hole screws and then attached it to the side pieces. I added another shelf later, but this would have been a good time to add it.
Then, I added cabinet screws to attach the cleat to the studs as well.

I also added shelf pins to the bottom part of the closet for some more flexible storage for shoe shelves and organization.
I placed the panels inside the closet and attached them to the previous box in the closet to complete the box.

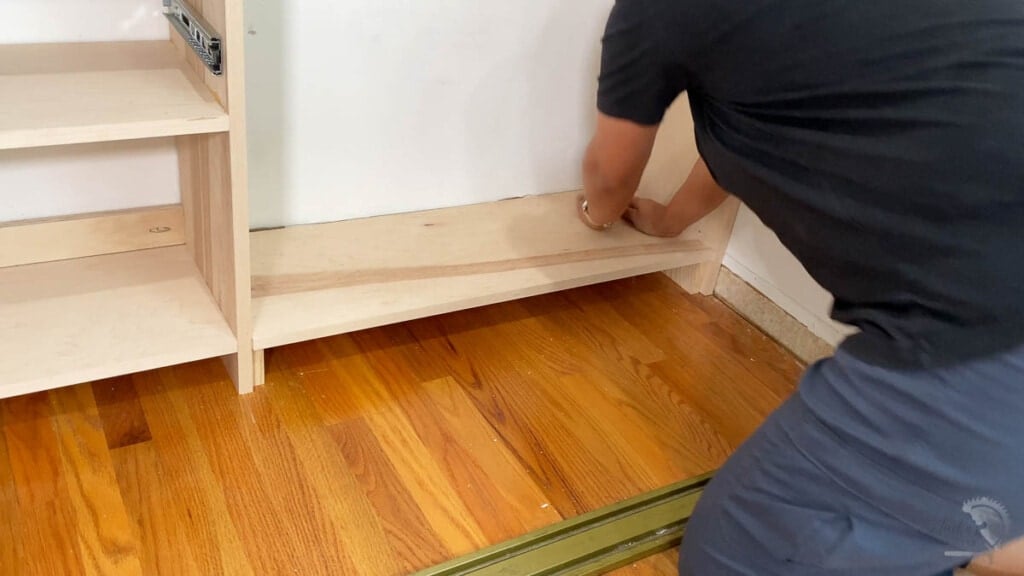
I attached scrap 1×3 boards to the sides for the bottom shelf and attached the shelf over it with brad nails. The scraps will be covered by baseboards later.
Step 8 – Finishing Touches.
I added back the baseboard, caulked all the seams, and filled in any visible pocket holes with wood putty.
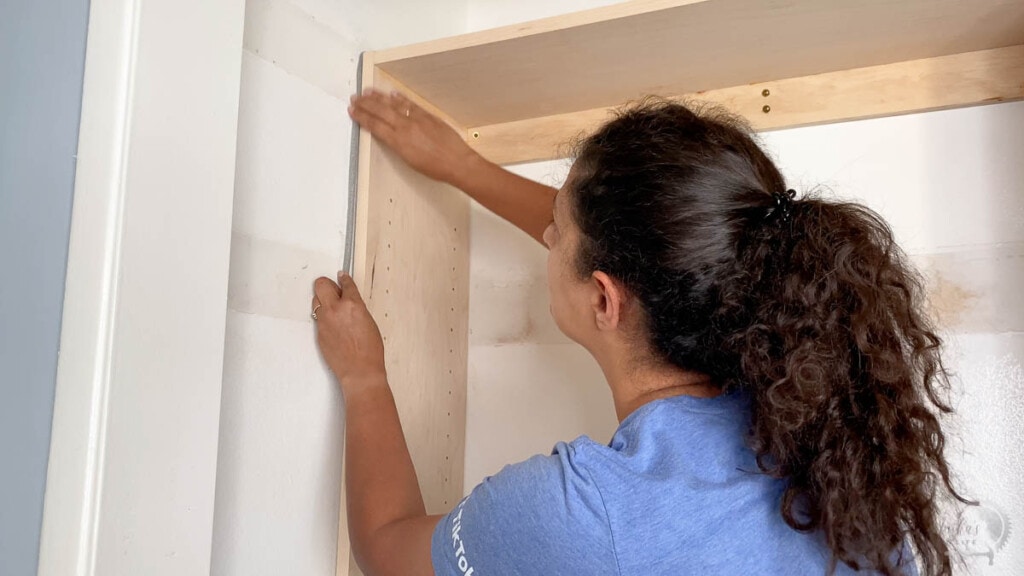
For the wide gaps around the closet, I used a backer rod to fill in the gaps. The backer rod is essentially a foam rod that can be stuffed in the gap and then covered with caulk to create a seamless edge. I had varying gaps and had to use 3/4″ and 3/8″ backer rods.
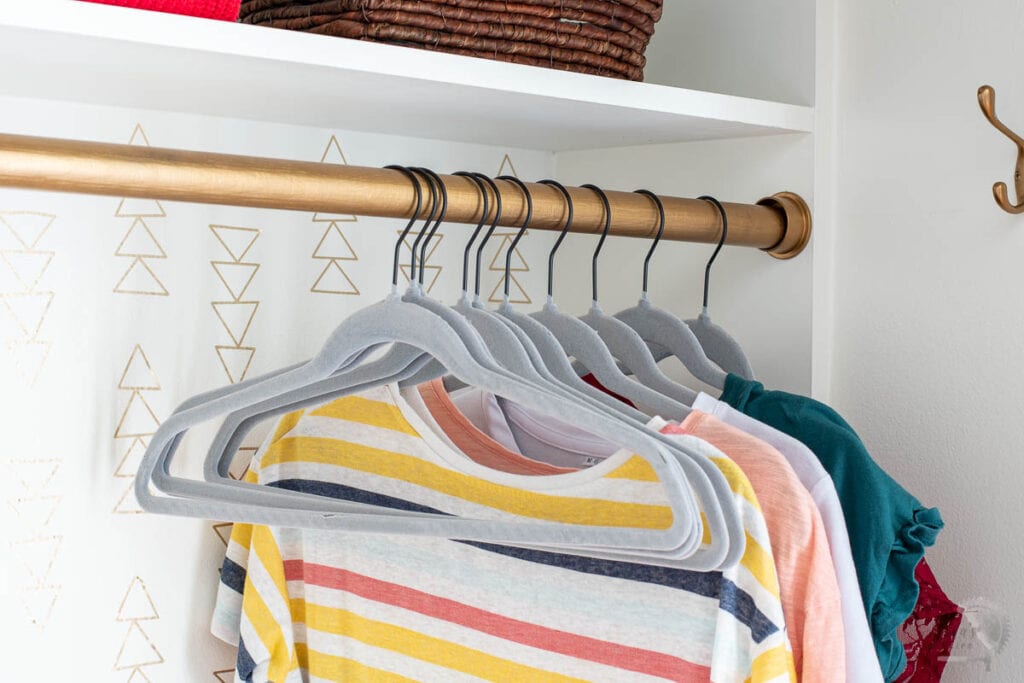
Next up were primer and paint. To take it up a notch, since it is my tween daughter’s closet, I used my Cricut Maker to cut up vinyl decals to create “wallpaper.”

I added drawer pulls with the help of my hardware jig.
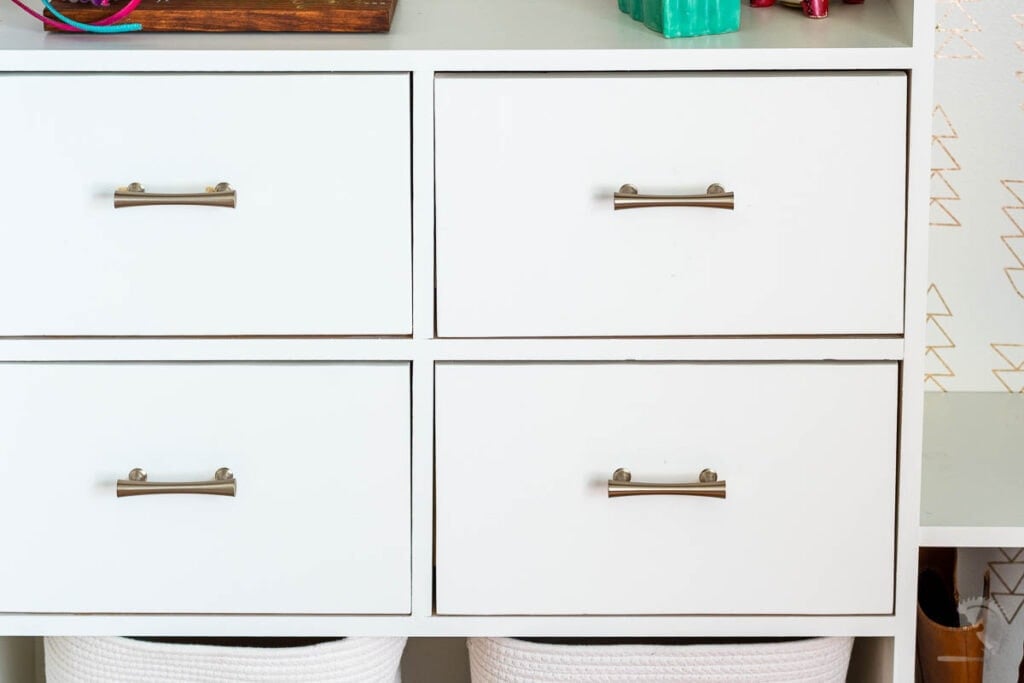
I also spray-painted the closet rod brackets, some hooks, and the closet rod to match the decals, and they are the perfect touch! I used #5 from my gold spray paint review.
That is it! A chic and organized closet for my daughter.

You can organize your closet conveniently and efficiently without spending a lot of money on custom closet organizers or costly professional installation services.
The best part about this project? You can take any builder-grade closet from drab to fab over a weekend with simple power tools like a power drill and a pocket hole jig. Plus, Shelf Help makes it super easy!
You Might Also Like –
- DIY craft closet organizer – see how I converted a small closet into a craft or office organizer.
- DIY barndoor cabinet with drawers – A great way to create lots of storage if you don’t have a closet
- DIY Modern Display bookshelf – A simple yet unique display or bookshelf.
- DIY Kids Closet with Drawers – Make this custom closet with just 2 power tools.
- A Complete Guide To DIY Custom Closets – all your questions answered.
- 25 Easy-To-Build DIY Closet Organizer Ideas For Any Closet
Anika's goal is to inspire and empower beginners with woodworking, DIY, home improvement, and home decor ideas.
She wants everyone to unlock their creative potential and experience the feeling that comes with making something. Nothing feels better better than seeing something and saying "I can make that!"


How much more expensive was it to use the shelf help service rather than cut down your own boards?
The cost for was about $150 more than buying the plywood directly from the store and we save a lot of time and effort in transporting and cutting down the plywood accurately as well as edge banding it.