DIY Faux Marble Contact Paper Countertop
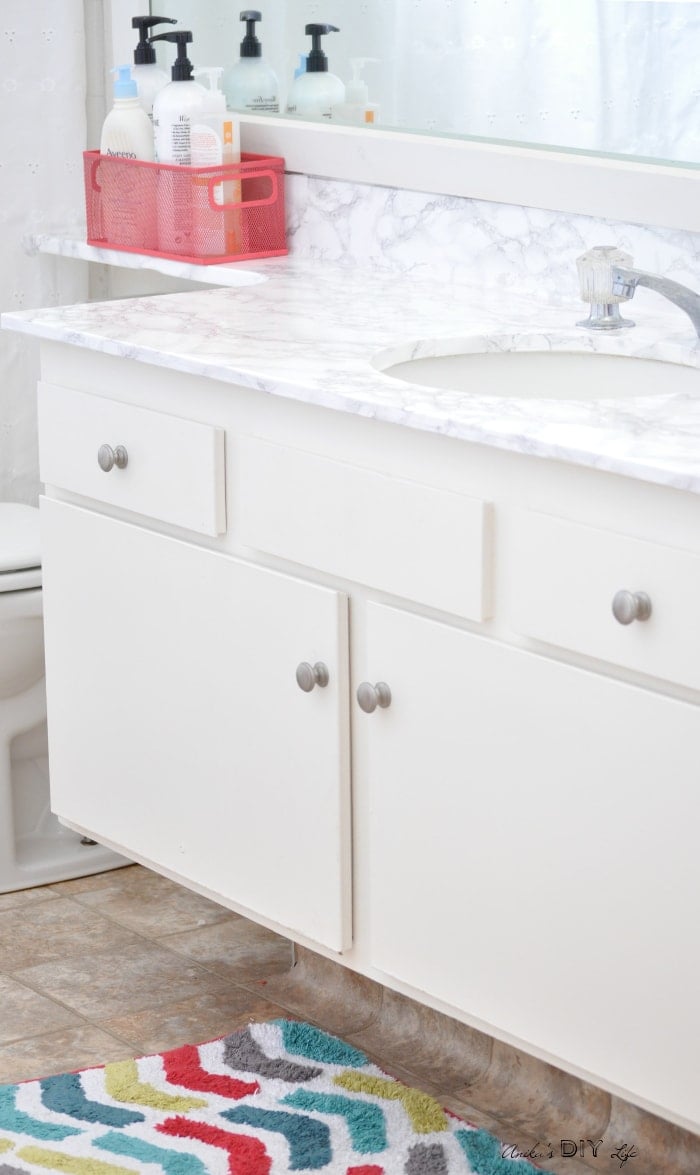
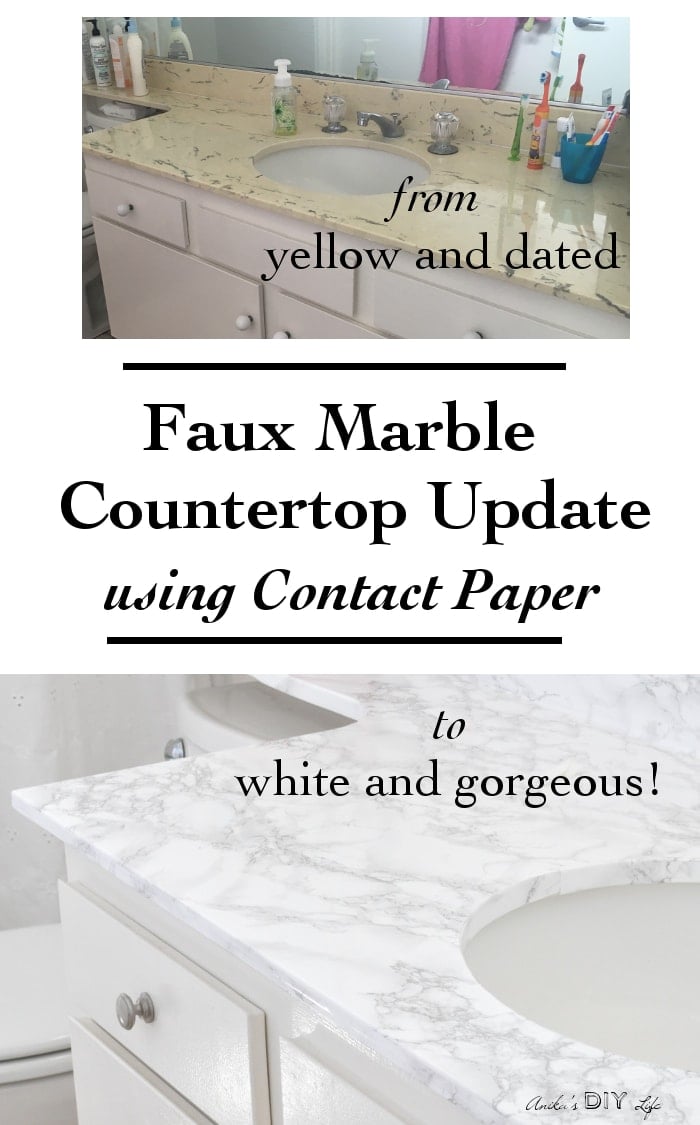
Learn how to update a countertop with faux marble contact paper. Get a durable and high-end look at a fraction of the cost without changing your countertops!
We think you will also love contact paper countertops and Contact paper ideas
If you have been following my rental bath makeover, you know the biggest eyesore in there was the old yellow counter. It was pretty nasty too from years of damage and no amount of elbow grease was making it look better.
And nope, we could not replace it!
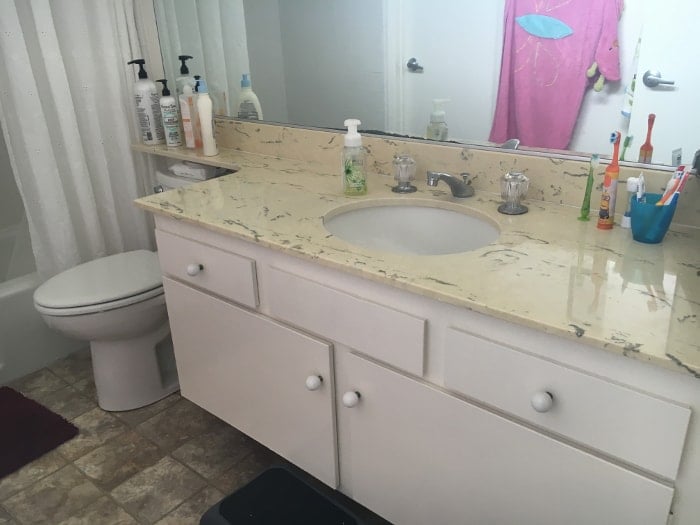
Remember it is a rental and everything is temporary! When we leave, it will need to possibly go back to its former yellow glory.
UPDATE: See what they look like 10 months later
***This post contains affiliate or referral links. It is a way for this site to earn advertising fees by advertising or linking to certain products and/or services. Please read my full disclosure here ***
Materials needed for faux marble countertop update –
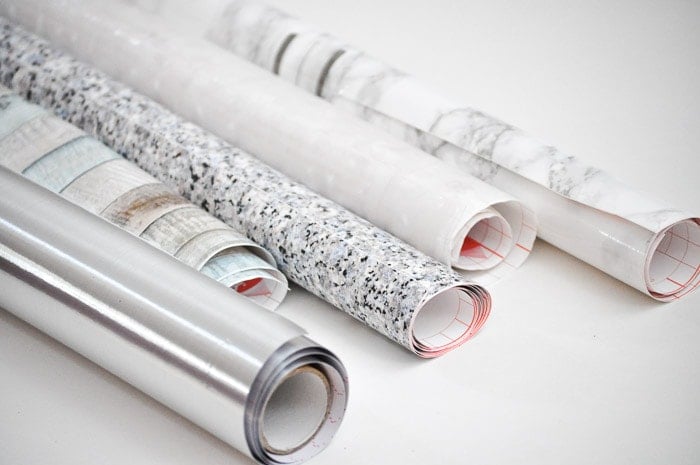
- Marble Contact paper
- Scissors
- Exacto knife
- Flexible smoothing tool or Credit card – not for the money 😉
Before we get started, make sure to follow me on Instagram, Facebook, YouTube, and Pinterest to keep up with all my latest builds and projects!
How to apply contact paper on the countertop –
If you need more details on how to cover the edges and around the sink, here is a video I made showing how I covered a kitchen countertop with black marble self-adhesive paper –
How to update your countertop with contact paper –
Step 1 – Wipe down and clean the entire countertop with your choice of cleaner and do a final wipe down with rubbing alcohol.
Step 2 – Measure and cut out the length of contact paper you need. If the width is not enough, don’t worry, you can later overlap and cover the remaining area.
Step 3 – Slowly peel the backing little by little with one hand and smooth out the bubbles with the credit card as you go. If there is too much air trapped you can always lift the contact paper back up and smooth it again.
Step 4 – Repeat the process for any other areas that were not covered. Just overlap the contact paper slightly on the edges. You might have to roughly match up the pattern.
Step 5 – Cut around the sink and faucets using the exacto knife.
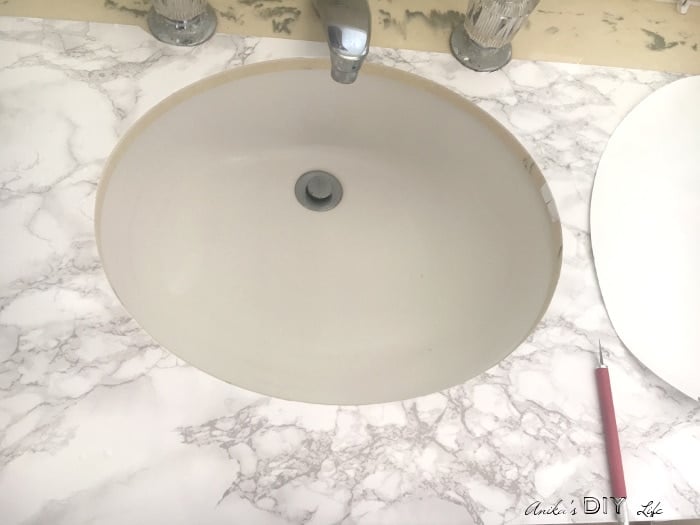
I first tried cutting flaps to cover the edge around the sink but ultimately found it easier to simply cut a long strip separately and attach to the inside edge. You can apply transparent caulking if you like to seal the edges around the sink.
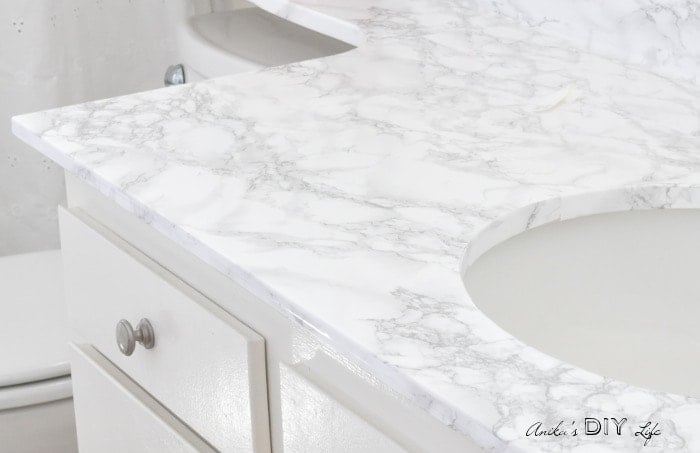
Step 6 – Admire your beautiful “new” countertops.
If you need more details on how to cover the edges and around the sink, here is a video I made showing how I covered a kitchen countertop with black marble self-adhesive paper –
What do you think of the contact paper countertop?
We have had them for almost a month and since it is in the kid’s bathroom they see a lot of “spills”. I am amazed at how well they are holding up. They have even been wiped down with cleaning sprays and still look like they did the first day. Oh, I wish I had known about this in my past rentals!
See all the ways you can use Contact Paper for decor!
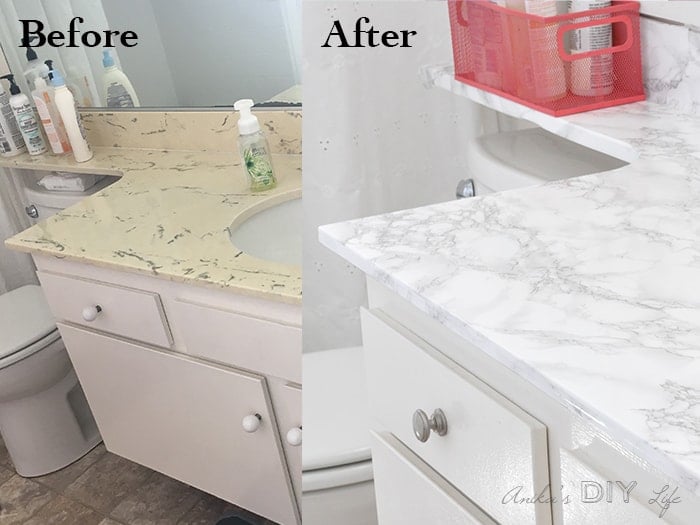
One more time before I go here is a before and after –
UPDATE: See what they look like 10 months later
Have you tried contact paper to cover countertops? They also have contact paper available in granite and a whole bunch of colors! I have seen these used to update kitchen countertops too!
Not just countertops, contact paper has so many other uses!! Take a look at everything you need know about how to decorate with contact paper.
What to do we extra contact paper
If you have leftover marble contact paper, here are a few creative ideas for you –
See 21 more DIY project ideas using marble contact paper here.
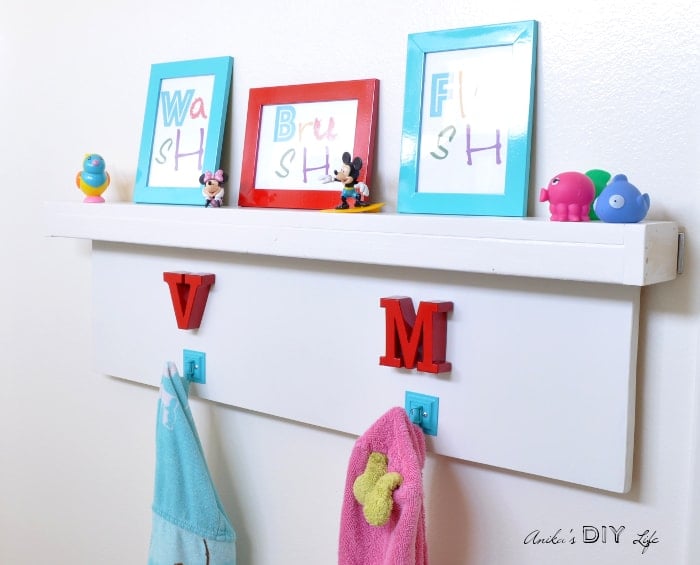
Take a look at the other projects I did for this rental bathroom makeover for under $100. The best part is everything is temporary and removable – even this towel shelf and hook!
The only 2 tiny holes that I had to make were to mount this DIY Wood valence.
Anika's goal is to inspire and empower beginners with woodworking, DIY, home improvement, and home decor ideas.
She wants everyone to unlock their creative potential and experience the feeling that comes with making something. Nothing feels better better than seeing something and saying "I can make that!"








Hi there! I am trying to do this project and I am having the hardest time around the sink. Mine ends up with a noticeable gap if I tried to do the inside strip at the drop edge. Any suggestions or advice!?
Hi Cassie, I am sorry you are having problems with it. I just sent you an email. Lets figure this out!
I looking to use this idea for the top of a desk. Can you explain how you managed the corners and edges (not around the sink)?
Hi Hannah, You can fold the corners the way you would fold wrapping on a present – tuck in one edge and then fold over the other edge. Not sure if I am able to explain. Let me know, I can try to make a quick video.
This is so beautiful, and your photography is stunning! Love your imagination!! Shared last week on @Snazzy Little Things, thanks so much for linking up last week. Look forward to seeing more of your posts during my next round up! <3
Thanks for the kind words, Jeanette! I would love to link up the next time too!
What a grand idea! Wondering if this could be done in the kitchen? Needing a serious renters update! Do you think all the wear and water would ruin it quickly?
Thanks!!
Hi Heather, Yes, it can definitely be done in the kitchen.
The contact paper in the kid’s bathroom stood up to over 10 months of splashes and spills. I took it off a couple of months ago before we moved and it looked great. Check out the video here – https://www.facebook.com/anikasdiylife/videos/1382113635203070/
Of course, you cannot place hot items on the contact paper so always use a trivet. If you are not sure about the edges, you can seal it with caulking too! Let me know how it turns out or if you have any other questions.
This is so cool! It looks amazing! laura
Thanks Laura!