DIY 2×4 Bench – How to Make an Indoor/Outdoor Bench
This DIY 2×4 bench is super easy and quick to make and is easy on the budget! It uses 2×4 lumber and can be used as an outdoor bench or indoor bench. Learn how to build this easy 2×4 bench with step by step plans and video tutorial.
This DIY 2×4 bench is so versatile!
Not only is it great for many places in the home, but it also makes the perfect bench for the backyard or outdoors…
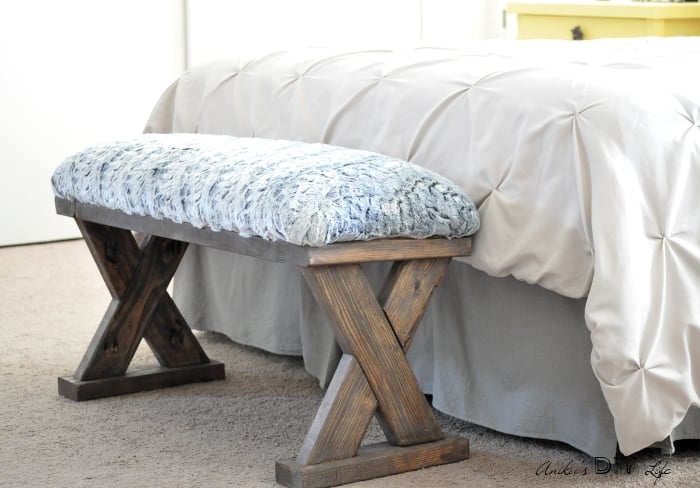
It is a spin-off of one of my most popular builds – the upholstered X-leg bench which still sits at the end of our bed and we love it very much!
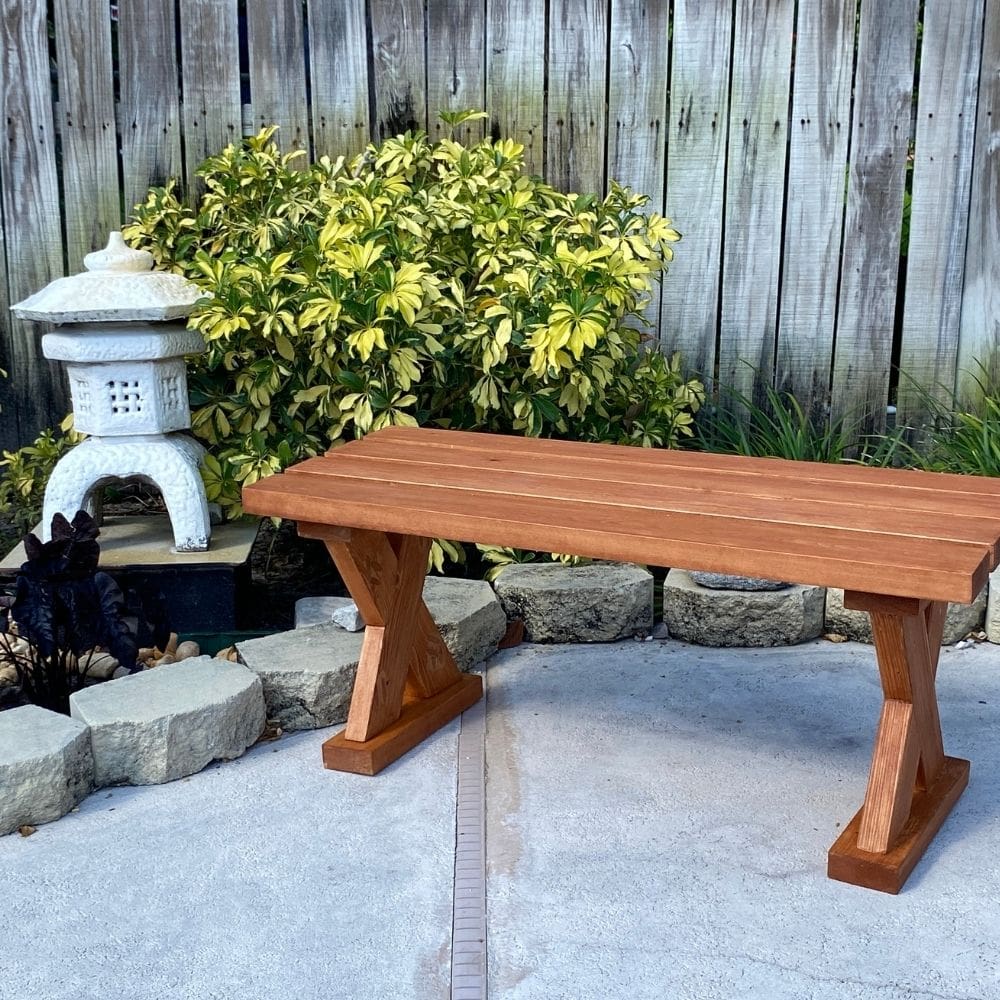
I mentioned in my initial post about it being easy to switch out the top and build a slatted one. I have gotten a few requests and questions on how to do that.
Plus, I needed to make something to donate to my daughter’s school auction. I decided it was the perfect time to rebuild the bench in the new configuration and also record a video to hopefully answer any of the questions you might have! 
RELATED: Easy $15 DIY Outdoor Coffee Table
***This post contains affiliate or referral links. It is a way for this site to earn advertising fees by advertising or linking to certain products and/or services. Please read my full disclosure here ***
Tools and Hardware Needed to Build the 2×4 Bench-
- Lumber per plans
- Miter saw
- Pocket hole jig (This one is my favorite)
- 2½” Pocket hole screws – be sure to use the blue ones if building the bench for outdoors.
- Power drill/driver
- Random orbital sander
- Exterior grade stain and finish
- 2″ Spax screws
RELATED: See everything you need to know about using a Kreg Jig
How to Build an Easy 2×4 Bench
The plans show you step by step how to build this 2×4 bench step by step. It even splits it up into both versions – the upholstered and the slatted one so you can pick what you like. Or build one of each!

The only tricky part for a beginner here would be getting the angles cut right so they all lineup. Watch the video carefully to see the little tricks I use to get everything working perfectly.
Before we get started, make sure to follow me on Instagram, Facebook, YouTube, and Pinterest to keep up with all my latest builds and projects!
Also, I assembled one of the X-legs live on Facebook. Watch that and if you have any questions, just leave them for me there and I will answer them all! pssstt… while you are there, make sure to like the page!
It is no secret, but if you are new around here, you know I love X-legs… they are so simple and yet add personality to a piece of furniture.
I had to give this one away… it was pretty popular at the auction by the way. But I think that patch of grass is the perfect spot for it and I need to build one more!
Don’t forget to grab the plans here.
If you build this bench please do share a picture with me! I love seeing all the amazing variations of my designs! Email me ([email protected]) or tag me on Instagram!
See all the benches readers have built!
Reader Projects
By Benito L. By Luis M. By Michelle
Anika's goal is to inspire and empower beginners with woodworking, DIY, home improvement, and home decor ideas.
She wants everyone to unlock their creative potential and experience the feeling that comes with making something. Nothing feels better better than seeing something and saying "I can make that!"


It looks Great! Will definitely try this project. The look is so simple yet it kind of goes well with everything. Thank you for sharing this guide. Cheers!
Thanks for sharing, use the natural wood for my furniture is always my dream, now it is always the combined wooden plate.
This is very nice indeed 🙂 I love the readers’ projects too. It shows how many variations of this simple project you can come up with. I may give it a go as well but instead 2x4s on top I’d use some pallet wood I have laying around. Thanks for the plans as well as the video that would definitely make it easier. Thank you for sharing Anika!
P.S. It seems that commenluv doesn’t pull any links from https sites 🙁
Pinned it for later. Thanks for sharing your plans. The bench looks beautiful. #craftyweekends
Hello Anika,
Great project and love your instructions! Thank you for sharing at Share Your Style #184 this week. Happily pinned to my DIY Projects board for you and our readers. <3
Happy Thanksgiving,
Barb 🙂
http://www.frenchethereal.net