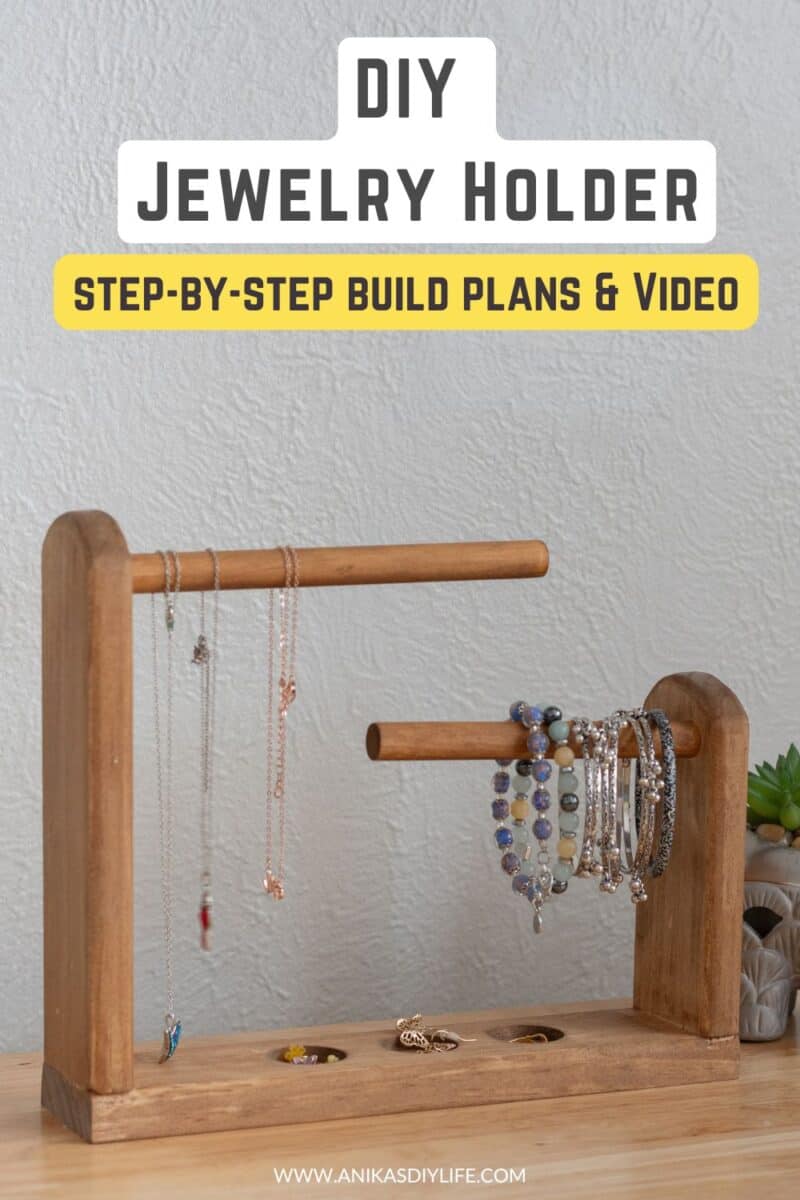
How to Build a Tabletop DIY Wood Jewelry Holder
Learn how to build a DIY tabletop jewelry holder with this easy woodworking tutorial. Perfect beginner project!
I think the best gifts are not only handmade but something they’ll actually use… and think of you every time they use it.
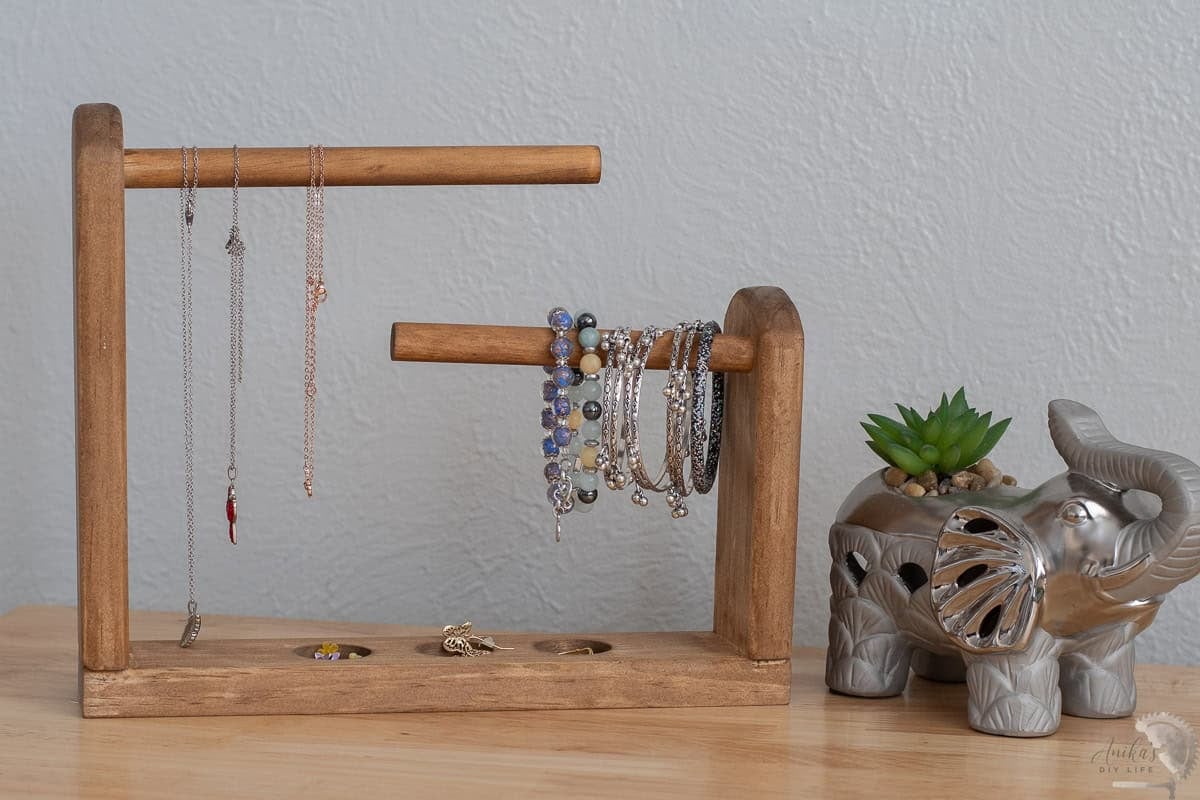
Today, I am showing you how to build this gorgeous tabletop jewelry holder. It’s perfect for beating that dreaded dresser clutter and keeping necklaces, bracelets, and rings neatly organized.
The best part? This isn’t some huge, complicated woodworking project. It uses basic materials, and you can easily customize the size and finish to match anyone’s style. If you can use a saw and a drill, you can make this!
***This post contains referral or affiliate links. It is a way for this site to earn advertising fees by advertising or linking to certain products and/or services. Please read my full disclosure here ***
Supplies Needed
- Lumber per the plans
- 1¼” finish nails or trim head screws
- Clamps. I like these.
- 1/4″ round over router bit (optional)
- 3/8″ Forstener bit
- 1″ Forstener bit
- Wood Glue
- Paint/stain of your choice
- Clear Coat. I used this one.
Tools Needed
I have slowly upgraded my tools over the years, and below I have added both the tools I use in my shop and beginner-friendly options so you can pick what fits your budget.
- Miter Saw – What I use | Beginner Option
- Nail gun – What I use | Beginner Option
- Sander – What I use – I have had this since 2015 and still going strong!
- Router (optional)
- Jigsaw (optional)
How to Make a DIY Tabletop Jewelry Holder
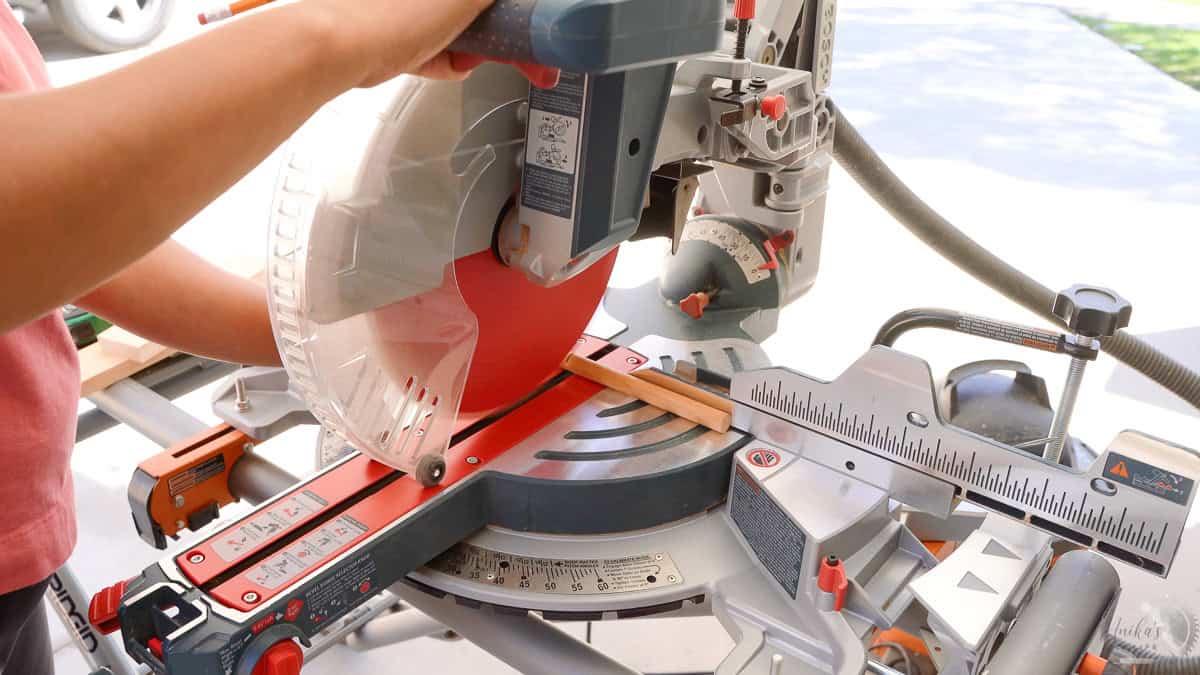
Step 1 : Prep the Boards
- Make all the cuts per the cut list in the plans. See how to use a miter saw.
- This is a good time to sand all the boards smooth. See more about how to sand wood.
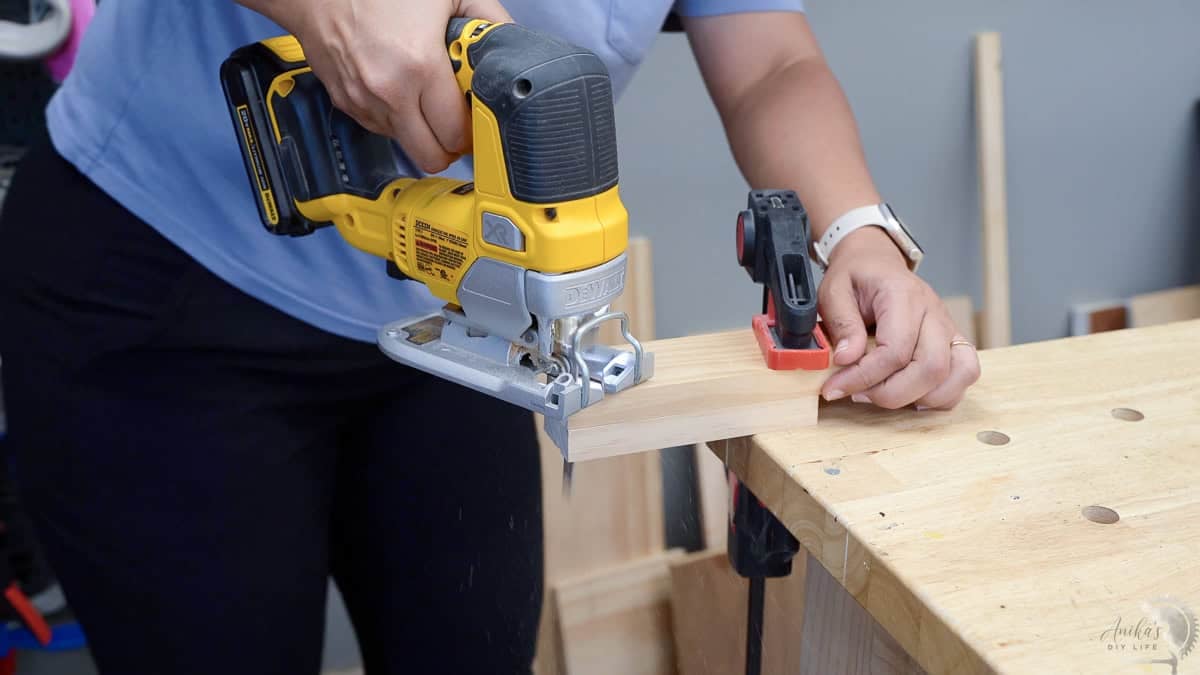
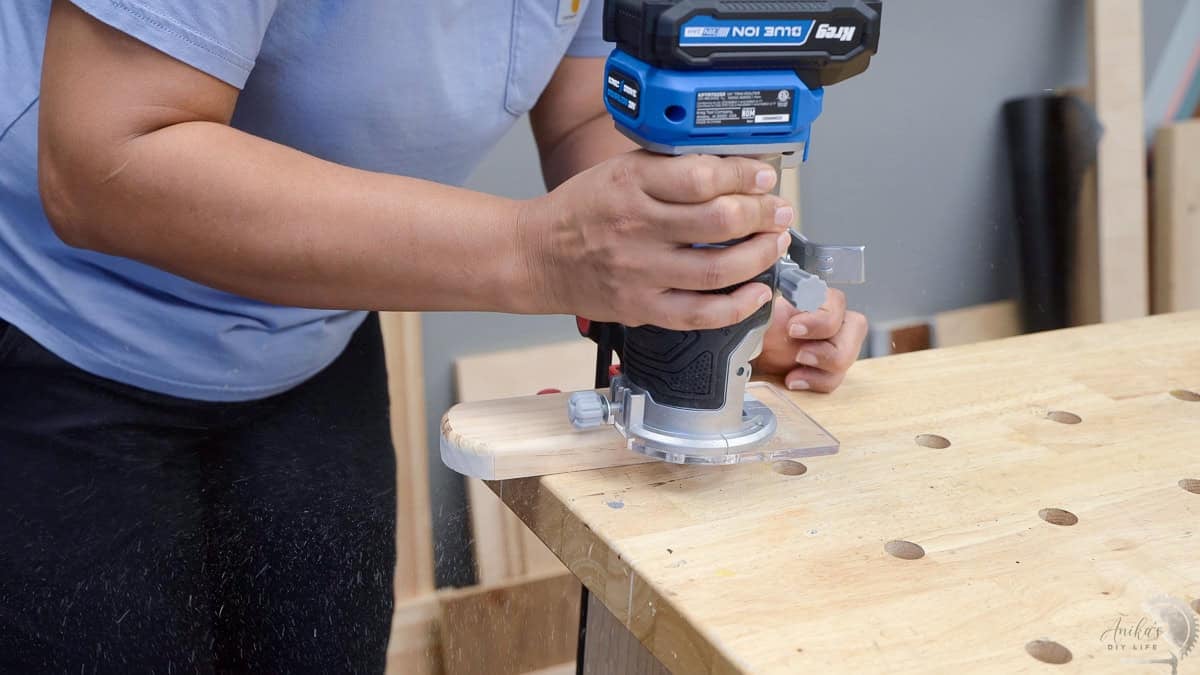
Step 2: Shape the Edges (Optional)
This part is entirely optional but adds such a pretty, polished look.
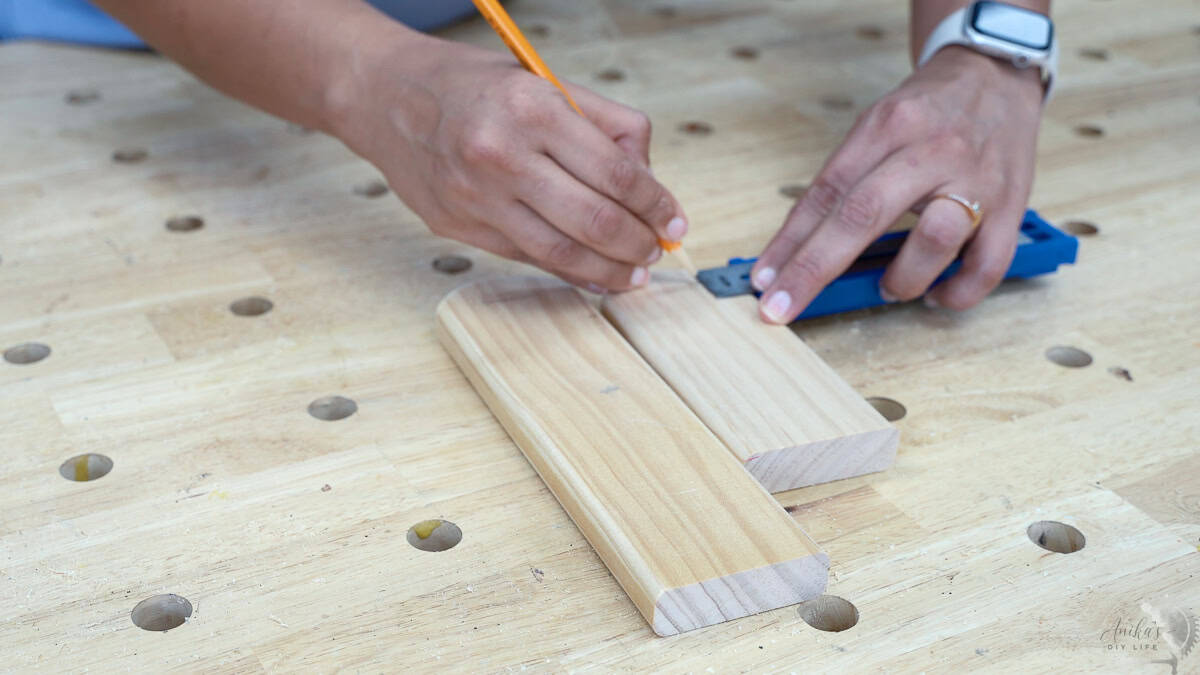
- Draw a simple arc at the top of both side pieces.
- Cut along the line using a jigsaw.
- If you’d like, round over the edges with a ¼” roundover bit. I rounded both sides of the end pieces and the top of the base.
Step 3: Make the Holes in the Base
- Mark the locations for the two 1″ wide holes in the base (these create the pockets for the sides).
- Drill ½” deep with a 1″ Forstner bit.
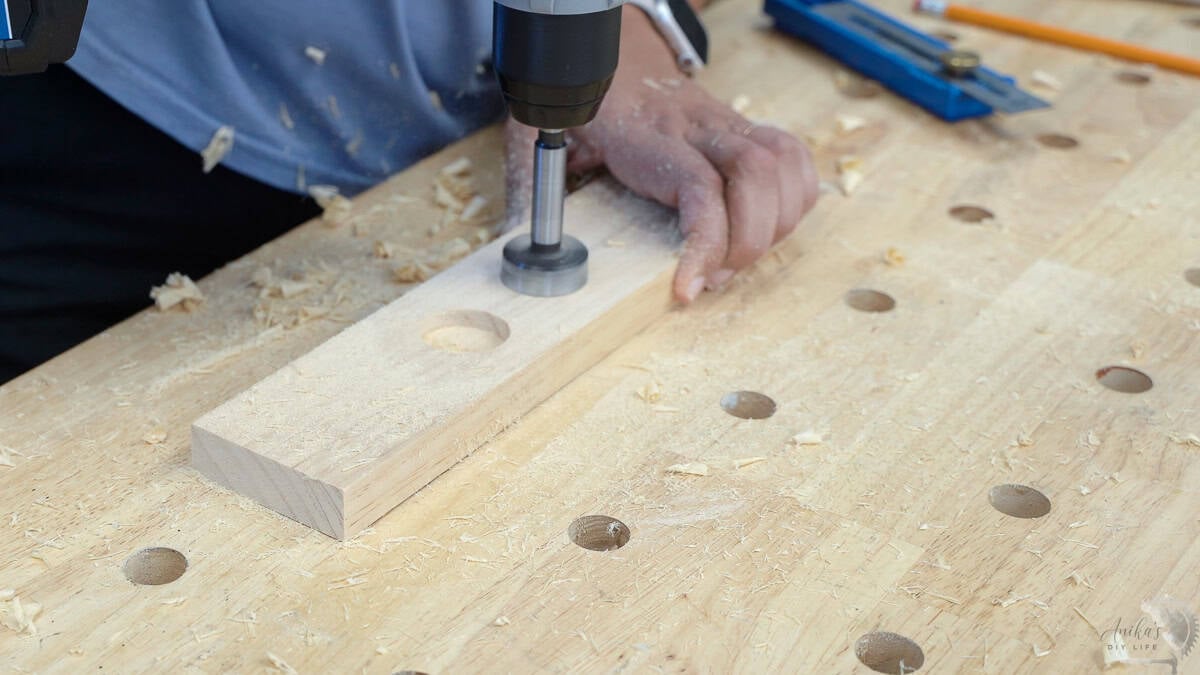
Tip: Clamp your board firmly when using Forstner bits. They can catch if the board shifts.
Step 4: Add the Dowels
- Measure and mark the dowel hole positions on both side pieces.
Important: The placement is offset, so the jewelry on one dowel doesn’t collide with the other.
- Drill ½” deep using a ⅜” Forstner bit.
- Add wood glue and insert the dowels
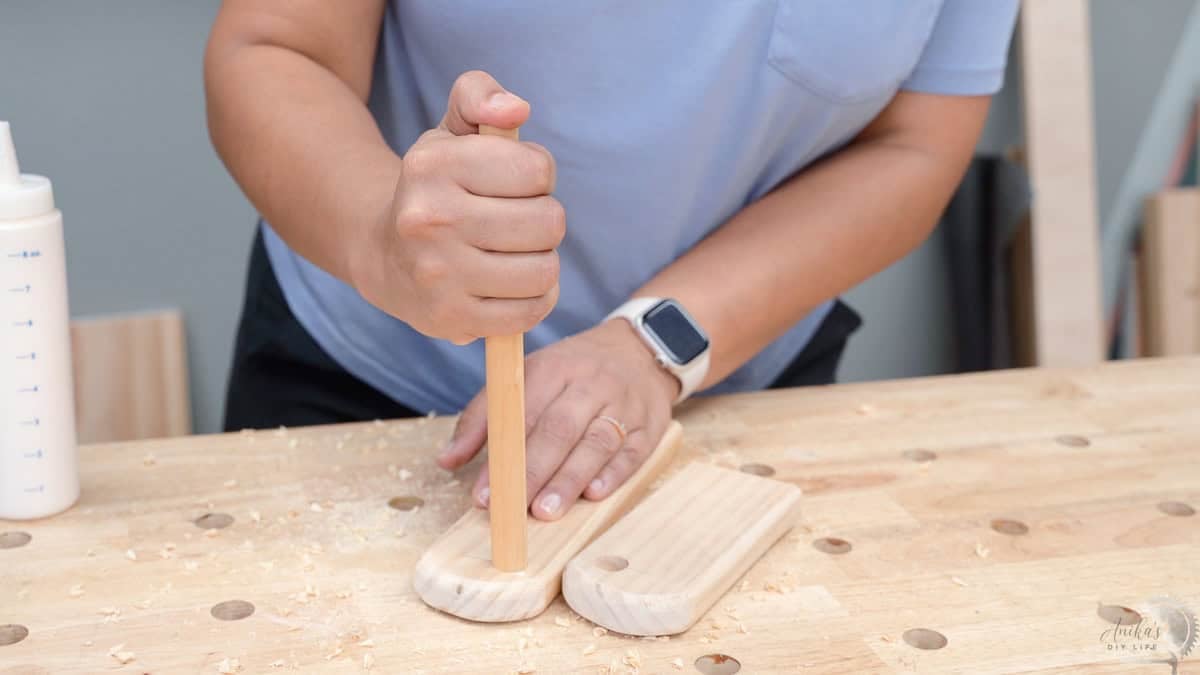
If the fit feels loose, you can shoot a quick nail from the backside, but normally glue + friction fit is enough.
Step 5: Assemble the Jewelry Holder
- Attach the sides to the base using wood glue and finish nails. You can also use trim head screws instead.
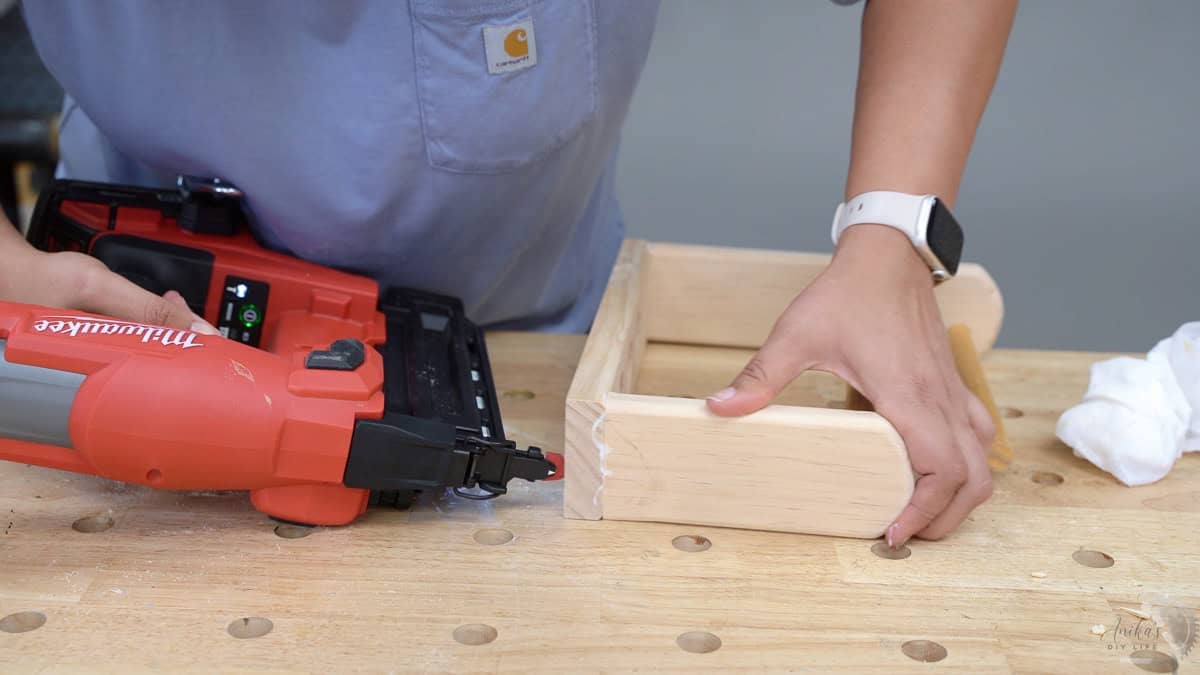
Wipe off any squeeze-out with a damp rag.
Step 6: Apply Finish
- Choose your favorite finish – stain, paint, or a clear topcoat for a natural look.
That is it!
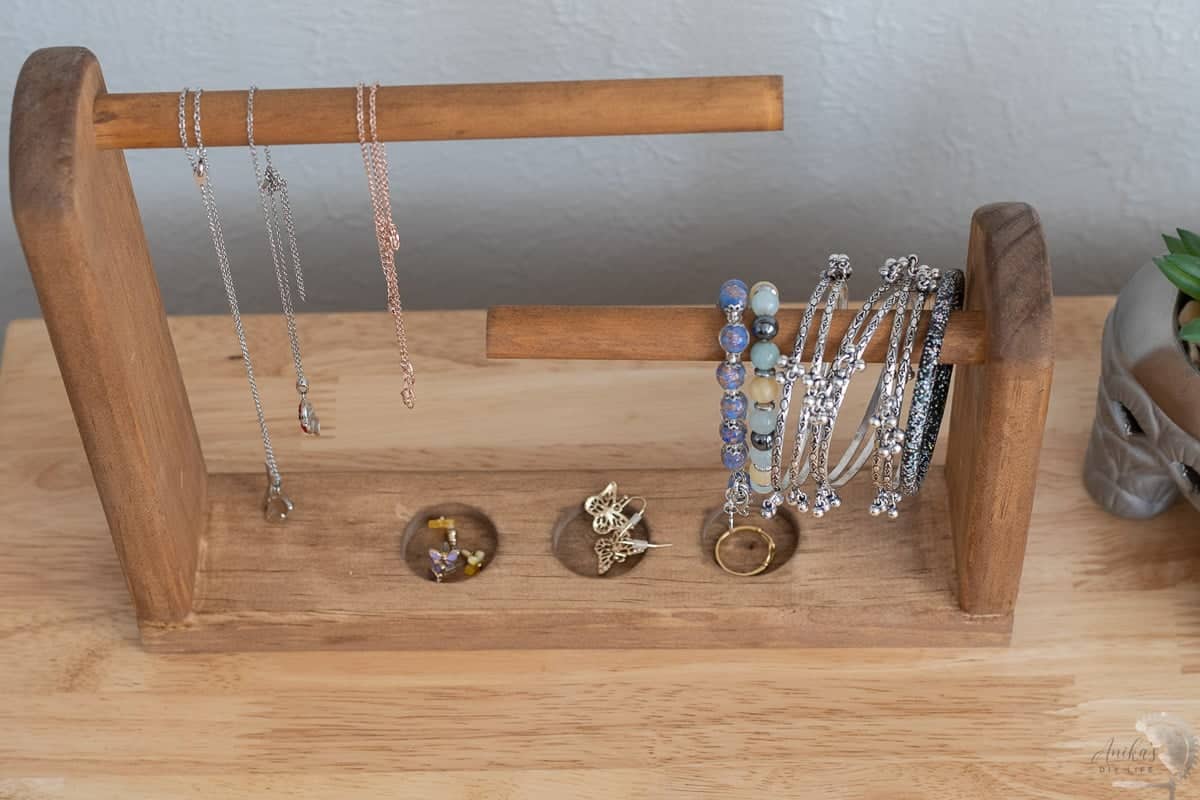
This little tabletop jewelry holder is such a fun project – quick to build, easy to customize, and a perfect gift for birthdays, holidays, or just organizing your own space. I love how something this simple can look so polished on a dresser or vanity.
Printable Plans for the DIY Jewelry Holder
Don’t forget! You can get this entire project in a printable format in your email by clicking the button below.
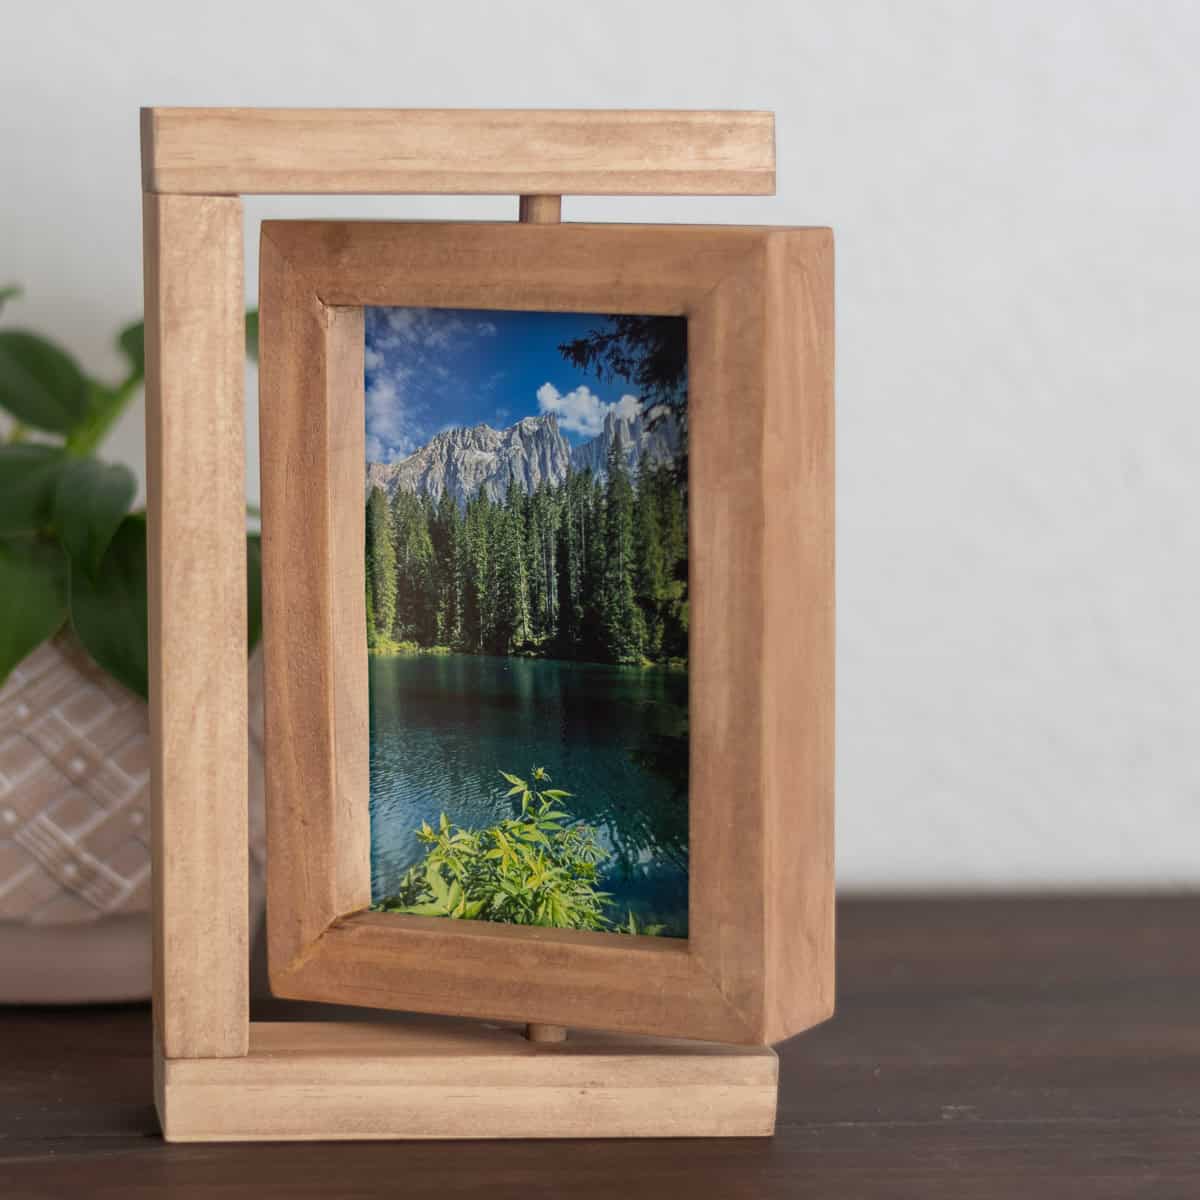
More DIY Gift Ideas:
This is Day 3 of the DIY Gifts Week! All this week, I teamed up with my friends Shara from Woodshop Diaries and Kati from Houseful of Handmade to bring you new DIY gift ideas every day.
Click on the project below to check out all the projects for today.
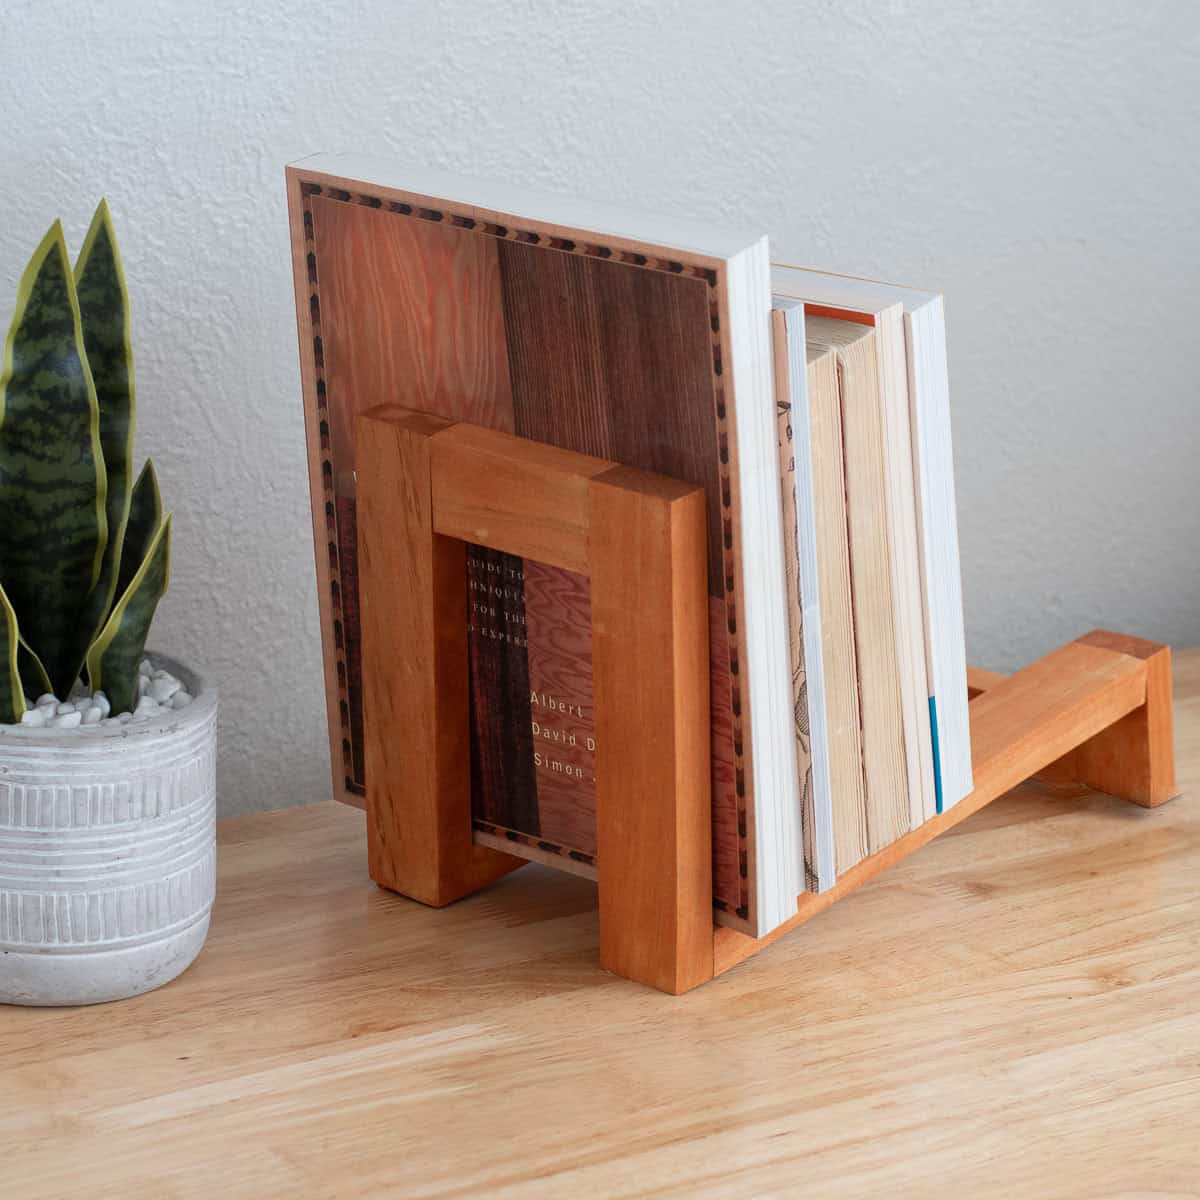
DIY Catch-all Tray by Woodshop Diaries
DIY Wall-mounted jewelry holder by Houseful of Handmade
You might also like:


Anika's goal is to inspire and empower beginners with woodworking, DIY, home improvement, and home decor ideas.
She wants everyone to unlock their creative potential and experience the feeling that comes with making something. Nothing feels better better than seeing something and saying "I can make that!"