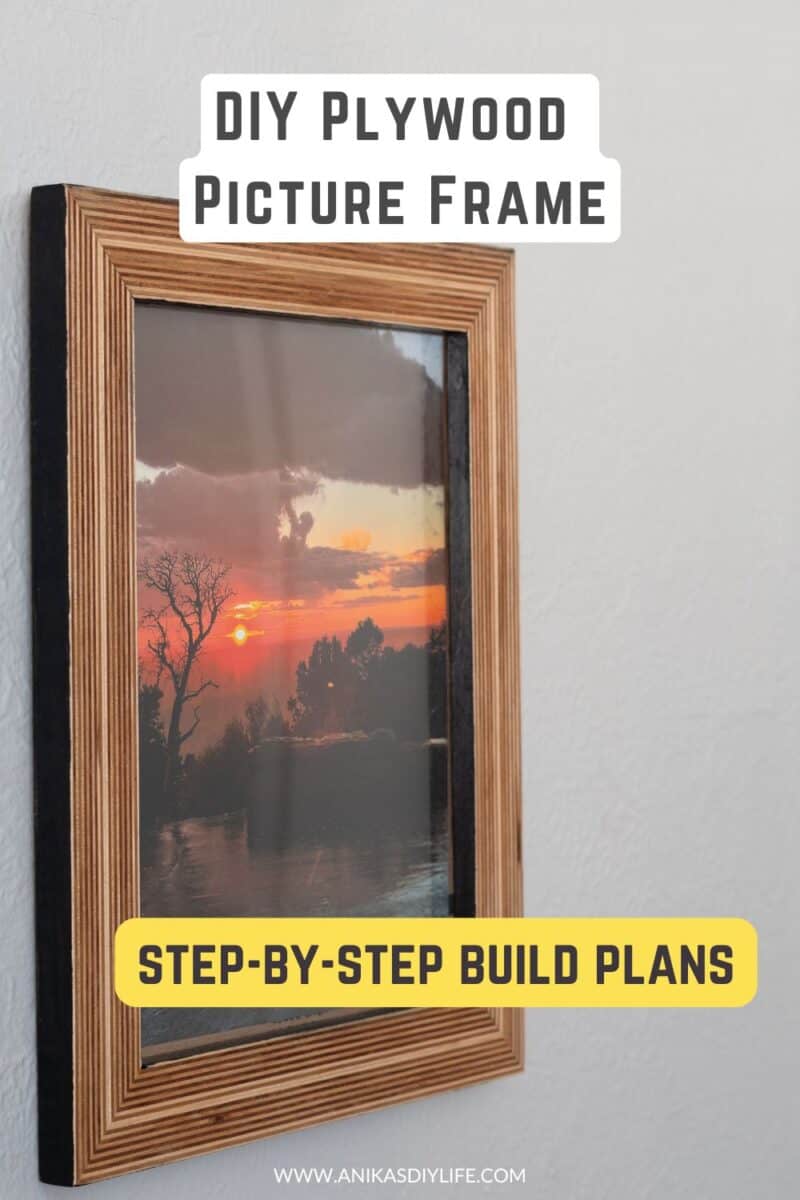
How to Build a DIY Plywood Picture Frame
Learn how to build a stunning DIY plywood picture frame that highlights the stacked wood edges. It’s the perfect handmade gift.
Let’s be honest, finding the perfect picture frame can be a real headache. The nice ones are usually overpriced, and the affordable ones are just… boring. And if you need a custom frame, it gets expensive really fast.
Picture frames are actually not that hard to make, and this plywood picture frame is a great place to start!
For this, I have a “scrap” strip of Baltic birch leftover from a project that is yet to be finished and shared. I decided this was the time to take that and put it to work. Read more about types of plywood.
Not only does this plywood picture frame make an incredibly thoughtful handmade gift for someone special, but it’s also a fun, low-pressure way to dip your toes into a couple of shop tools like the table saw and the router.
I built a frame for an 8×10 picture, but you can adjust the measurements to build a smaller or larger frame.
***This post contains referral or affiliate links. It is a way for this site to earn advertising fees by advertising or linking to certain products and/or services. Please read my full disclosure here ***
Materials Needed
- Lumber per the plans
- Rabbeting bit
- Clamps. I used these clamps but you can also use pipe clamps
- Painter’s Tape
- Plexiglass or real glass for the picture.
- Backing clips
- Sawtooth hanger
- GRR-Ripper
- Wood Glue
- Tape measure
Tools Needed
I have slowly upgraded my tools over the years, and below I have added both the tools I use in my shop and beginner-friendly options so you can pick what fits your budget.
- Table Saw
- Chisel
- Miter Saw – What I use | Beginner Option
- Router (optional)
How to Make the Picture Frame
Step 1: Make the Board
- Set the table saw to 3/4″ and rip the plywood into two strips.
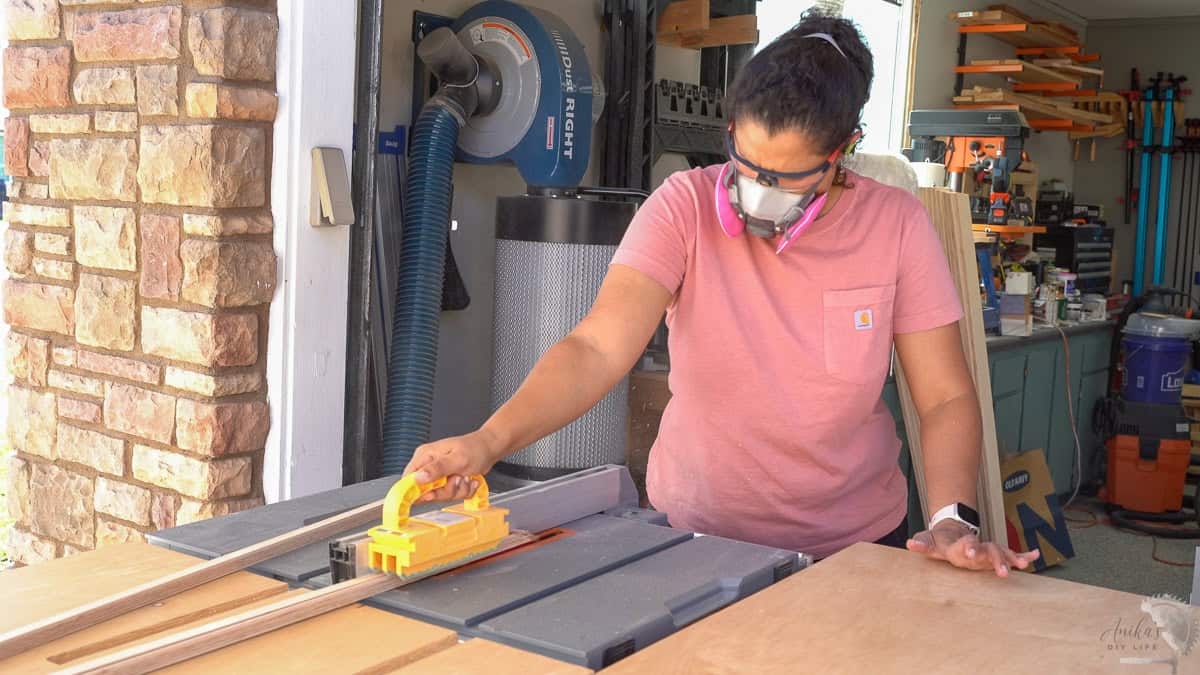
You could always go with more strips to make a wider frame if you like, but you will have to recalculate the dimensions for the cuts.
- Apply glue, align the boards, and clamp. Allow to dry overnight.
Tip: Make sure to clamp down the ends to keep them from lifting up.
Step 2: Make the Cuts
Be sure to check your miter saw for alignment before making the cuts. See how to align a miter saw.
- Set the miter saw at 45 degrees and make the cuts for the picture frame. The dimensions for an 8×10 picture frame are in the plans.
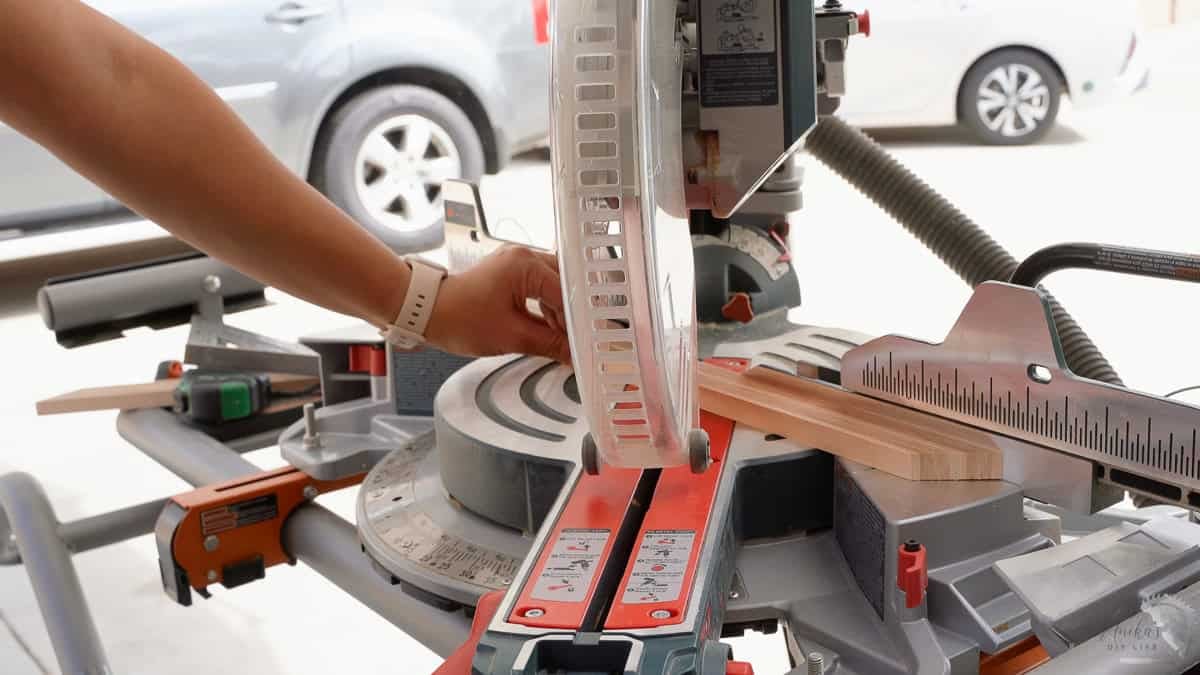
Tip: When making angled cuts, I highly recommend keeping the saw fixed at a specific angle and then flipping the board to change the direction of the cut instead of moving the saw. This makes sure you get the most accurate cuts that line up.
Step 3: Build the Frame
- Lay out tape and align the pieces for the frame on top. Apply glue to the joints and fold the frame to make a tight joint.

- Repeat to complete the frame.
- You can also add some tape at every corner to keep them tight.
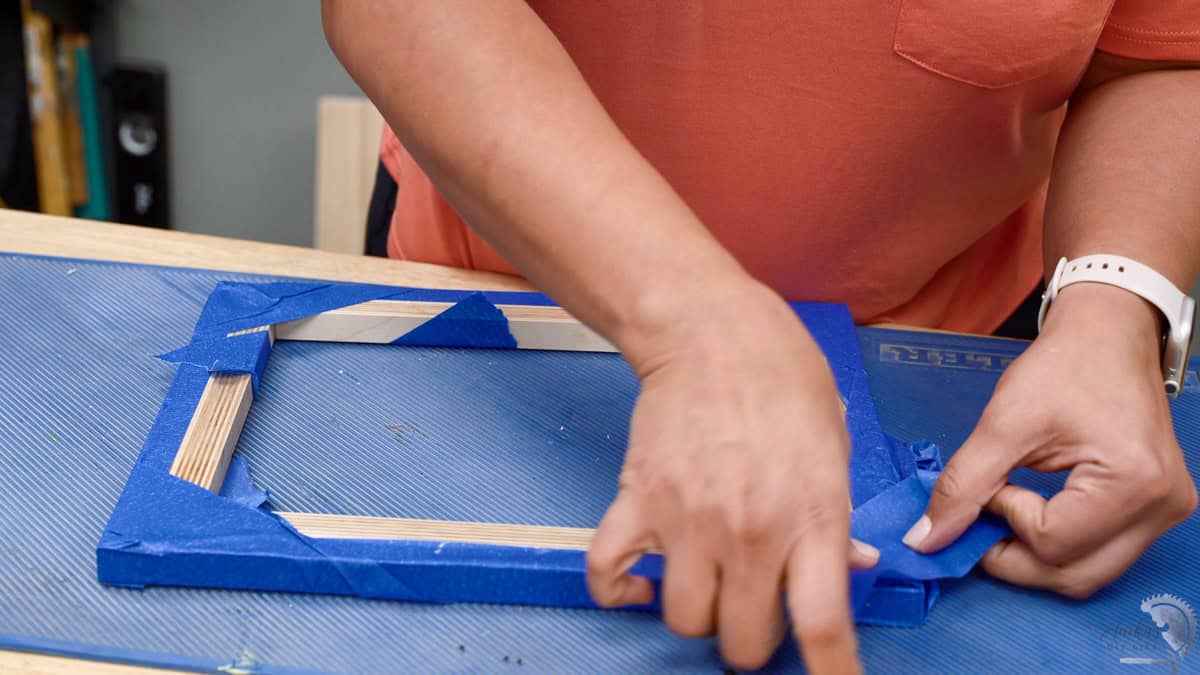
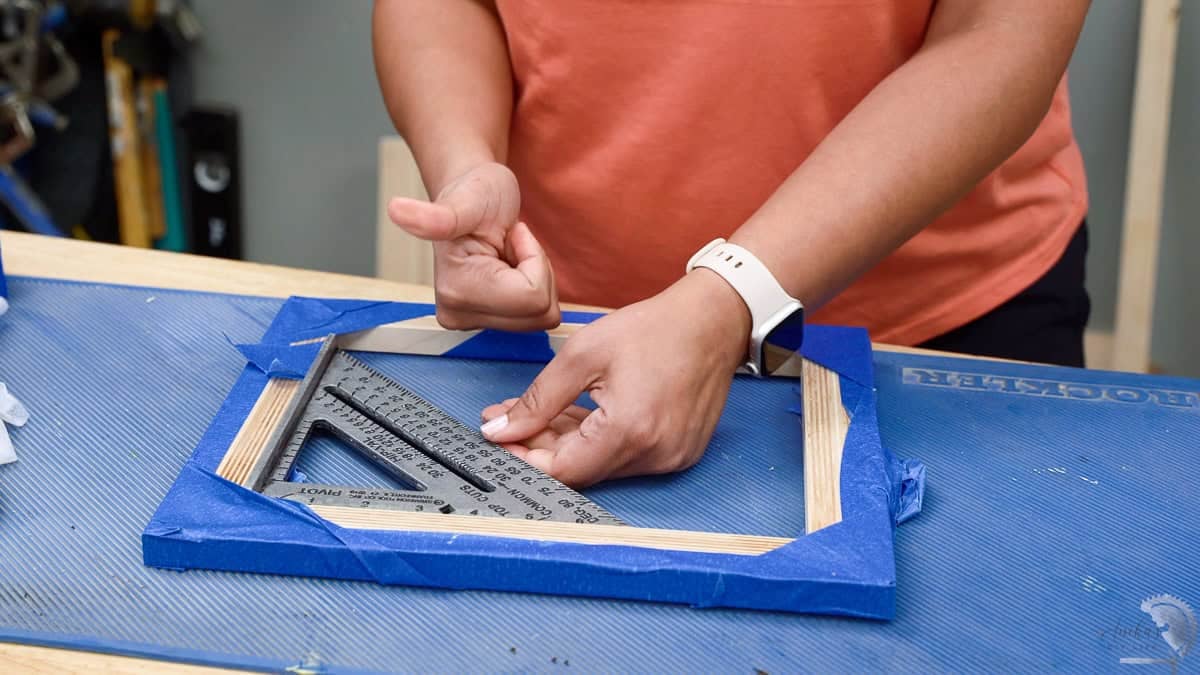
- Check for square and adjust as needed. See how to check for square and correct.
- Allow to dry overnight.
Step 4: Route the Step
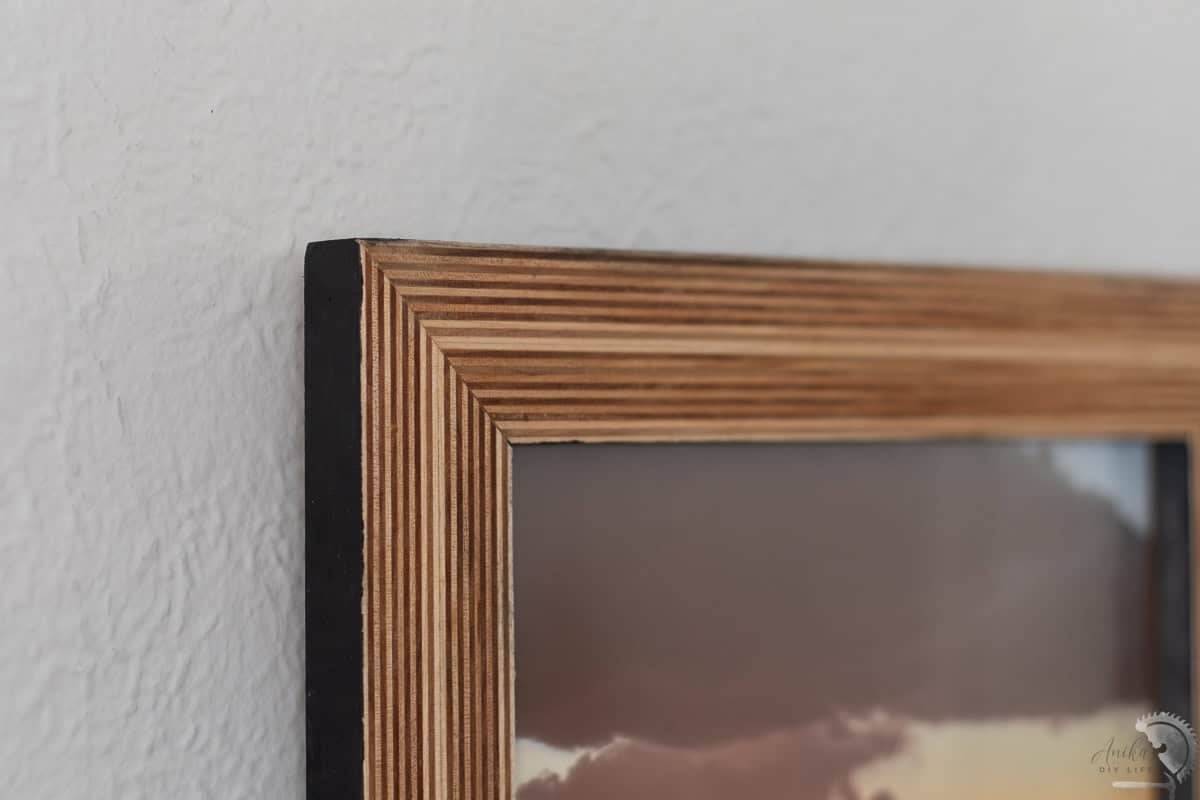
Using a rabbeting bit, create a step all around the frame for the plexiglass, photo, and cardboard to sit in.
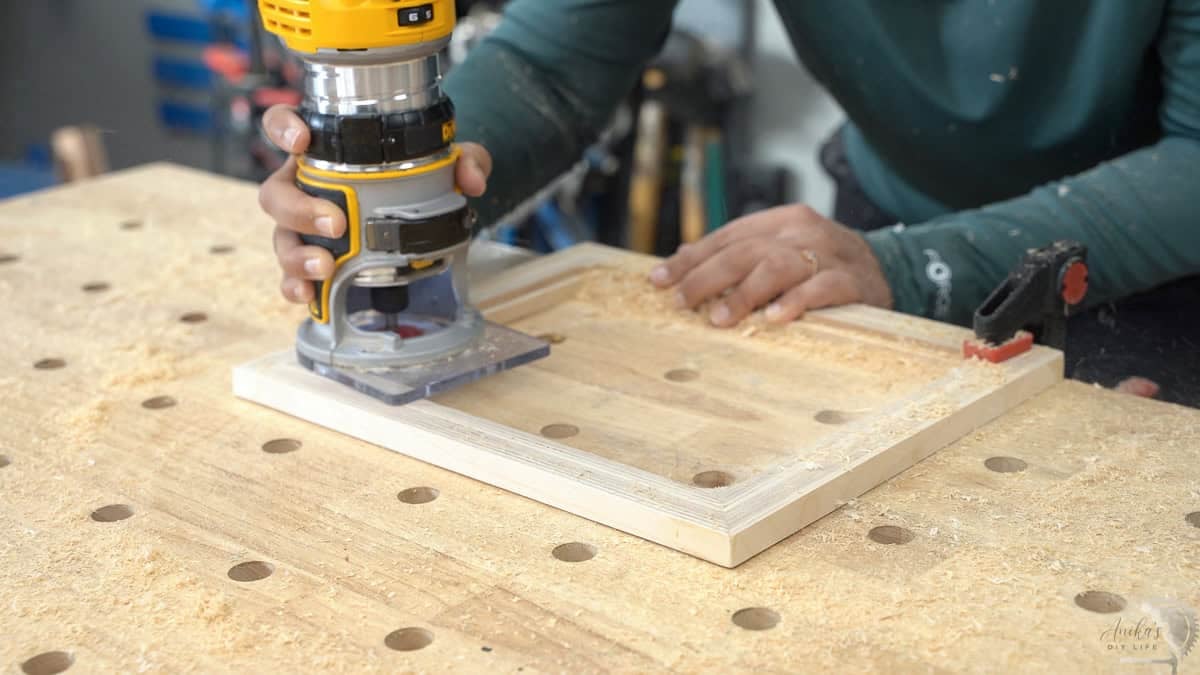
The corners of the groove will be round because the router bit is round. These can be cleaned up using a chisel.
RELATED: How to Use a Router: For Beginner Woodworkers and Types of Router Bits and Their Uses
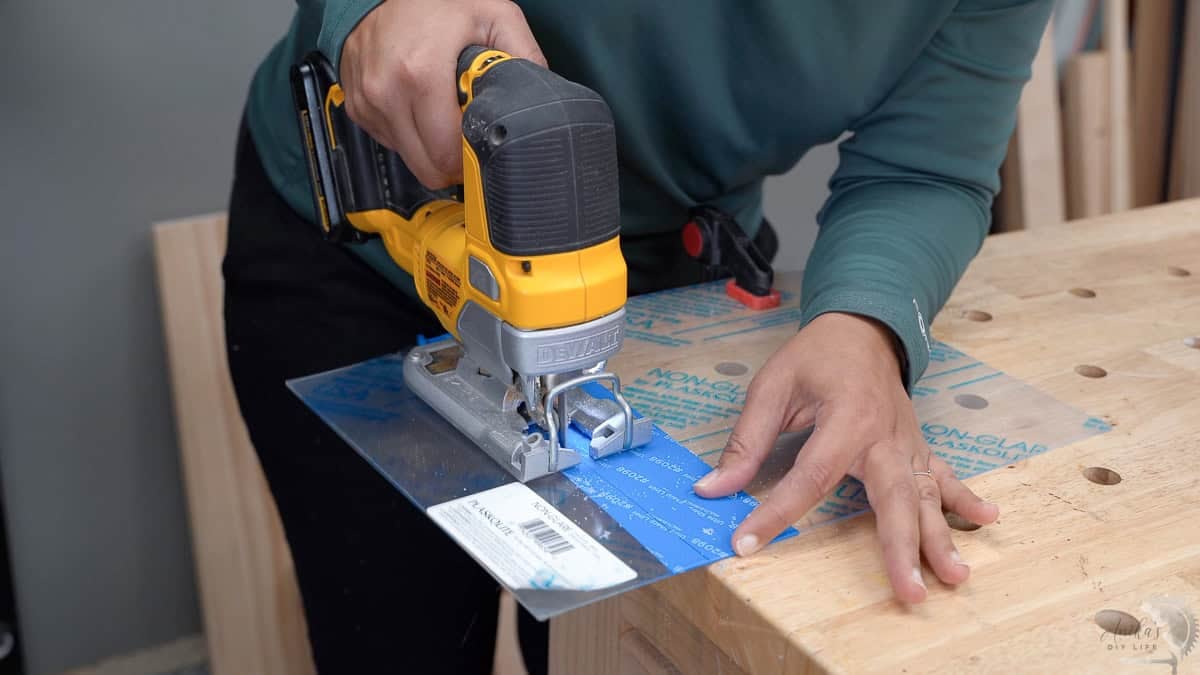
Step 5: Cut the Plexiglass and Backing
Once you have the step routed, you can double-check the dimensions and cut the plexiglass and backing to sit accordingly.
- I like to cut the plexiglass with a jigsaw. I apply masking tape on the plexiglass and keep it supported as close to the cut line as possible to keep it from shattering.
- I used cardboard for the backing but you can also use a 1/4″ plywood or backer board. Just be sure to adjust the depth of the step you need to route accordingly.
Step 6: Apply Finish
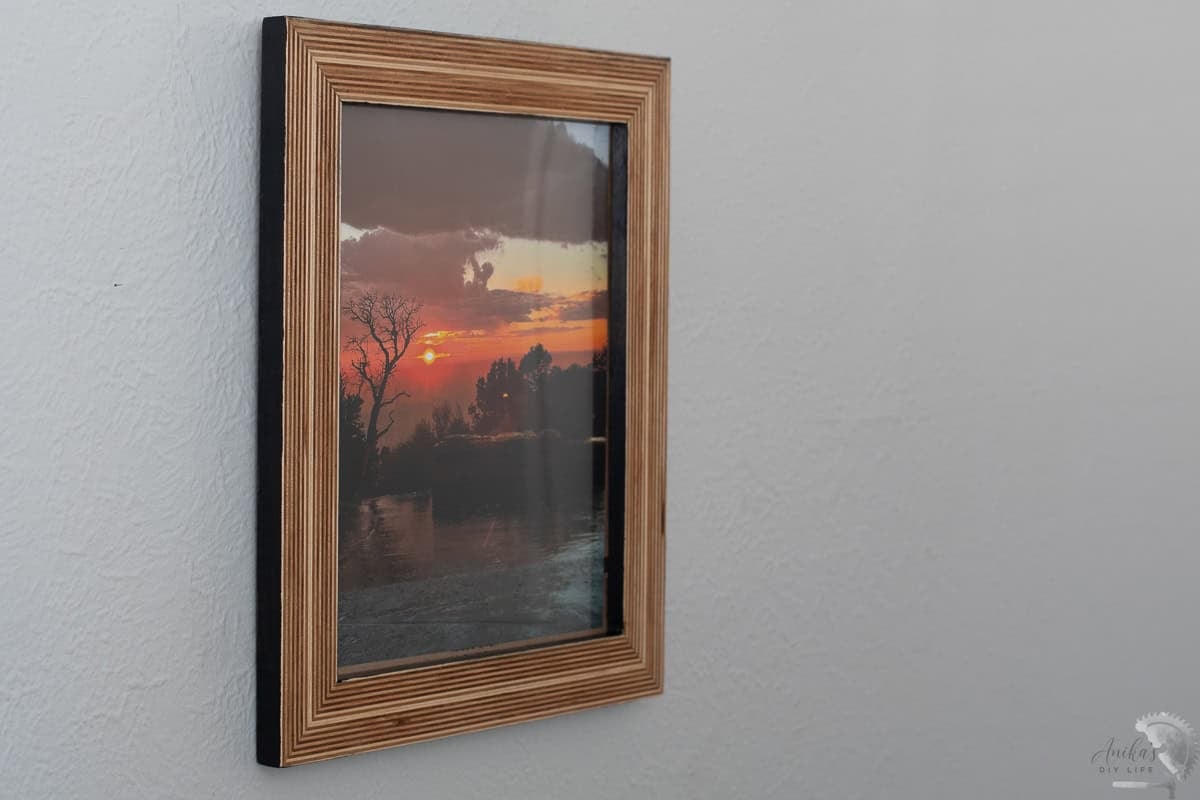
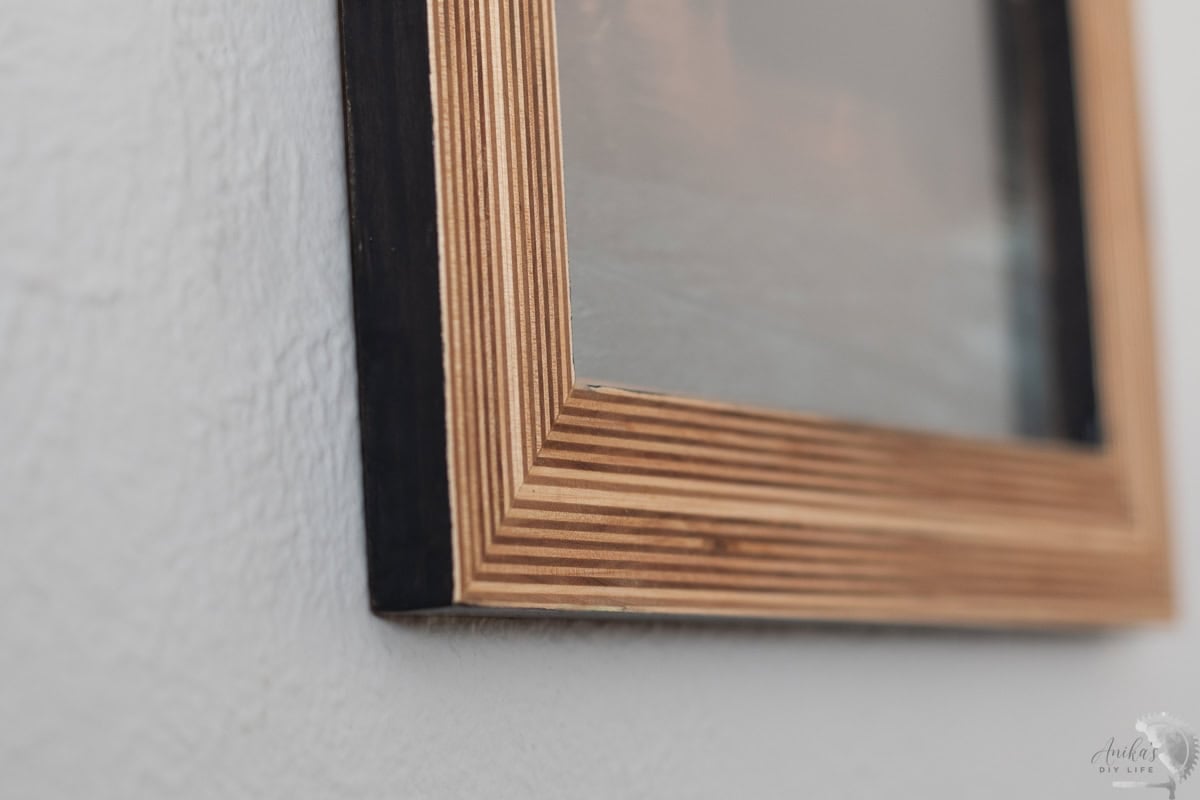
I applied a finishing oil on the plywood edges to bring out their color and black paint on the inside and outside edges for a modern look.

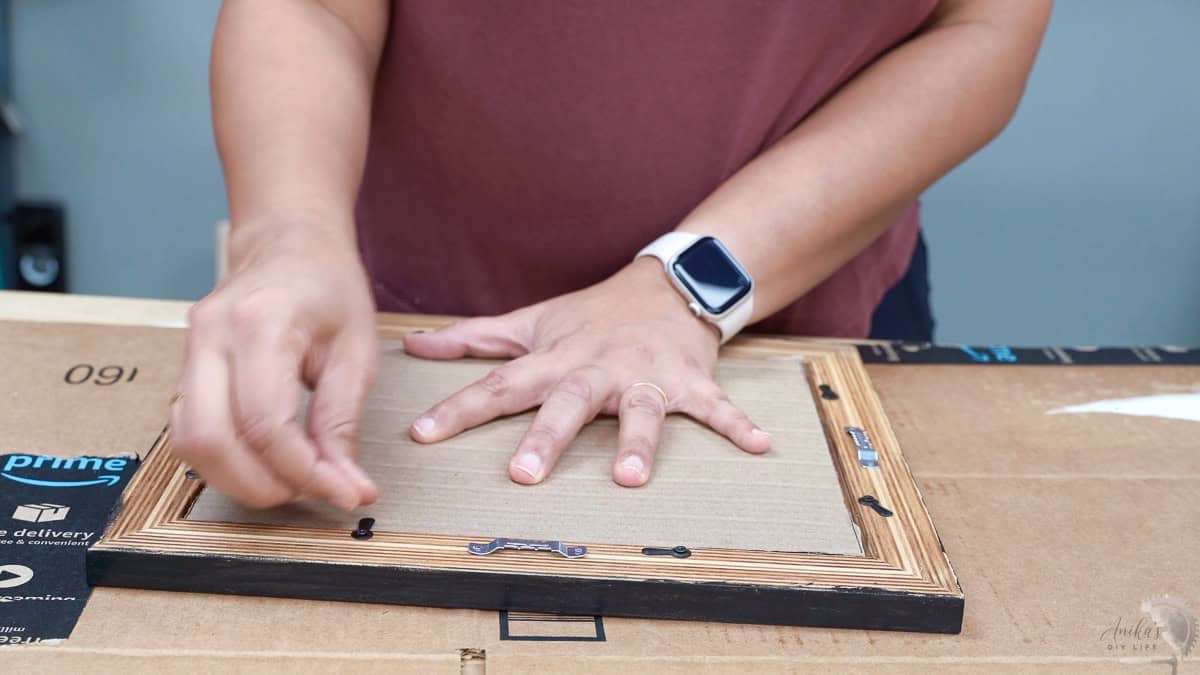
Step 7: Add the Hardware
- Add the plexiglass, photo or artwork, and the backer.
- Install the backing clips.
- Add sawtooth hangers to hang it up!
And that is it!
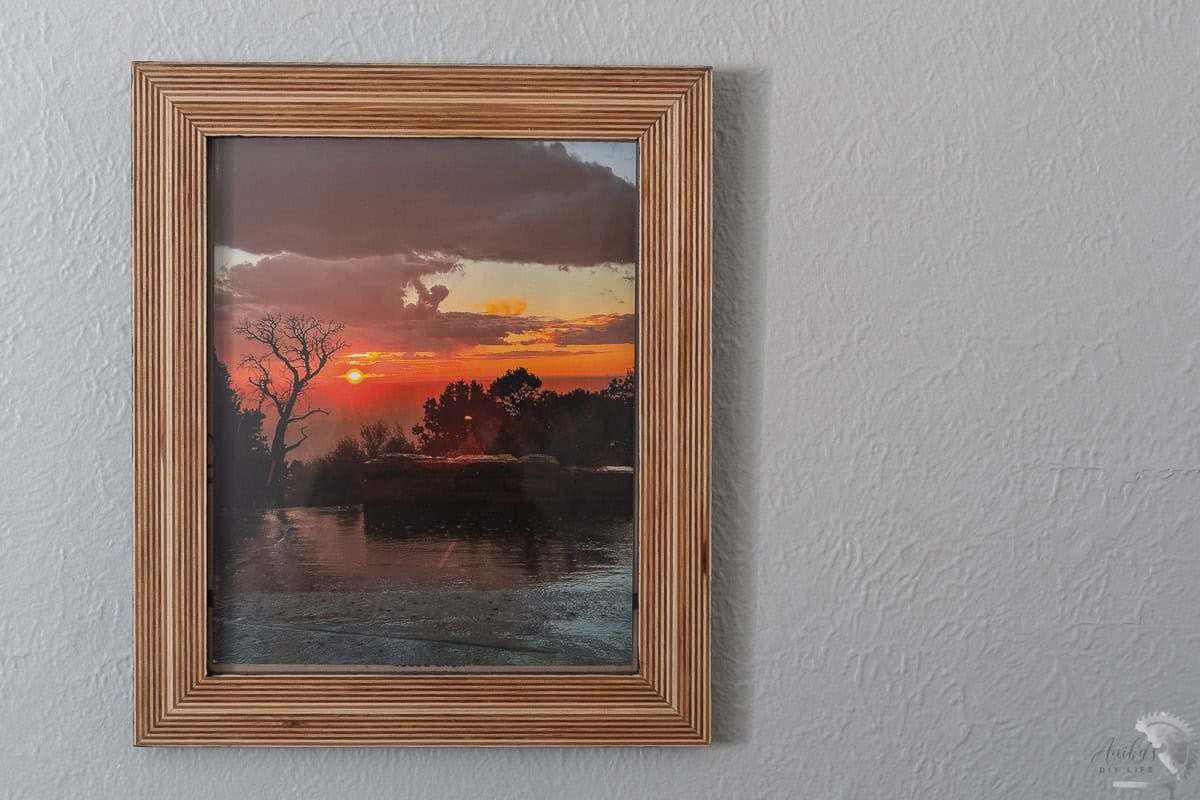
I love the way it turned out and how the plywood edges shine and give it a modern twist.
Add a favorite photo, a sweet note, or a special memory inside, and you’ve got something thoughtful, personal, and handmade… which always means so much more.
Printable Plans for the Picture Frame
Don’t forget! You can get this entire project in a printable format in your email by clicking the button below.
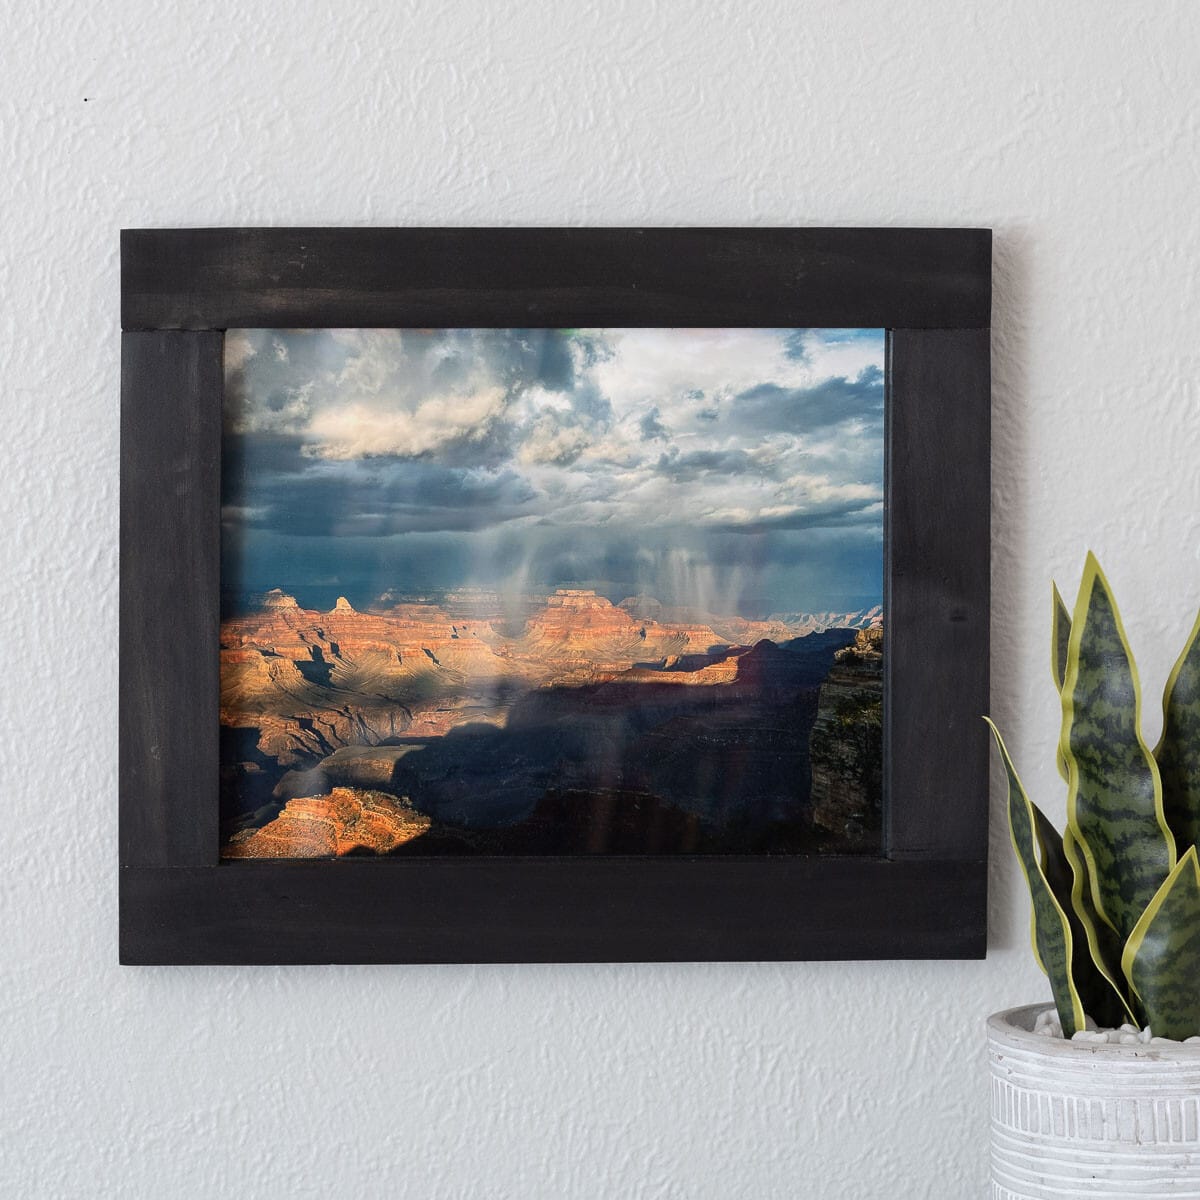
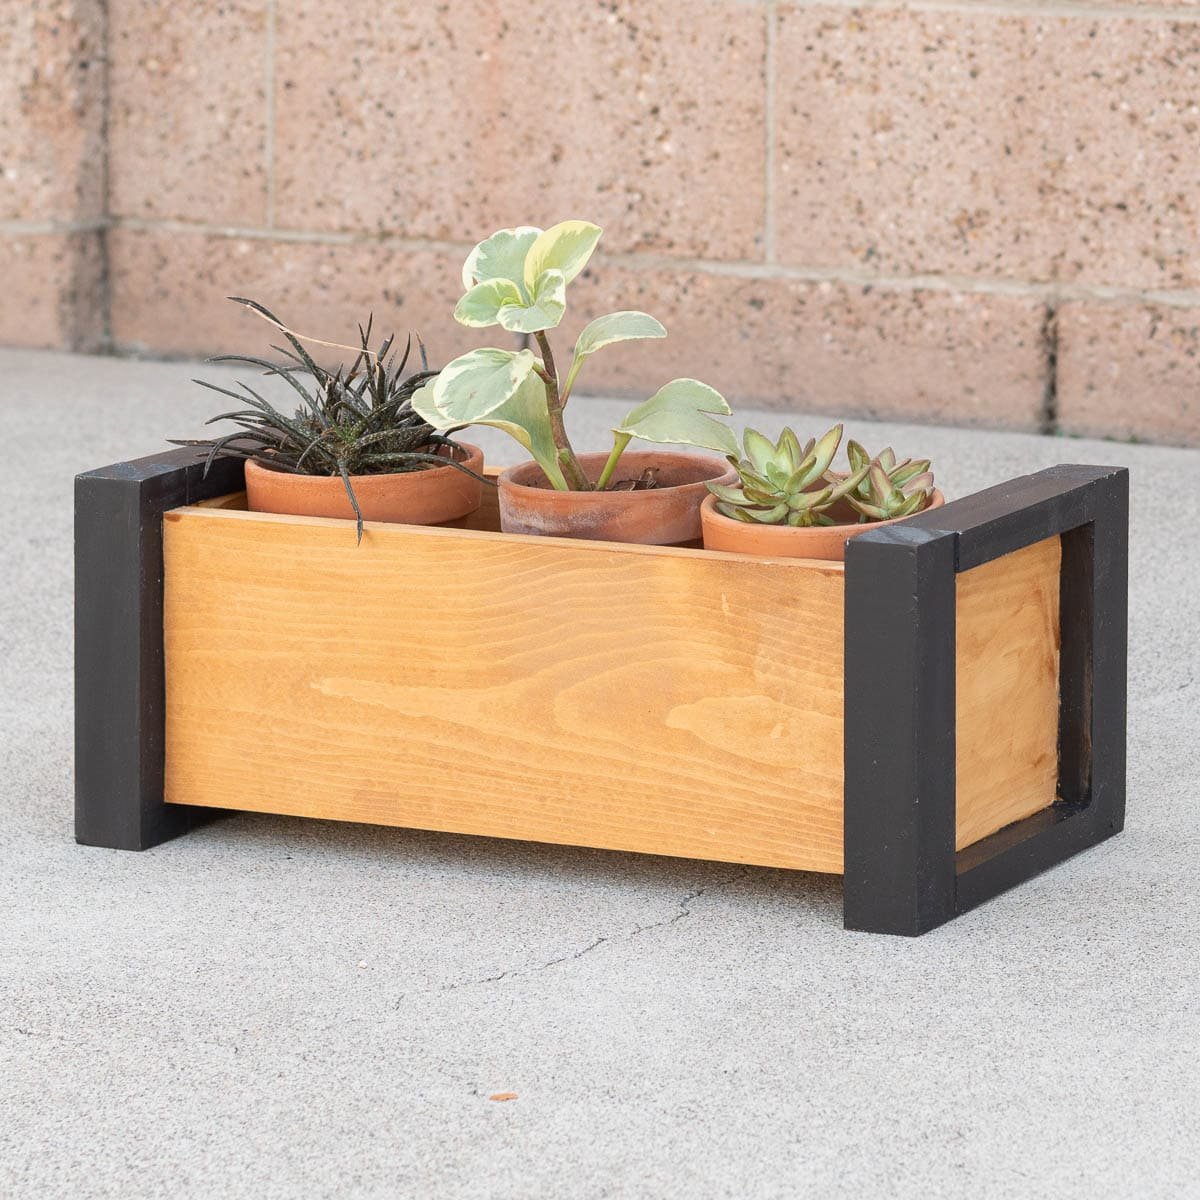
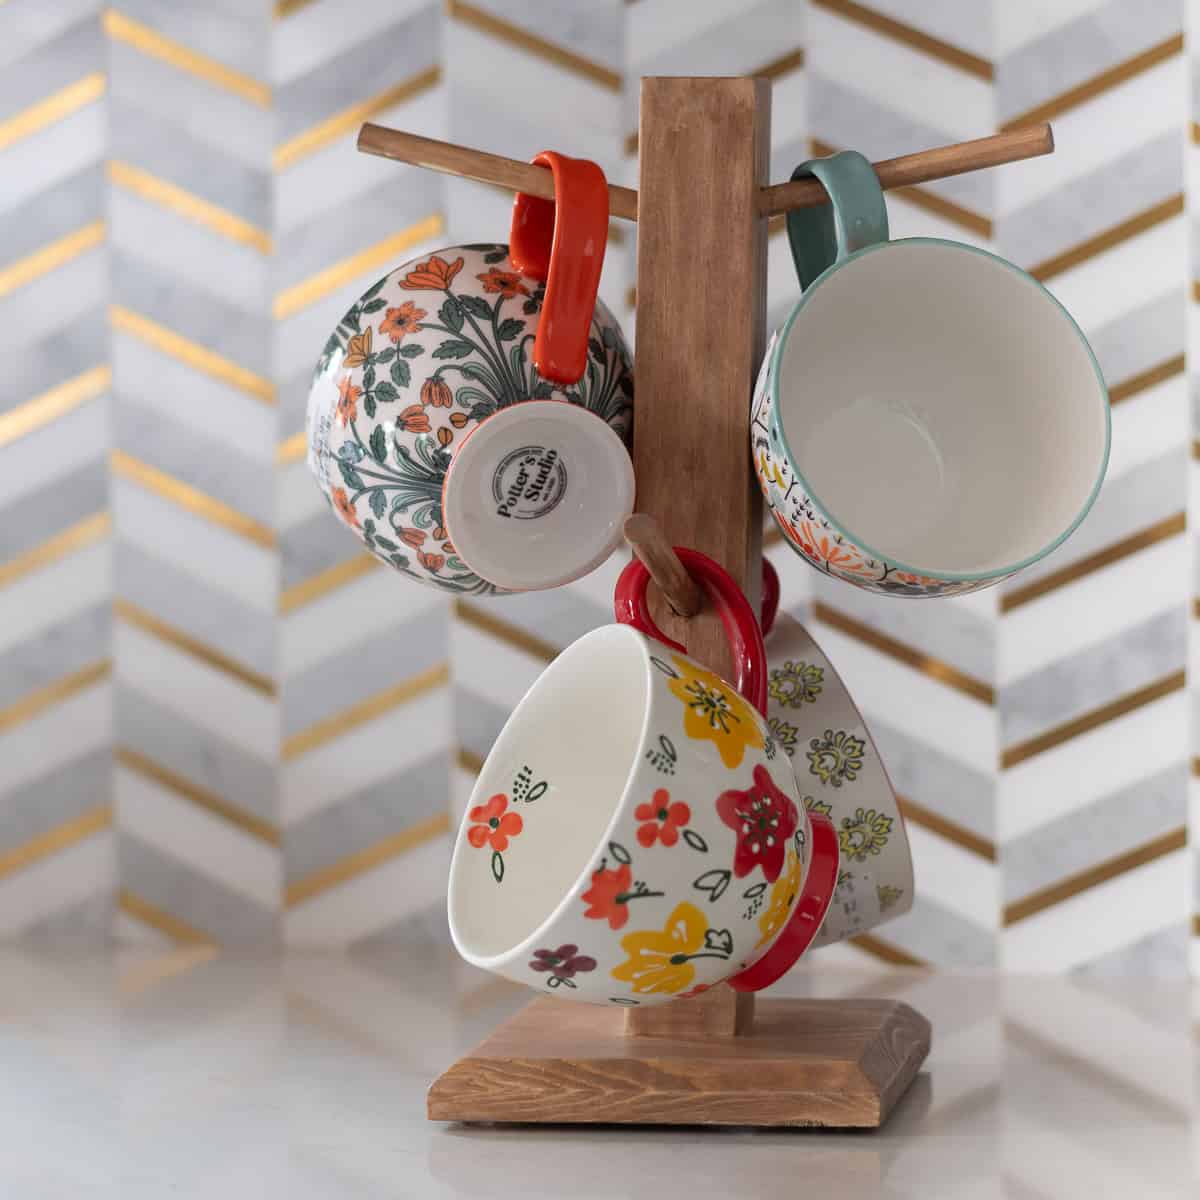
More DIY Gift Ideas:
This is Day 5 of the DIY Gifts Week! All this week, I teamed up with my friends Shara from Woodshop Diaries and Kati from Houseful of Handmade to bring you new DIY gift ideas every day.
Click on the project below to check out all the projects for today.
DIY Shadow Box by Woodshop Diaries
DIY Game Controller and Headphone Stand by Houseful of Handmade
You might also like

Anika's goal is to inspire and empower beginners with woodworking, DIY, home improvement, and home decor ideas.
She wants everyone to unlock their creative potential and experience the feeling that comes with making something. Nothing feels better better than seeing something and saying "I can make that!"