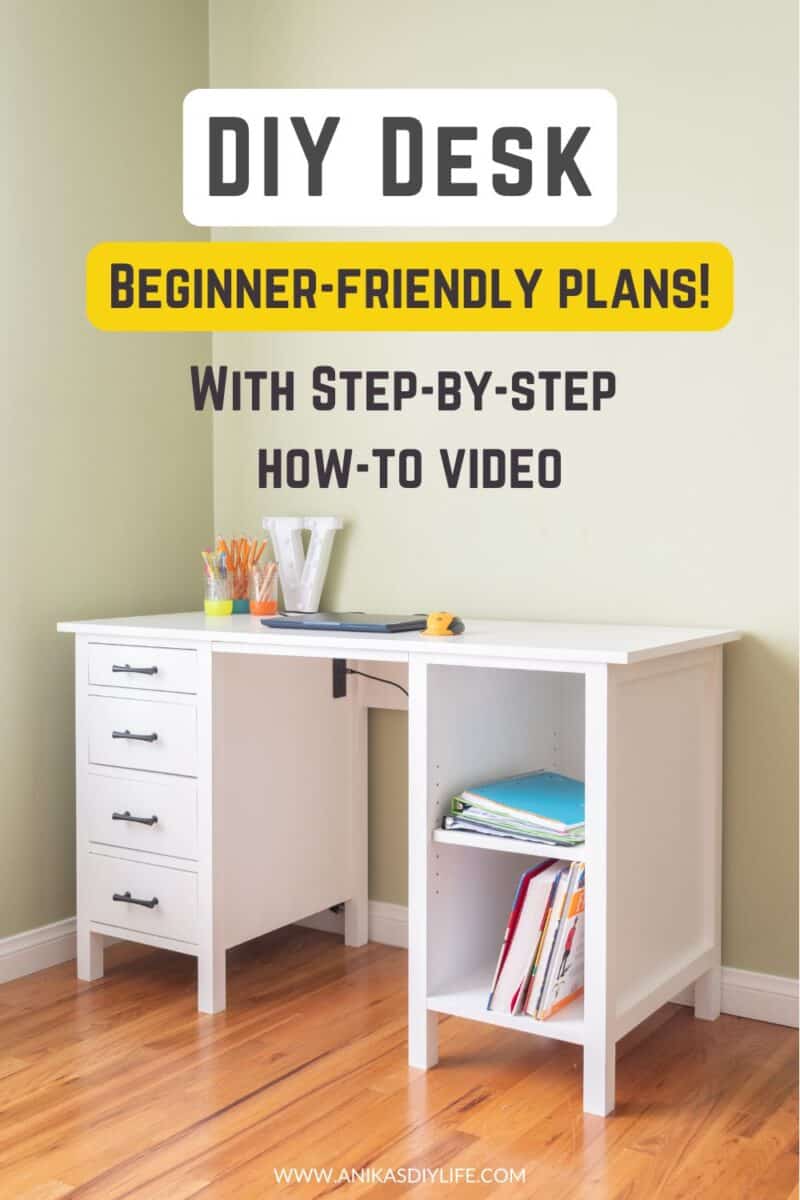
How to Build a DIY Desk With Drawers and Shelves (Beginner Friendly!)
Learn how to build a DIY desk with drawers and shelves using only 3 basic power tools! This beginner-friendly tutorial has step-by-step plans to build a custom desk with professional results. Perfect for a kid’s room or home office.
Now that my son is getting more independent with his homework and studying, he needed a dedicated spot in his room, aka a desk.
He had been using the Lego table as a desk but of course, its not a good idea to have Legos in the vicinity of the studying.
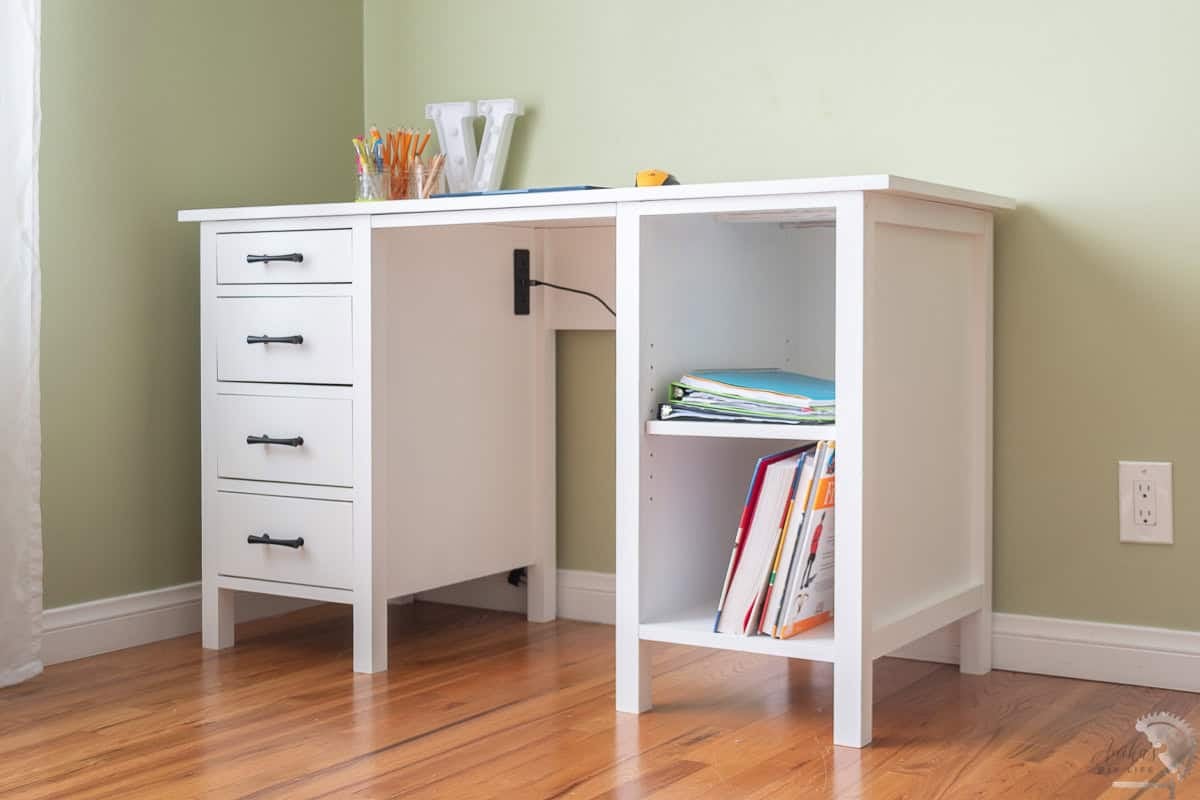
We decided his birthday gift was going to be a desk. When I asked him exactly what he wanted in his desk, he was very clear – one side with drawers and one side with shelves and some power.
So that is exactly what I built.
Why This DIY Desk Is Perfect for Beginners
While it looks like a high-end custom piece, the construction is actually surprisingly simple and it can be built using basic power tools.
- You don’t need a shop full of expensive machinery. If you have a saw, a drill, and a pocket hole jig, you can build this entire desk. Plus, a few extra jigs that make it easy to add a few customizations.
- Using pocket hole joinery means no complicated mortise-and-tenon joints, just strong, hidden, and easy-to-create connections.
- This project is like a “Woodworking 101″ course. By building this, you will learn how to create a sturdy carcass, how to build simple drawer boxes, and how to install shelving.
I did build this as part of a YouTube collaboration with Kreg to showcase their new line of tools, so I used a bunch of different tools, but don’t let that intimidate you. I tested these plans to make sure that even if you don’t have the fancy track saw I used, you can still get these exact results with a basic circular saw.
***This post contains referral or affiliate links. It is a way for this site to earn advertising fees by advertising or linking to certain products and/or services. Please read my full disclosure here ***
Material Needed
- Lumber per the plans
- Kreg Rip Cut
- Kreg Quick Flip
- Kreg Multi mark
- Kreg hardware jig
- Kreg right-angle clamp
- Kreg shelf pin jig
- Kreg clamps
- Reusable shims
- Recessed Power Strip
Tools Needed
- Kreg Track Saw with the Kreg ACS track (optional) You can also use a circular saw with a straight edge guide.
- Kreg Circular Saw, alternate circular saw
- Kreg mini circular saw. I used this in place of using a miter saw. You can use a miter saw or even a regular circular saw.
- Pocket hole Jig: Kreg 720 or Kreg Rebel Pocket hole jig
- Kreg Jig Saw
- Kreg Fast charger and battery set
- Kreg drill
- Kreg Orbital Sander
- Kreg multi tool
- Paint sprayer
- Nail Gun
- Staple Gun
DIY Desk Plans
You can get the detailed step-by-step schematics, including the cut list and diagrams in the detailed plans by clicking the button below.
How to Build
As always, I have a detailed video showing you how to build the desk. The detailed step-by-step tutorial is below.
Step 1: Make the Cuts and Prep
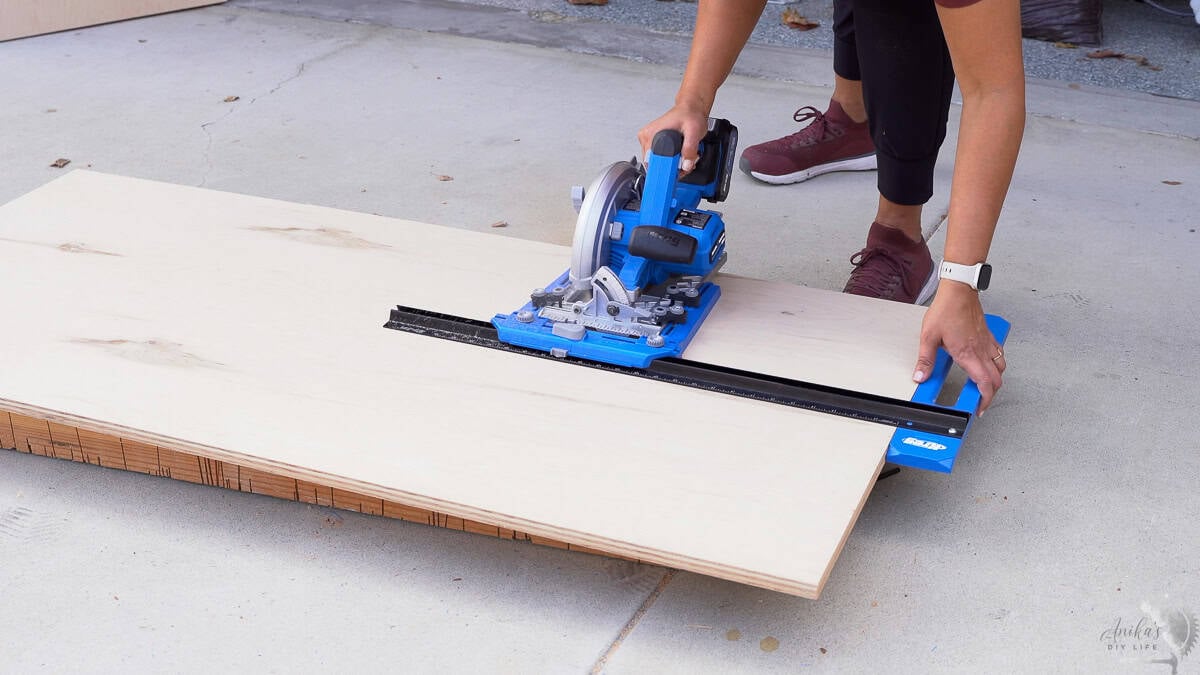
- Cut down the boards and the plywood per the plans.
Instead of cutting everything at once, I prefer to cut in phases. This helps adjust for any variations along the way. Here’s how I recommend tackling it:
- Phase 1: Cut the tower frames (sides and legs).
- Phase 2: Measure and cut drawers after the frame is built to make sure you get a perfect fit.
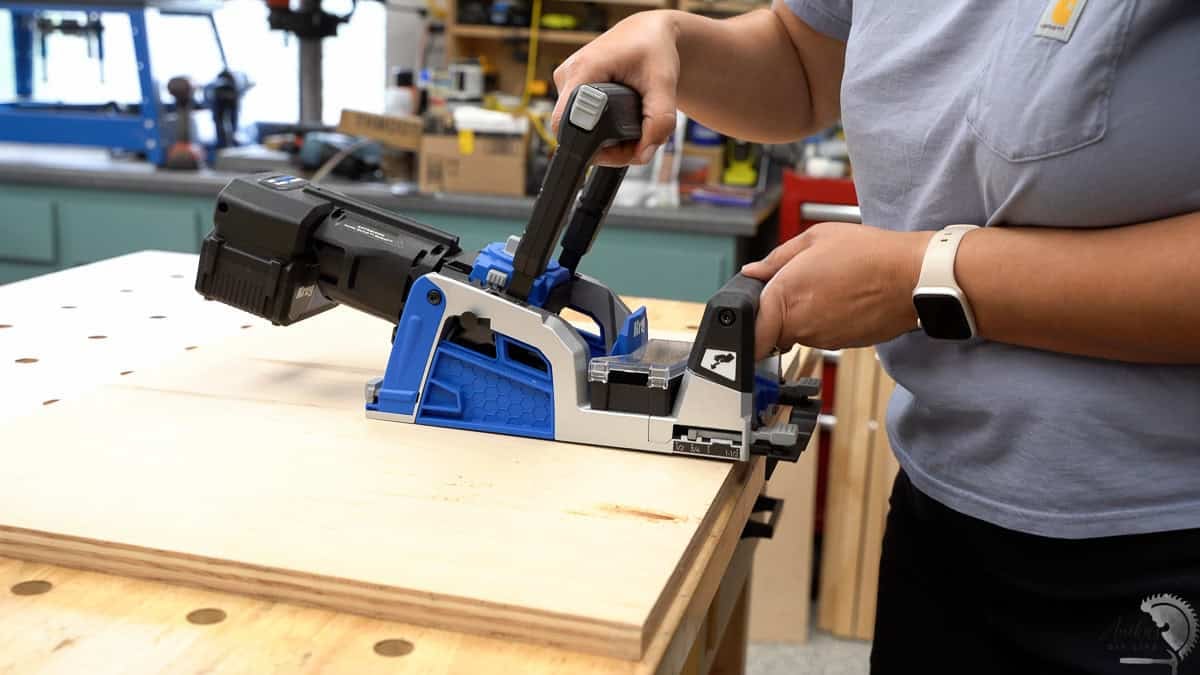
Pro Tip: I used the Kreg Rip-Cut with a circular saw and a Track Saw to get table-saw-quality cuts without the bulky machine. If you don’t have these, a circular saw with a straight-edge guide works too!
- Sand all the 2×2 and 1×2 boards down to 150 grit.
- Apply edge banding to the drawer fronts, shelf and the top.
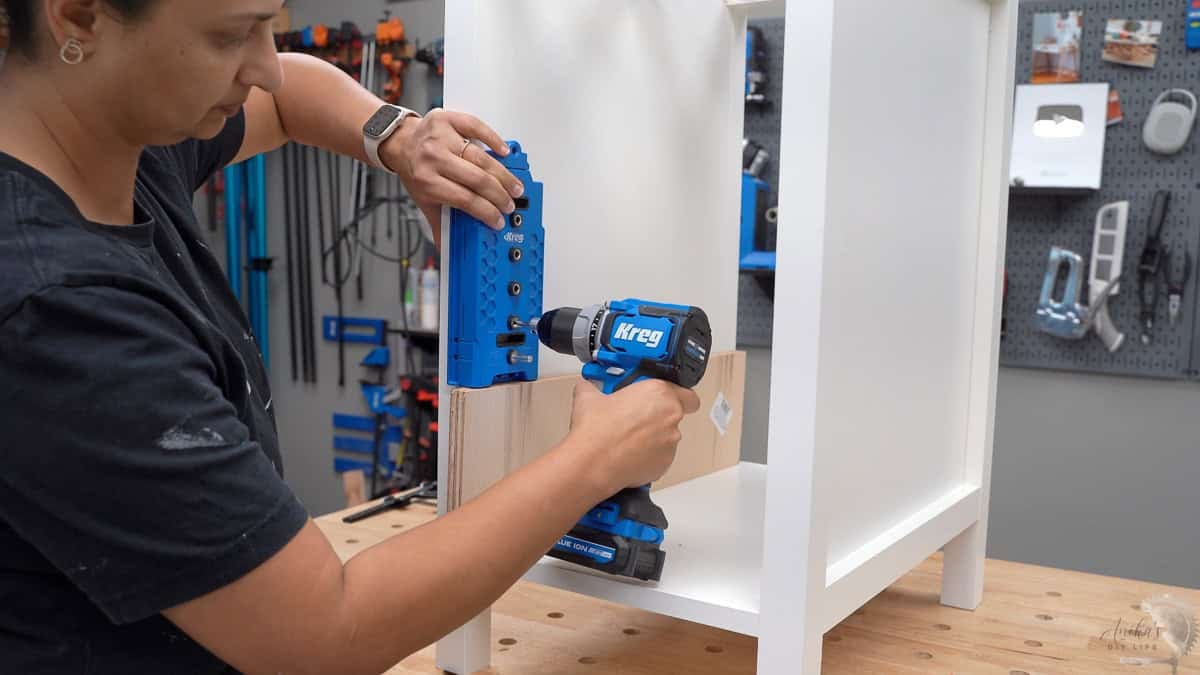
Step 2: Make Pocket Holes
- Review the plans and make pocket holes as shown.
I am using the Kreg Rebel and the Kreg 720, but you can use any other pocket hole jig.
- Drill pocket holes using the ¾” setting for plywood and 1×2 boards
Related tutorial: How to make pocket holes.
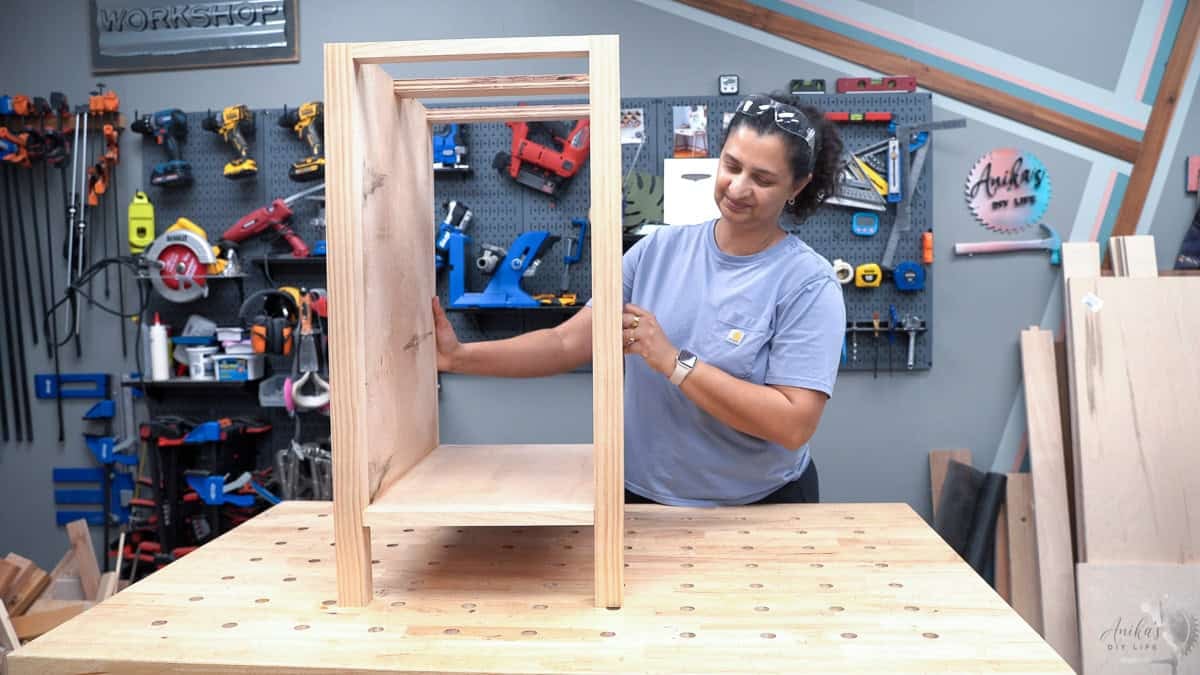
Step 3: Assemble the Sides and Bottoms
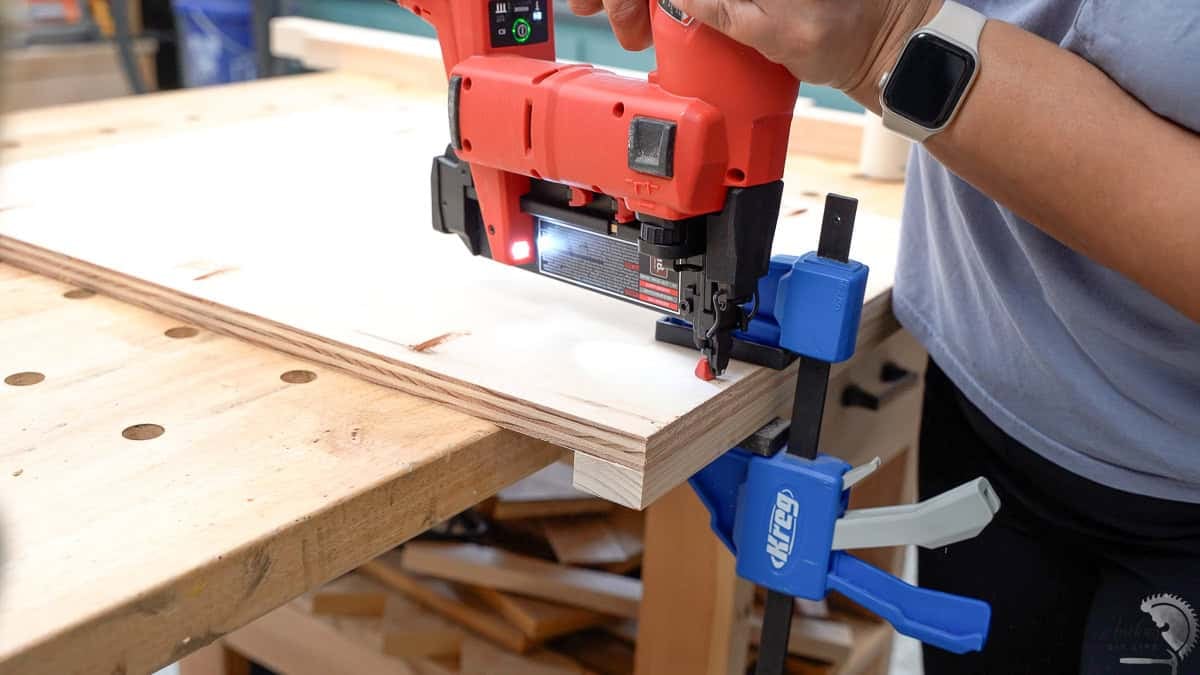
- Attach the 1×2 trim to two of the side panels using wood glue and finish nails.
- Attach the ¾” plywood side panels to the 2×2 legs using wood glue and 1 ¼” pocket hole screws. This makes 4 sides – two with trim and two without.
- For the bottom, attach the 1×2 trim to the plywood using pocket hole screws. You could also keep the plywood longer and use edge banding instead of the trim but I like how the boards flow together once assembled.
Step 4: Assemble the Shelf Unit
- Fill in the pocket holes in the sides. These will be visible in the shelf unit. It is best to do this before assembling as it is easy to access them.
I usually like to use 3/8″ dowels to fill pocket holes, but I used premade dowels for this because I had a box of them that needed to be used up. See how to fill pocket holes.
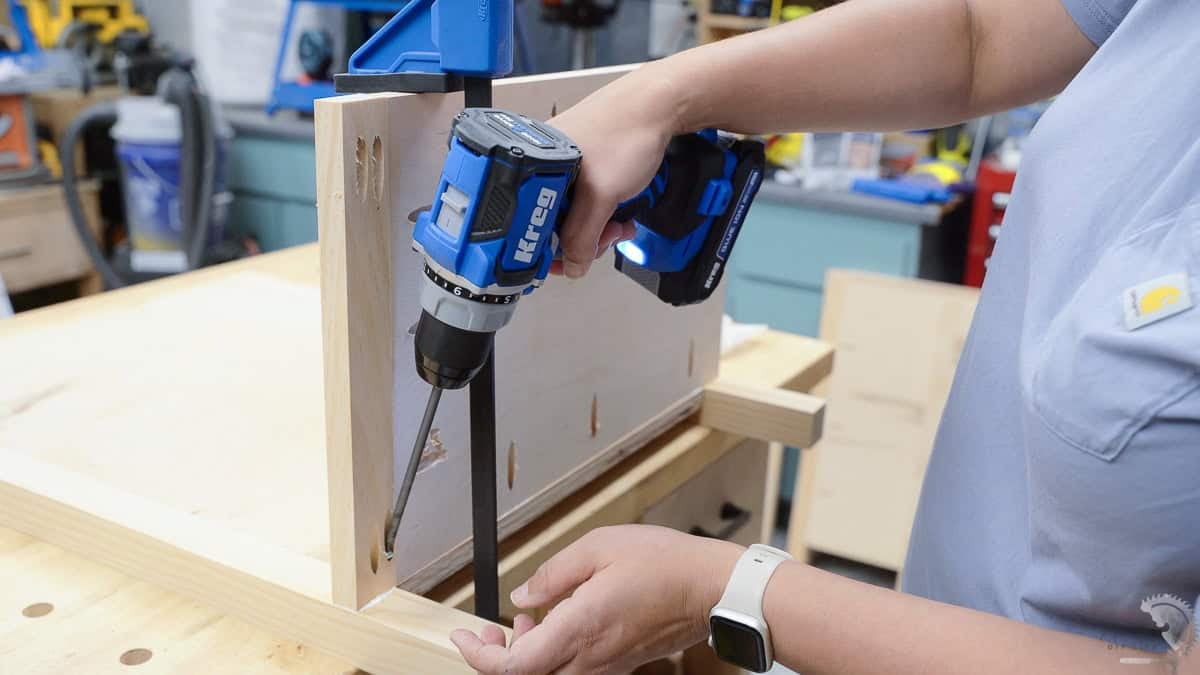
- Attach the bottom to one of the sides using wood glue and pocket hole screws. A right-angle clamp is highly recommended to keep the boards aligned.
- Attach the 1×2 top brace and the remaining top braces to the other end of the side.
- Attach the entire structure to the other side to complete the unit.
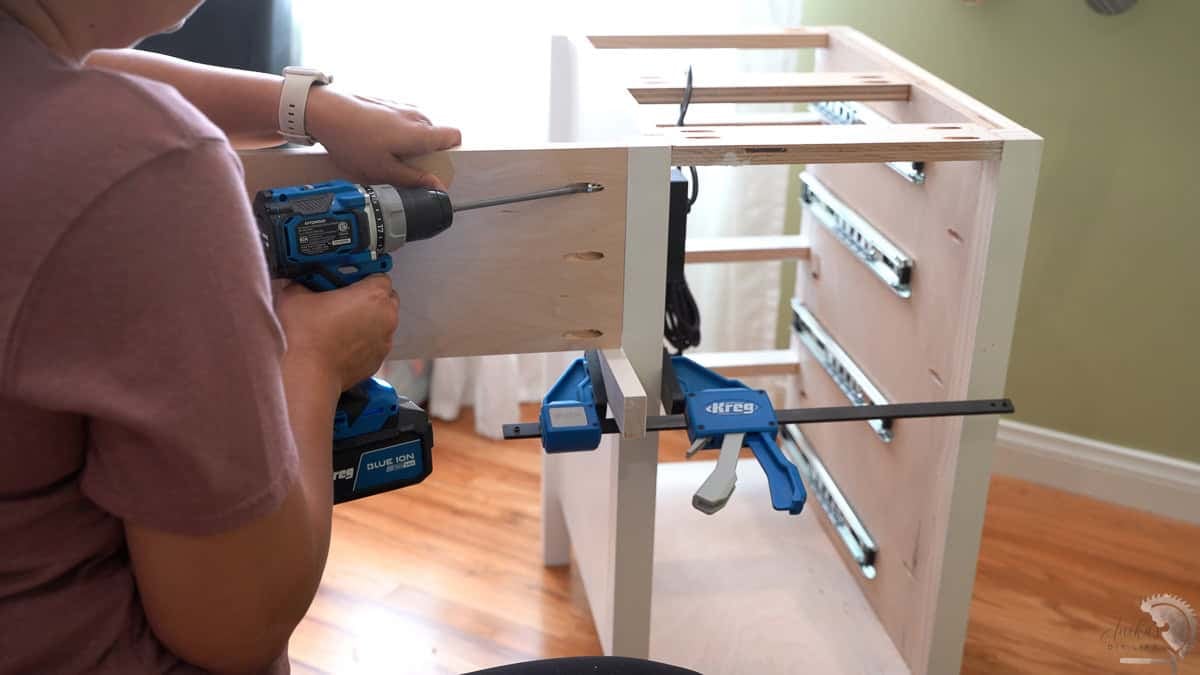
Step 5: Assemble the Drawer Unit
Note: before you start building this be sure to pay attention to the direction of the shelf trim and the side panel. The side panel with the trim should be on the outside of the desk so you want to make sure to orient the boards accordingly.
- Attach the bottom and the top braces to one of the sides using wood glue and pocket hole screws.
- Measure and mark the location of all the dividers and attach them using pocket hole screws and wood glue.
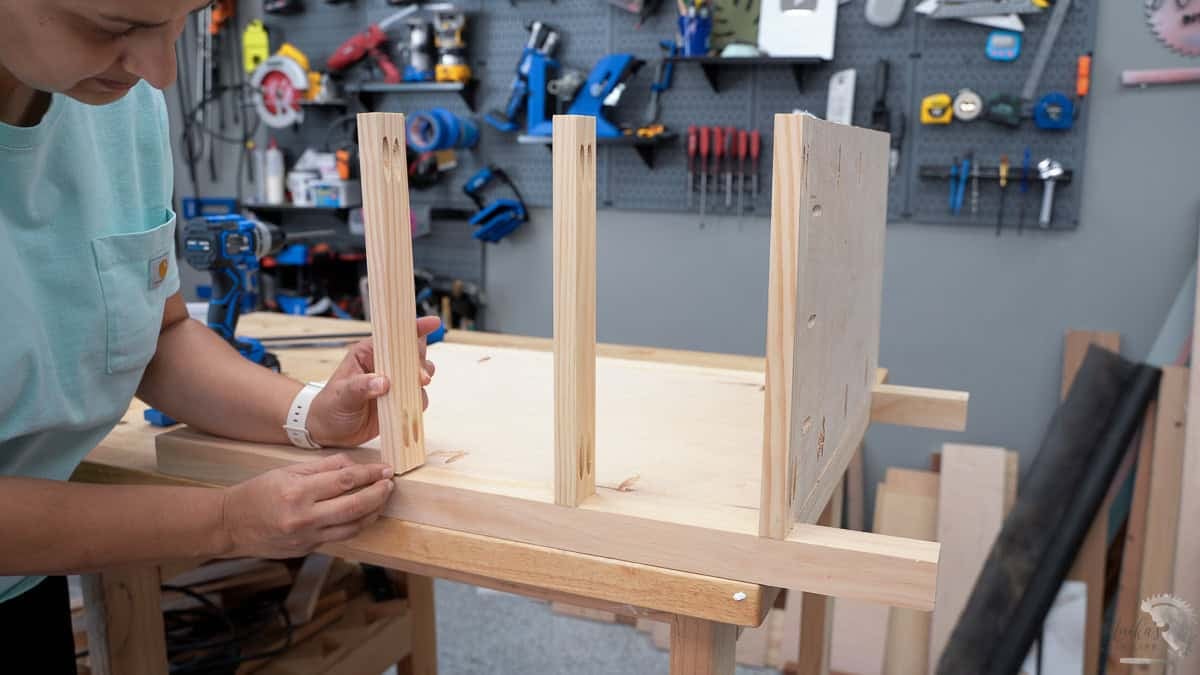
- Attach the entire structure to the other side to complete the unit.
Step 6: Build and Install the Drawers
- Build the four drawers. I used pocket holes to put together the box and then attached a 1/4″ plywood on the bottom using wood glue and finish nails.
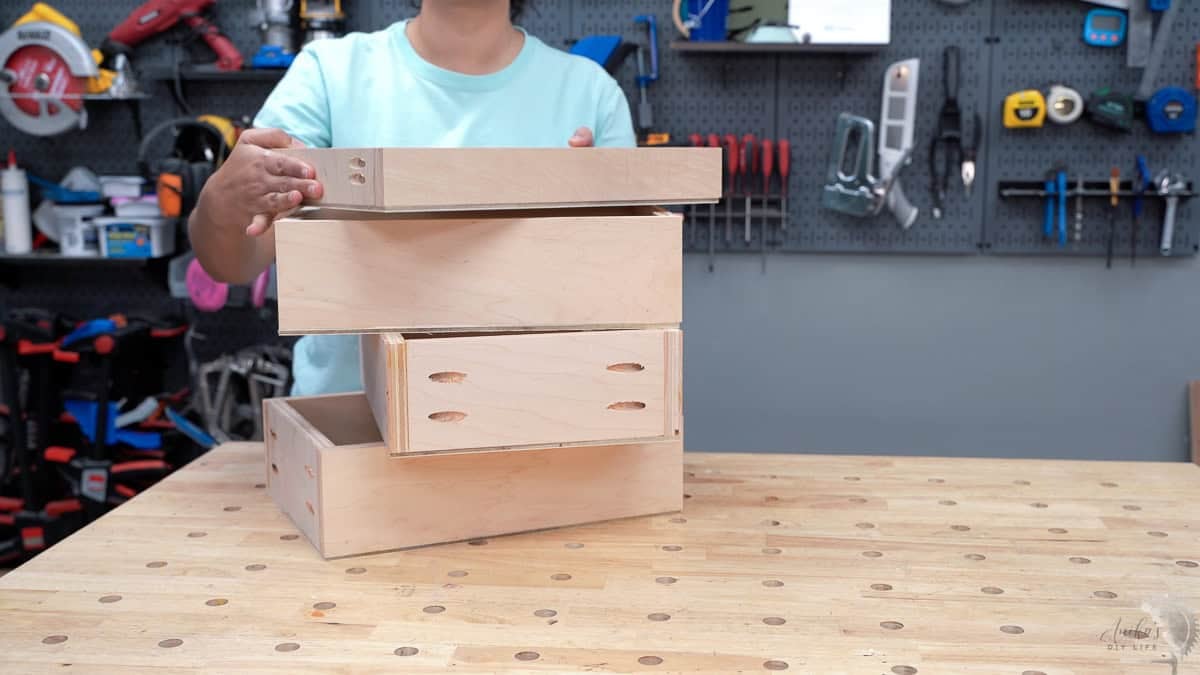
- Install the drawer slides and the drawer boxes in the drawer unit.
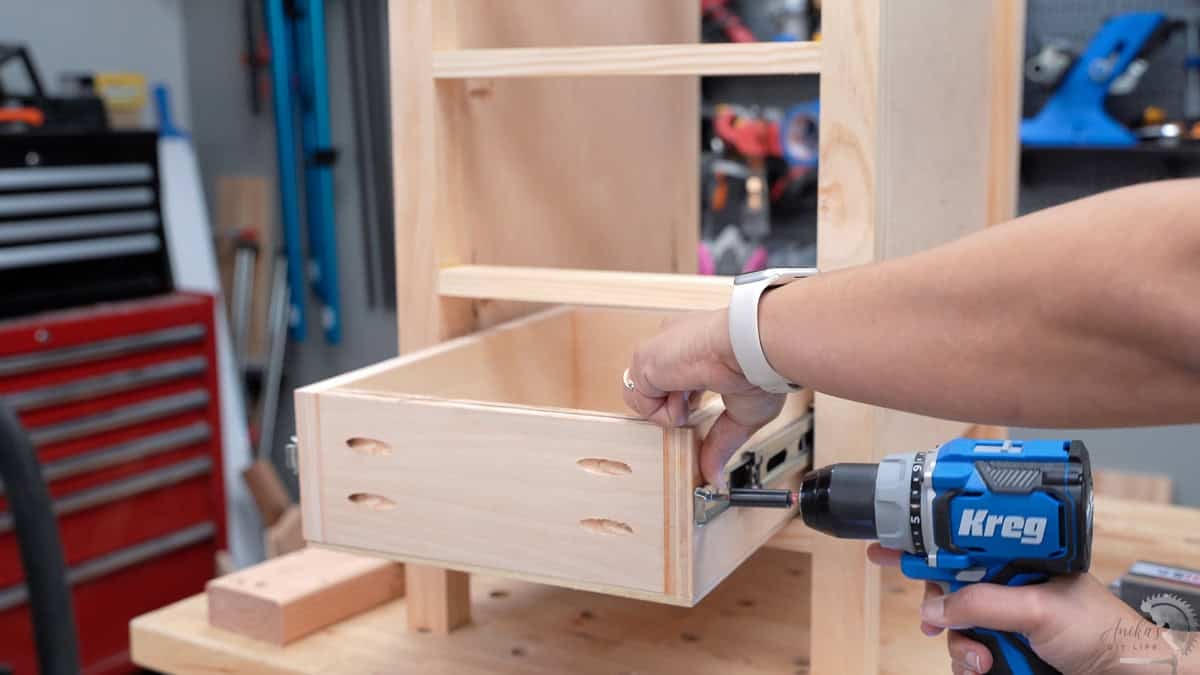
See how to build and install drawers for beginners.
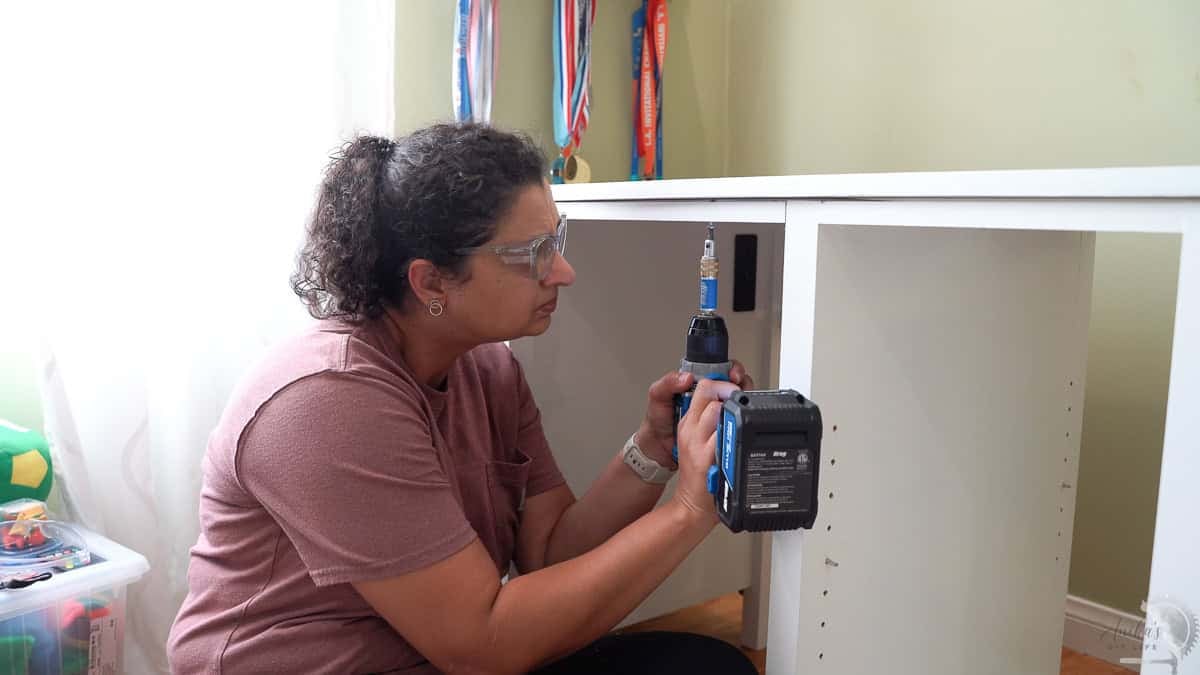
Step 7: How to Install a Recessed Power Strip
One of my son’s specific requests was “power,” and it is definitely important for a modern workspace. Adding a recessed power strip turns a standard handmade desk into a high-functioning workstation.
I chose to install the power unit at the back of the drawer cabinet. This keeps the cords tucked away while leaving the desktop clutter-free.
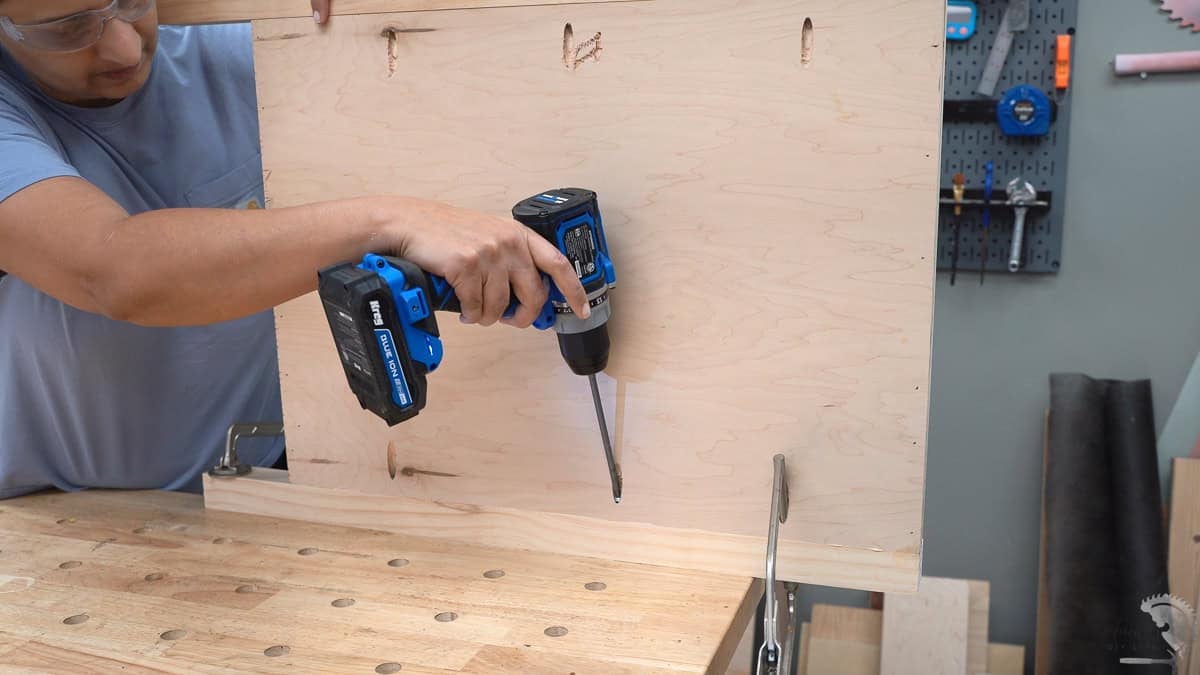
- Mark the cutout: Trace the outline of your recessed power strip onto the back panel of the drawer unit. Make sure it is positioned high enough to clear the drawers.
- Cut the opening: The best tool for this job is an oscillating multi-tool. It allows you to make clean, plunge cuts where a jigsaw might be awkward.
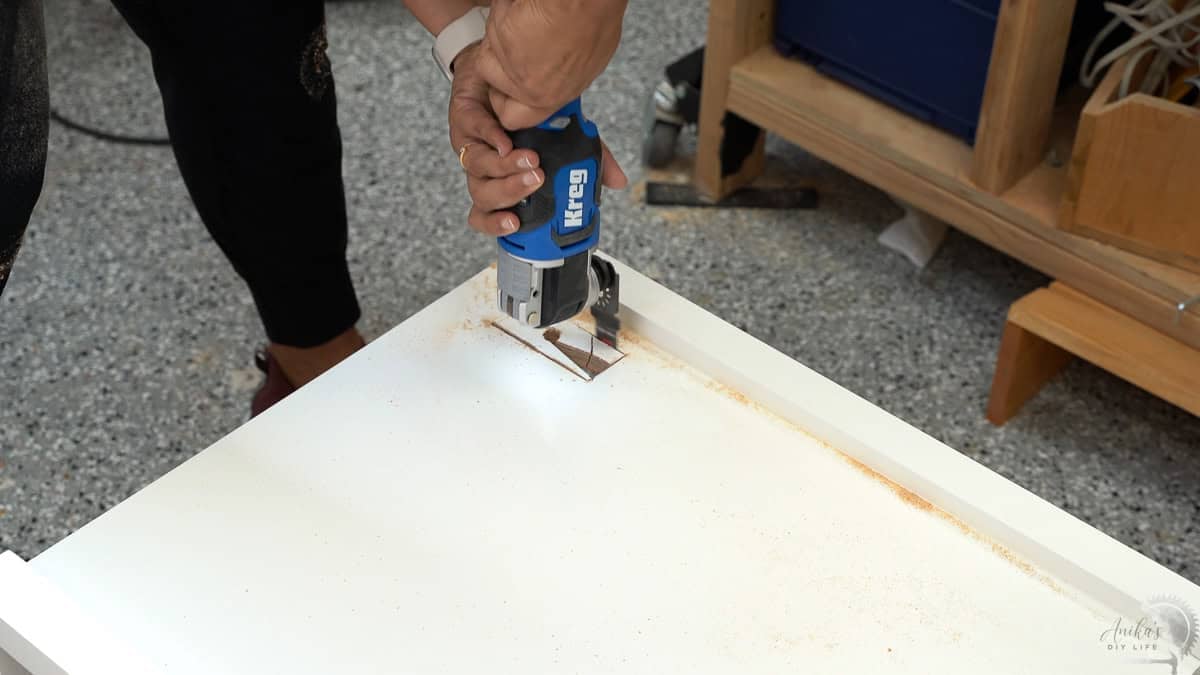
- Route the wires: Use a 2″ Forstner bit (or a hole saw) to create a cord management hole in the back of the desktop. This allows you to run laptop or lamp cables directly down to the power source.
Pro Tip: I did this step after assembly, but I highly recommend doing your cutouts before painting. This ensures all the raw plywood edges get a clean coat of primer and paint for a professional, seamless look!
Step 8: Paint or Stain
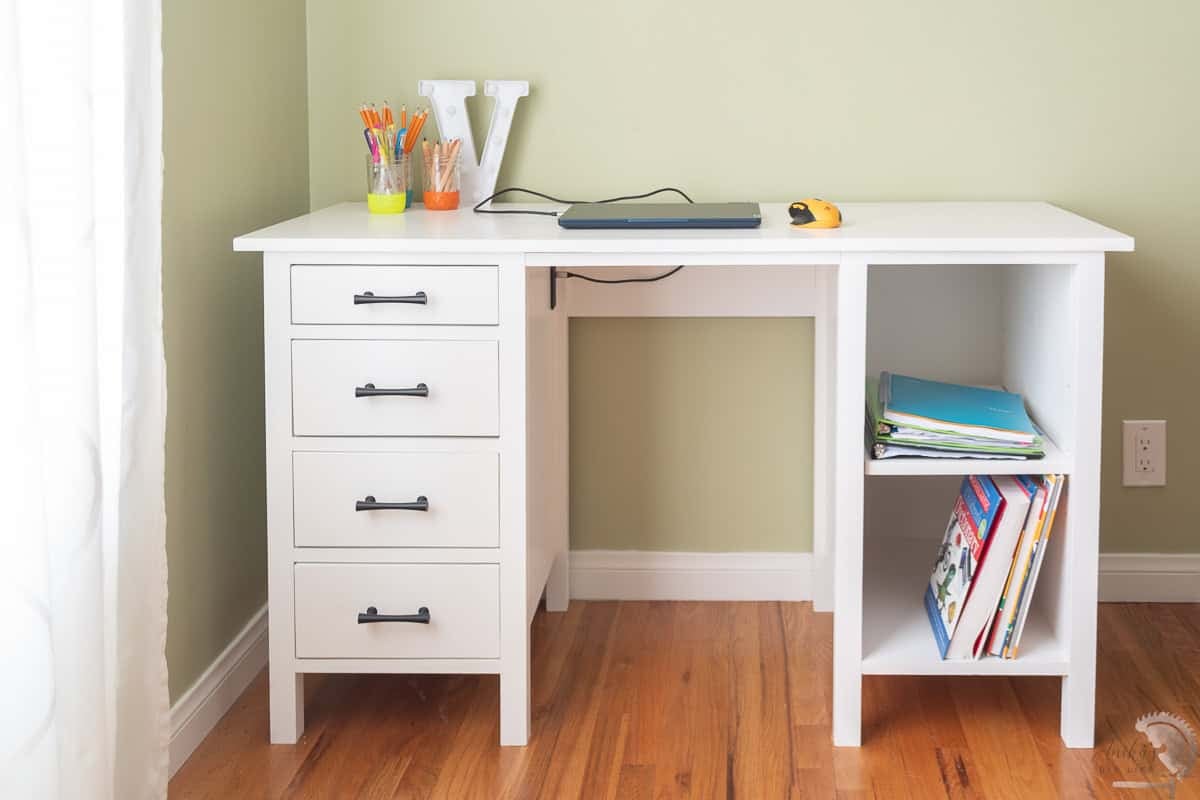
This is the perfect time to paint or stain the desk. I decided to paint it white. I used my favorite white paint – SW alabaster white.
I applied 2 coats of primer and 2 coats of paint, with sanding in between and wiping off the dust.
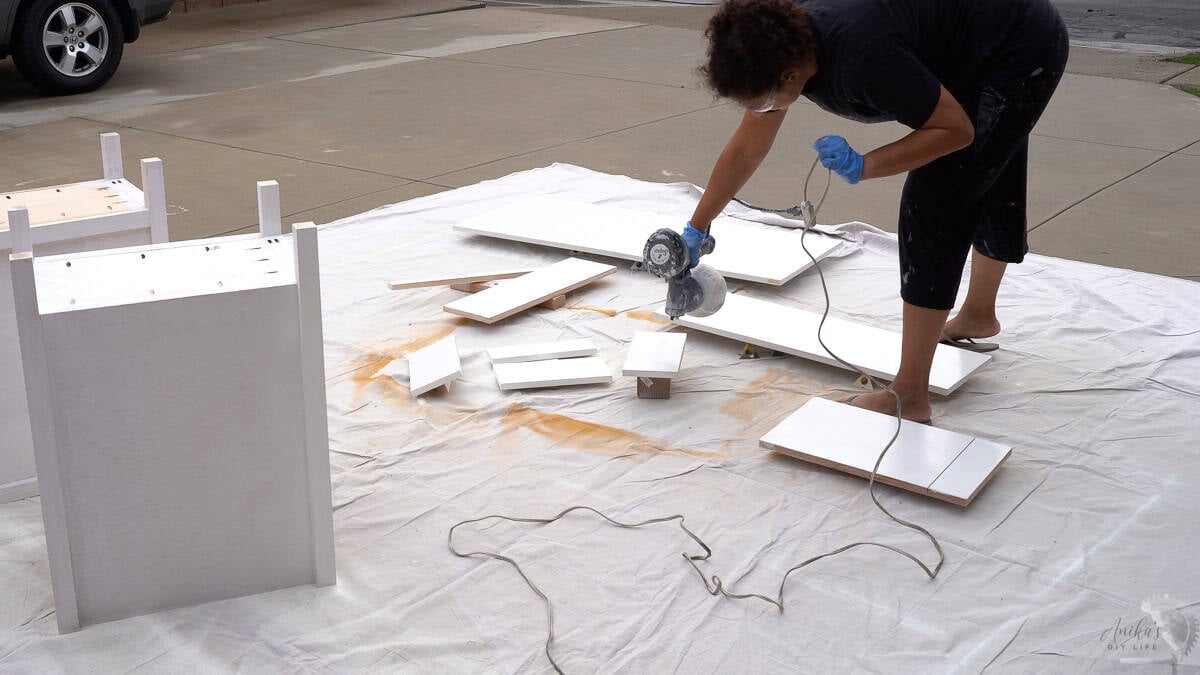
A little story about the painting – It was a week when it was raining every day. So I applied primer by hand. It took me 3 hours for 1 coat of primer. I was dreading applying the paint when I realized that there was a half day break in the rain so I set up my paint sprayer at 8 am and I was done with 2 coats of paint and also brought everything inside by 12 pm. It started raining around 1 pm. Paint sprayer for life!
If you decide to stain it, be sure to use a pre-stain conditioner and apply 3 coats of top coat.
Related tutorials:
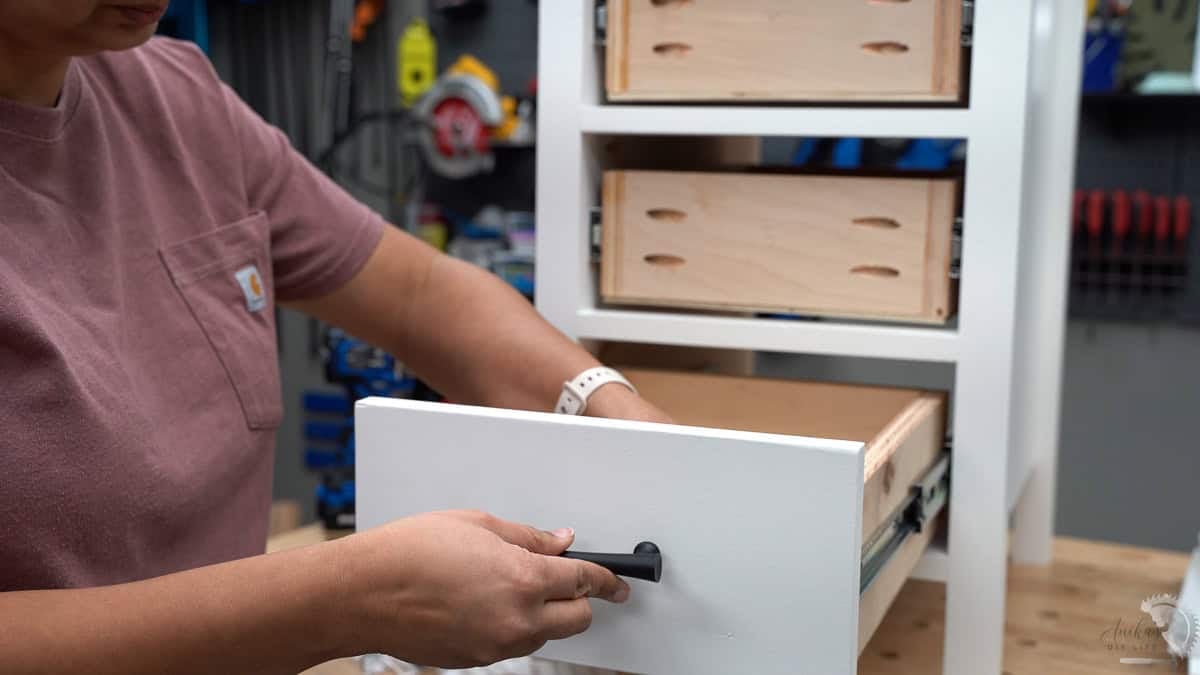
Step 9: Install the Drawer Fronts and Shelf
- Once everything has cured, you can install the drawer fronts. I like to use a hardware jig to drill the holes and use them to help me hold everything in place as I add the final screws.
- Use the shelf pin jig and make shelf pin holes for the shelf.
Step 10: Final Assembly
- Attach the recessed power strip to the drawer unit
- Attach the front and back brace using pocket hole screws. I clamped a scrap board to support them as I attached.
- Attach the top using countersunk screws through the braces.
- Attach the back for the shelf unit.
And that’s it! The desk is done.
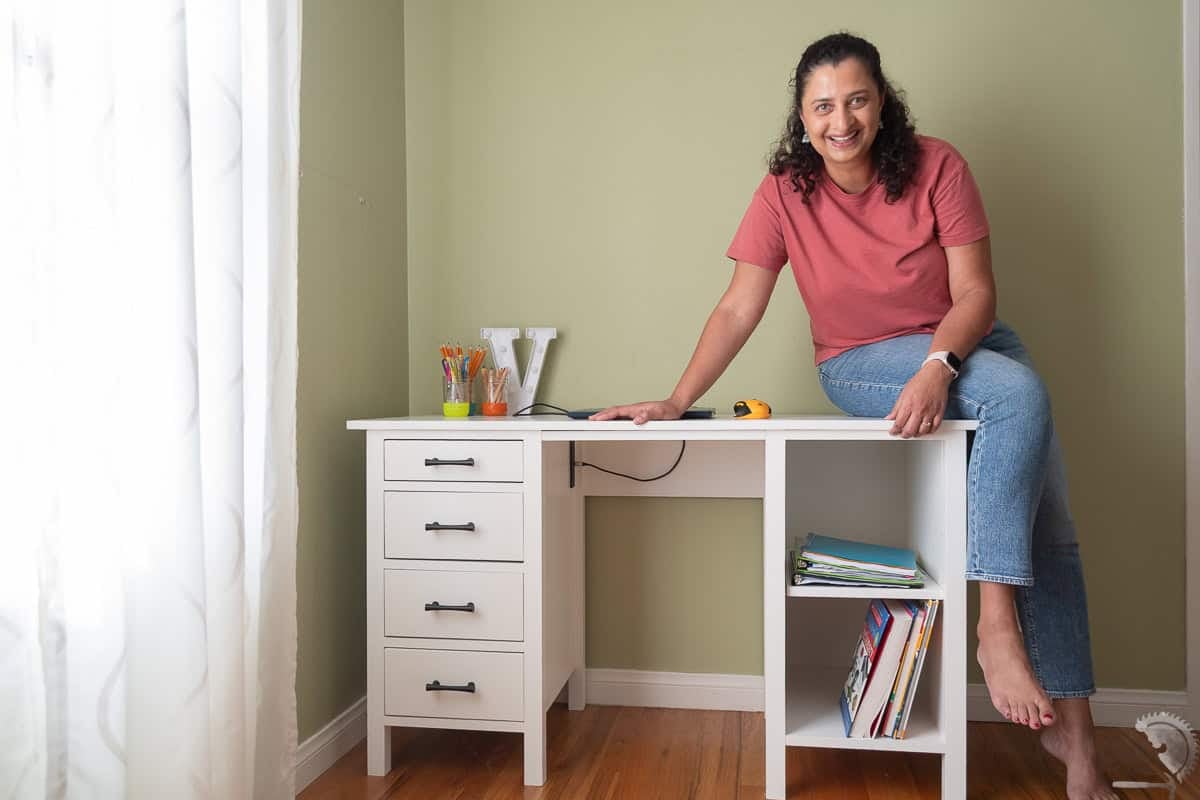
It has lots of storage – four drawers and two shelves. What will my son be storing in all of this… I don’t know. I fully expect these to turn into black holes with long-forgotten things. But this desk will grow with him.
And the best part was that he loved it. So much so that he seems to be doing almost everything at the desk since I installed it last week… including eating snacks.
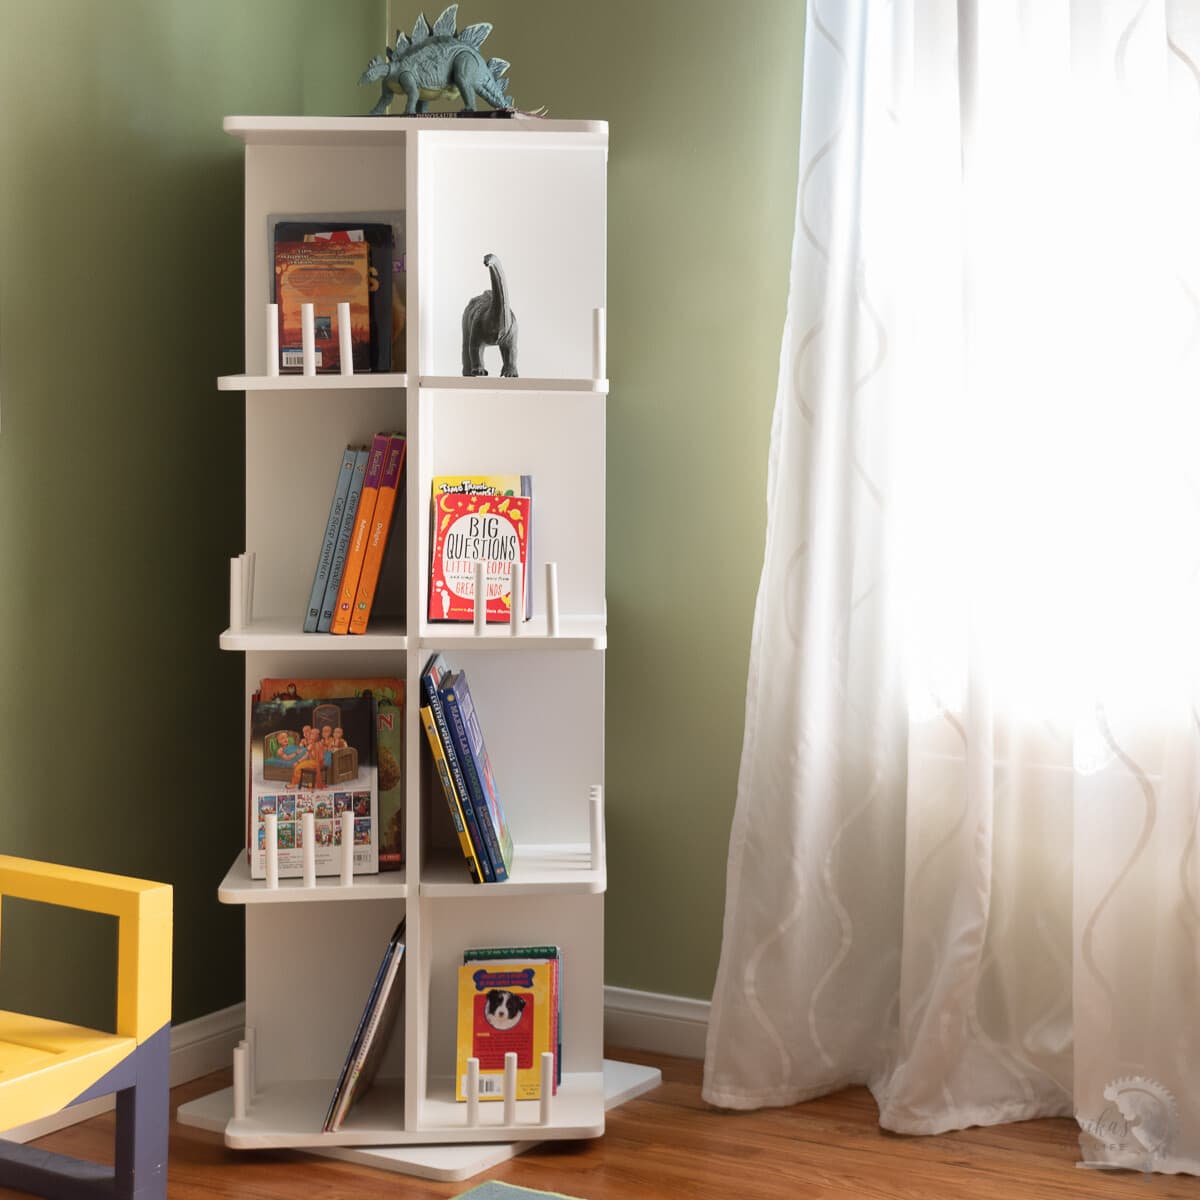
You might also like:


Anika's goal is to inspire and empower beginners with woodworking, DIY, home improvement, and home decor ideas.
She wants everyone to unlock their creative potential and experience the feeling that comes with making something. Nothing feels better better than seeing something and saying "I can make that!"