How to Hang a Picture Without Nails
Whether you are renting or want to keep your walls pristine, here is how to hang pictures on the wall without using nails.

I was renting for the first almost 15 years of my life in the US. One of the biggest challenges with renting is adding your own personality without damaging anything.
Adding pictures or art is the easiest way to add your own charm and personality to a space, and being able to hand them up without making any holes is a win-win.
Now, even though we own our own home, my first preference is to not make any holes (or make as small or as few as possible). I am always changing my mind about the arrangement and decor. Why make holes and fill them if you can get away without it?
I am sharing my go-to method for hanging pictures on the wall. I have used this for large and small art and picture frames through the years. They have worked well and held up strong.
***This post contains referral or affiliate links. It is a way for this site to earn advertising fees by advertising or linking to certain products and/or services. Please read my full disclosure here ***
Material Needed
- 3M command Strips – this is my go-to product. There are various sizes available that have different strengths. You will need to pick the ones that work for the size and weight of the picture.
- A level

Note about other adhesive strips: Yes, you can use other adhesive and poster strips to hang art as well. However, they can be unpredictable when it is time to remove them. They can damage the wall or the picture frame. The 3M adhesive strips come right off, and you won’t even know they were there!
Another reason I love the 3M command strips is that when it is time to move the artwork, you can reuse the Velcro part of the system and purchase and add new adhesive strips.
Hanging a Picture Without Nails
Step 1: Determine the Placement
The general rule is to have the center of the picture 57″ from the floor. If you are making a gallery wall, the center of the pattern should be 57″.
Once you determine the placement, use a pencil to lightly mark the corners of the art/picture.
Step 2: Clean the Frame and Wall
The adhesive only performs well if there is no dust or oils on the surfaces.
- Wipe down the back of the frame and the area on the wall with a damp cloth. You can also use rubbing alcohol to make sure all the residue or grease is removed.
Step 3: Place the 3M Strips on the Frame
- Attach the adhesive strips to the Velcro. Pay attention to the “wall side,” which is usually black, and the red side, which attaches to the back of the Velcro.

- Align the velcro’s top edge to the adhesive strip’s top straight edge.
- Attach two pieces of velcro together.

- Attach the velcro to the picture frame.

The number of velcro you attach to the picture frame will depend on the size and weight of the picture and the rating of the strips you are using.
For small, lightweight art, I use only one strip, but for a picture frame, I use a minimum of three—two at the top and one at the bottom. Sometimes, I will use more strips if it’s a bigger picture frame.

You can add as many as you like to make you feel comfortable about the strength of the strips. The key is to make sure that the strips are evenly distributed.
It is always better to use more than less.
Step 4: Attach to the Wall
- Hold the picture up to the wall, aligning to the pencil marks from step 1. Don’t put it on the wall just yet.
- Add the level at the top. Make sure that the picture is level, and push the picture onto the wall.
Press the picture frame or artwork to the wall for 30 seconds with stable pressure. If you have a large picture and you added multiple strips, be sure to press on each area for 30 seconds.

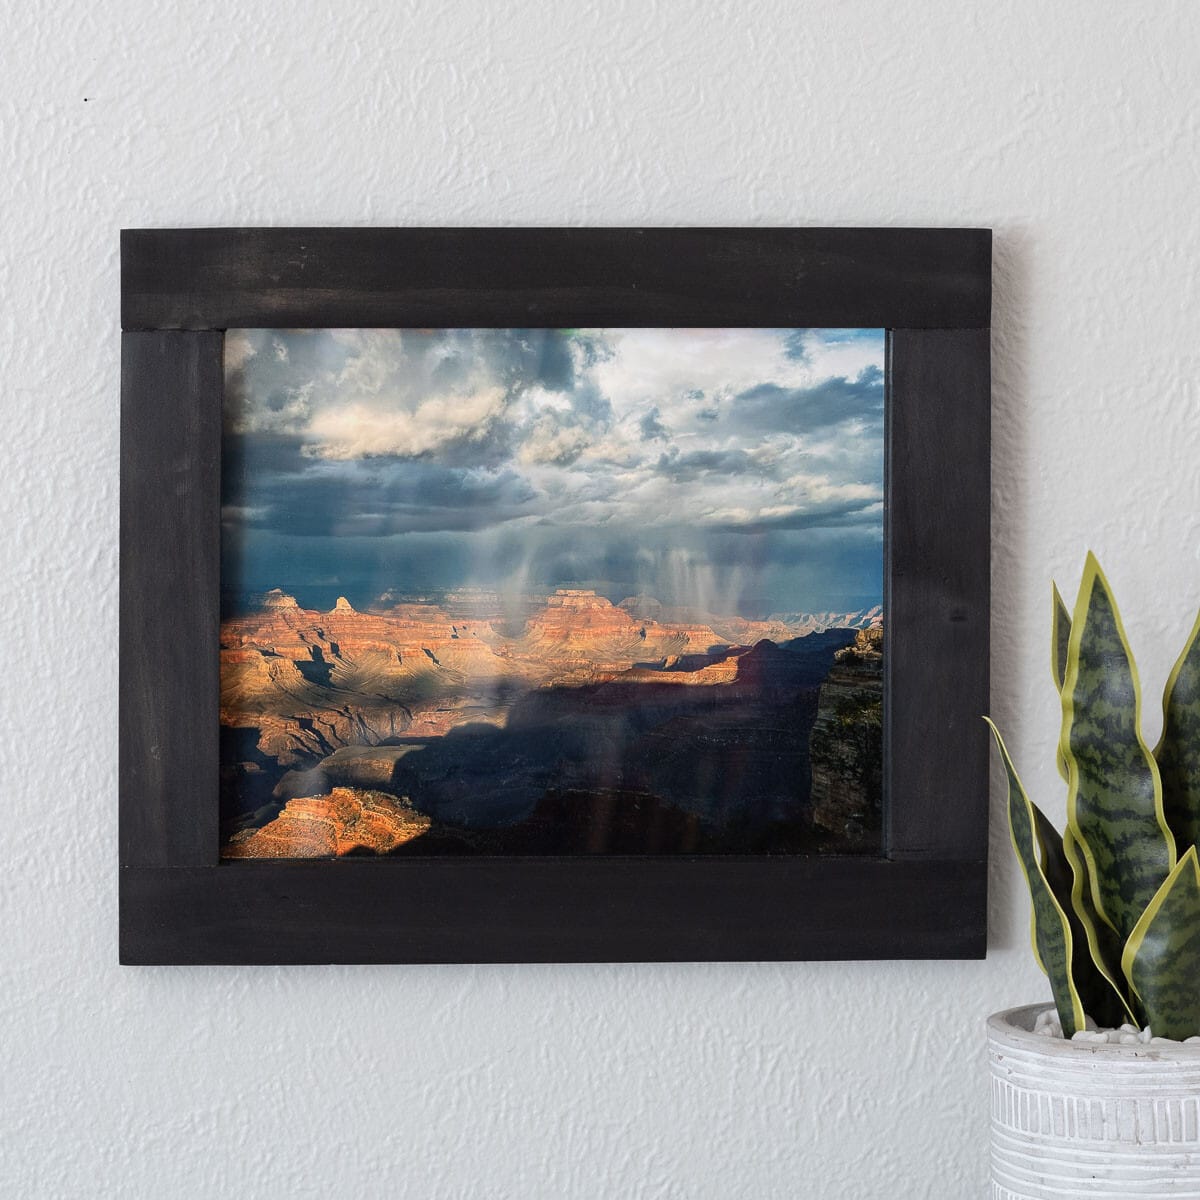
Yes, I know the lettering is sideways; that’s the “art” that comes with the picture. I plan to replace the art with a family picture :).
That’s the other advantage of using these strips with the velcro: you can take them off, switch out the picture, and put them back without having to get new adhesive strips or worrying about holes.
Step 5: Level if Needed
Now, it is time for you to step back and look at the picture.
If you think the picture is not level or a little bit off—which can happen sometimes—you can pull it off of the wall. The Velcro will come apart. You can slightly tilt it to align and push back to lock in the Velcro.
Of course, this only works if the misalignment is very small.
Removing the Picture and Reusing
If you decide to remove the art or picture from the wall, all you have to do is pull the picture off, separating the velcro.
You can then slowly pull the round tab downwards parallel to the wall to remove the adhesive strip. Remember never to pull it upwards, as this may damage the walls.
The great thing about this system is that you don’t have to remove the strips from the back of the picture frame. When you decide to add the frame to another spot on the wall, you just need to reuse the Velcro you took off of the wall, add new adhesive strips to it, attach it to the Velcro on the picture frame, and go through steps 4 and 5.
I have been using this technique for over 17 years, and this is how I hang most of my picture frames and artwork.
👉🏼 One drawback of the method is that it only works on smooth or lightly textured walls. If you have a light orange peel texture, it will be ok. But if you have an extremely heavy texture, it will not work.
If you have textured walls, you should test the strips and their strength before attaching the pictures.
If you found these tips helpful, please share your experience in the comments below.
You may also like:


Anika's goal is to inspire and empower beginners with woodworking, DIY, home improvement, and home decor ideas.
She wants everyone to unlock their creative potential and experience the feeling that comes with making something. Nothing feels better better than seeing something and saying "I can make that!"


