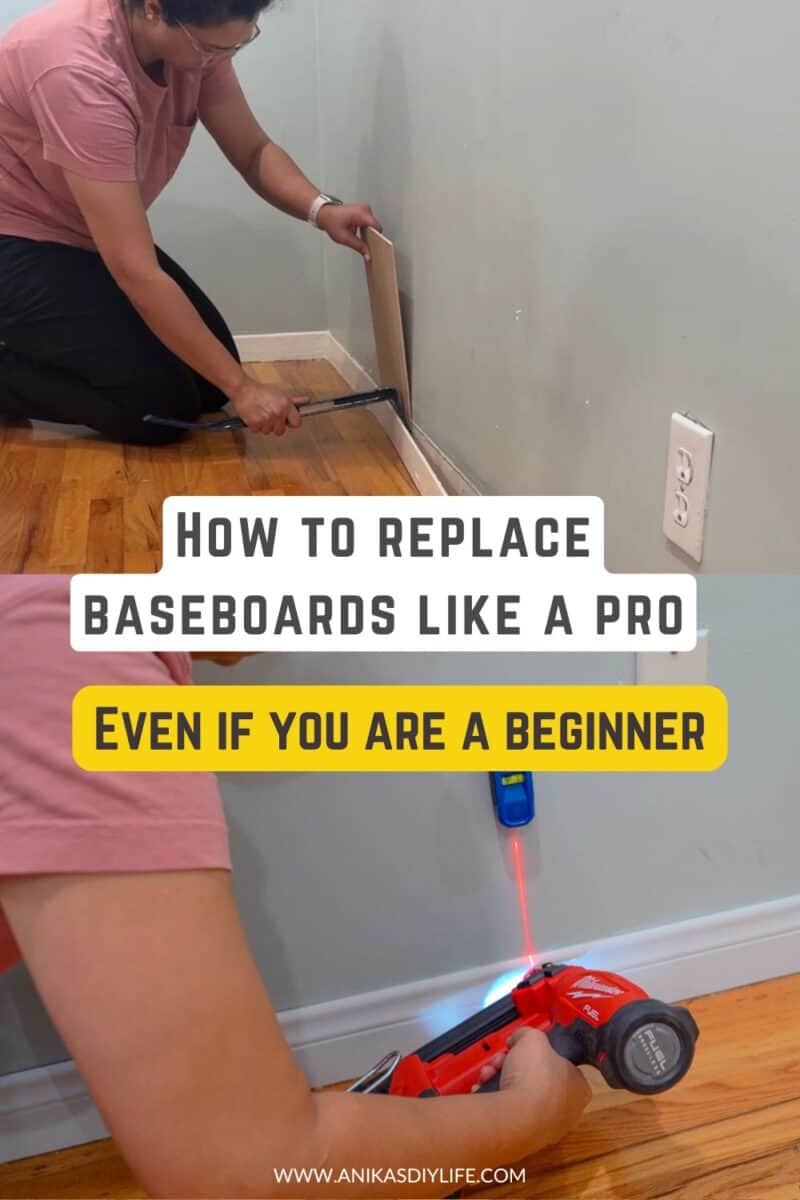
How to Install Baseboards: A Beginner’s Guide to Professional Results
Learn how to install baseboards like a pro. Save hundreds on home upgrades with simple tips for removing old trim without damage, installing different types of corners, and getting a seamless finish.
Want to give your home a quick, high-impact upgrade?
New baseboards can completely transform a room. The best part?
You don’t need to hire a professional or spend hundreds (or thousands) of dollars to do this.
This is a very doable DIY project, even if you’re just getting started.
I have replaced baseboards in almost all of my home myself over the years. I have one room left, and I decided this was the perfect time to take you with me to show you exactly how to do it.
***This post contains referral or affiliate links. It is a way for this site to earn advertising fees by advertising or linking to certain products and/or services. Please read my full disclosure here ***
Materials Needed
For Removing Baseboards
- Utility knife (box cutter)
- Pry bar (small one recommended)
- Pliers
For Installing Baseboards
- Miter saw or miter box
- Coping saw (optional)
- Brad nailer (18 gauge recommended)
- 2” brad nails
- 1 1/4″ brad nails
- Stud finder (even a magnetic one works)
For Finishing
- Caulk + caulk gun
- Wood filler
- Paint + brush. This one is my favorite.
- Baby wipes or damp cloth
How to Replace Baseboards
If you are a visual learner, I have a detailed video showing you exactly how to install the baseboards. The written step-by-step tutorial follows below.
Step 1: Remove Old Baseboards
Here’s how to remove baseboards without damaging drywall, whether you are planning to throw away the old baseboards or are simply removing them to install flooring or paint a wall.
- Use a sharp cutter to cut the old caulking between the baseboard and the wall.
- Pay extra attention to corners because they tend to hold on the most
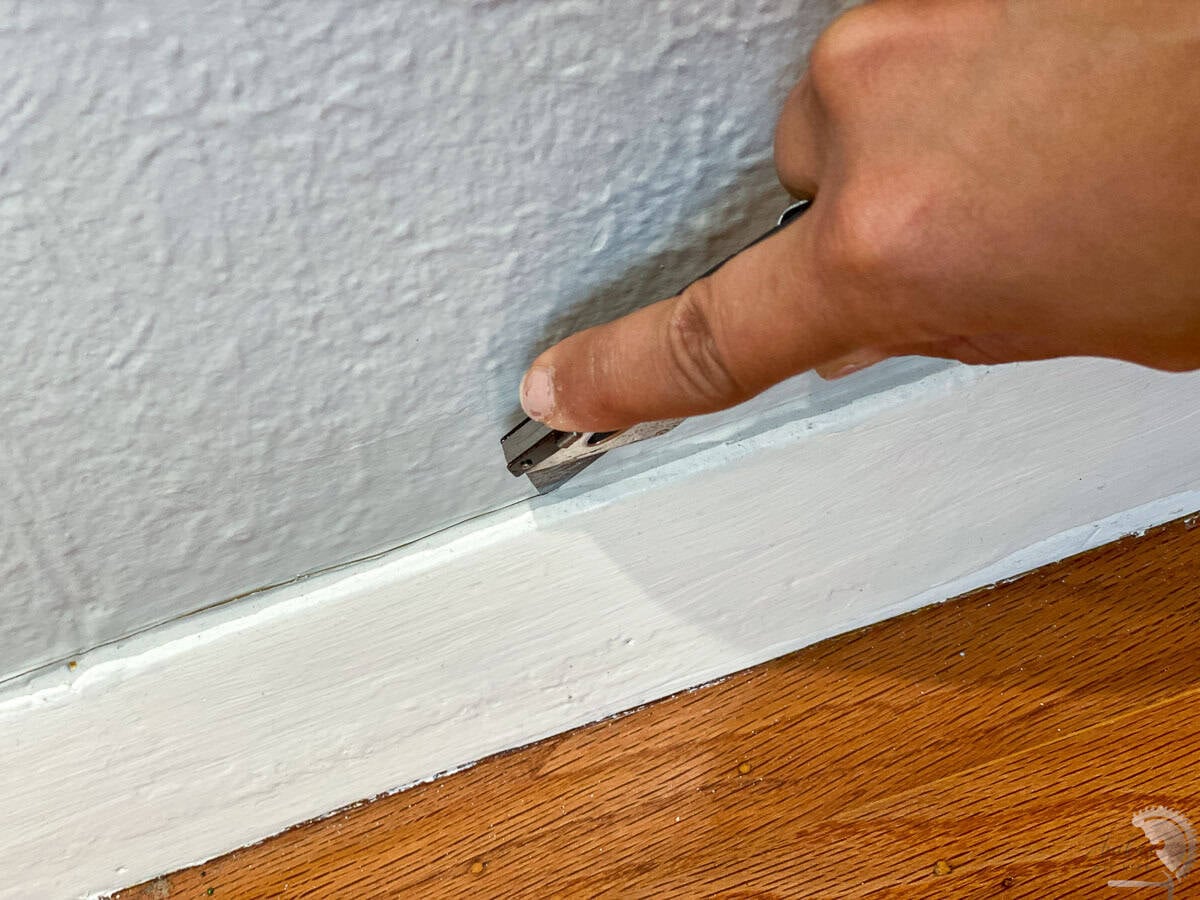
Anika’s Pro tip: Run the cutter twice to make sure that all the caulking is cut and there are no areas that are still attached. If you miss some, this will peel off the paint from the wall, and that will add to the amount of work.
- Wedge the pry bar between the baseboard and the wall and gently pull the baseboard away from the wall. Use a small pry bar for tight corners.
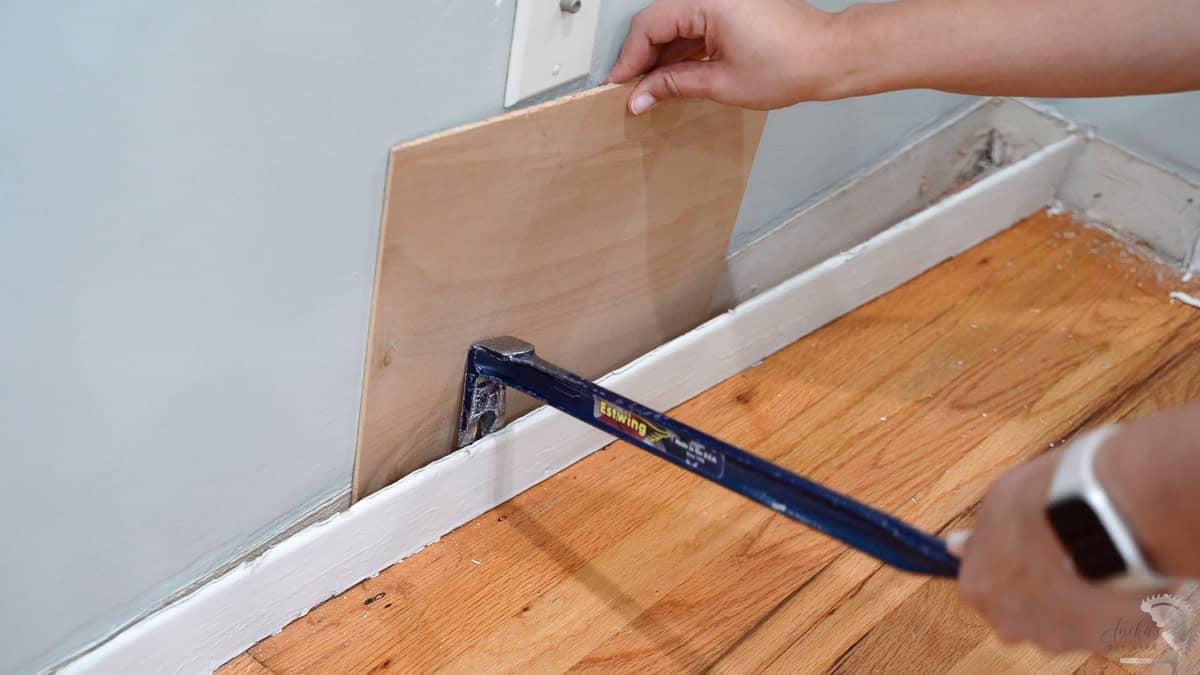
Anika’s Pro Tip: Use a scrap piece of wood against the pry bar to protect the drywall from damage.
- Use pliers to remove any nails from the baseboard and the wall. Even if you intend to throw away the baseboards, please remove the nails to make it safer for everyone.
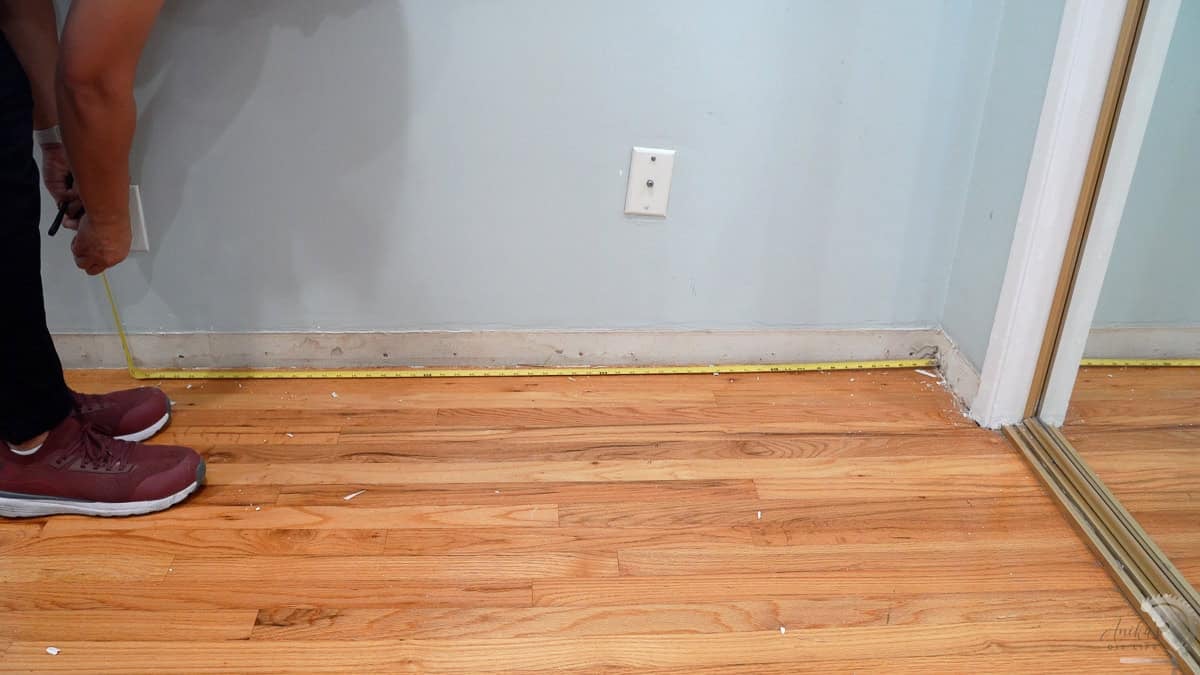
Step 2: Measure the Walls for the Baseboards.
- Measure the length of each of the walls.
- Plan to buy at least 10 – 15% extra baseboards.
- When measuring the exact length of baseboard you need to cut, remember a simple rule: always measure wall-to-wall or trim-to-wall.
When installing, I like to start from one corner and go in one direction around the room (mostly anti-clockwise).
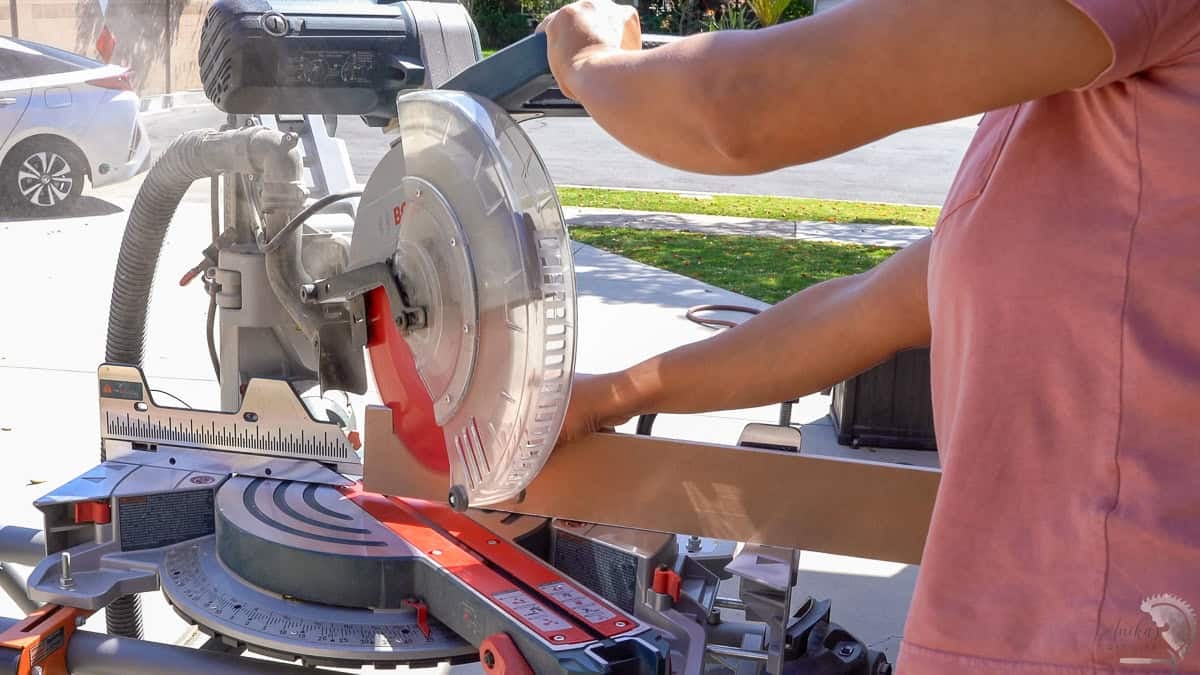
Step 3: Make the Cuts
This is usually the part that feels the most intimidating. But I promise, it doesn’t have to be. Most cuts are 45° (corners) or 90° (ending at a door trim).
- Always check your miter saw for alignment before starting.
- Set your miter saw to 45° and leave it there. Don’t keep adjusting it back and forth. Instead, just flip your baseboard depending on the cut you need. This prevents small discrepancies in the angle and gives a better finished look.
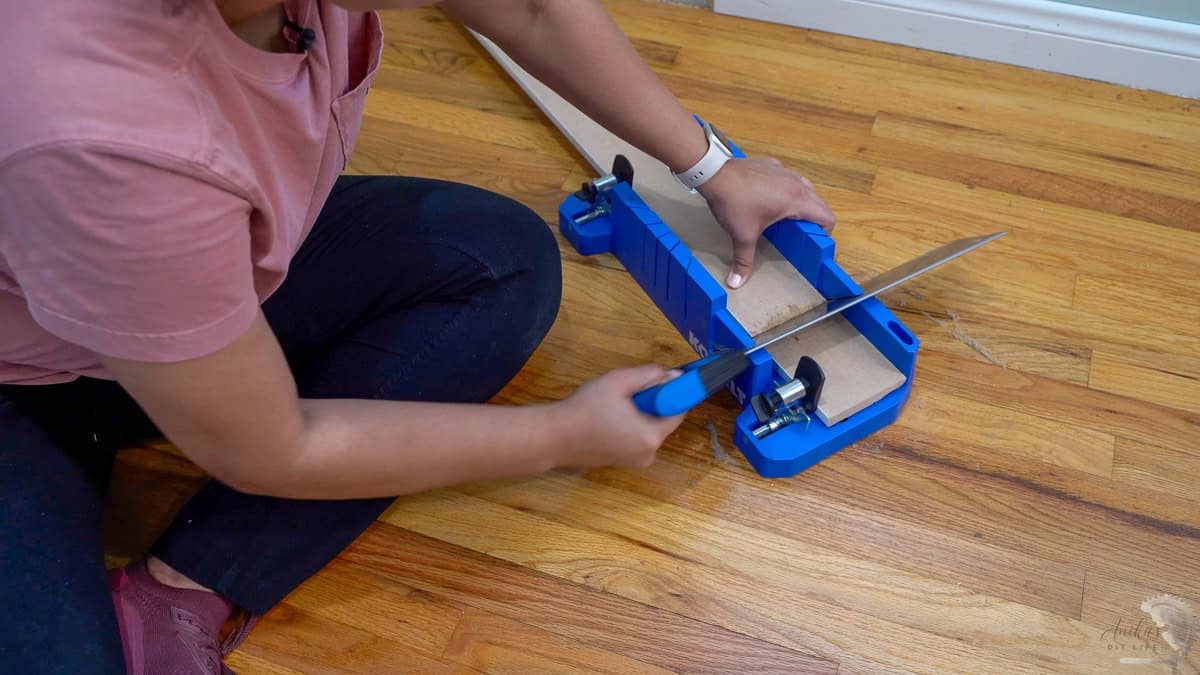
If you are using a miter box, then you don’t have to worry about the above.
I use a miter saw but I also like to have a miter box handy because I hate lugging long baseboards up and down the stairs. I can use a miter box to easily make quick adjustments and trim pieces as needed right there.
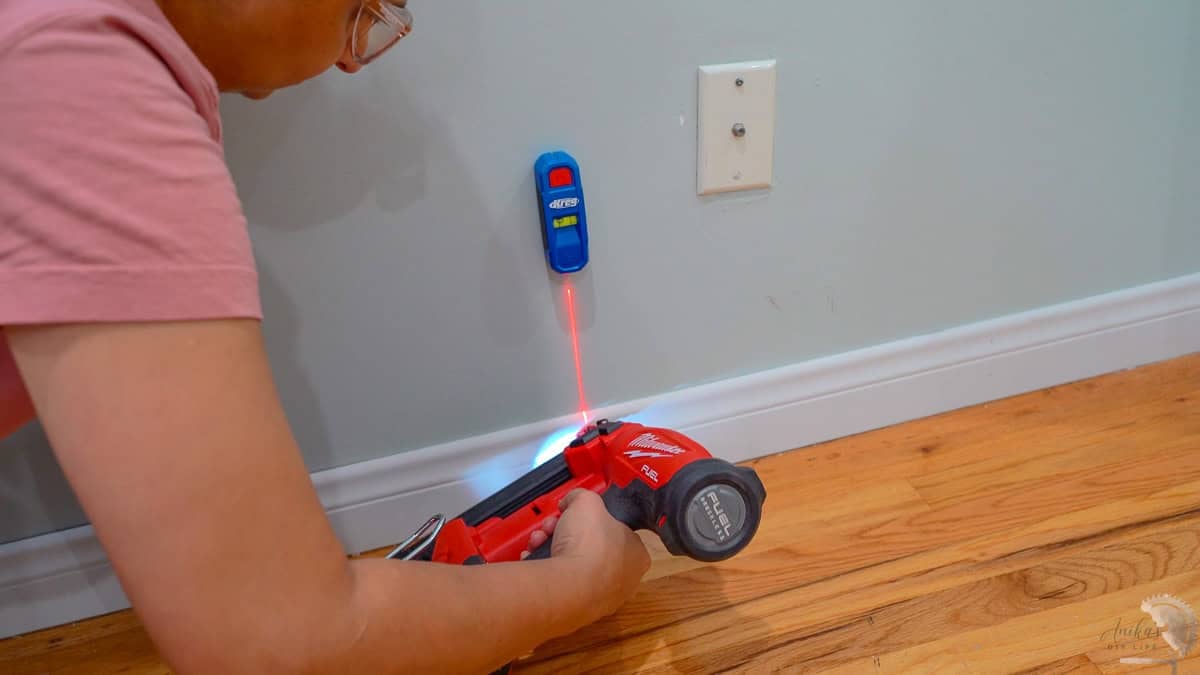
Step 4: Install the Baseboards
This is the simplest part of the process.
- Use a stud finder to identify the studs in the wall.
- Use a nail gun or brad nailer to attach the baseboards using 2″ nails so they bite into the wood and not just the drywall.
Start from one end and make sure that the baseboard sits flush on the floor as you attach it and move to the other end.
Types of Joints in Baseboards
Of course, rooms aren’t a single long wall. There are corners and this makes all the cuts just a little complicated. Depending on your situation, you might have two types of corners to deal with.
- Inside corners – where two walls meet
- Outside corners – a corner that sticks out. There can be two types of outside corners:
- a perfectly sharp corner
- a rounded corner or a bullnose corner
How I keep track of cut direction (super simple trick)
When you start cutting the angles, it can get pretty confusing on which direction to make the cut. Here is the trick I use.
- Inside corners – the front edge is shorter than the back (or as I like to call it acute angles)
- Outside corners – the front edge is longer than the back (or obtuse angles)
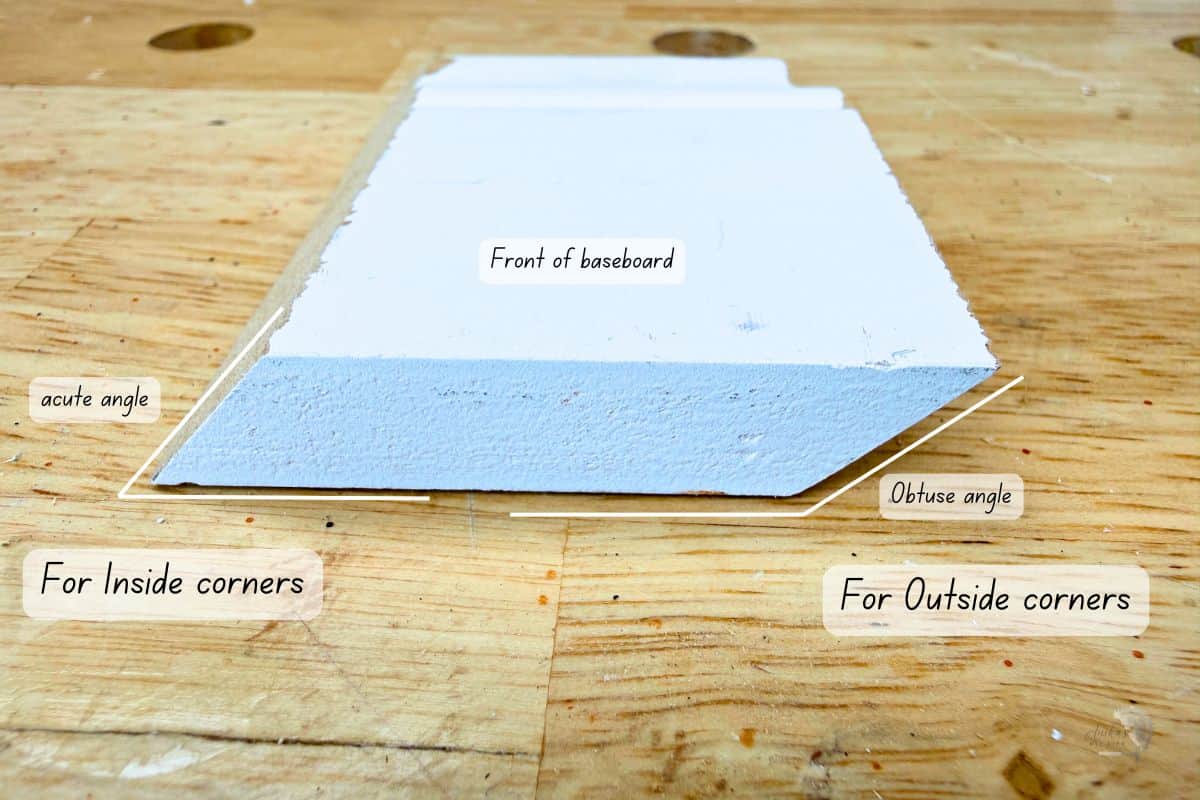
You don’t need to overthink angles or memorize anything complicated. Just remember how the front and back relate to each other, and you will (almost) always get it right.
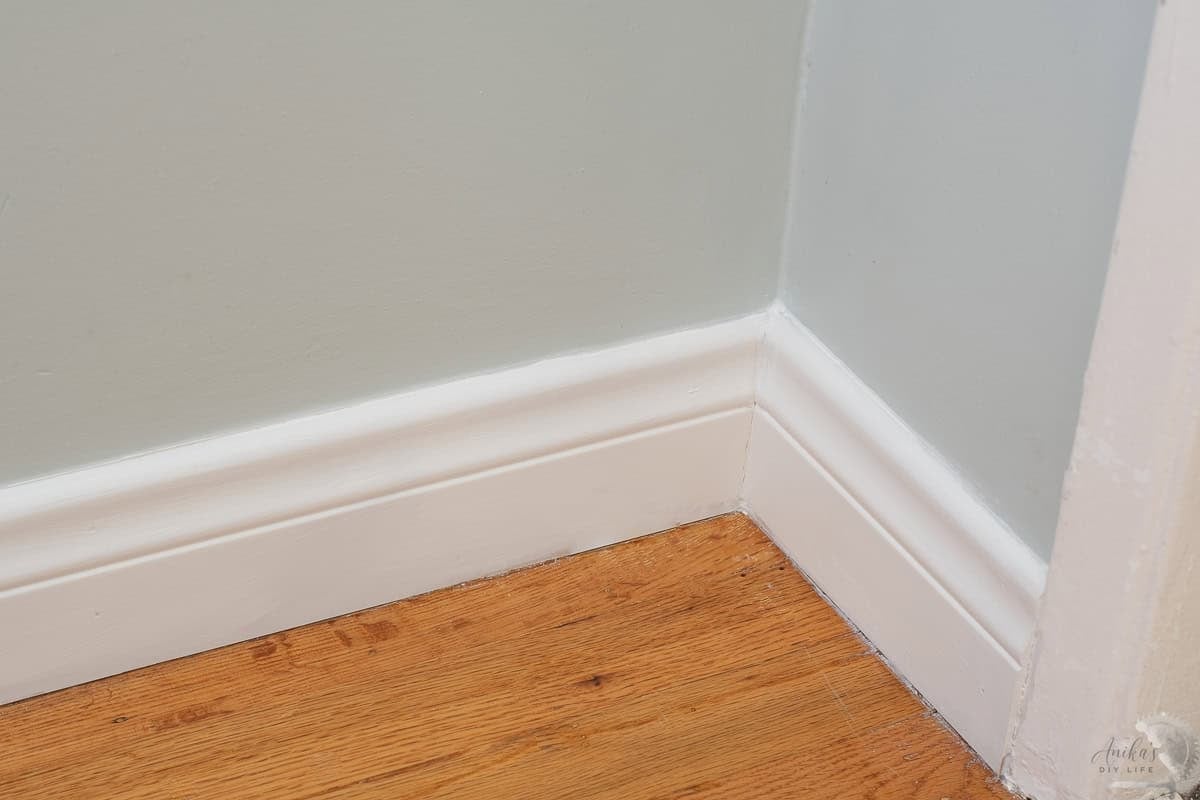
Installing Inside Corners
There are two ways to handle inside corners. One is simpler, one is more advanced.
Option 1: Mitered corners (Best for beginners)
- Cut both boards at 45 degrees (acute angle) and fit them together in the corner
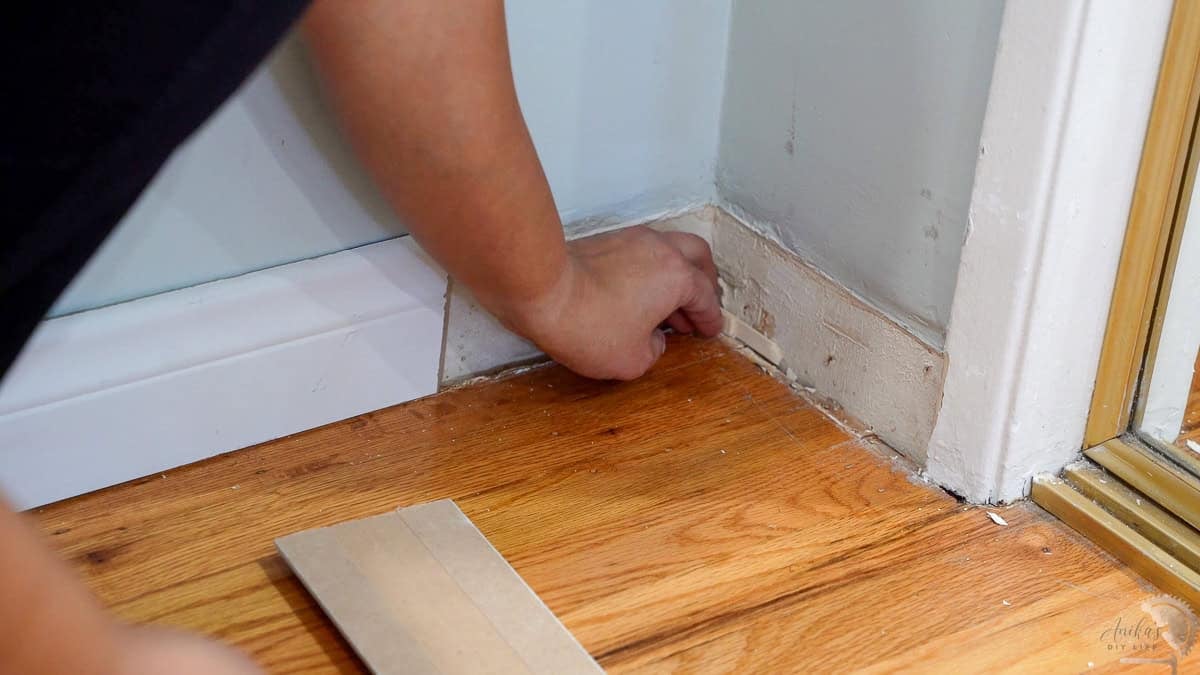
You will often see a gap at the bottom because the walls tend to bow inward near the floor, and here is where I have a little trick for you.
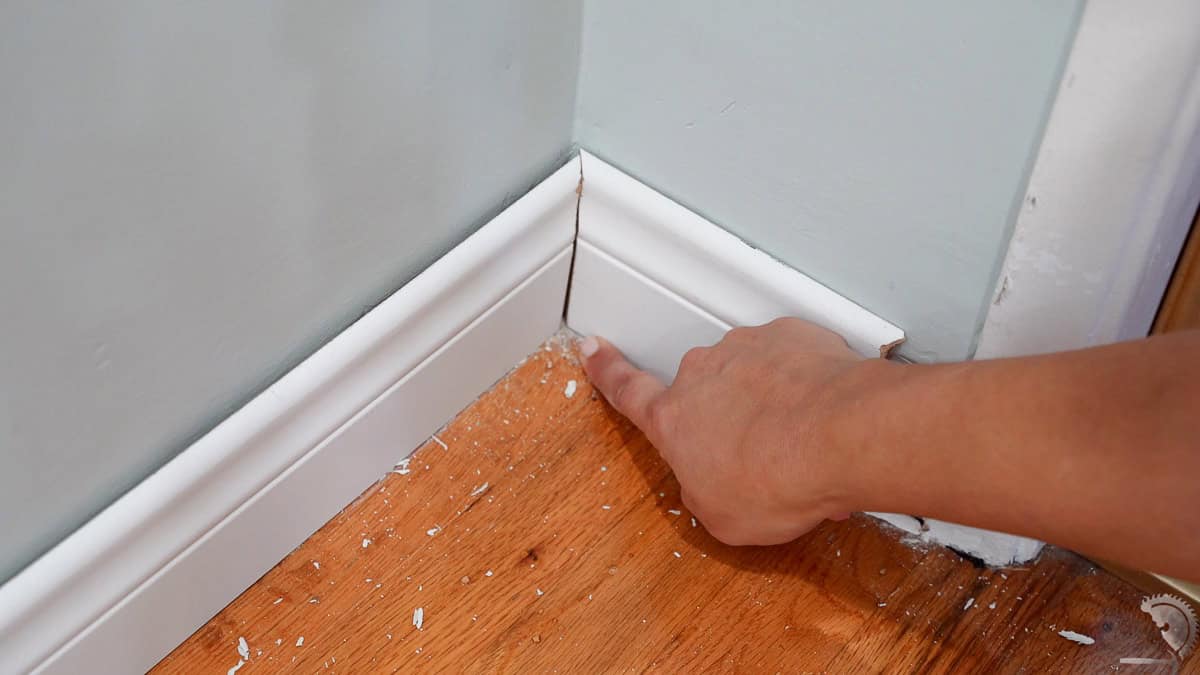
Beginner-friendly trick to fixing the baseboard gap: add a small shim (like a popsicle stick) behind the baseboard. This pushes the board forward slightly. You can adjust until the joint looks tight. This is one of the simplest ways to get clean-looking corners without complicated cuts.
Option 2: Coping (More advanced)
This is often used by finish carpenters and takes a little bit of practice to get right. Usually, this is important with hardwood baseboards because it also gives a little space for expansion and contraction of wood, but with MDF baseboards, it isn’t necessary. Although if done right, it can give you clean-looking corners.
- Start by cutting of the baseboard straight. This goes against the wall.
- Cut a bevel on the other baseboard to expose the profile of the baseboard.
- Use a coping saw to cut the profile at a slight angle. It is very important that you follow the profile as perfectly as possible so you get a perfect fit.

It does take more practice, so it’s totally okay to skip it as a beginner.
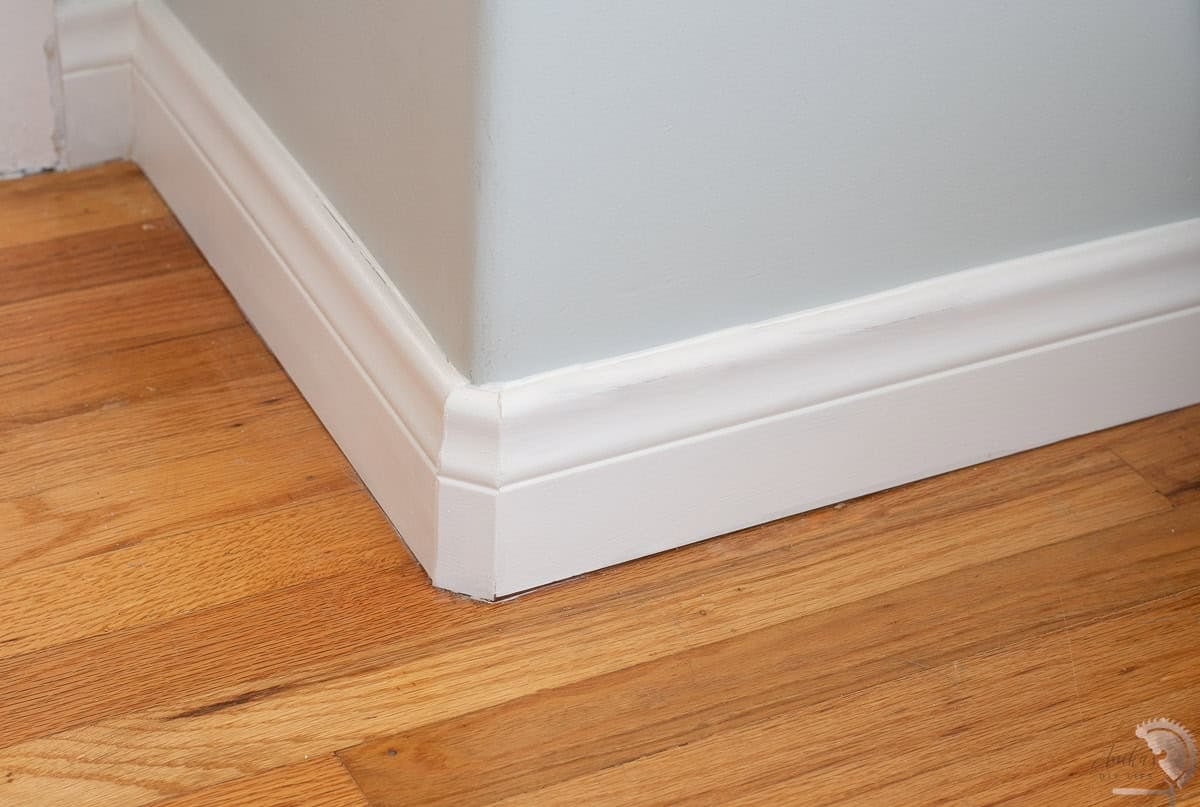
Installing Outside Corners
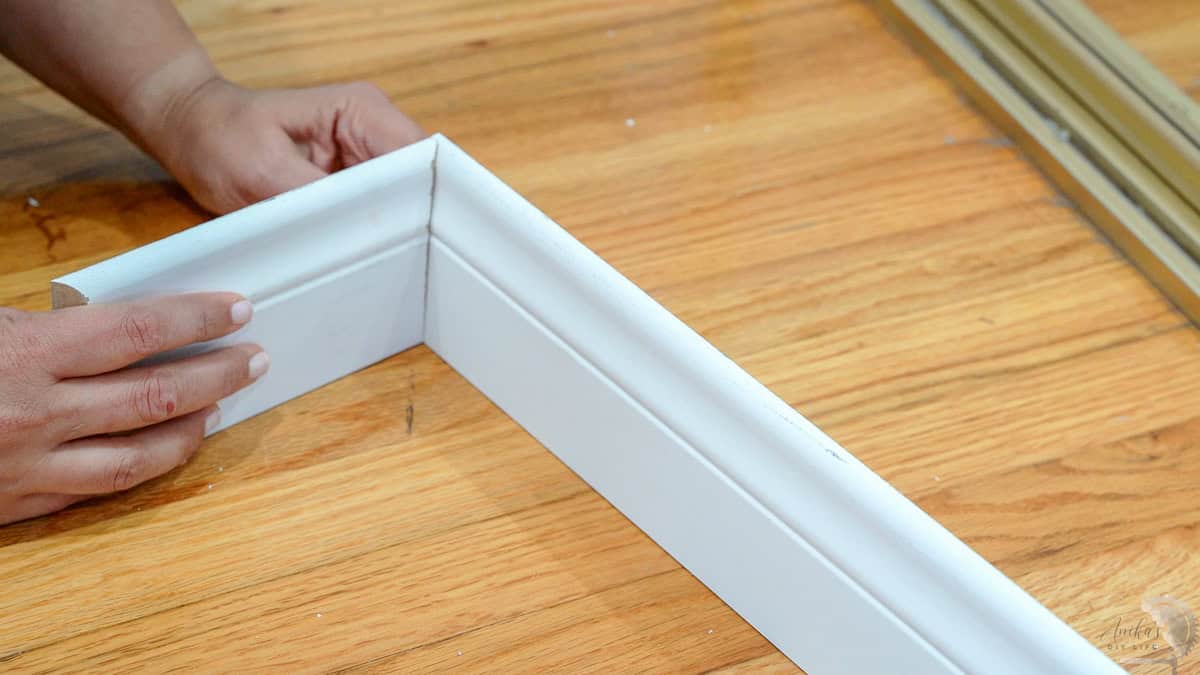
For standard outside corners that are a sharp corner, it is pretty straightforward.
- Cut both pieces at 45- degree. Make sure the front edge is longer than the back (obtuse angle)
- Fit them together
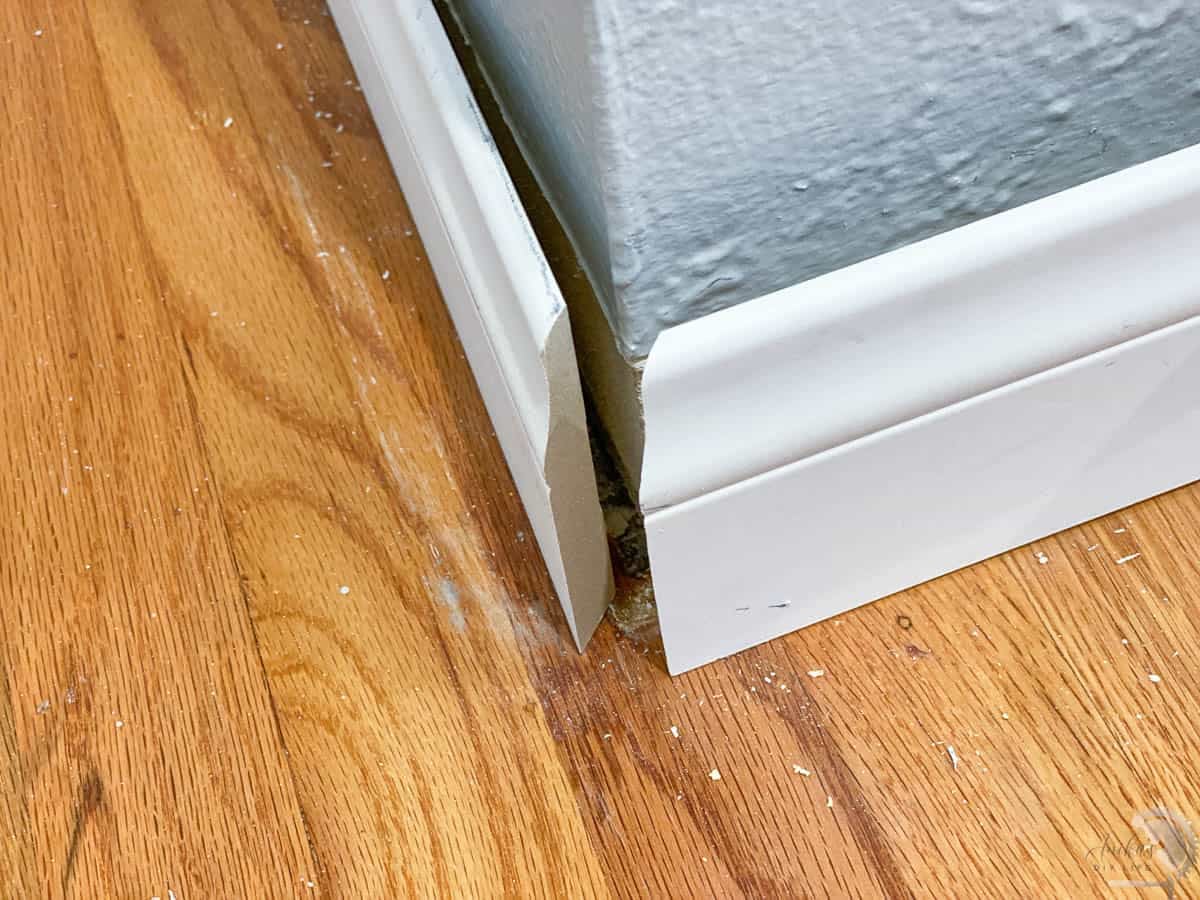
Dealing with Bullnose corners:
If you have a bullnose corner or a curved corner, it can take a little time.
- We break it into 3 pieces – each cut at 22.5 degrees. The middle piece will have obtuse angles on both sides, and the end pieces will have an acute angle.
- Fit them together to follow the curve
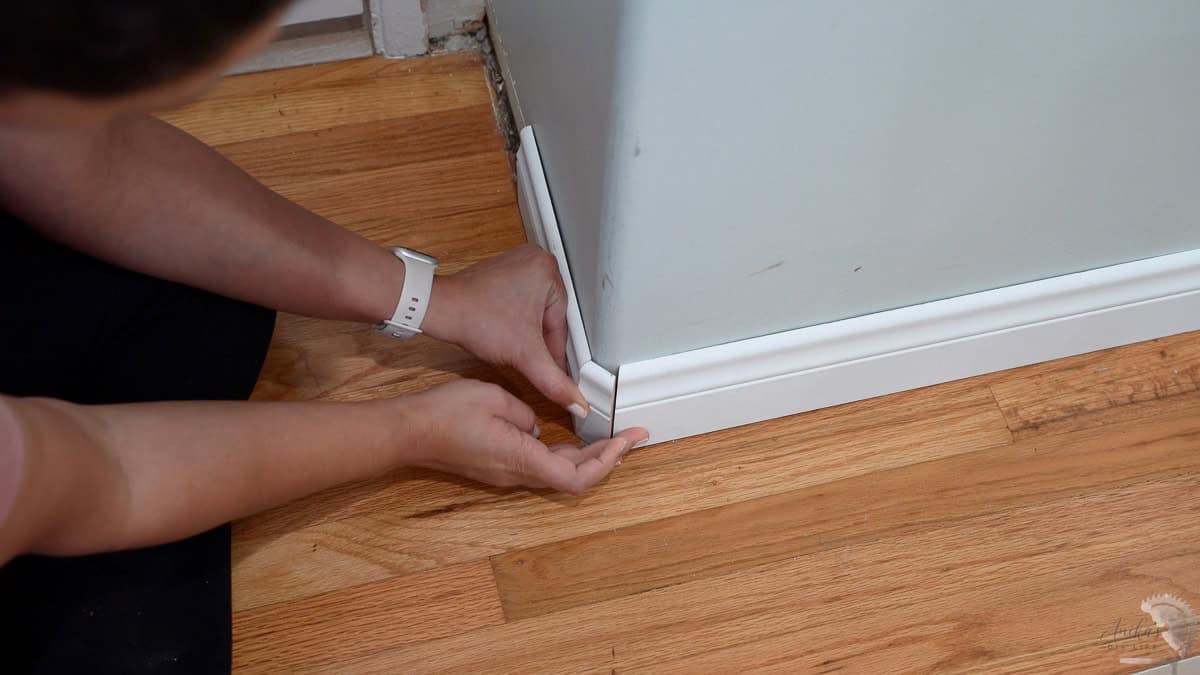
This takes a little trial and error, but it works really well. Be sure to watch the video where I talk through how to figure out the sizes or the pieces.
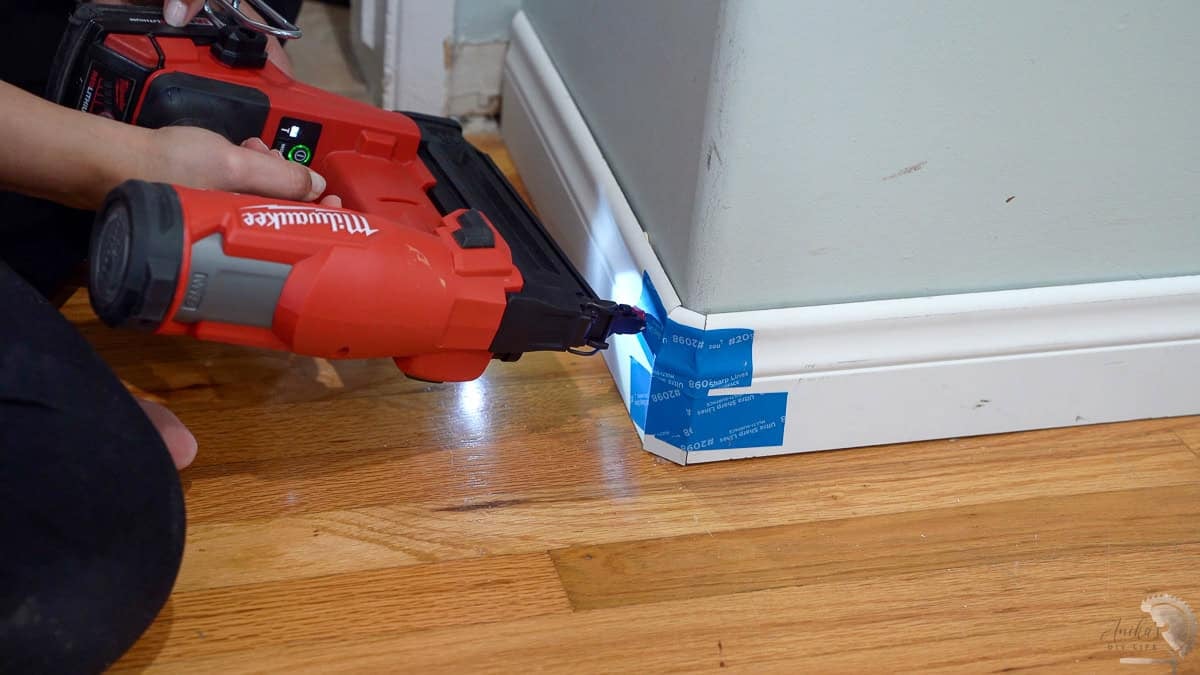
- Once you have the pieces cut, use wood glue on the joints to hold the curve together. I like to use painter’s tape to keep everything in place as I attach the baseboards to the wall.
Remember, there is usually a metal sheet on the bullnose corner, and you won’t be able to nail into it, so nail the baseboards on the side of the corner with 1 1/4″ nails.
- When the glue has set, you can pull the tape off.
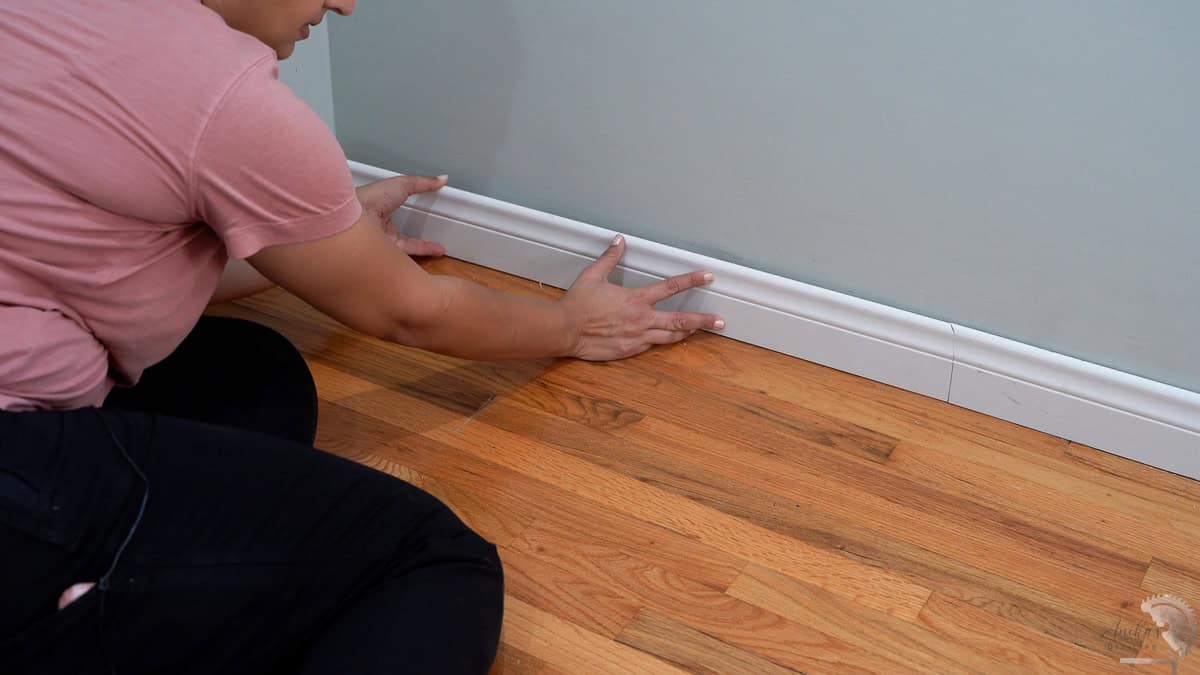
Installing Scarf Joints
If your wall is longer than your baseboard, you will need to join two pieces together. This is called a scarf joint, and it helps the seam disappear visually.
- Cut both ends at complementary 45° angles.
- Apply wood glue to the joint and put it together. You can also use painter’s tape to keep everything together tightly.
- Once the glue has sent for 5-10 minutes, you can add a few 1 1/4″ nails in the joint.
- Continue attaching the rest of the baseboard as usual.
If done right, you should have a seamless baseboard.
How to Finish Baseboards
This is where everything comes together.
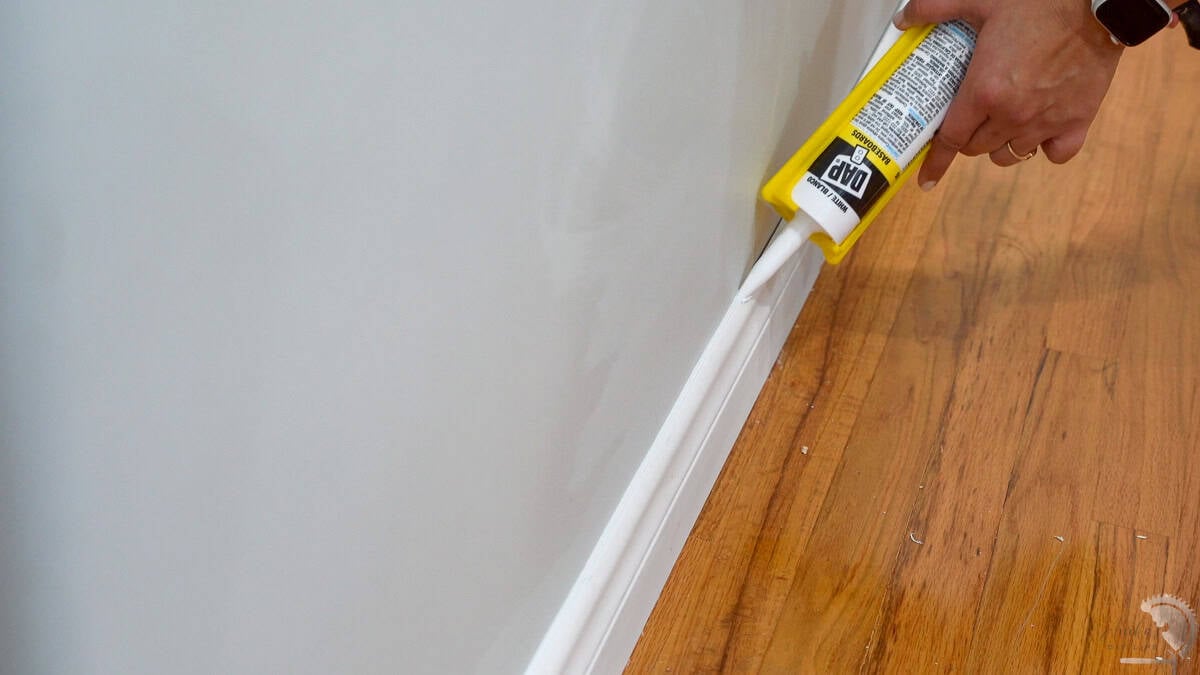
- Run caulk along the top edge where the baseboard meets the wall. Smooth it out with a wet finger. I like to hold a wet towel over my finger to keep my fingers “clean”. You can also use a caulking tool.
- Fill in all the nail holes with wood filler.
Anika’s Tip: Have a wet towel handy and wipe off all the excess wood filler from the baseboard after 2 minutes. This way, you get a clean baseboard without having to sand.
- Once the caulk has dried, apply your favorite trim paint for a smooth finished look. I freehand painted it with a paintbrush but if you like, you can also tape it off
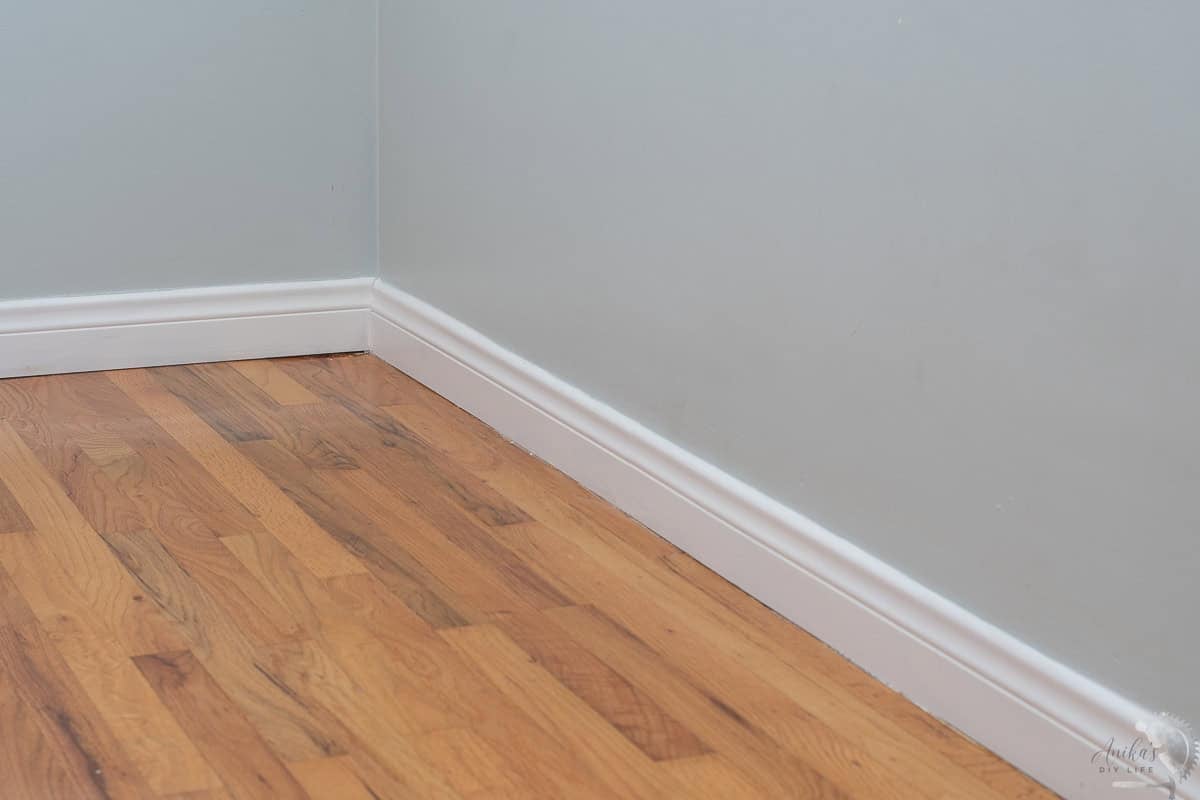
And that’s it! The room looks completely different with just a small change!
Get all the supplies for this project:
How Long Does It Take to Install Baseboards?
A standard-sized room can take about 2-3 hours of active work. It may take longer your first time, and that’s totally okay. Once you get the hang of it, it goes much faster.
Remember, replacing baseboards is one of those projects that looks intimidating at first, but once you start, it’s surprisingly manageable.
It’s also one of the most satisfying upgrades you can make because the difference is immediate.
Take your time, don’t aim for perfection, and remember – small adjustments (like shims and caulk) go a long way in getting that clean, professional finish.
Anika's goal is to inspire and empower beginners with woodworking, DIY, home improvement, and home decor ideas.
She wants everyone to unlock their creative potential and experience the feeling that comes with making something. Nothing feels better better than seeing something and saying "I can make that!"