DIY A-Frame Desk
Learn how to build this DIY A-frame desk with drawers. This simple yet stylish wood desk is easy to make and makes any home office pop! Plus it uses only 4 power tools!
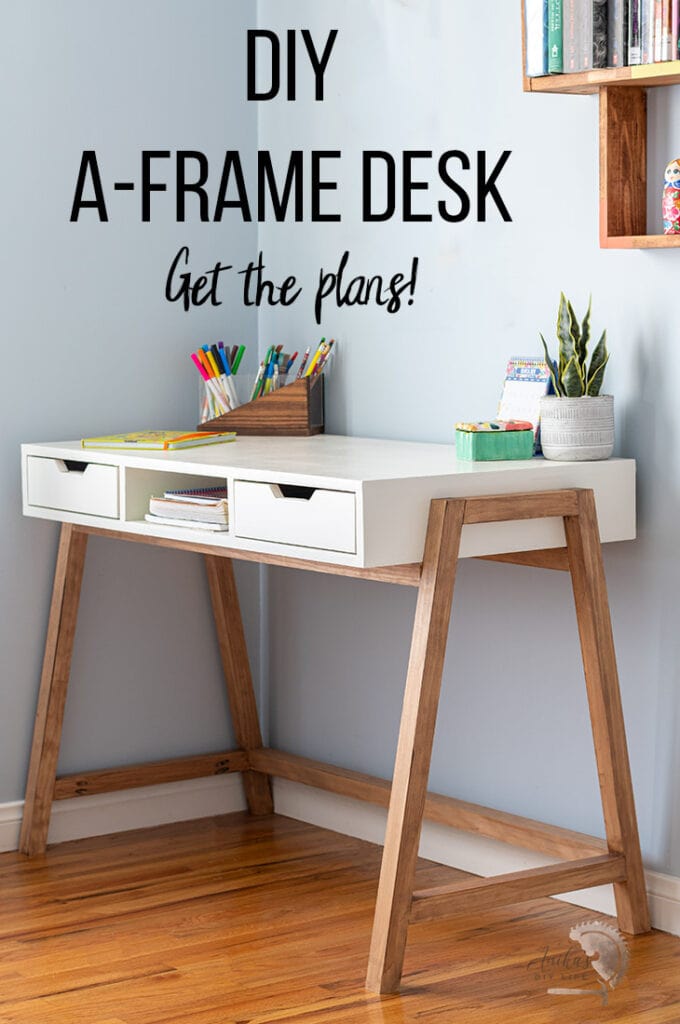
This desk has been a long time coming.
I built my daughter a desk with storage for her 5th birthday (she will be 10 in a couple of months).
It is safe to say, she outgrew that desk a long time ago and has been waiting for her mom to build her something.
Mom has been trying to come up with a design that would be fun, functional, and something that would grow with her.
RELATED: DIY Modern Farmhouse Desk
This design is very simple to build and uses a sheet of plywood, a few 2×2 boards and some other boards for the drawers. The total cost came to about $100!
Plus it used only 4 power tools so anyone can easily make it!
In fact, I am partnering with a bunch of other talented ladies to bring you more projects that can be built with 5 basic tools or less. Be sure to take a look at them at the bottom of this post!
Material Needed –
DIY A-Frame Desk Plans –
You can download the step by step 3D model and build plans by clicking below.
DOWNLOAD A-FRAME DESK PRINTABLE PLANS
How to Build the Desk –
The full video showing how I built the A-frame desk is below! Full step by step written instructions follow below.
Click here to subscribe to my YouTube Channel for more great videos!
Step by Step Tutorial-
Step 1 – Make cuts
Cut the plywood per the plans using a circular saw and a straight edge guide. I like using the Kreg Ripcut for this. It makes it really easy to make repeated identical cuts.

Cut the 2×2 boards on the miter saw. The legs and a few supports are cut at 10-degree angles. I like to set the saw once and make all the cuts so the angles are completely identical.
Step 2 – Build top frame
Make pocket holes in the plywood and build the frame for the drawers. Remember plywood has a special setting for the Kreg Jig. Read all about it here.

Step 3 – Build and install drawers
Build the two drawers using 1×3 boards. Be sure to check out my guide to building drawers for beginners!
Install the drawer slides in the top frame and install the drawers.

Step 4 – Attach top
Once the drawers are in place, go ahead and attach the top using wood glue and 1-1/4″ finish nails.
Be sure to mark the location of the center supports so you can add nails accordingly.

Step 5 – Build legs
Build the two A-frame legs using wood glue and 2-1/2″ pocket hole screws per the plans.

Make sure the pocket holes are facing down on the bottom rails and inside for the top rails.
Step 6 – Assemble base
To assemble the base, I decided the best approach was to do so around the top frame so everything was aligned and fit well.
- Place the top upside down on a workbench.
- Using 2×2 boards are spacers on both sides, place the A-frame legs.
- Attach the supports under the top using pocket hole screws and wood glue.
- Attach the back bottom support. To do this I found it easier to move the leg frame to the floor on its side.

Step 7 – Attach base to top
Bring the base back to the workbench and attach it to the top using 2″ wood screws.

Step 8 – Add drawer faces
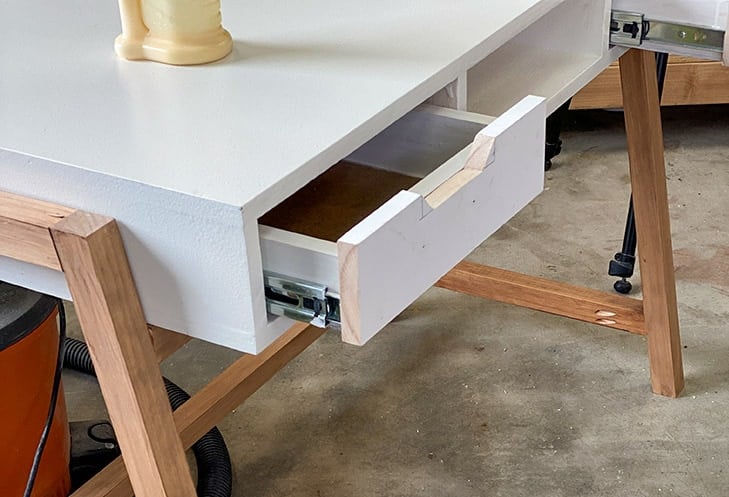
Secure the drawer faces using finish nails and wood glue from the front and then attach with finish screws from the back. I decided to cut out the top of the drawer faces using a jigsaw, then attached it.
Finish on the Desk –
I decided to go with a dual-tone – warm brown and white to match the rest of the furniture in my daughter’s room.
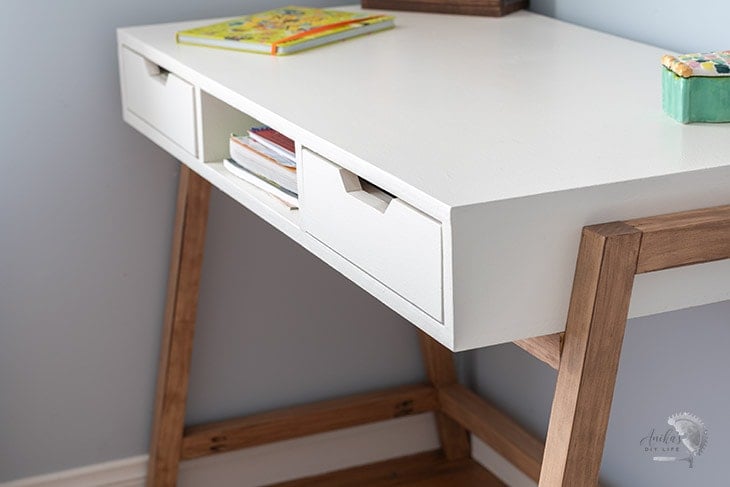
Since it is dual-tone, I finished the legs and top separately before attaching.
I was going to paint the top but to be cost-efficient, I used sanded plywood which isn’t very smooth. To get a smooth finish, I coated the entire top with joint compound and sanded it back. Be sure to read my full tutorial on how to paint plywood for a smooth professional finish.
The legs were stained in my current favorite “Nutmeg” gel stain.
As a special surprise, since my girl loves color, I painted the insides of the drawers in turquoise and pink!

She loves it and I do too…
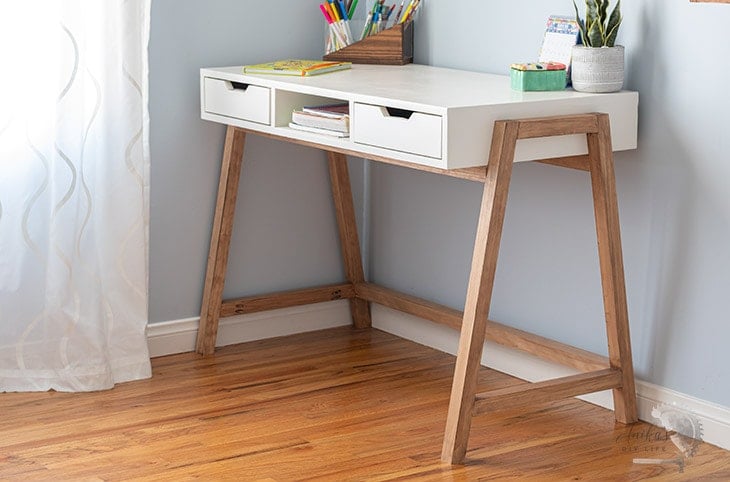
Be sure to download the printable plans by clicking below!
DOWNLOAD THE A-FRAME DESK PLANS
And now, here are my friends with their projects using 5 basic tools or less –
- Addicted 2 DIY
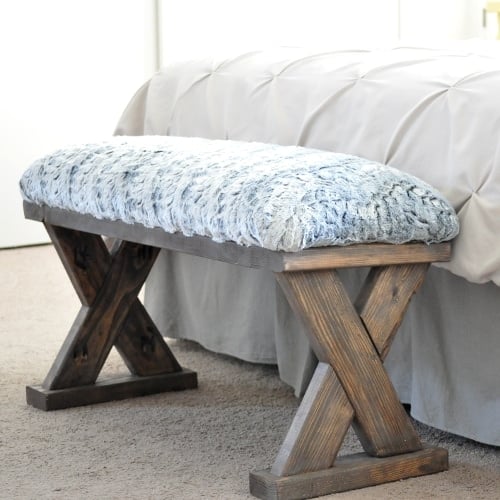
- Spool bed bench by My Repurposed Life
- Simple side table by Jaime Costiligio
- Modern shiplap hall tree bench by The Awesome Orange
- Rustic Wooden Bench by At Charlotte’s House
DIY Desk Accessories –
Here are some ideas to make your desk more awesome to use –
- DIY laptop stand
- DIY footrest
- Easy DIY modern pencil holder
- DIY Phone stand with photo holder
- How To Build a Wooden DIY Tiered Organizer
You may also like:
- How to Build a DIY Twin Bed Frame and Headboard
- How to Build a Trundle Bed (Detailed Plans and Video)
Reader Projects


Anika's goal is to inspire and empower beginners with woodworking, DIY, home improvement, and home decor ideas.
She wants everyone to unlock their creative potential and experience the feeling that comes with making something. Nothing feels better better than seeing something and saying "I can make that!"



I LOVE this design! It’s the perfect combo of sleek and storage. Also… joint compound to smooth out plywood is genius.
I love your a frame desk Anika! I had a drawer section similar to this once. Now I wish I had put it up on legs like you did with your diy version.
I use joint compound 99% of the time with my wood projects. It’s so economical. 😉 In other words, I’m cheap!
pinned!
gail
Perfectly simple, functional with storage and pretty! Love those contrasting angled legs.