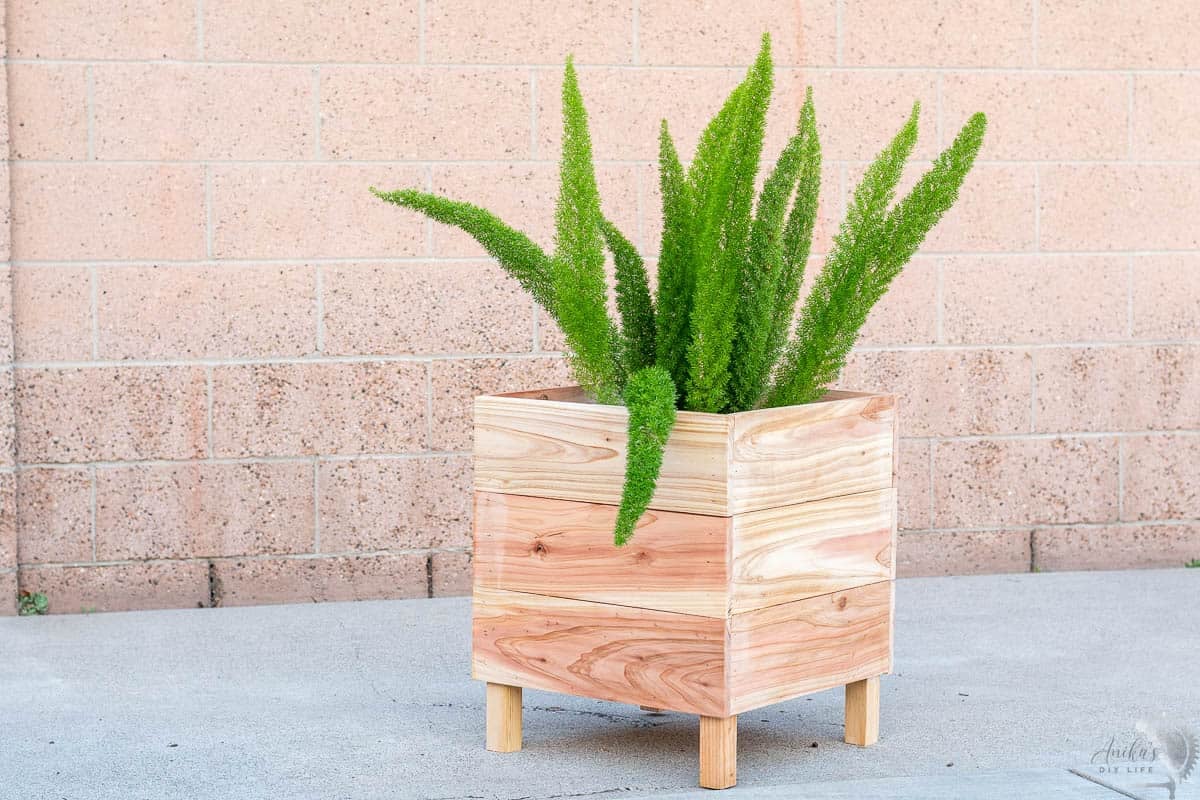
How to Build an Easy DIY Square Cedar Planter Box (No Table Saw Required!)
Learn how to build a DIY square cedar planter box with no table saw required! This easy, budget-friendly tutorial is perfect for beginners using basic power tools.

Cedar planters are everywhere right now. And honestly, I get why.
They look high-end, they’re affordable to build, and they’re a perfect beginner project. But here’s the problem I kept seeing… most tutorials require a table saw.
And if you’re just getting started, that’s usually the tool you don’t have (or don’t feel confident using yet).
So I designed this DIY cedar planter box to be simple, approachable, and actually beginner-friendly using just basic tools like a miter saw (or circular saw) and a drill or nailer.
Because if you’ve been around here for a while, you know this is how I teach – keep it simple, explain the “why”, and help you actually build something.
Project at a Glance:
Skill Level: Beginner
Time: 30 minutes -1 hour
Estimated Cost: Under $20
Why Use Cedar Fence Pickets for Your Planter?
If you’re building an outdoor planter, cedar is a great choice because:
- Naturally rot-resistant making them perfect for outdoor use
- Resists insects, so no chemical treatment needed
- Lightweight and easy to work with and is great for beginners
- Affordable when using cedar fence pickets
I personally love using cedar fence boards because they give you that beautiful, warm wood look without the high price tag.
Pro Tip for Picking Lumber: Fence pickets can be rough or warped. Take your time at the hardware store to find the straightest boards possible. Even a tiny “bow” in the wood can make assembly tricky once the boards are cut!
***This post contains referral or affiliate links. It is a way for this site to earn advertising fees by advertising or linking to certain products and/or services. Please read my full disclosure here ***
Materials Needed
- Lumber per the plans (cedar fence picket boards and 2x2s)
- Outdoor wood glue
- 1 1/4″ Brad nails (or trim head screws if using a drill)
- Sandpaper (60/80, 120, 180, and optionally 220 grit)
- Spar urethane for finishing
Tools Needed
- Miter saw – What I use | Beginner option
- Circular saw (alternative to miter saw)
- Brad nailer – What I use | Beginner option
- Drill (alternative to brad nailer)
- Sander (I have had this sander since 2015!)
Plans for DIY Cedar Planter
As always, I have the step-by-step plans, including the cutlist and diagrams, for you. You can get the plans by clicking the button below.
How to Build
Step 1: Cutting and Sanding the Cedar Fence Pickets
- Cut the cedar fence pickets and 2×2 boards to the required lengths per the plans.
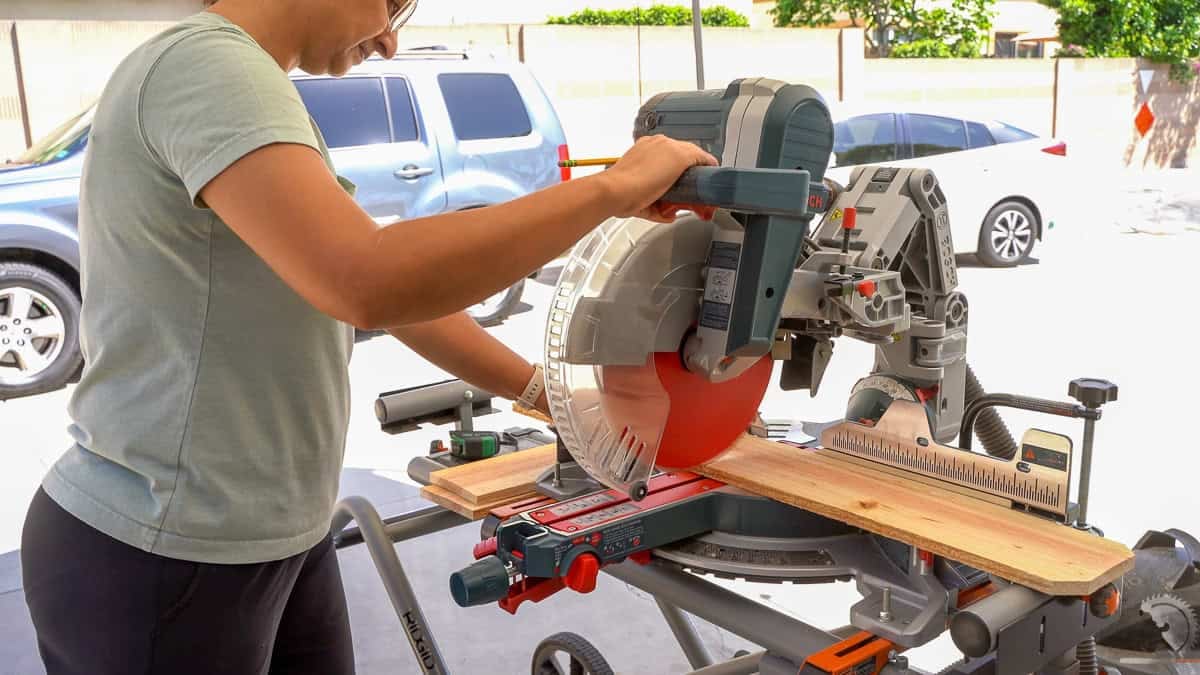
New to saws? Check out my guides on How to Use a Miter Saw or How to Use a Circular Saw.
- Sand the boards. Fence pickets can be quite rough, so start with a lower grit sandpaper (60 or 80) and work your way up to 180 or 220 grit for a smooth finish. See how to sand wood.
Tip: Sanding can be tedious! I use my IsoTunes hearing protection so I can listen to my favorite podcasts while I work.
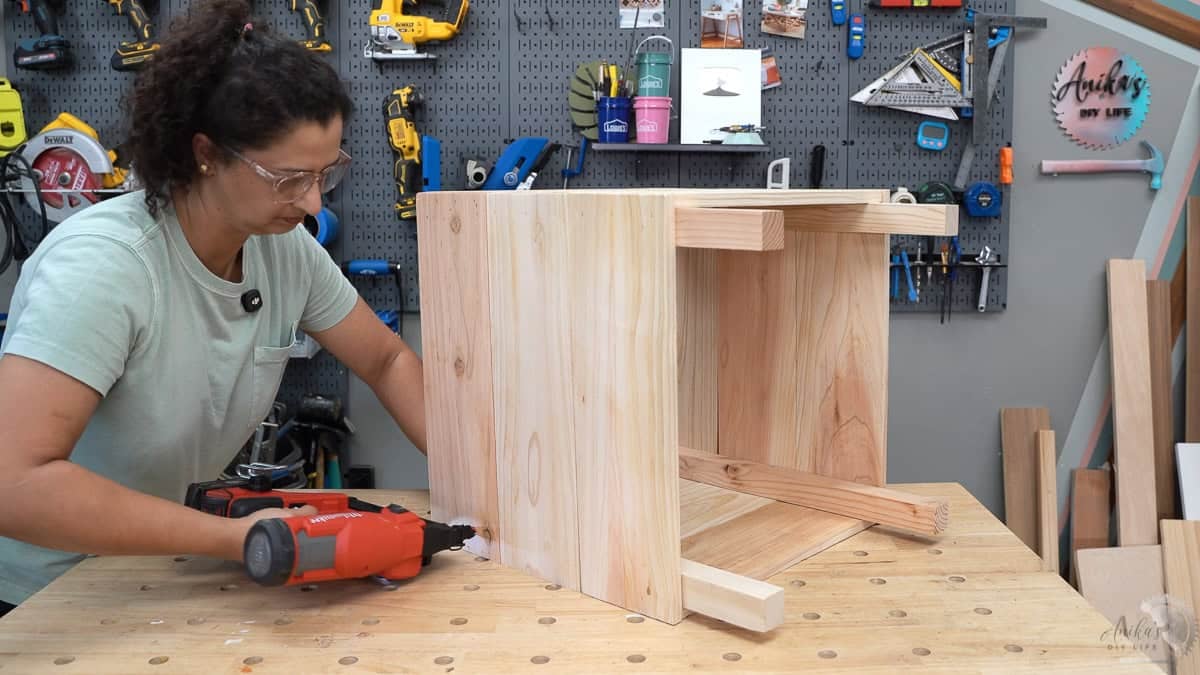
Step 2: Building the Planter Side Walls
- Build two side panels by attaching the fence picket boards to the legs using outdoor wood glue and brad nails (or trim head screws).
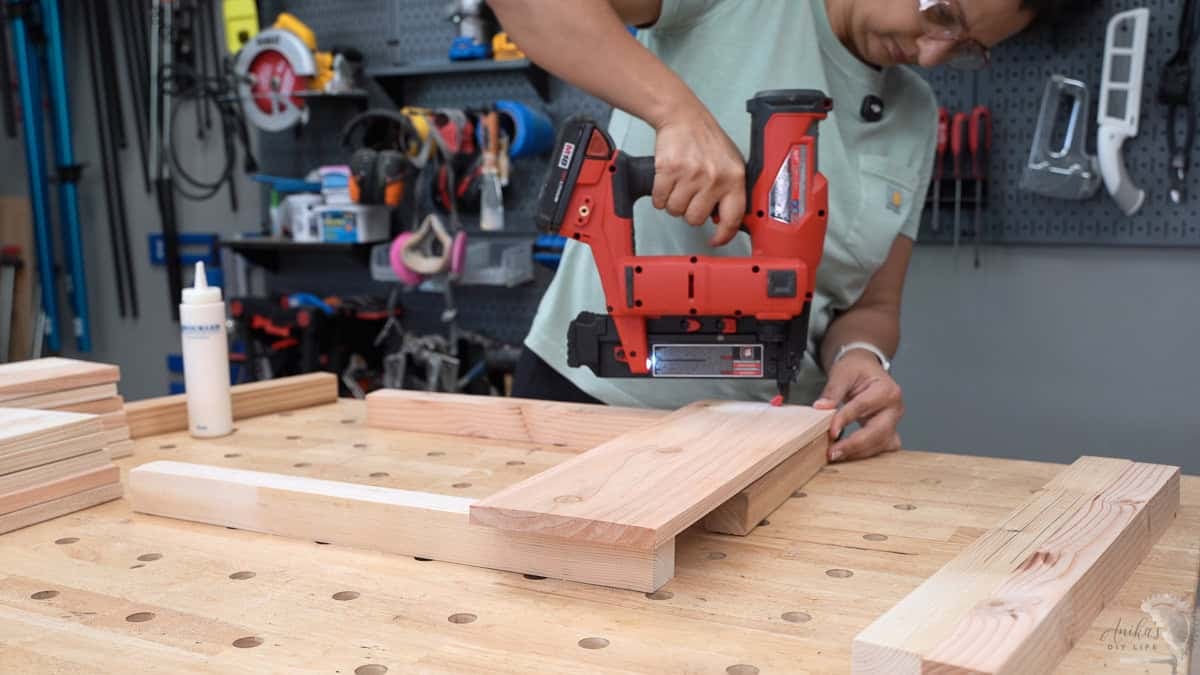
To give the planter a professional look without the legs showing at the top, I inset them by 1.5 inches.
Pro Tip: Use a scrap piece of two-by-two as a spacer to ensure your legs are perfectly aligned and inset.
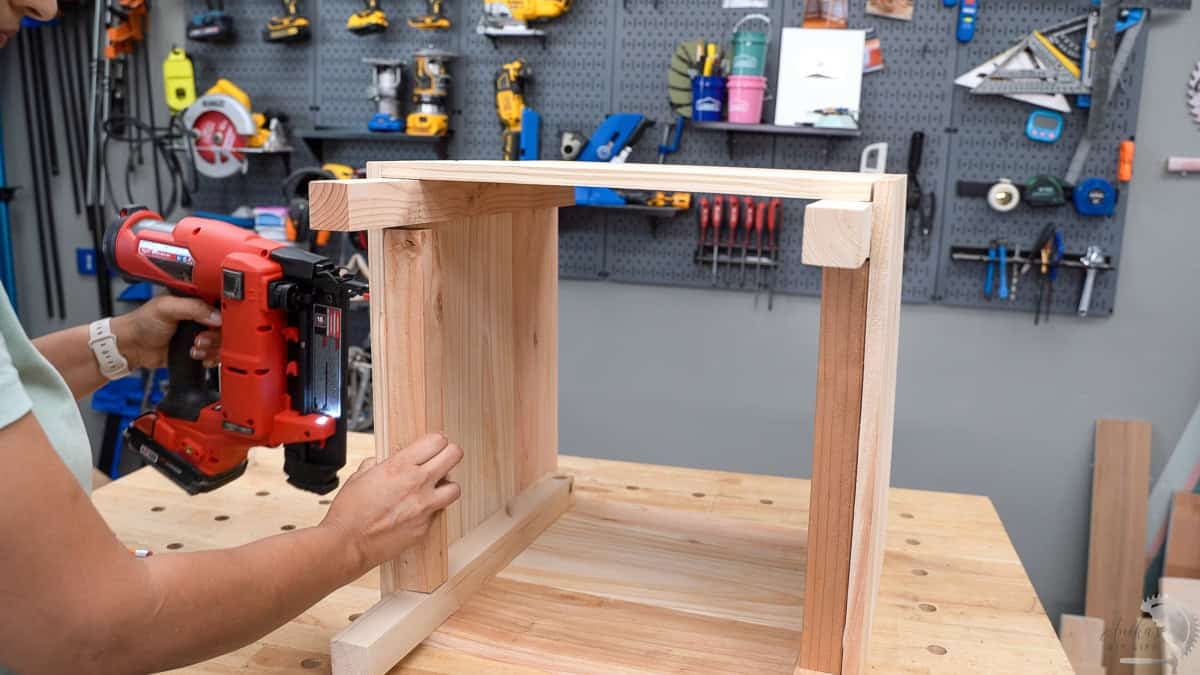
Step 3: Build the Planter Box
- Attach the remaining boards to form the 3 sides of the planter.
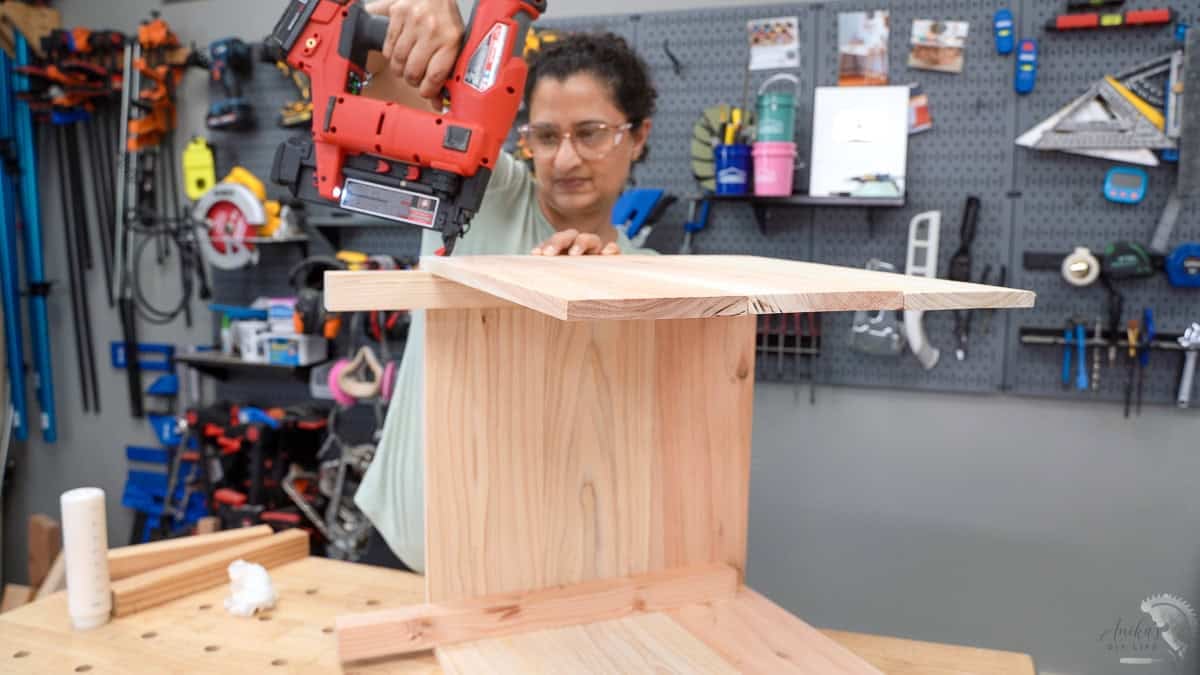
Pro Tip: Work with the planter upside down so that gravity helps keep the boards in place as you nail them down.
- Once the three sides are attached, you can attach the entire structure to the side panel.
Don’t worry if the structure feels a little “wiggly” at first. As you add the final boards, the box will stabilize and pull into a perfect square. Always check for square at the end and adjust if necessary.
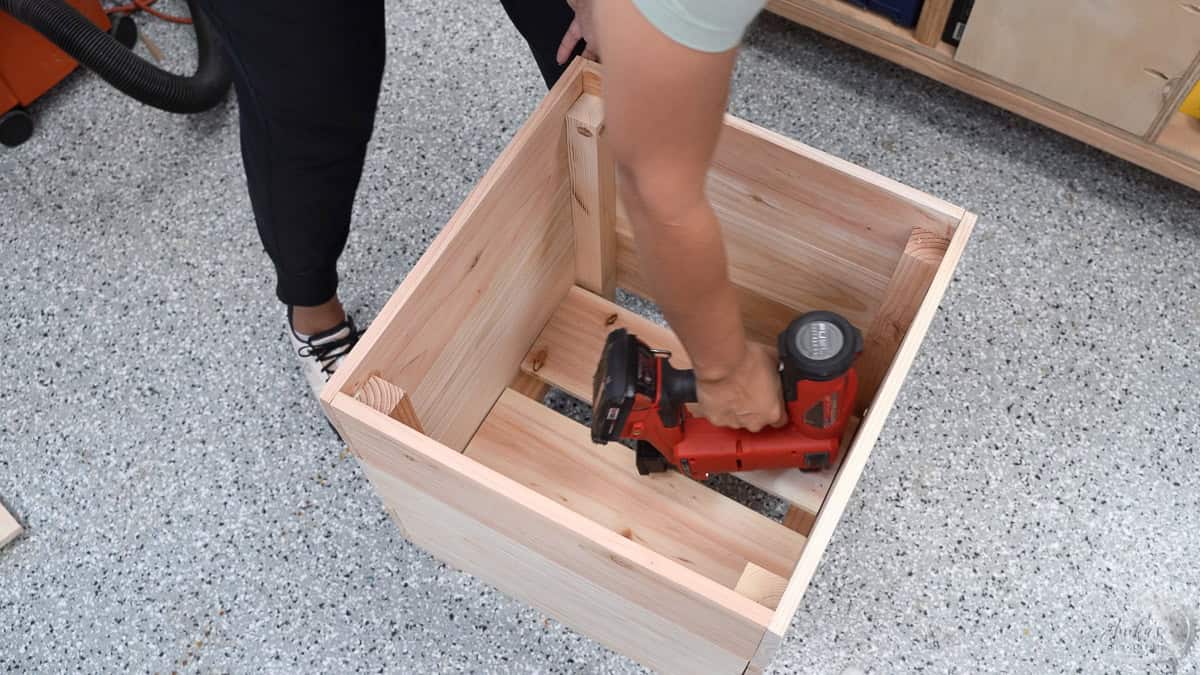
Step 4: Add the Bottom Slats
- Add slats to the bottom of the planter. I added two slats and eyeballed the spacing between them. This will allow for proper drainage.
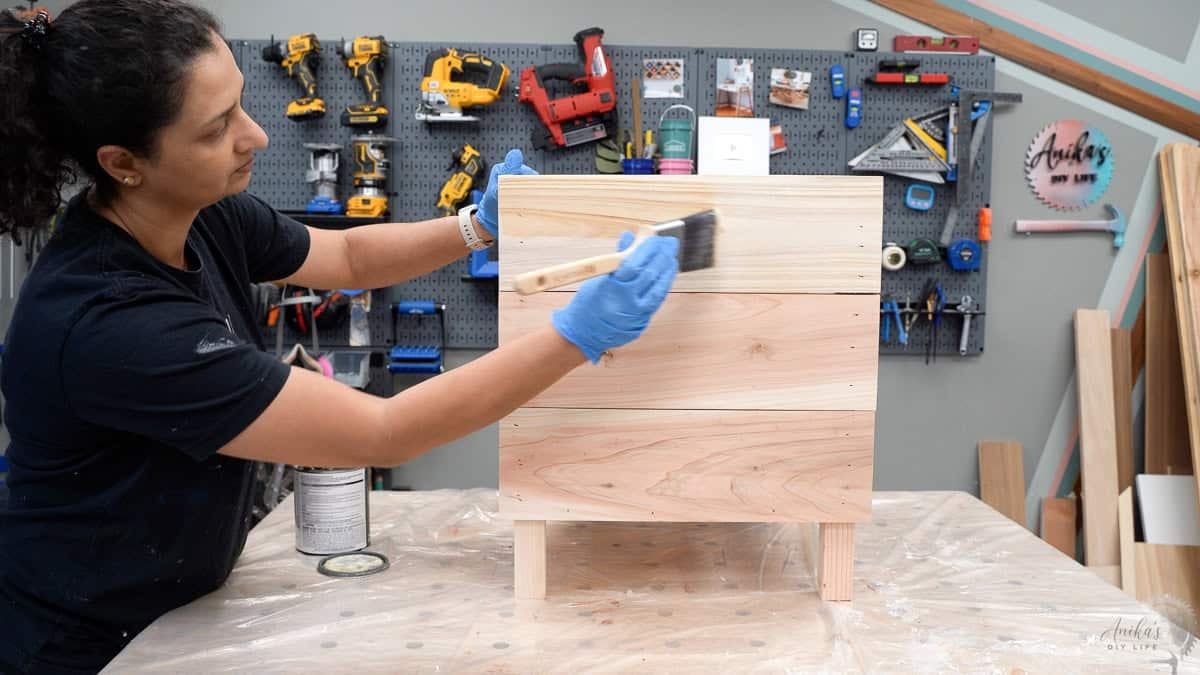
Step 5: Apply the Final Finish
- Wipe down all the dust using a tack cloth
- Apply a coat of spar urethane to the exterior. This will enhance the natural beauty of the cedar while providing a durable, weather-resistant finish.
And that is it!
A beautiful, square cedar planter made with just two power tools! It’s the perfect addition to any porch, patio, or garden, and it was SO easy to build.
Frequently Asked Questions (FAQ)
Do I need a liner for my cedar planter?
While cedar is rot-resistant, using a plastic liner or landscape fabric can help the wood last even longer by preventing constant wet soil contact.
Can I paint this planter instead of staining it?
Absolutely! If you choose to paint, make sure to use an exterior-grade primer and paint to prevent peeling. See how to paint outdoor wood.
How Long Will a Cedar Fence Picket Planter Last?
Because cedar is naturally durable, you can expect these to last 5–7 years (or longer if they are sealed and kept off direct mud).
Can You Sell These Cedar Planters for Profit?
Because these planters cost less than $15–$20 in materials and take about an hour to build, they are a goldmine for local makers. In my area, similar cedar planters sell on Facebook Marketplace or at craft fairs for $45–$60 each. If you build them in ‘batches’ (cutting all your boards at once), you can easily double or triple your investment in a single afternoon.
Plans for DIY Cedar Planter
Ready to start building? I’ve put together a detailed set of plans including a full cut list, 3D diagrams, and exact measurements.
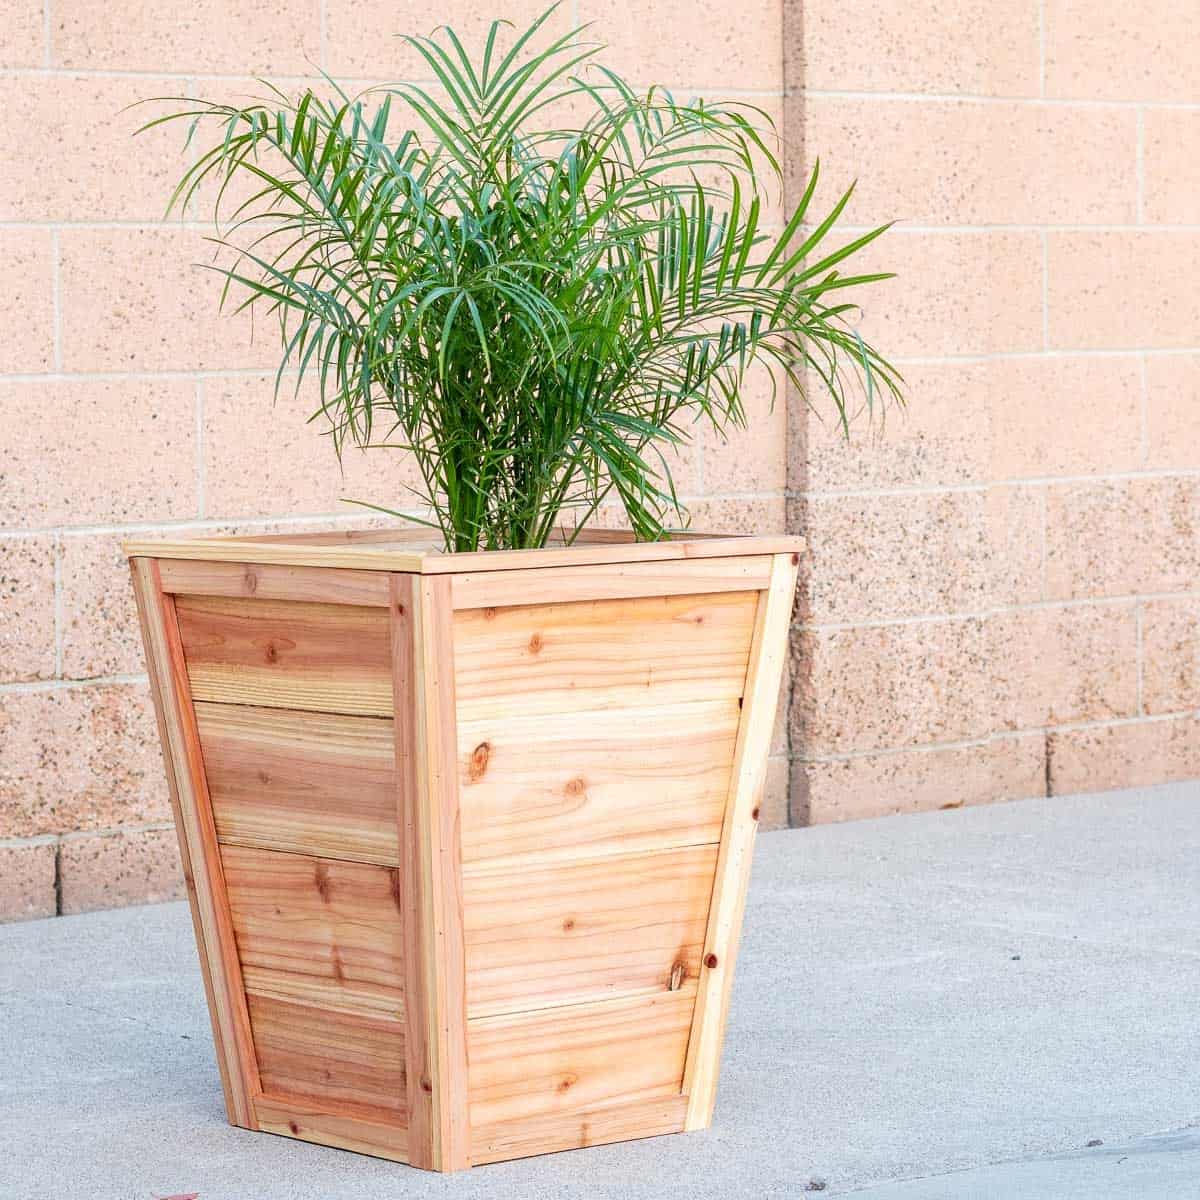
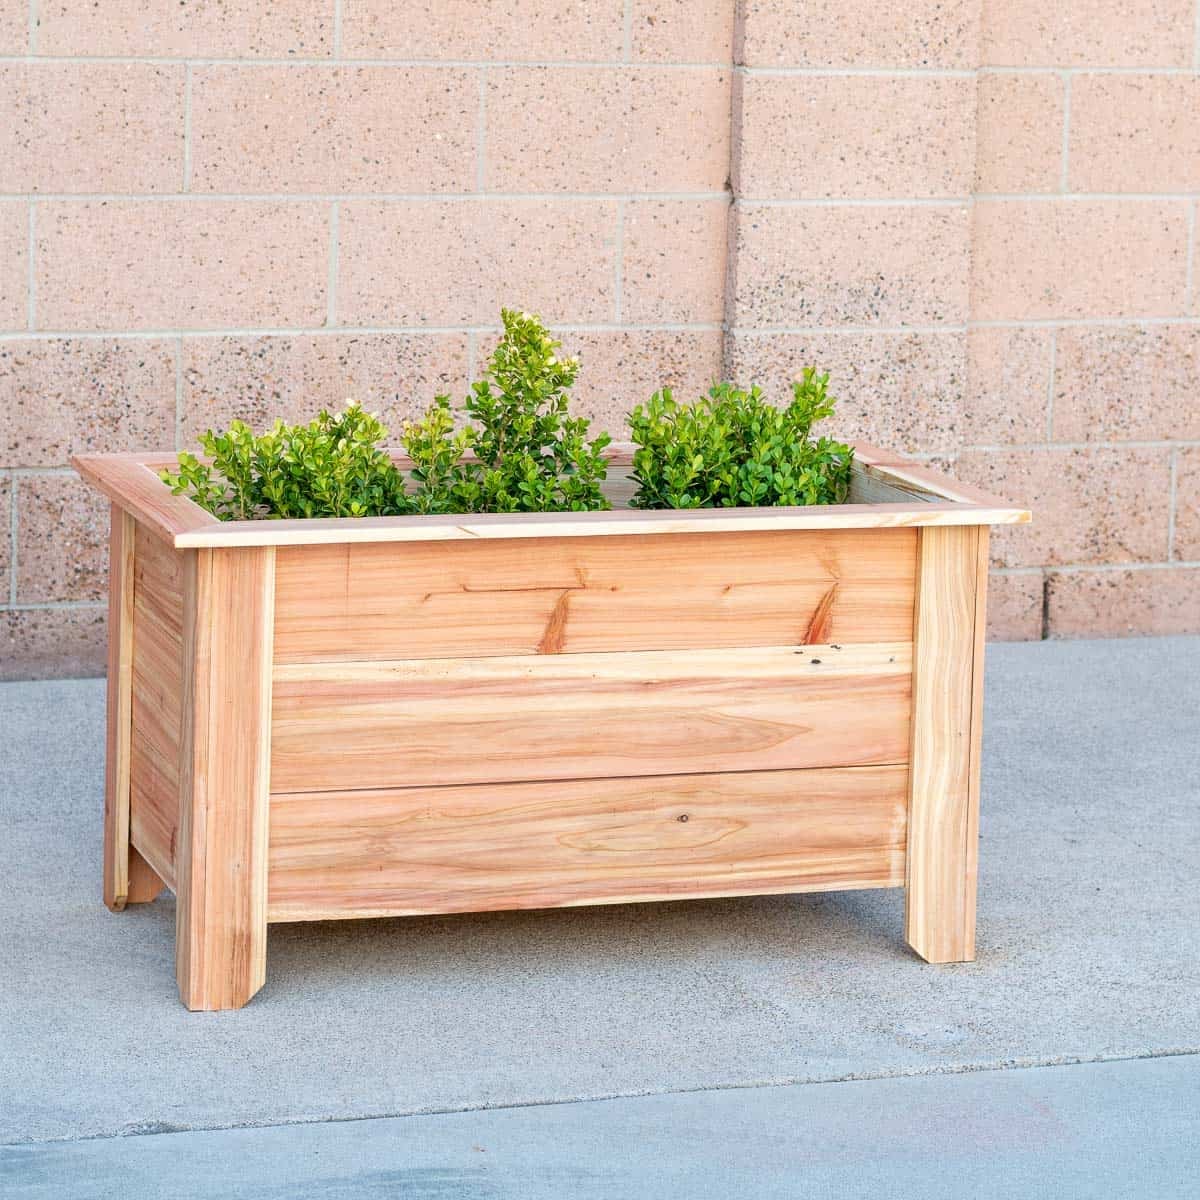
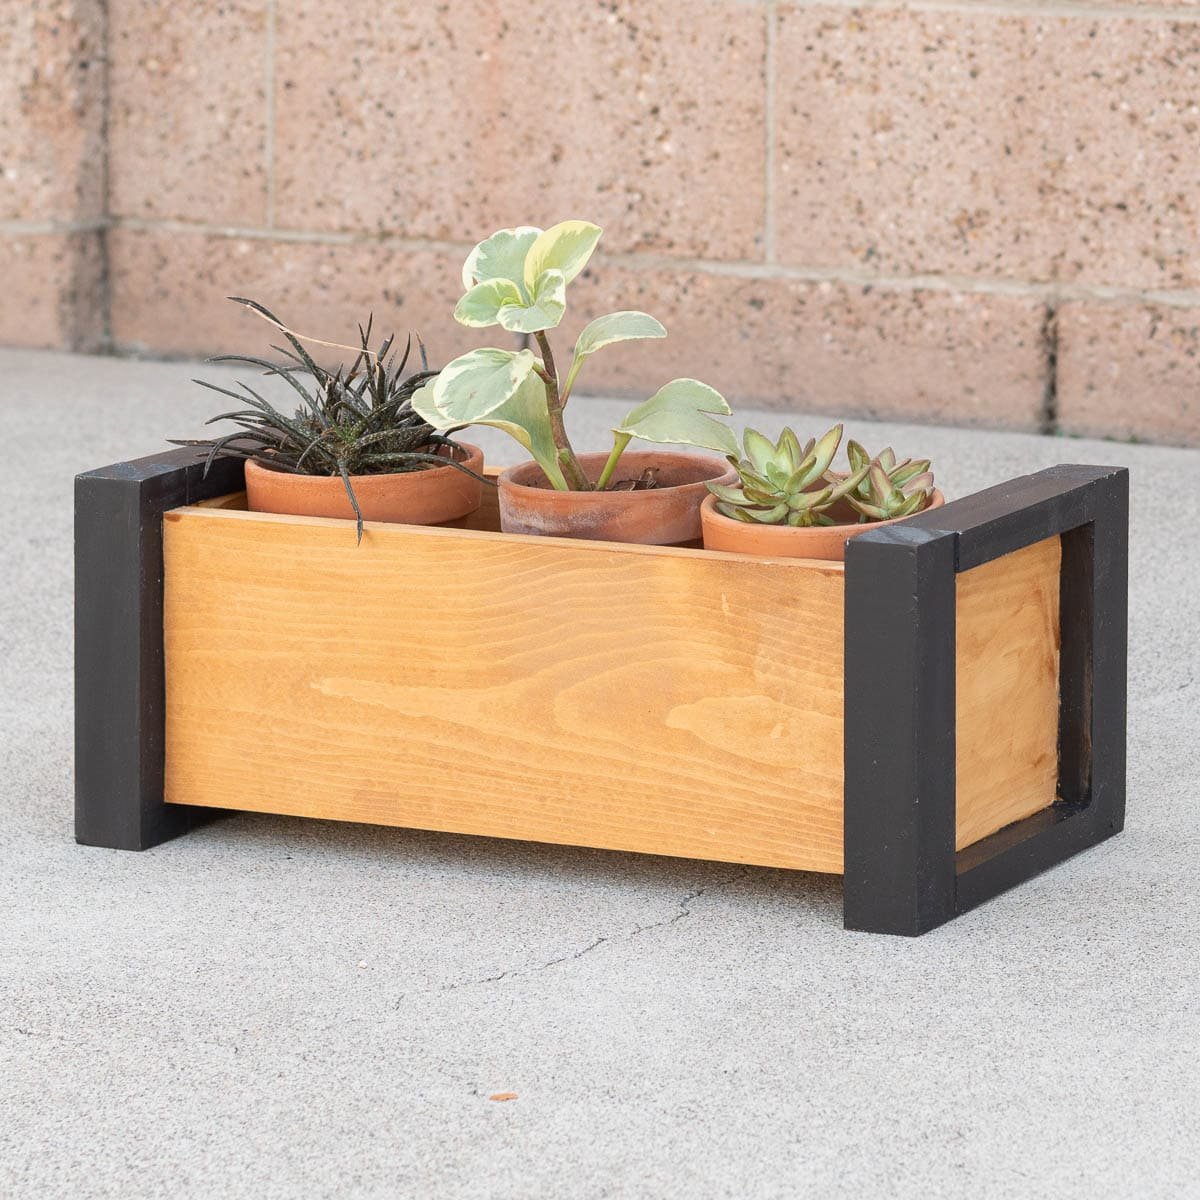
You might also like:


Anika's goal is to inspire and empower beginners with woodworking, DIY, home improvement, and home decor ideas.
She wants everyone to unlock their creative potential and experience the feeling that comes with making something. Nothing feels better better than seeing something and saying "I can make that!"