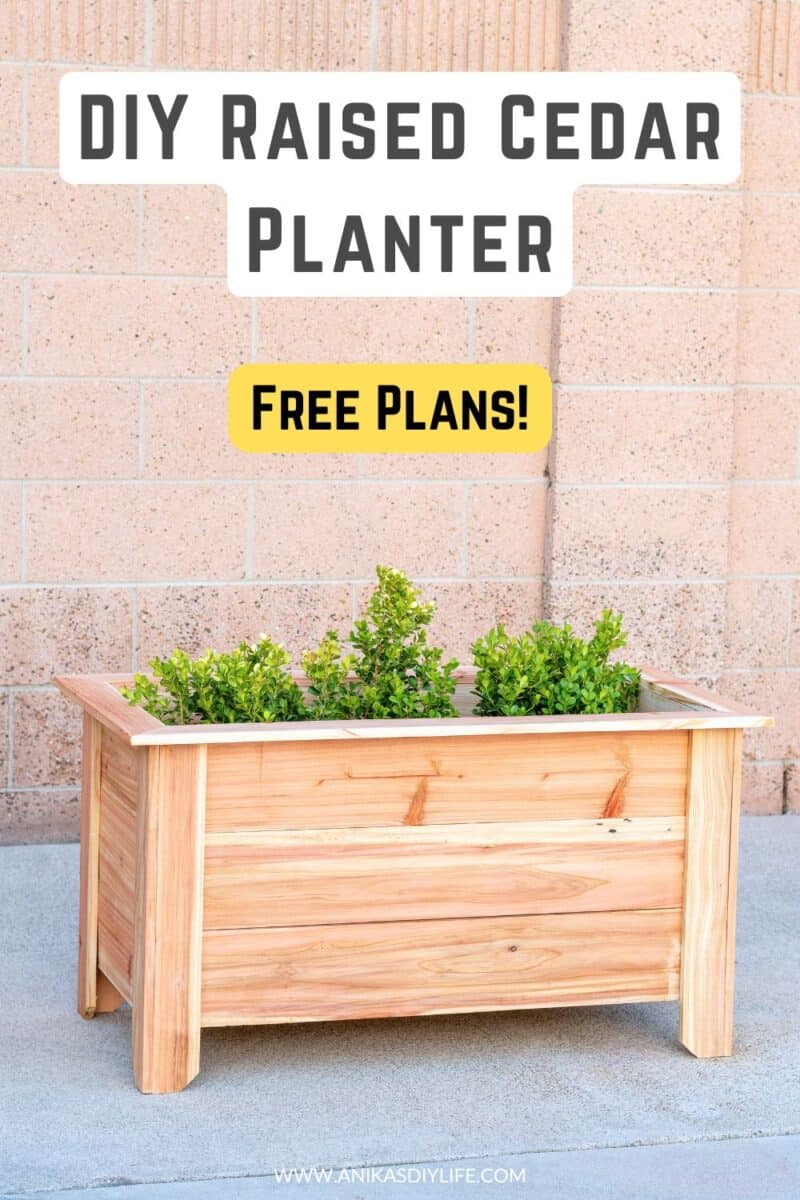
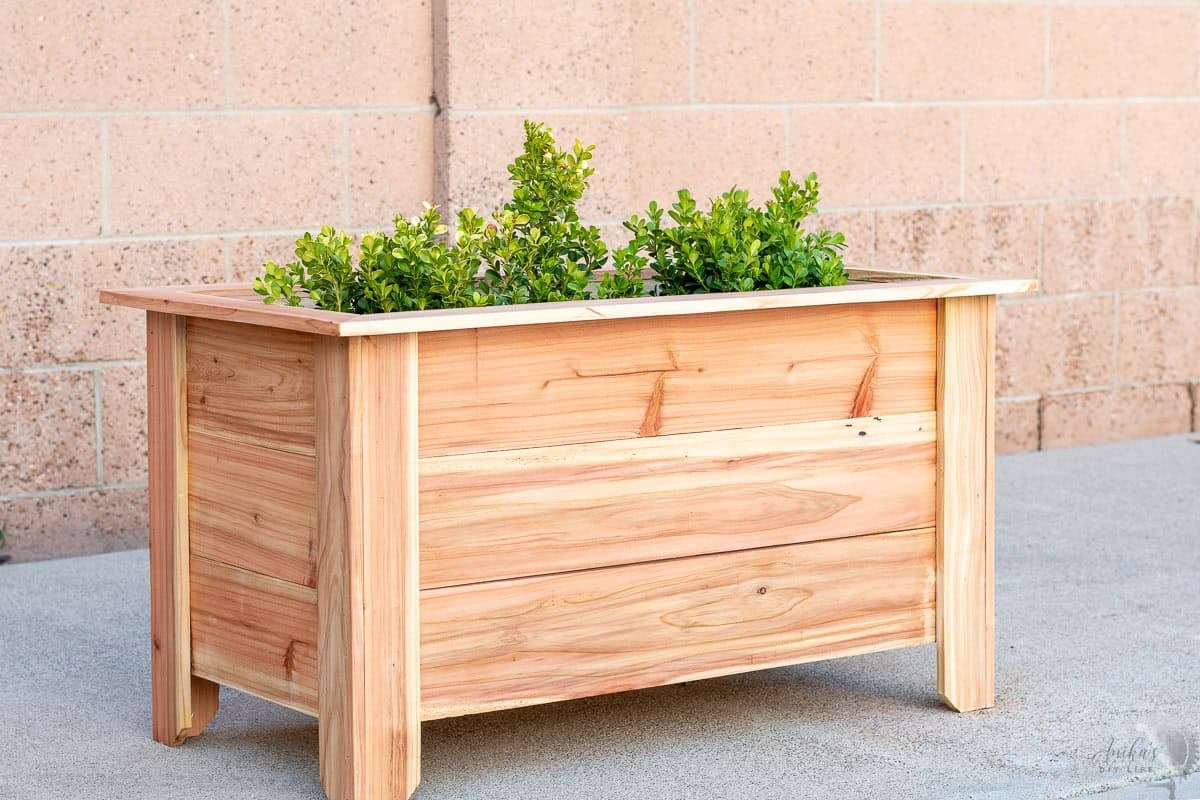
How to Build a DIY Cedar Raised Planter Box
Learn how to build a DIY cedar raised planter box for under $30 with these step-by-step tutorials and free plans. Perfect for herbs and vegetables.
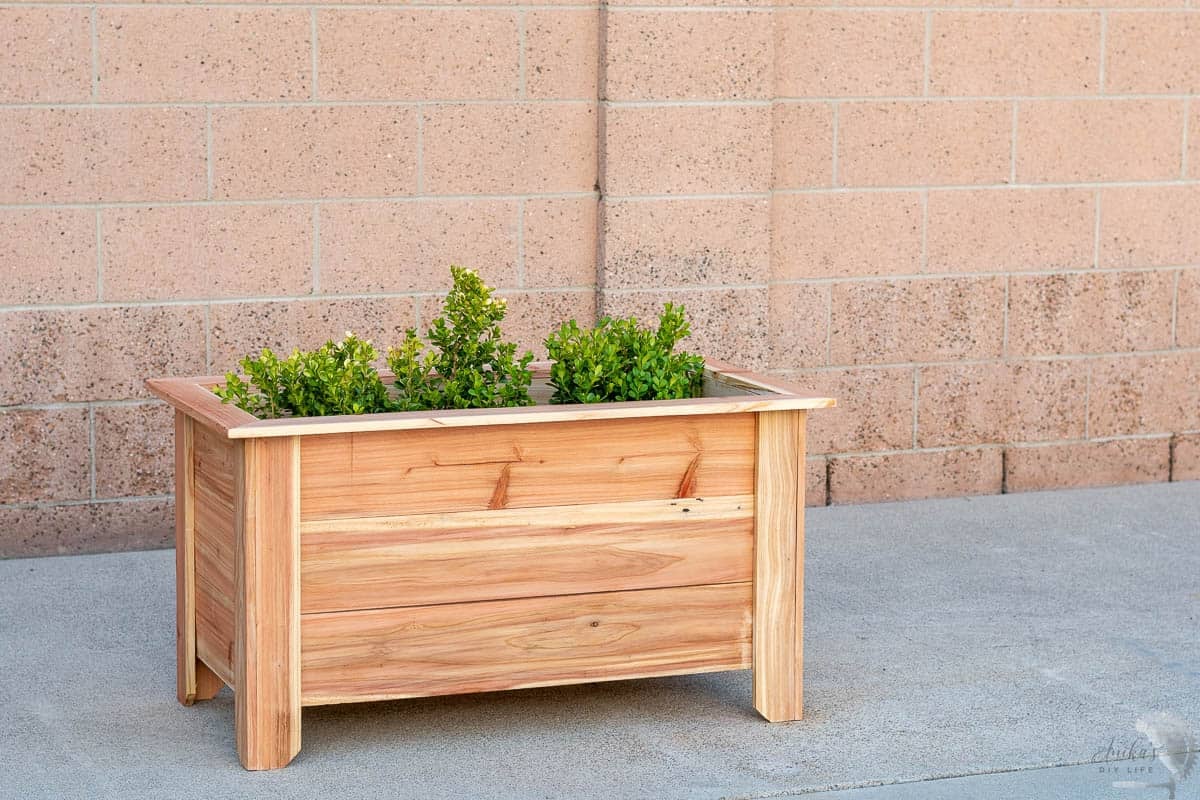
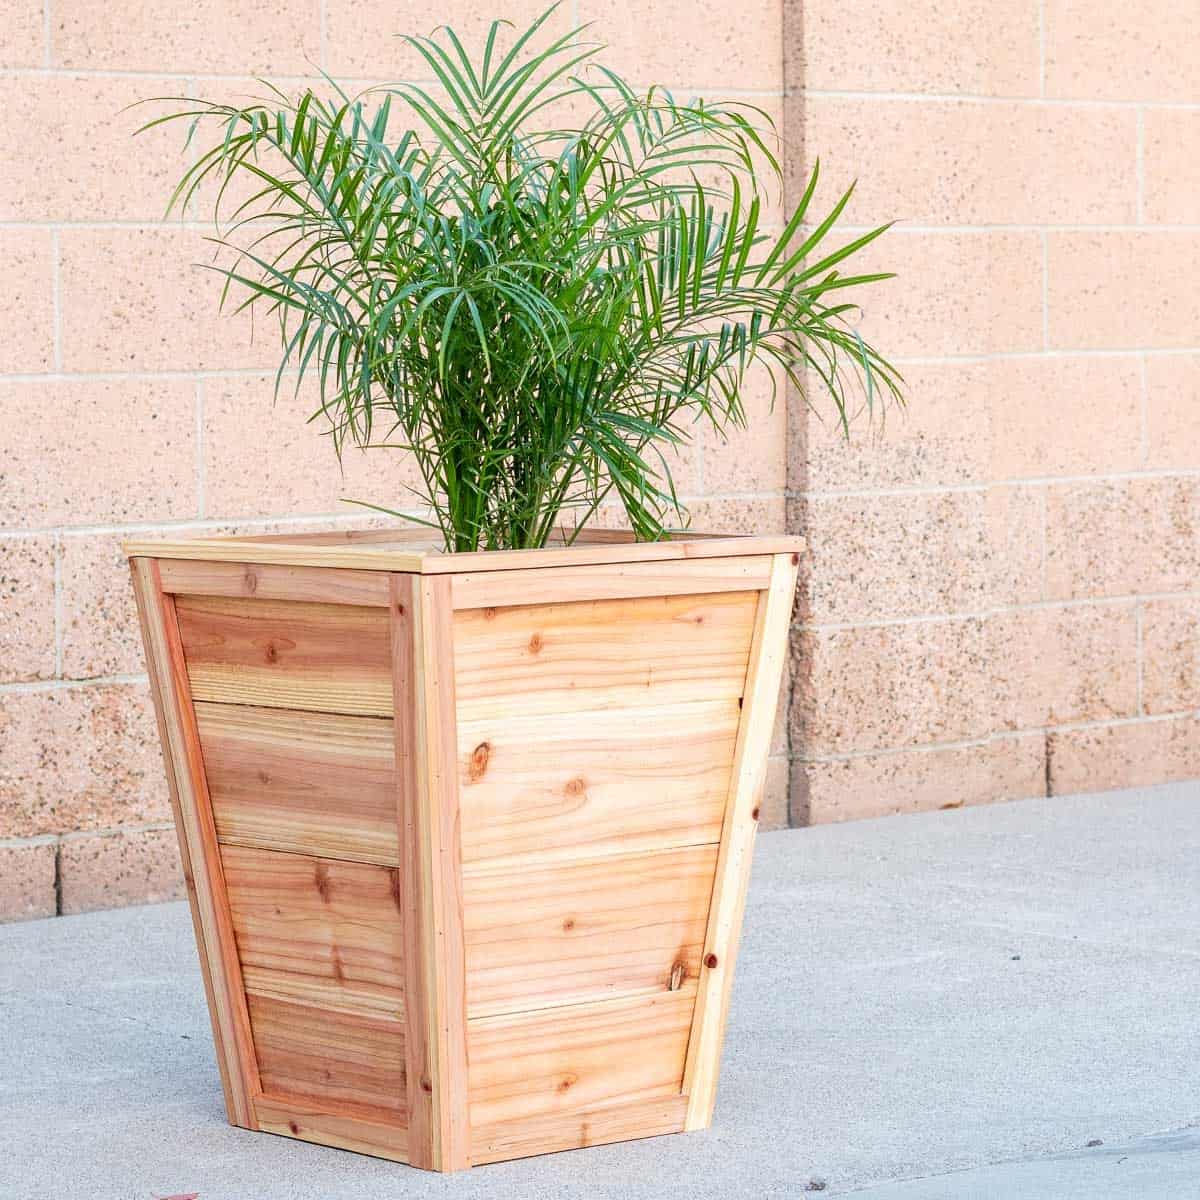
Cedar planters are everywhere right now, and for good reason. They are beautiful, timeless, and an easy way to upgrade a patio or porch.
But a lot of “beginner” tutorials skip the important parts. Boards magically appear ripped down without actually showing you how.
So I designed this DIY cedar planter to keep things simple and approachable. It uses affordable cedar fence pickets, costs under $25, and I’ll show you exactly how to build it step-by-step, including how I used the “dog-ear” ends as a decorative detail instead of wasting them.
Because woodworking does not have to be complicated to look amazing.
Project at a Glance
Skill Level: Advanced Beginner (uses table saw)
Time: 1-2 hours
Estimated Cost: Under $30
Finished Dimensions: 40″ x 20″ x 21″
Why Use Cedar Fence Pickets for Planters?
Cedar is one of the best woods for outdoor projects because it is naturally rot-resistant and insect-resistant. That makes it perfect for planters that will be exposed to moisture and soil year-round. Because cedar is untreated, this planter is 100% safe for growing vegetables and herbs.
The problem? Traditional cedar lumber can get expensive fast.
That’s why I love using cedar fence pickets instead. They are affordable, easy to find at most home improvement stores, and perfect for beginner-friendly outdoor builds.
Plus, they give this planter that beautiful warm cedar look without the huge price tag.
***This post contains referral or affiliate links. It is a way for this site to earn advertising fees by advertising or linking to certain products and/or services. Please read my full disclosure here ***
Materials Needed
- Lumber per the plans (cedar fence picket boards and 2x2s)
- Outdoor wood glue
- 1″ Brad nails (or trim head screws )
- 1″ exterior wood screws
- Sandpaper (60/80, 120, 180, and optionally 220 grit)
- Spar urethane for finishing
Tools Needed
- Miter saw – What I use | Beginner option
- Table saw (for ripping boards)
- Circular saw (alternative to miter saw)
- Brad nailer – What I use | Beginner option
- Drill
- Sander (I have had this sander since 2015!)
How to Build a DIY Cedar Raised Planter Box
Step 1: Cut and Prep the Boards
- Cut the fence pickets to length according to the cut list in the plans.
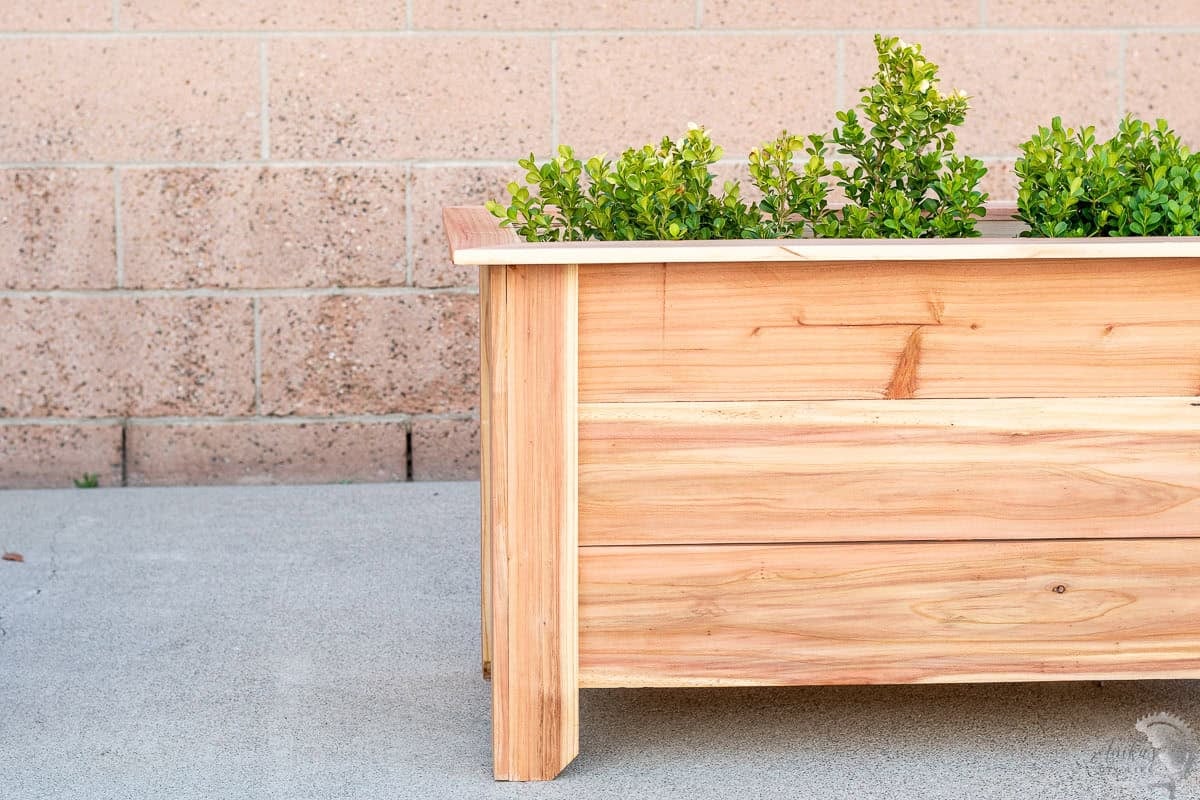
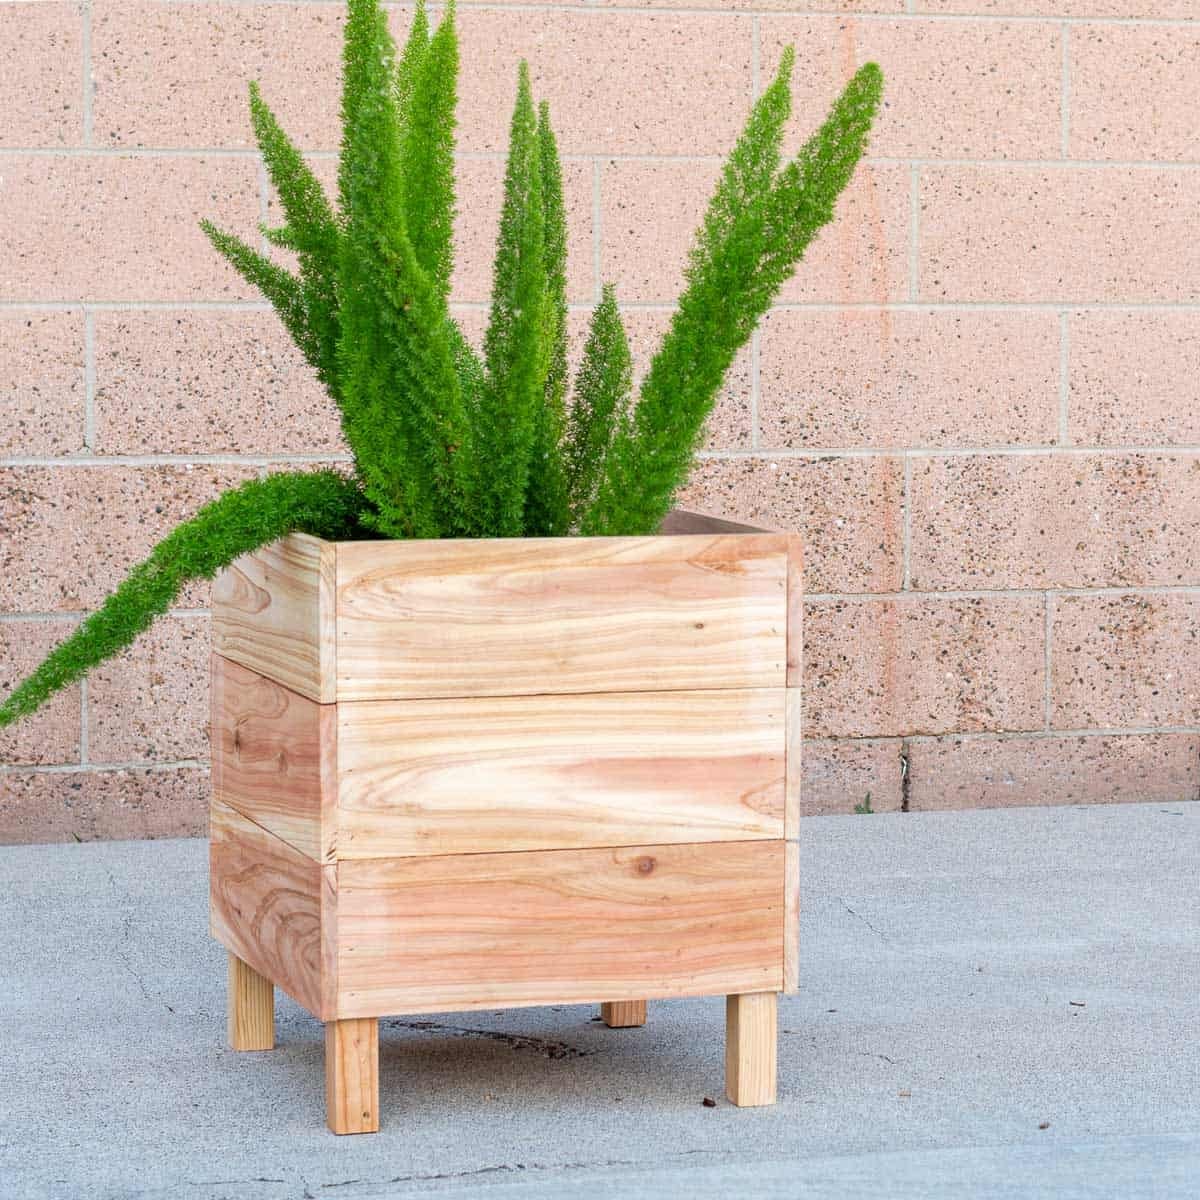
Anika’s Tip: Don’t toss those “dog ear” ends! We’re using them as a decorative feature on the legs and vertical supports.
- Use a table saw to rip the boards for the legs and the top trim in half.

The Ripping Dimensions: To get the look of this planter, you will need to use a table saw to rip your 5.5″ wide fence pickets into 2 5/8″ strips.
New to saws? Check out my guides on How to Use a Miter Saw or How to Use a Circular Saw, and How to use a table saw.
- Give everything a good sanding, focusing primarily on the side that will face the outside. See how to sand wood.
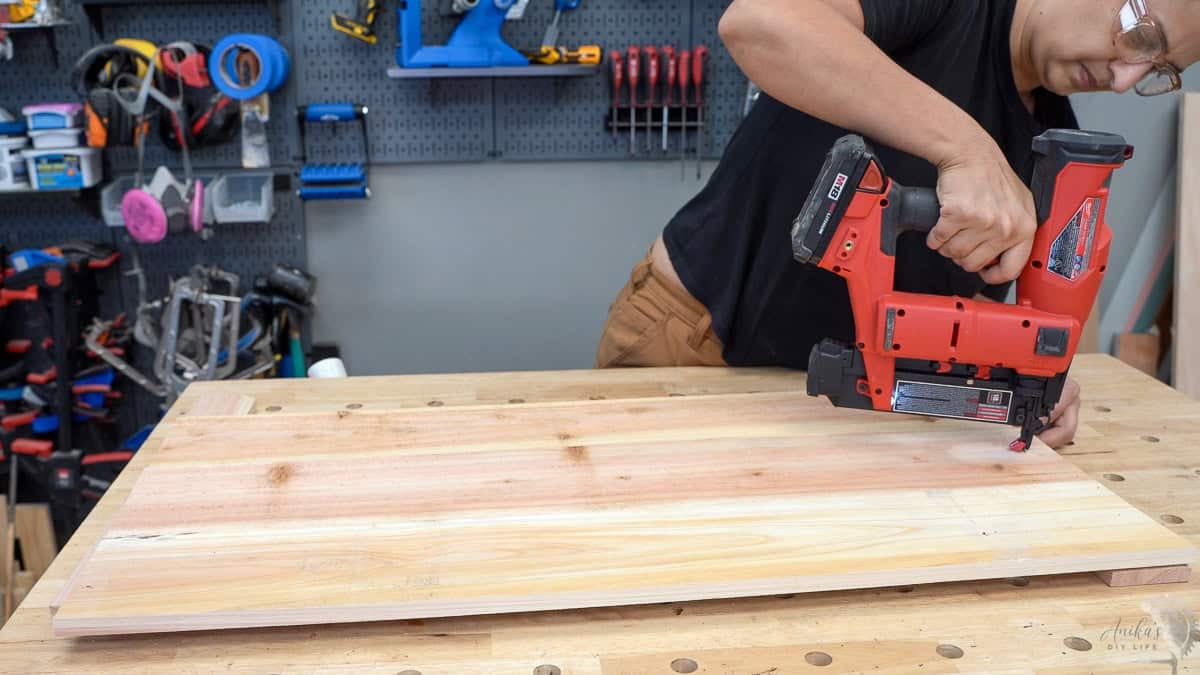
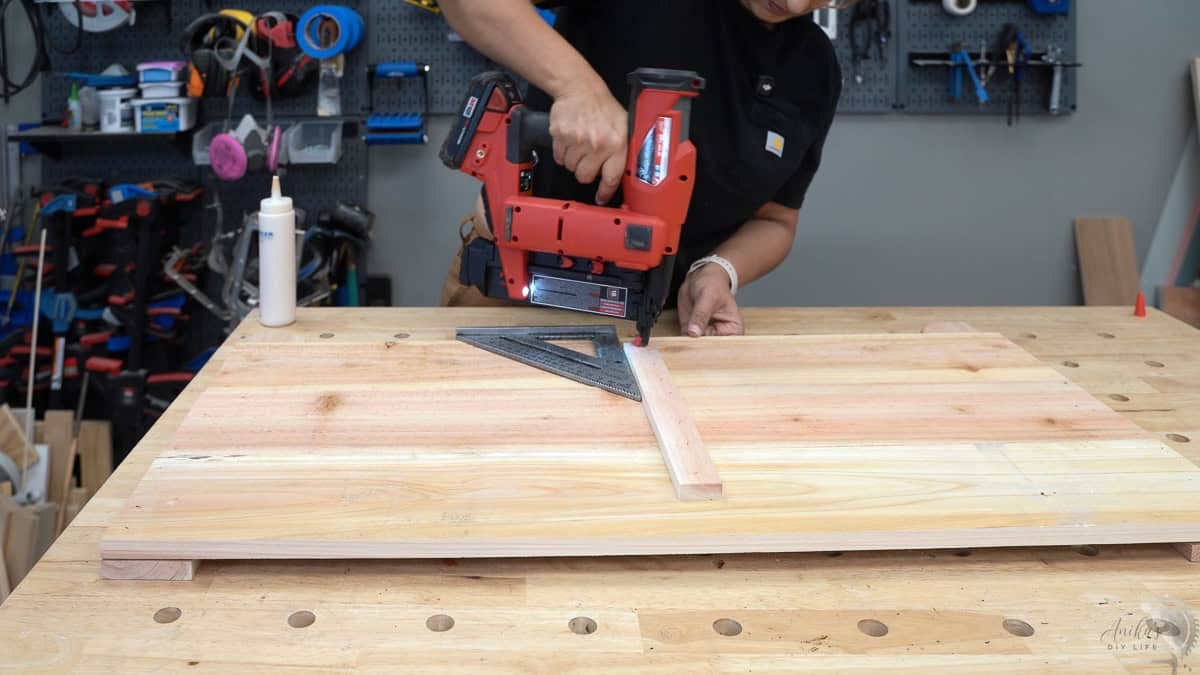
Step 2: Assemble the Side Panels
- Lay out your legs and slats. Make sure the dog-ear decorative ends are facing inward toward each other.
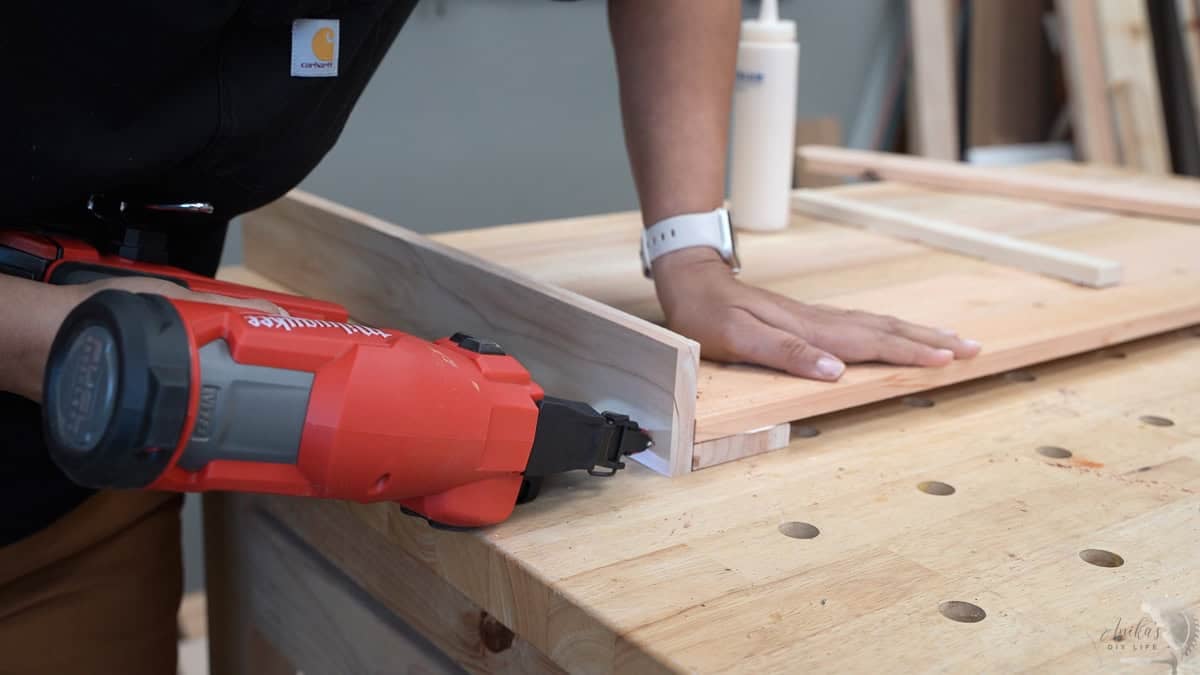
- Apply outdoor wood glue and secure the slats to the legs using a brad nailer.
⚠️ Pro-Tip: Avoid My Workbench Mistake!
During this build, I didn’t realize my brad nailer was loaded with 1-1/4″ nails and literally nailed my entire side panel to my workbench! Use 1-inch nails. If you get stuck, use a chisel and pliers to carefully remove the nails, then try again.
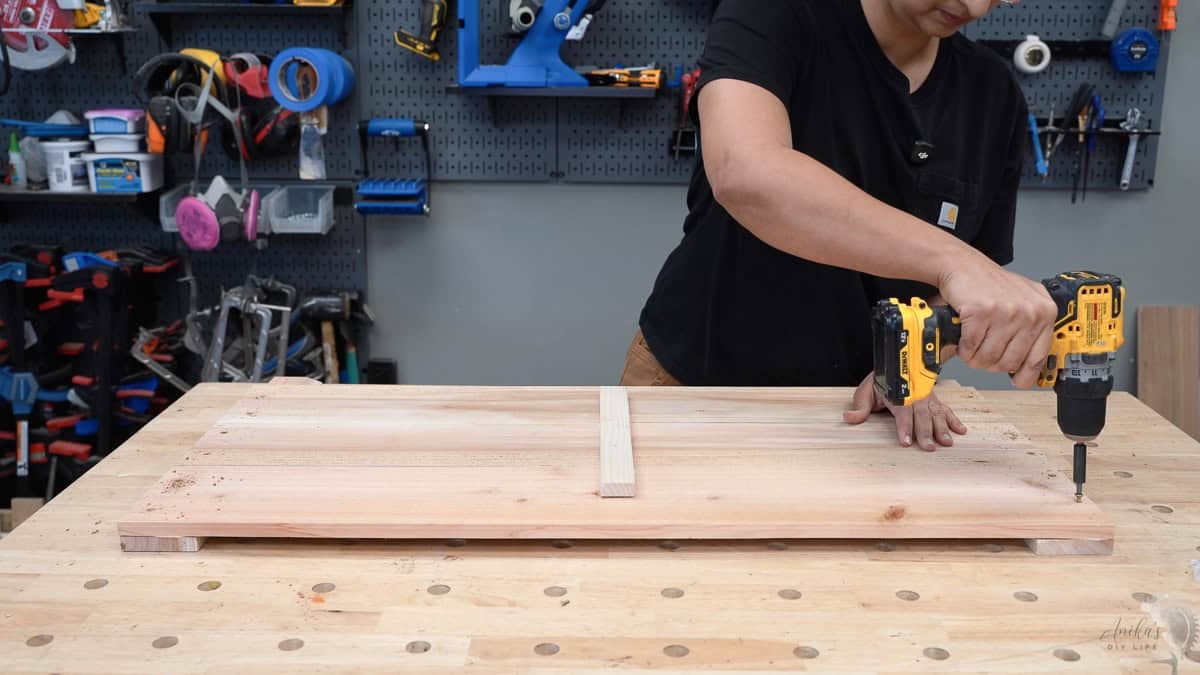
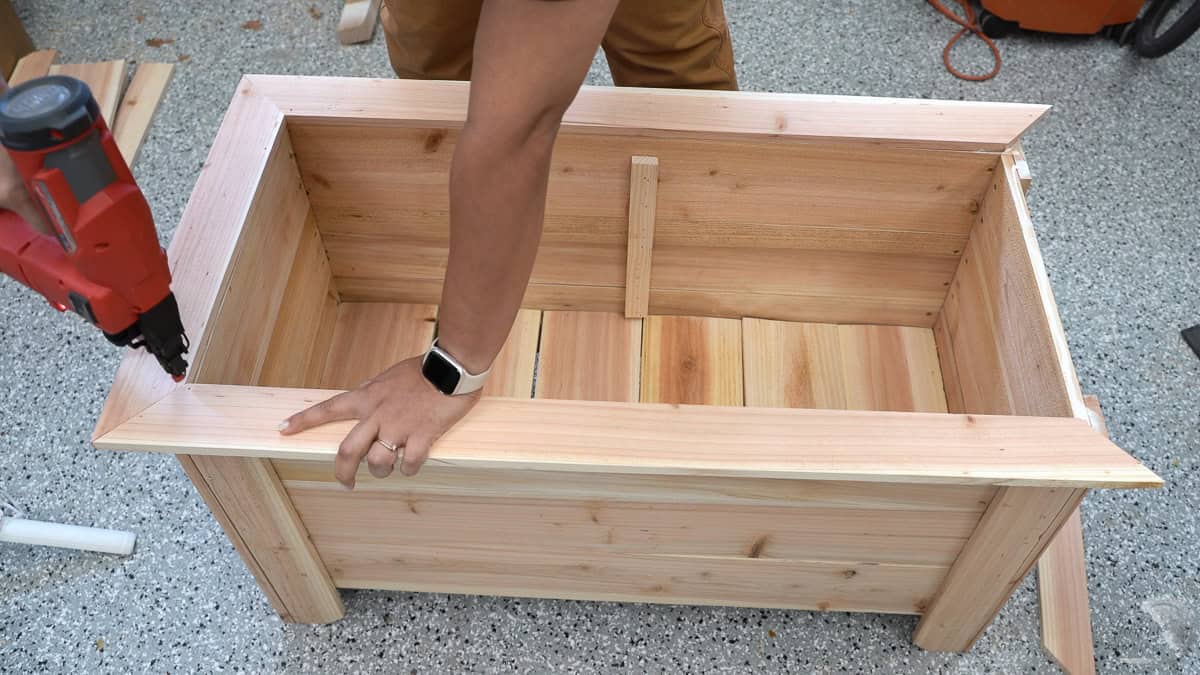
Step 3: Add Strength
Wet soil is extremely heavy. To prevent the cedar boards from bowing outward over time, we need to add a center brace to each panel.
- Add a vertical center brace to each panel.
- Pre-drill and drive two 1-inch exterior-grade wood screws into each board at the legs for maximum durability. Nails provide the hold, but screws provide the strength.
Step 4: Build the Frame
- Attach the next set of legs to the panels on the sides using wood glue and brad nails. Pay close attention to the direction of the dog ears.
Once your two main panels are done, it’s time to connect them.
- Stand the panels up and attach the side slats.
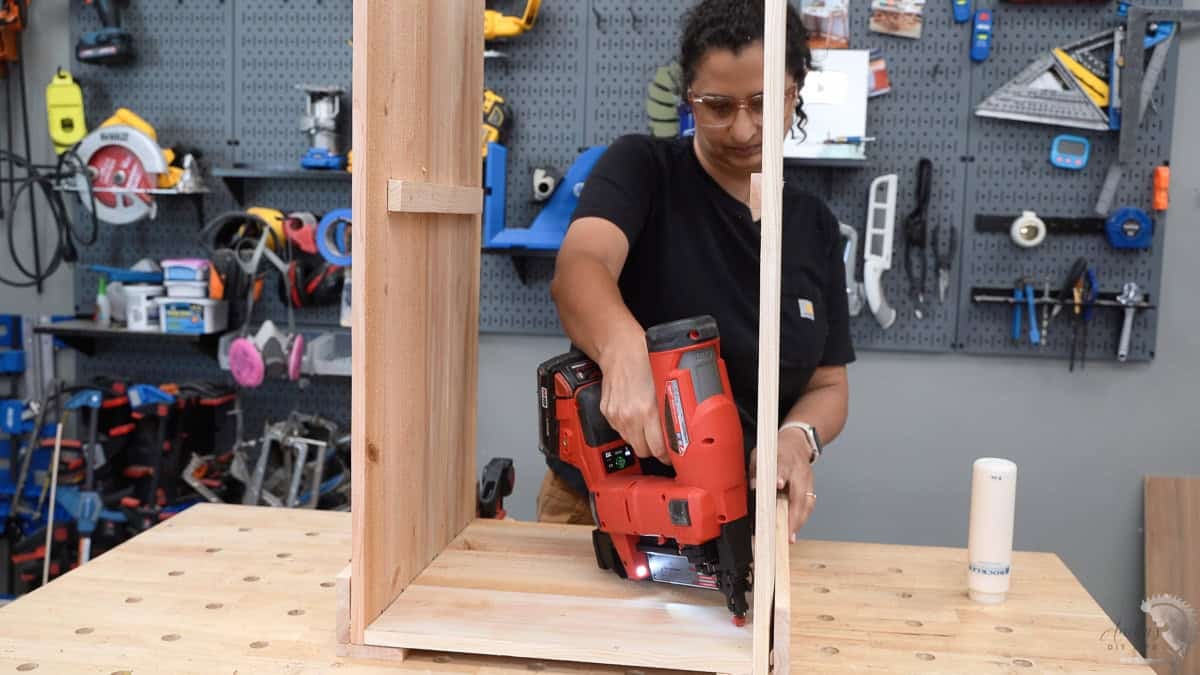
Pro Tip: Use gravity to your advantage! If you are working alone, balancing the boards vertically can help you keep things aligned as you glue and nail.
Step 5: Add the Bottom and Slats
- Attach the ripped support boards along the inside length of the planter.
- Lay the bottom slats across them.
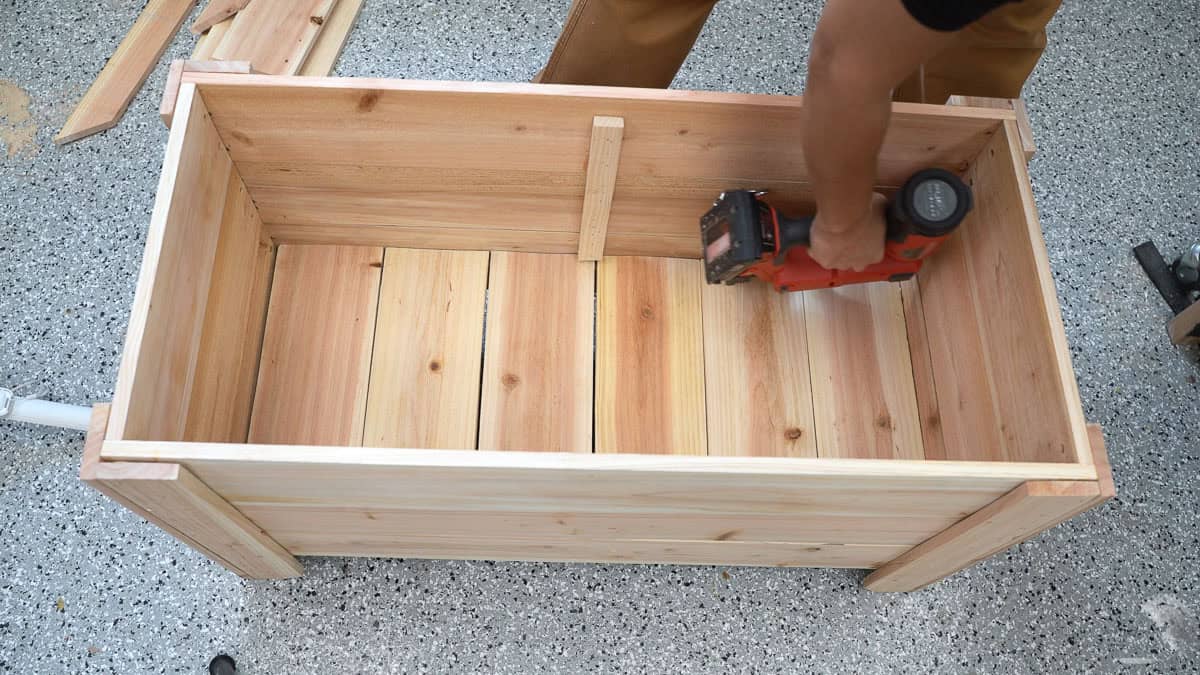
You don’t need a tight fit here; eyeballing the spacing is fine. Just remember to drill a few extra drainage holes through the bottom before you add soil!
Step 6: Add the Mitered Trim
The trim is what really makes this project look finished. To get a perfect fit without the headache of math:
- Align one pre-cut 45-degree miter with the corner of the planter.
- Mark the exact spot where the inside corner of the planter hits the board.
- Use a speed square to draw your 45-degree cut line from that mark.
- Cut on your miter saw and repeat for all four sides.
- Glue and nail the trim in place.
Anika’s Tip: Remember to check the alignment of your miter saw before making these cuts because that will help make sure you get nice tight mitered corners! See how to align a miter saw.
Step 7: Finish
- To protect the wood, apply two coats of Spar Urethane.
- You can also stain or paint this planter if you like.
Note: Cedar will naturally turn a silvery-gray over time if left untreated. If you love the warm orange/red tones, a UV-protective sealer is a must.
Important Lesson: Choosing Your Wood
When buying fence pickets, take your time at the hardware store. Fence pickets are notorious for warping and bowing. Look for the straightest boards possible. Even a small bow can make assembly a “balancing act,” especially once the wood is cut and the internal tension is released.
If you do end up with a warped board, don’t worry, you can usually cut it down to use for the bottom support slats (that’s what I did)!
Frequently Asked Questions (FAQ)
Can I build this without a table saw? Yes! You can substitute the “ripped” fence pickets with standard 2×2 cedar boards from the hardware store. It will change the look slightly but will be just as sturdy.
Is cedar safe for a vegetable garden? Yes. Unlike pressure-treated lumber, cedar contains natural oils that resist rot, making it a non-toxic choice for edible plants.
How do I prevent the bottom from falling out? The combination of wood glue, exterior screws, and the support ledge ensures this planter can hold the weight of wet soil and large plants.
Plans for DIY Cedar Raised Planter Box
Ready to start building? I’ve put together a detailed set of plans including a full cut list, 3D diagrams, and exact measurements.
Building a “Side Hustle”? These planters have a high profit margin! Because they cost ~$30 to make, they are perfect for selling on Facebook Marketplace for $65–$85.
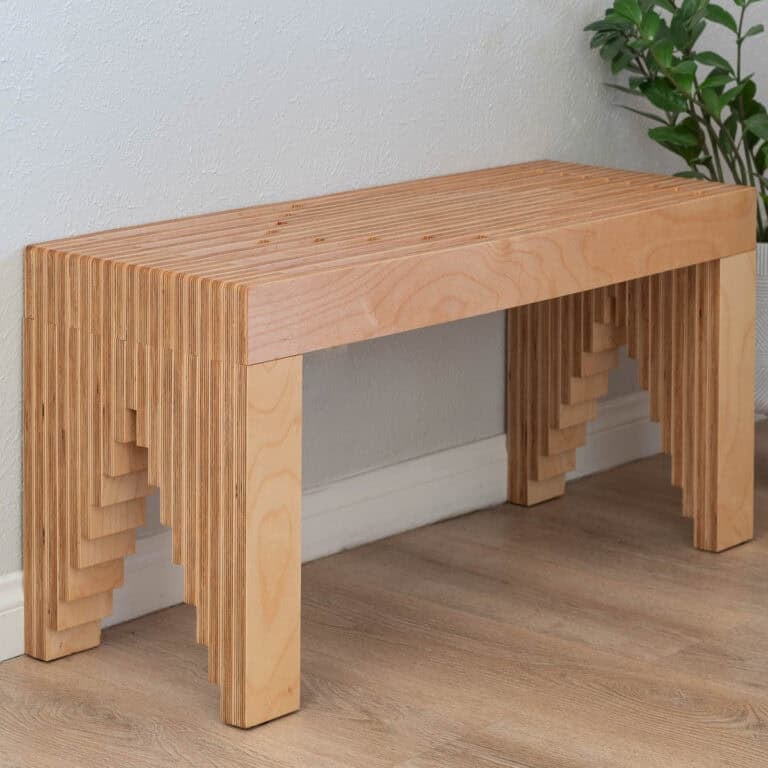
You will also like:


Anika's goal is to inspire and empower beginners with woodworking, DIY, home improvement, and home decor ideas.
She wants everyone to unlock their creative potential and experience the feeling that comes with making something. Nothing feels better better than seeing something and saying "I can make that!"