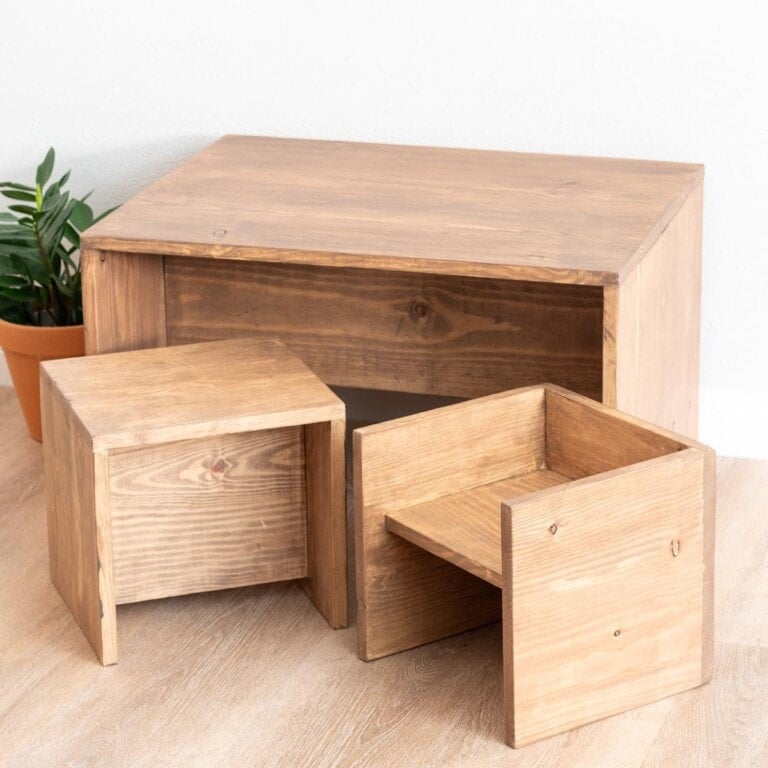
7 Woodworking Tips for Beginners (That They Are Too Embarrassed to Ask)
Confused about the board being too short, lumber sizes, or why your screws keep cracking your wood? These are the woodworking tips for beginners that answer the questions you were too embarrassed to ask.
If you’ve ever stood in the lumber aisle feeling completely lost, or driven a screw and watched your board crack, or wondered why your measurements are always just a little bit off, you are not alone.
Every single woodworker has been exactly where you are right now. Me included.
I’ve been building and teaching woodworking for over 14 years, and I can tell you with complete confidence: the questions that feel “too basic” to ask? They’re the ones that change everything once you finally get the answer.
So today, I’m answering 7 of the most common woodworking questions beginners are too embarrassed to ask.
No assumptions.
No “you should already know this.”
Just real, practical answers that will make your next project so much easier.
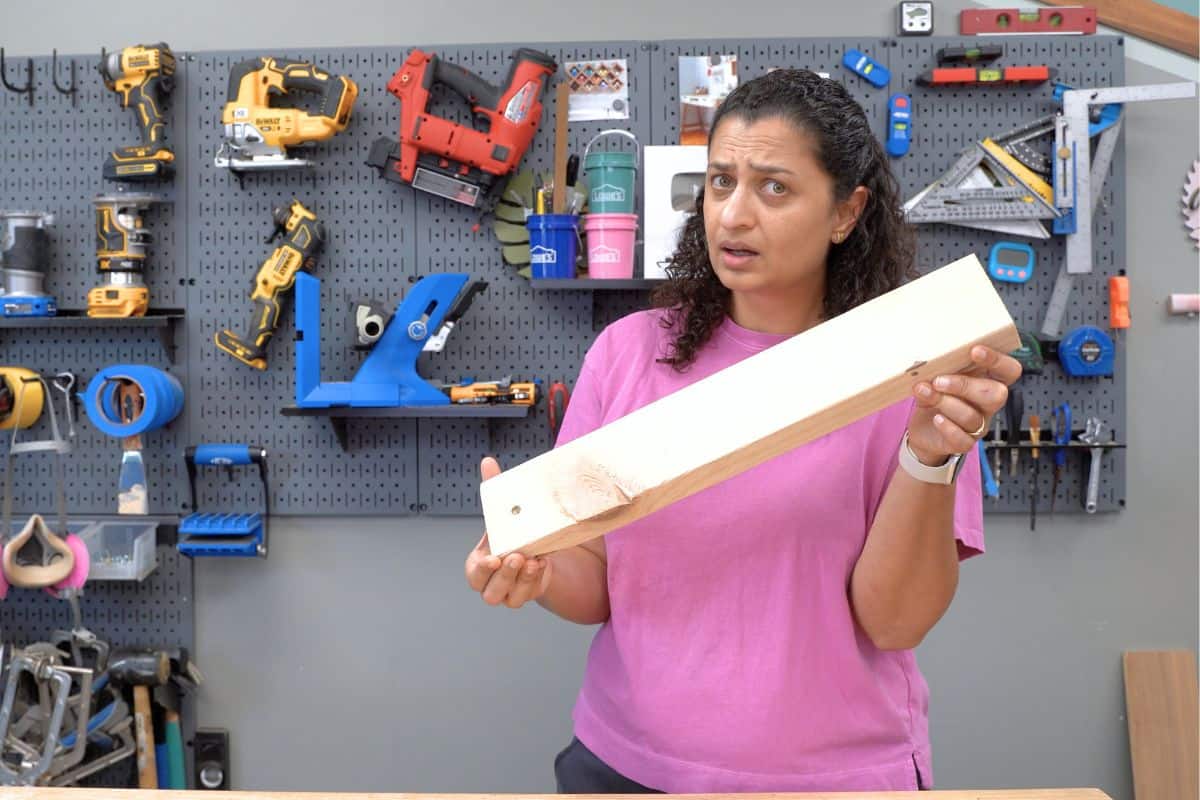
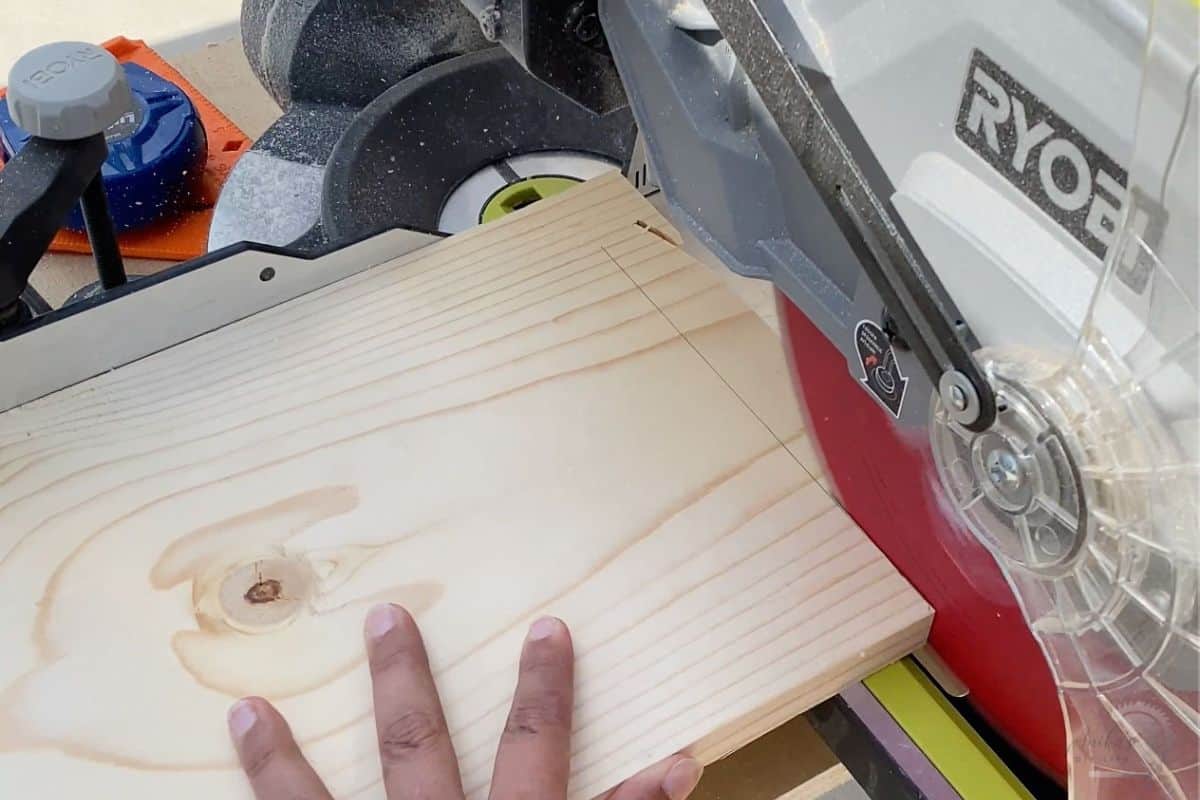
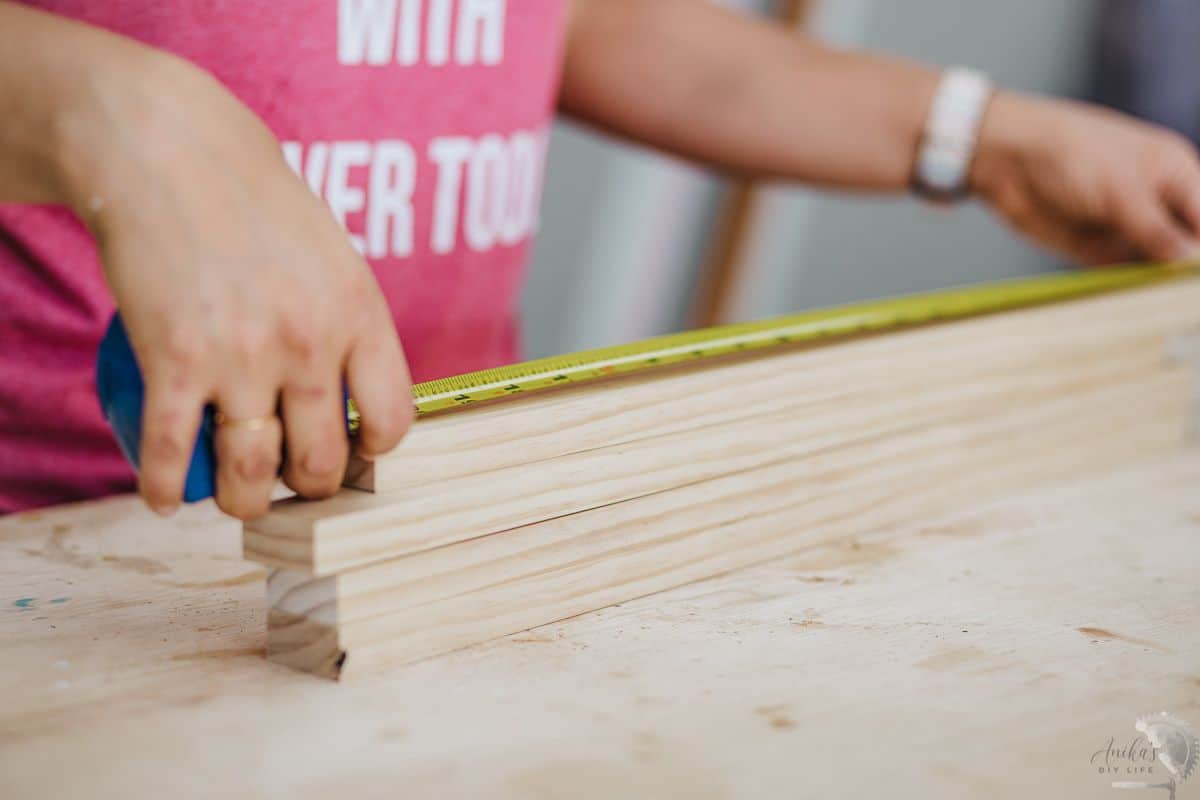
1. Why Is My Board Always a Little Too Short After I Cut It?
You measure your board multiple times. You mark it with extreme accuracy. But the moment you make the cut, you notice the board ends up just a tad too small. Why?!
The culprit is a woodworking term called kerf.
What Is Kerf?
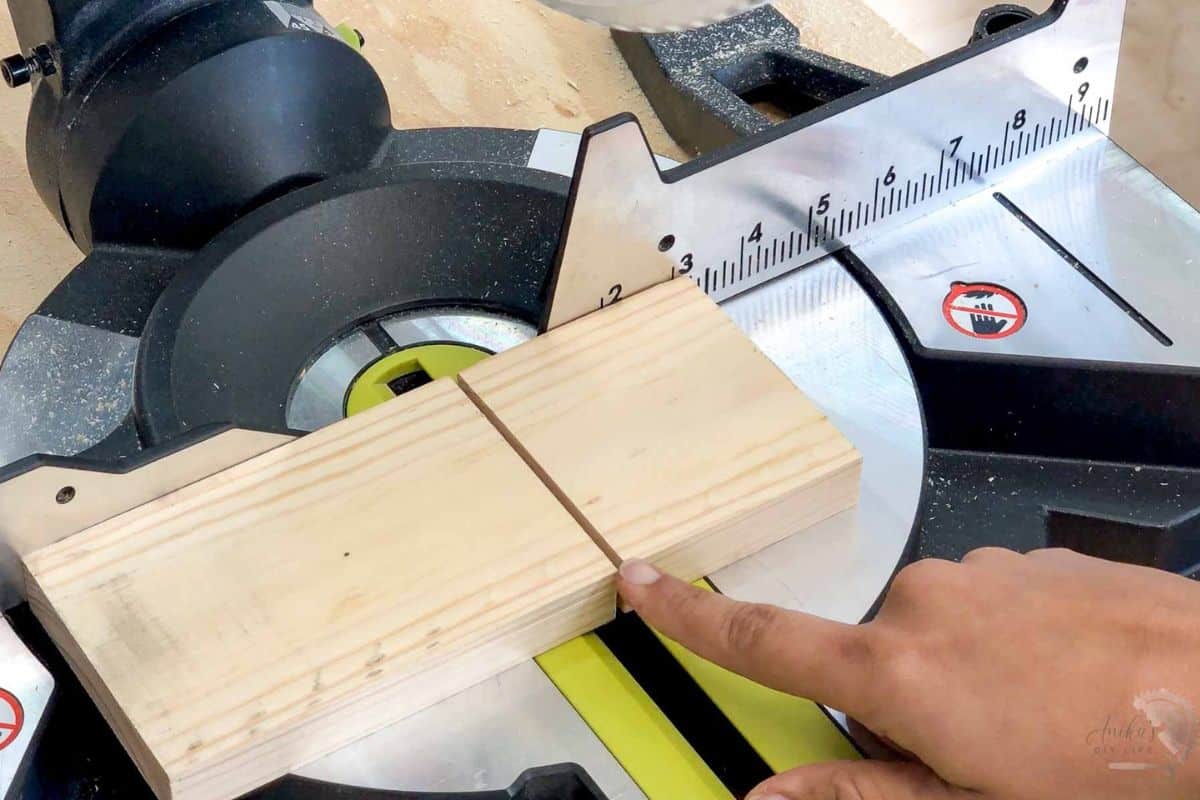
Kerf is simply the thickness of your saw blade, and it represents the literal part of the board that turns into sawdust when the blade passes through it.
When I was first starting out, my boards always ended up about an eighth of an inch short. I assumed my miter saw was misaligned, even though my calibration checks said otherwise. Because I didn’t know about kerf, my cuts were wildly inconsistent.
To account for kerf, align the edge of your blade so it falls on that waste side of the line. Once you start doing this, you will get accurate cuts consistently.
You can read more about Kerf and how to account for it here.
Pro Tip: While many saws have lasers or shadow lines, these can fall out of calibration. Aligning the blade to the waste side by eye is the most reliable method I have found.
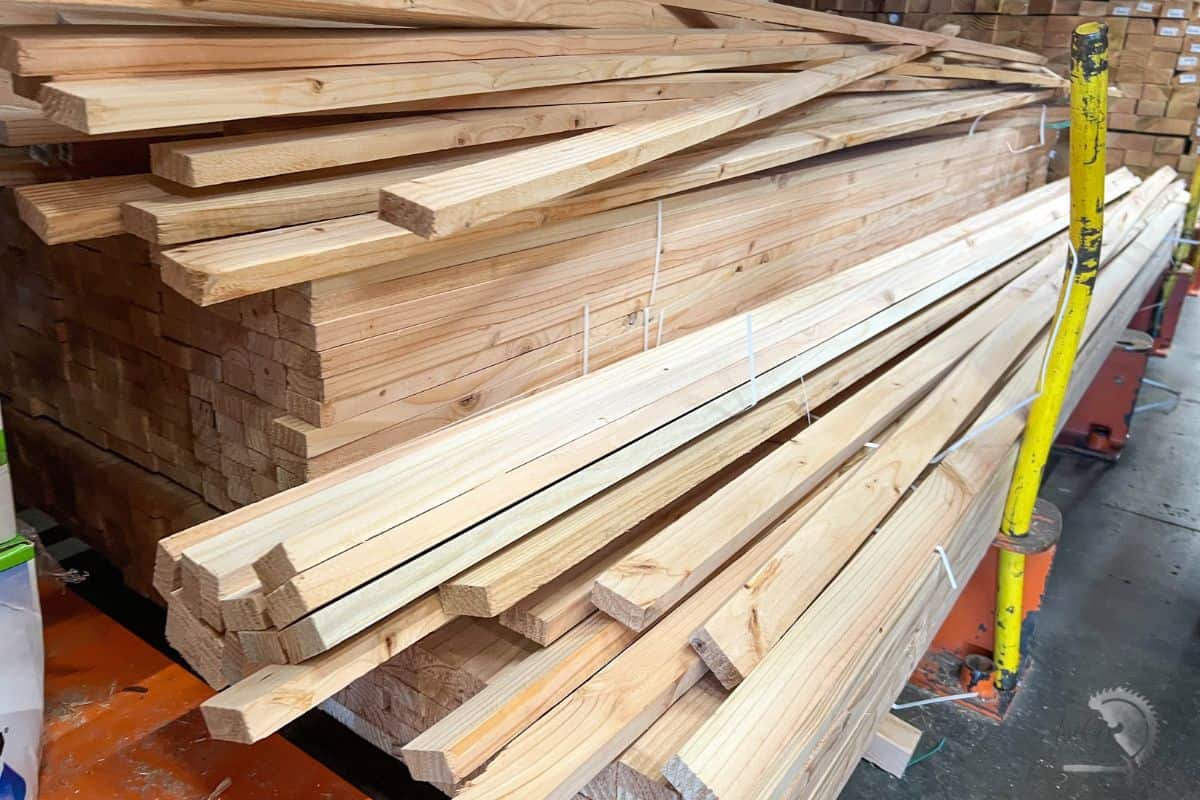
2. Why Don’t Lumber Sizes Match Their Names?
You go to the store to buy a 2×4, and when you get home and measure it… it’s not 2 inches by 4 inches. It’s 1½ inches by 3½ inches. So what’s going on?
Nominal vs. Actual Dimensions
- Nominal Dimensions: These are the names the boards are called (like $2\times4$ or $1\times3$). This is what the board was roughly cut to when it was first harvested from a tree.
- Actual Dimensions: This is the true, finalized size of the lumber you buy in the store.
Because raw wood from trees isn’t perfectly flat or parallel, the boards must go through a planing process. This planes the sides down to make them parallel, creating nice, sharp 90-degree angles that are ready for your projects.
To eliminate inconsistencies between different pieces of wood, the lumber industry standardized these actual dimensions. Therefore, a 1 x 3 will always actually measure 3/4″ x 2.5″.
Important: Always use the actual dimensions when planning and building your projects. Double-check your boards with a tape measure before you start so you can make any necessary modifications to your project plan.
Note that this standardization applies to dimensional lumber from home improvement stores. If you purchase rough-sawn lumber or hardwoods, the faces may not be milled, and you will need to use a planer and a jointer to get them to your desired size.
You can read more about lumber sizes and also how lumber sizes are used for hardwoods and rough-sawn lumber.
3. Why Won’t My Screw Go In? And What Is All That Clicking?
You’re trying to drive a screw into your board. The drill starts clicking. You push harder. Nothing happens. And now you’re worried you broke something.
You didn’t break anything. You just need to understand your drill’s settings, because once you do, your drill will have superpowers.
Numbers on the Drill
Most drills have a switch on top with the numbers 1 and 2. Think of these like vehicle gears:
- Setting 1 (Low Speed / High Torque): This gives you maximum control over the speed and force. Always use Setting 1 when driving screws.
- Setting 2 (High Speed / Low Torque): There is no clutch control here; it pushes the bit straight through. Use Setting 2 for drilling holes into boards, drywall, or other materials.
The Clutch and Torque Settings
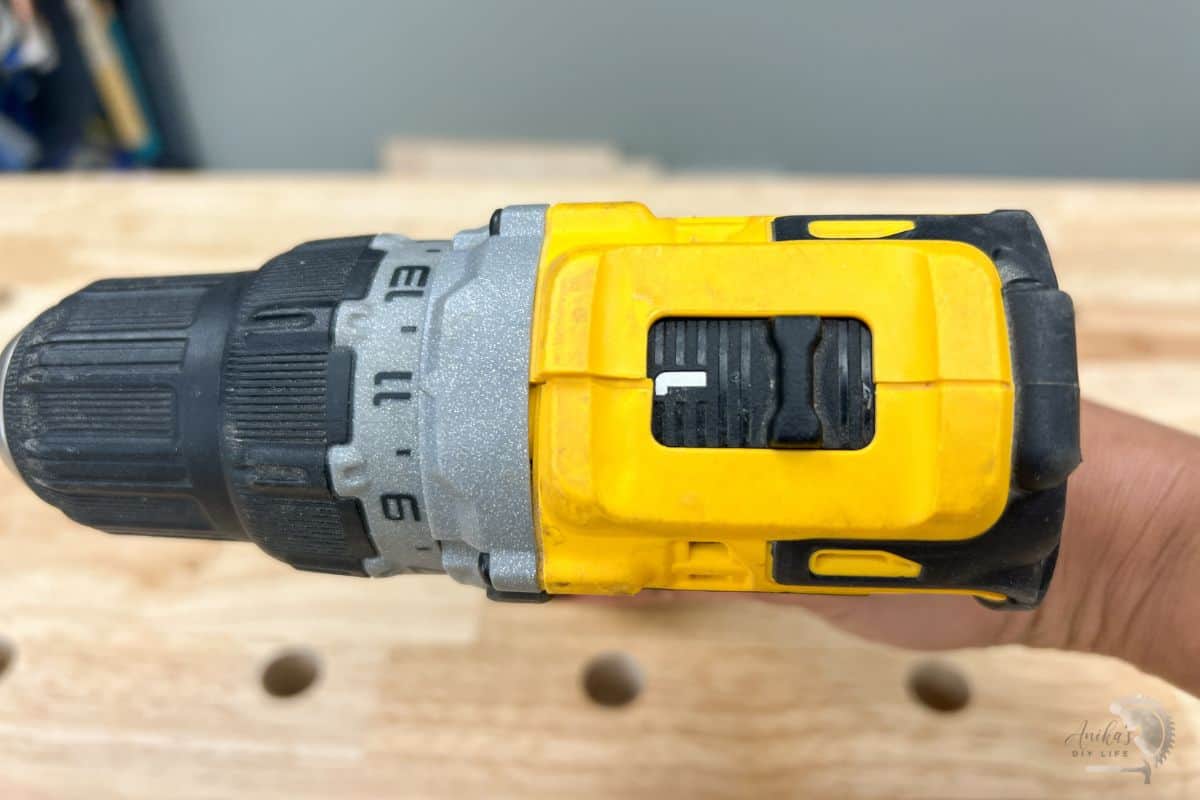
The adjustable ring with numbers near the front of your drill is the clutch. These numbers control torque, which is the rotational force turning your screw.
When the drill hits its designated torque limit, the motor inside automatically disengages to protect the wood and the screw. That is the clicking sound you hear.
How to Drive a Screw Perfectly:
- Set your drill speed to 1.
- Turn the clutch ring to a relatively low number (like 5) – this is based on the softness of the material you are driving into.
- Drive the screw until it starts clicking. If it’s not fully flush, click the clutch up a couple of notches (e.g., from 5 to 7, then 9, then 11) and try again.
- Repeat this incrementally until the screw is fully driven into the board.
Warning: If your drill starts clicking and you keep forcing it without raising the torque setting, you will end up stripping the screw head completely!
See more about how to use a drill here.
4. How Do Pros Load a Drill Bit So Quickly?
If you’ve watched experienced woodworkers quickly snap a drill bit into place with a quick twist of the wrist, you might wonder how that trick works. It all comes down to understanding how the drill chuck operates.
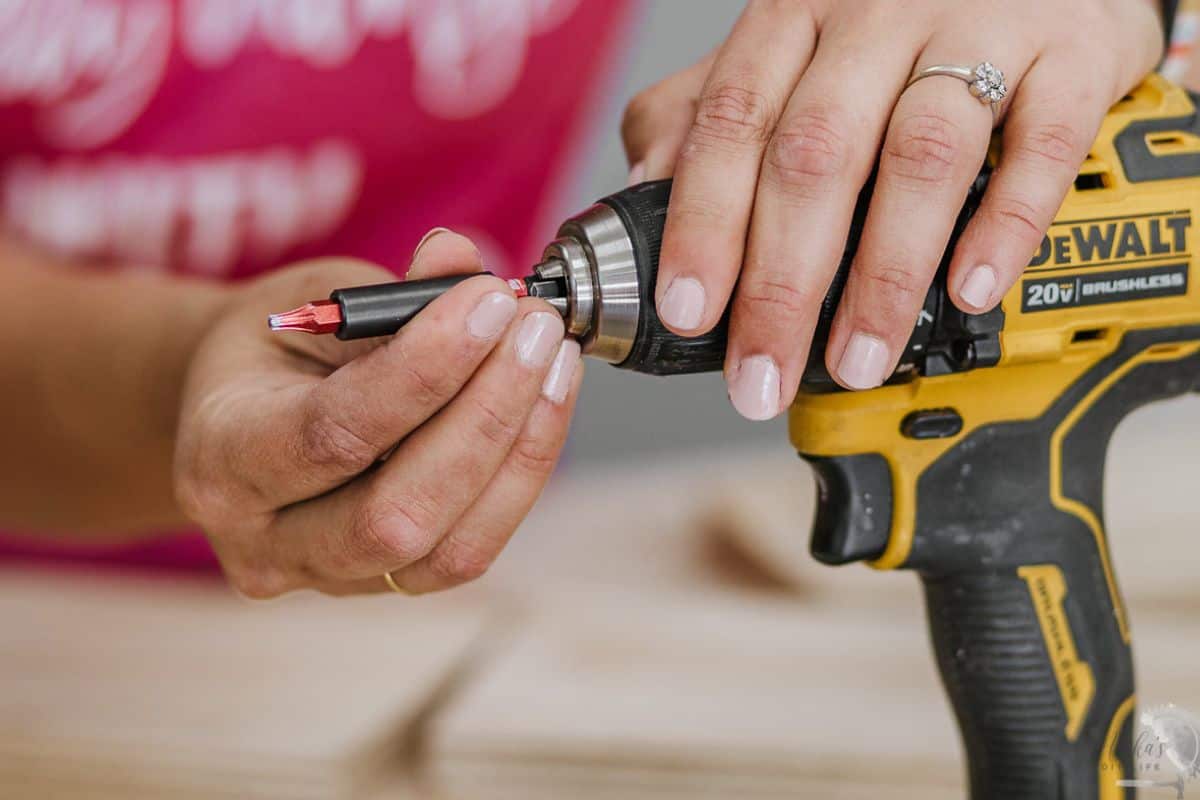
If you press the drill trigger without holding the chuck, the entire mechanism rotates together. However, you can use the motor’s rotation to open and close the jaws of the chuck:
- To Tighten: Set your drill to forward, lightly hold the chuck with your hand, and gently press the trigger. You will feel the chuck jaws tighten around the bit.
- To Loosen/Open: Set your drill to reverse, hold the chuck, and pull the trigger to open the jaws up.
Safety Note: Be incredibly careful when doing this so you don’t hurt your fingers. Start out very slowly, pulling the trigger lightly to move the chuck at a safe speed. Once it grips the bit, give the chuck a final firm click with your hand to guarantee it’s locked tight.
If drills still feel a little intimidating, I’ve got something that will help.
My free Power Tools Simplified Guide breaks down the most essential power tools in plain, simple language — no jargon, no overwhelm. Just exactly what you need to know to get started with confidence.
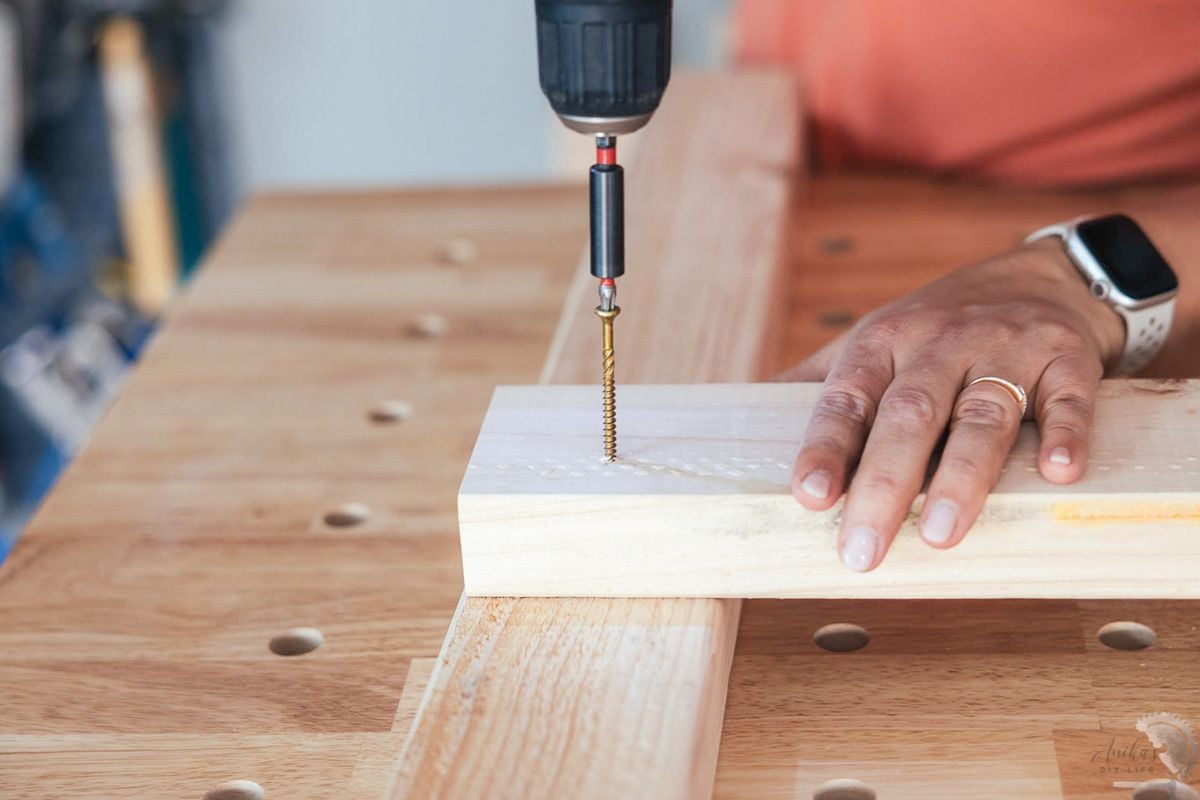
5. Why Does My Wood Crack When I Drive a Screw?
You’re so close to finishing your project, and then – crack. A split runs right through your board. It’s one of the most frustrating things that can happen, and the good news is it’s completely preventable.
Wood is made up of fibers. When you drive a screw in, it forces those fibers apart to make room for itself. If the wood is hard, dry, or close to the edge of the board, those fibers have nowhere to go, so they split.
The Solution: Pre-Drilling
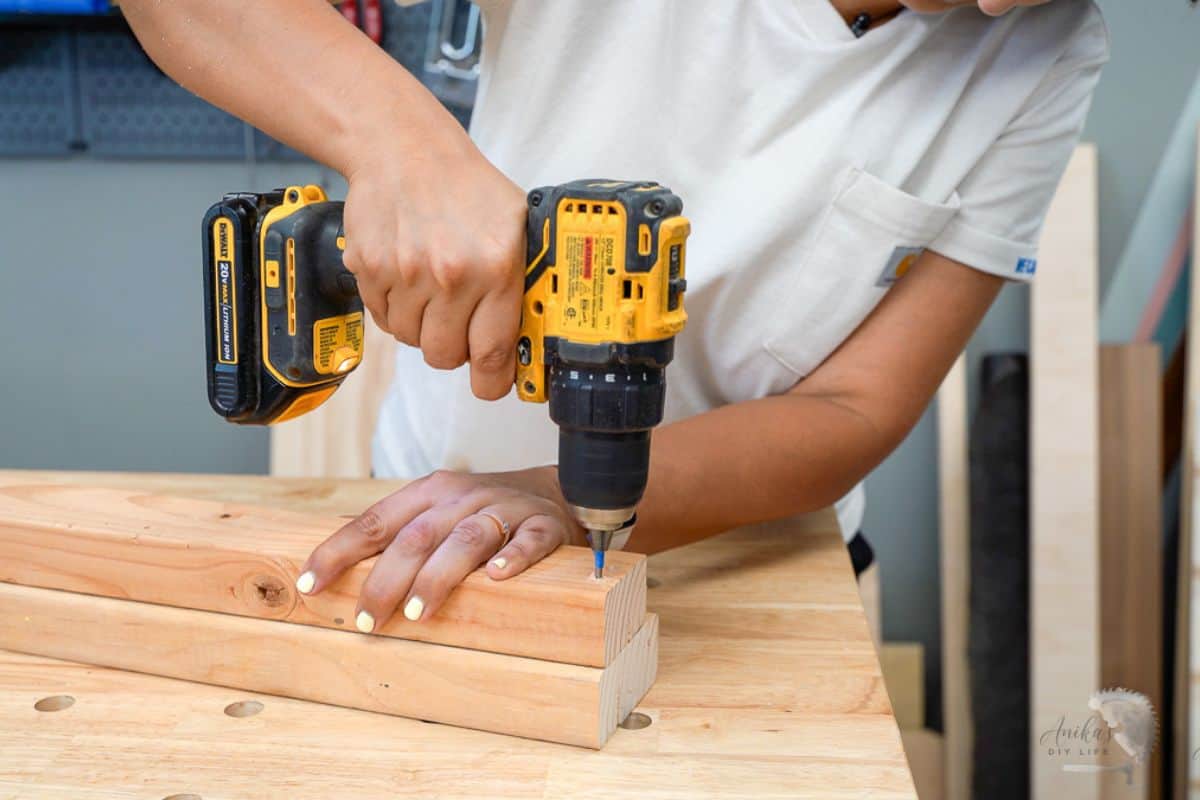
To prevent cracking entirely, you must pre-drill a pilot hole. Pre-drilling uses a drill bit to physically extract a core of wood fibers from the board, creating an empty channel. When you drive your screw into that pre-drilled space, the threads can grip firmly without placing outward pressure on the board.
See more about how to pre-drill for the best results.
A Quick Reminder: Some modern screws claim they don’t require pre-drilling because they feature a tiny built-in drill bit at the tip. However, even those self-tapping screws don’t always work perfectly. For true peace of mind, always take a moment to pre-drill your holes so you don’t ruin a piece of wood right at the very end of a project
6. Why Is Sanding Taking Me So Long?
“It took me almost an hour just to sand off a few scratches! Do I need more muscle, or is something wrong with my sander?” – reader.
The truth is, it’s neither!
If sanding feels like an endless chore, you are likely using the wrong sandpaper grit or skipping your grit progression
How Sandpaper Works

Sandpaper is literally small particles of sand adhered to a paper backing. As you move it across your wood, it removes fibers by intentionally scratching the surface.
- Low Grits (e.g., 60 grit) have large sand particles that strip away material rapidly, but they leave behind deep, microscopic scratches of their own.
- Higher Grits (e.g., 120, 150, 220) have finer particles designed to sand away the scratches left by the previous grit, leaving behind progressively smaller scratches until the surface feels perfectly smooth.
The Golden Rule of Grit Progression
Never skip more than 60 grit sizes at a time. If you jump straight from 60 grit to 150 grit, the fine 150 grit will struggle immensely to sand out the heavy valley-like scratches left by the 60 grit. You will find yourself sanding forever without getting anywhere.
Match Your Starting Grit to the Wood:
- Super Rough Boards: Start rough with a 60 grit.
- Moderately Rough Boards: Start around an 80 grit.
- Fairly Smooth Boards: Start with a 150 grit simply to clean off dirt, mill marks, and surface grime.
The Pencil Trick: To ensure you aren’t over-sanding or under-sanding, lightly scribble a pencil mark all over the surface of your board. Sand the entire surface evenly until the pencil marks completely disappear, then move to your next progressive grit.
Learn more about how to sand wood and use a sander.
7. How Do I Find Good Boards at the Lumber Yard?
Sometimes you walk into a home improvement store and the lumber section looks like a disaster zone. Warped boards, twisted boards, boards with giant knots, and you have no idea how to find the good ones.
Here are a few pointers to get the best boards possible.
Scout Different Locations
Not all store locations manage their lumber stock the same way. For example, there is one home improvement store near me that rarely has great stock, but another location just a short drive away consistently carries high-quality boards. Explore the stores in your area to find the hidden gem.
Don’t Be Shy: Dig Deep!
The best boards are almost never sitting right on top or right in front of you. You have to be willing to roll up your sleeves and dig deep into the back of the stacks to find the straight pieces.
Don’t feel embarrassed about sorting through the pile! If you make a bit of a mess looking for the perfect piece, just make sure to tidy up and place the unwanted boards back neatly when you’re finished.
Sight Down the Edge

When you pull a board out to inspect it, hold it up to your eye and sight down its length exactly like you are looking down an arrow in a bow. Looking down the edge with one eye will immediately reveal if the board is perfectly straight or if it curves, twists, or bows. If it bends or curves significantly, put it back.
Also, keep an eye out for large, loose knots that look like they might fall out later.
Note: Sometimes you have to compromise. If a board is slightly warped right at the very end but perfectly straight otherwise, you can buy it and simply cut off the warped section for your project.
Read more about how to shop for lumber.
See? None of that was as complicated as it seemed.
Kerf, nominal sizes, clutch settings, pre-drilling, sandpaper grit – these are the things that make woodworking click.
And the reason nobody talks about them isn’t because they’re obvious. It’s because most people just quietly figured them out through trial and error and then forgot they ever didn’t know.
But now you know. And you can build amazing things!
If there’s a tool, a term, or a concept that’s still confusing you, even if it feels too basic, drop it in the comments or send me an email – [email protected]. There is zero judgment here. This is a safe space for all of us to learn and grow as makers.
I can’t wait to see what you build!
You may also like:


Anika's goal is to inspire and empower beginners with woodworking, DIY, home improvement, and home decor ideas.
She wants everyone to unlock their creative potential and experience the feeling that comes with making something. Nothing feels better better than seeing something and saying "I can make that!"