
How to Build a DIY Emerson Buffet
Sometimes dreams come true in the middle of the night…. well, not exactly in the middle, more like at 5 am when you are trying to get your toddler to go back to sleep and open Instagram – and see a post that leads to a conversation and then guess what!!! I get to work with the AMAZING Jen Woodhouse!!
YES! Really!! I am still pinching myself!
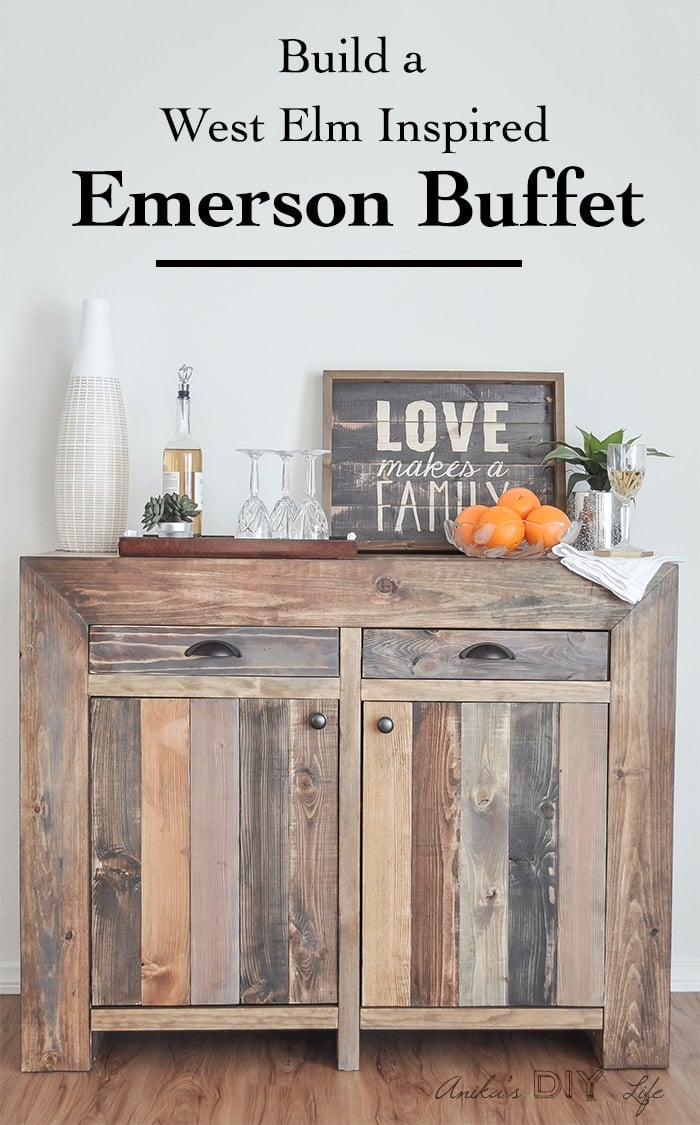
Guess what she designed and I got to be the first to build! This West Elm inspired DIY Emerson Buffet! 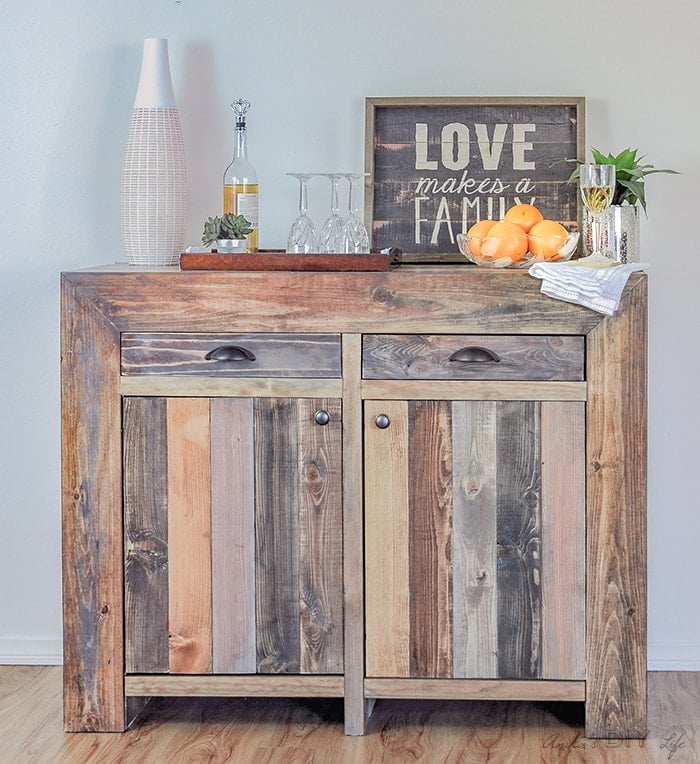
I am totally smitten with how this buffet turned out! The original is made of reclaimed wood and I tried to emulate the look using different colored stains and lots and lots of boards. 
Isn’t it just amazing! It’s a big heavy beast of furniture. Wait till you see how genius the design is so it is a lot less heavy than it looks! Jen has the plan for you on her site!
Get Plans for the DIY Emerson Buffet
***This post contains affiliate or referral links. It is a way for this site to earn advertising fees by advertising or linking to certain products and/or services. Please read my full disclosure here ***
RELATED: Take a look at all my free woodworking plans available to you!
Materials Needed to Build the DIY Buffet Table –
- Lumber according to the plans
- Kreg Jig
- 1¼” Pocket hole screws
- Circular saw
- Jigsaw
- 1¼” Spax screws
- Wood glue
- Kreg Right angle clamp
- 1¼” finish nails
- Nail gun or Hammer
- 14″ Drawer slides
- Table Saw
- Level
- Drill and drill bits
Let’s Build This DIY Emerson Buffet!
I started by building the skeleton sides with 1″x 3″ and 2″x 4″ boards with my Kreg Jig and attached using 1 ¼” pocket hole screws and wood glue. Be sure to check for square! 
Next came the carcass. I built it out of 1″x 3″ boards and attached to the skeleton sides with the pocket holes screws. Make sure to check for square at every step! 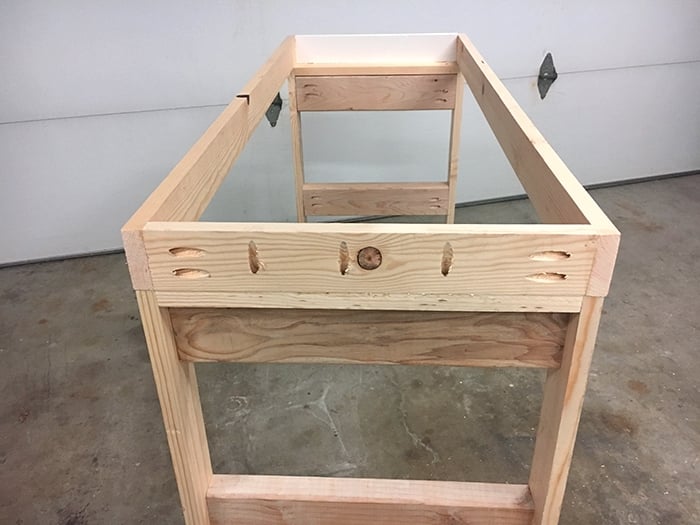
It was time to wrap the skeleton in the 3/4″ plywood. I used my favorite 1 1/4″ spax screws.
This is the point where my staining marathon started! I cut up a couple of 8′ long 1″x4″ boards into random sizes, sanded them and then stained them a whole variety of colors. I used Provincial, Dark Walnut, Ebony, Weathered Grey and Minwax tintable stain in “spice”. There was no method to it… I just stained the planks randomly and even mixed up the stains together and rubbed them in until I was happy with the colors. 
Finally, after staining for almost half a day, it was time to attach the planks to the buffet. (I may not have waited for the stain to dry I was so excited to get them on!;)). I switched them around until I was happy with the arrangement. The ends of the top and side are cut at 45° angle. Once all the cuts were made and the boards arranged, I attached all the planks with wood glue and finish nails using my favorite brad nailer.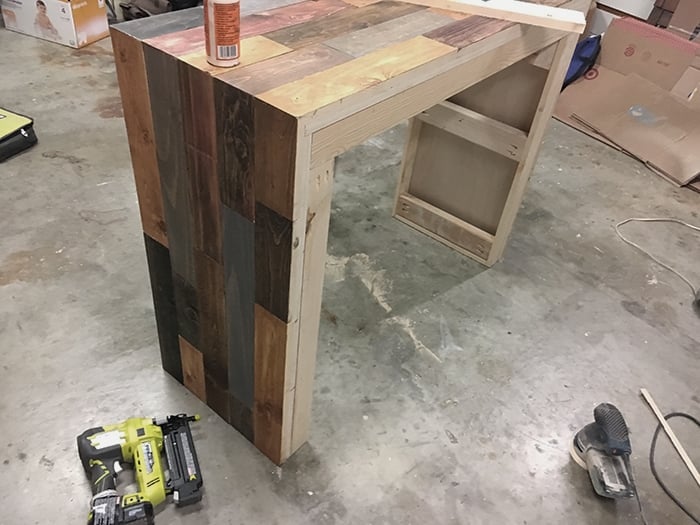
No matter how hard I tried, the edges ended up being a bit uneven and sharp. I gave it a bit of sanding and applied some stainable wood filler to any cracks. Once dry and stained in the matching plank color, you can’t even see it!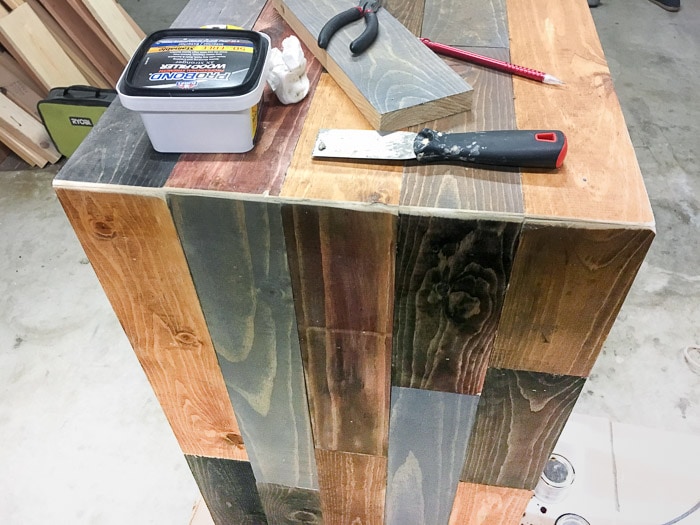
Next, the insides of the skeleton got covered. I ended up attaching the boards before staining them (sometimes, I get ahead of myself) which was not a good idea. Definitely, do it before you attach them. 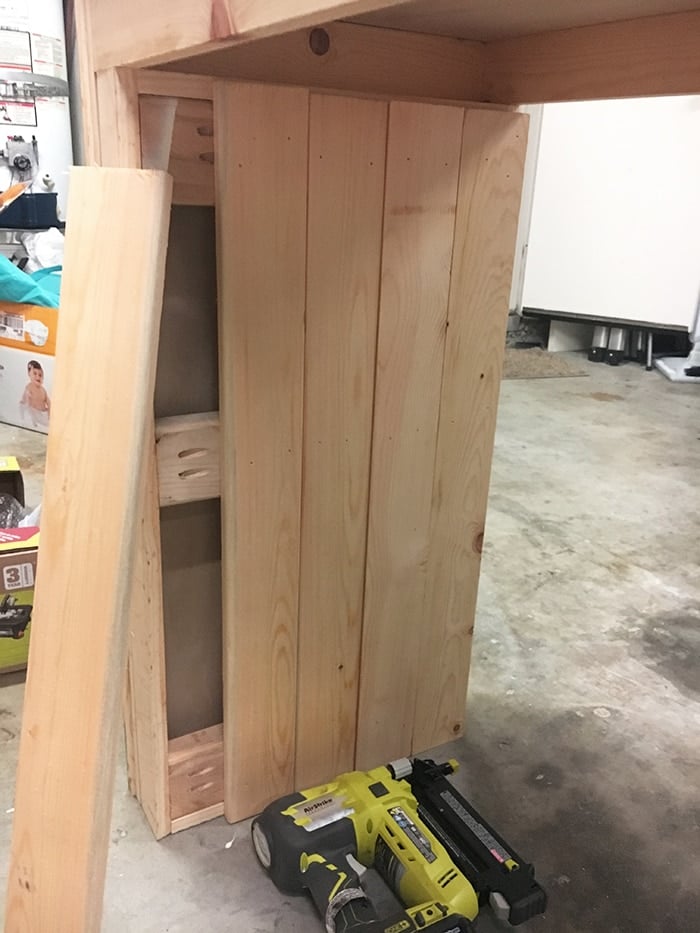
Time to build the face frame. I tried to rip the 1″x6″ using my circular saw but it did not work… perfect excuse to get a new table saw!! 🙂 I love this little saw. It can also work like a scroll saw! My project possibilities just went through the roof! 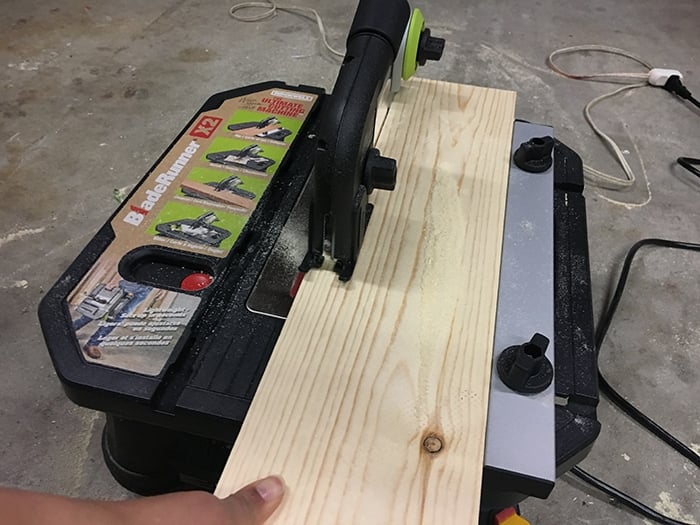
After all the happy dance and trying out (practicing) the little table for a few other things, I ripped the 1″ x6″ for the face frame and built it. See I made sure they were square!
Also, sand and stain them before attaching to the skeleton. In fact from this point on – all boards got cut, sanded and stained before being attached.
Attaching the face frame is easiest when the buffet is laying down. I attached one side then flipped it over to attach the other side. It is a great workout! 🙂 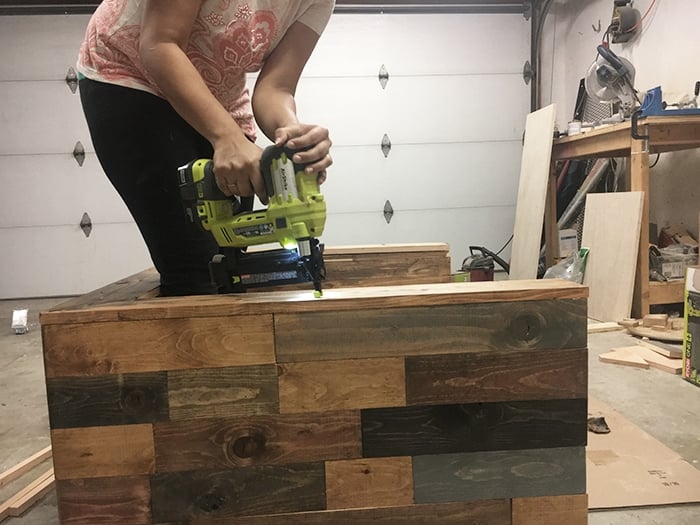
To continue the workout, I built the middle wall and lay the buffet upside down to attach the underside support and the middle wall. Sorry, I didn’t get pictures of this step. I sometimes get carried away while building… Here it is all ready for the drawers! The pocket holes for the 1×2 rails are on the inside of the buffet.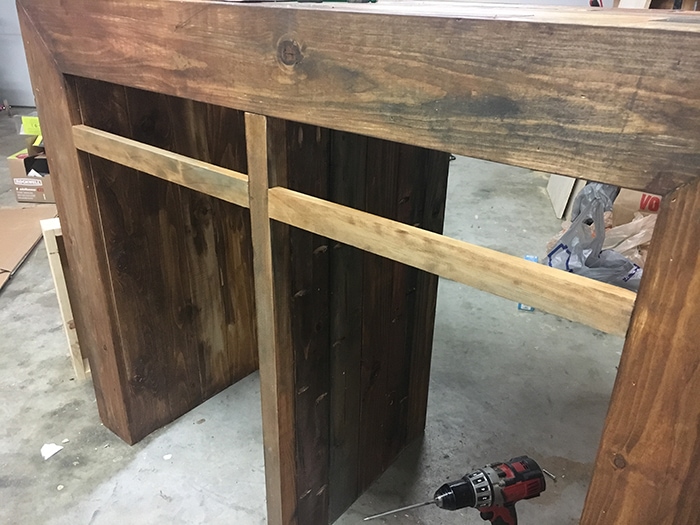
Drawers!! They are my nemesis… I had been dreading them all along!
But guess what?!
I got the first drawer working in exactly 1 try!! That was a new record for me!
You can bet I did a big happy dance and announced it to the whole world! I really worked hard on making sure everything was square at every step and it paid off. The second drawer was just about 1/4″ off so I just had to dismantle it and fix that!
RELATED: See how to build the perfect drawer – my guide for beginners!
Time for the shelves. This is what the bottom shelves look like on the front and the back. 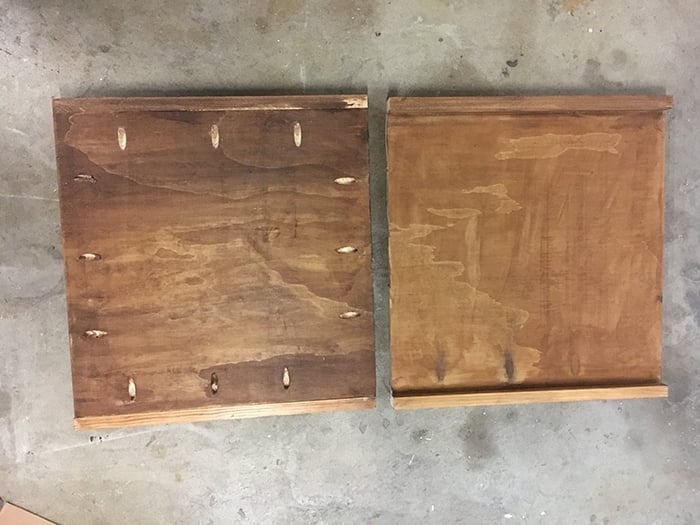
To attach the shelves, I had to put the whole buffet on its side (more workout). For the middle shelves, I used 1″ x2″ rails to make the shelves removable but you can attach them at this point too before attaching the bottom shelves. Also, this is a good time to add some felt pads to the bottom of the legs. Trust me, you will need them! 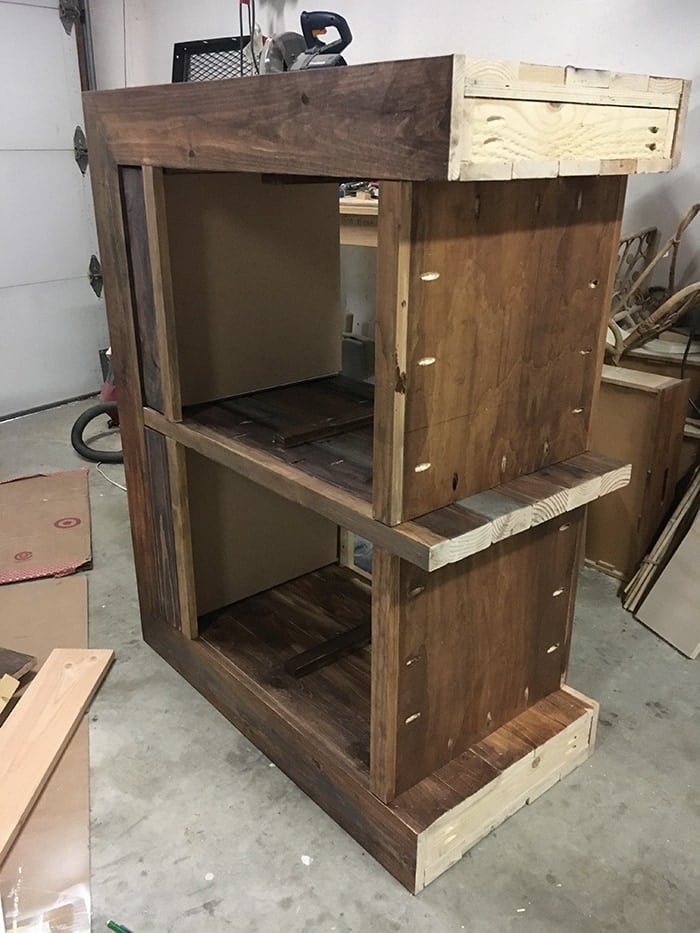
Almost done! I made the doors by cutting, sanding, staining and putting them together using 1″ x 2″ supports on the back and attached them. A few coats of polyacrylic with my paint sprayer and some amazing hardware later, we have this beauty! 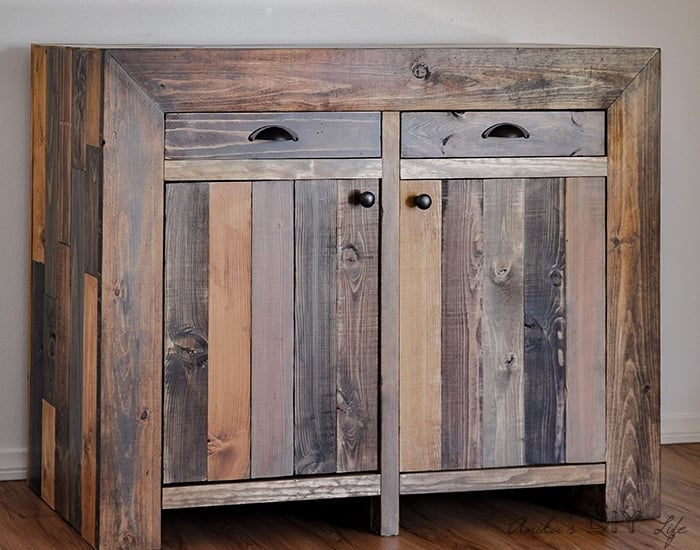
and here it is all loaded up and ready to have some fun! I am totally loving the look of reclaimed wood without using reclaimed wood… 
Take a look inside the doors… I used frameless cabinet hinges to mount the doors and simple knobs. 
Have I mentioned yet how proud I am of the drawers! They worked so fabulously! I used 16″ drawer slides and they were so easy to install. Those cup pulls are from D. Lawless Hardware.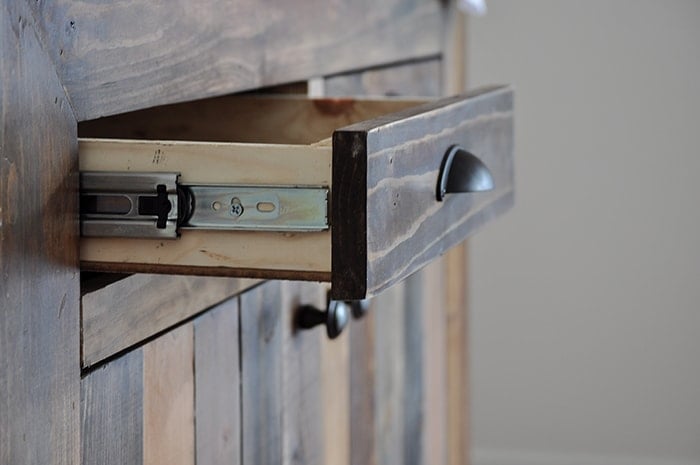
Look at that top and all the colors of wood! I have been so smitten with the entire buffet, I catch myself staring at it all the time!! Do you do that? Just stare at your projects…

I have about a couple hundred more pictures of this thing because I love it so much but I will let you go 🙂 I am sure you get how amazing this buffet turned out and the best part really was that I got to work with Jen Woodhouse on this. If you still haven’t checked out Jen’s website… I tell you, you have been missing out in life… there is so much awesomeness, you will be amazed!

I love it when you can build something at the fraction of the cost of a designer store. I am still loving my Pottery Barn inspired Clara table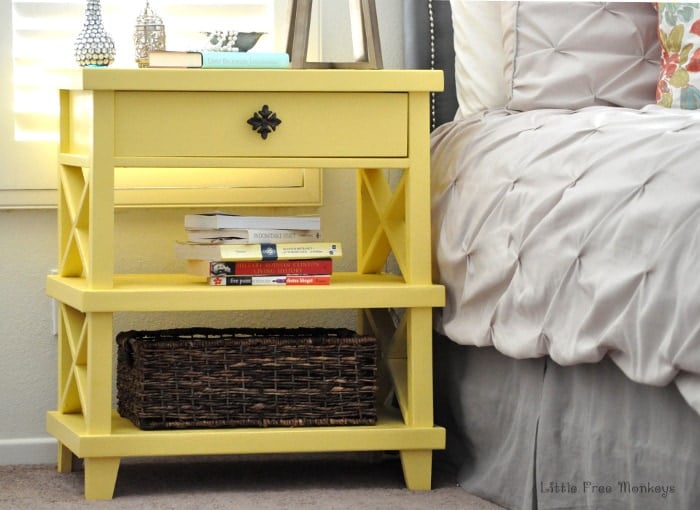
This mirrored console table was a fun build and was based on a $1500 piece! 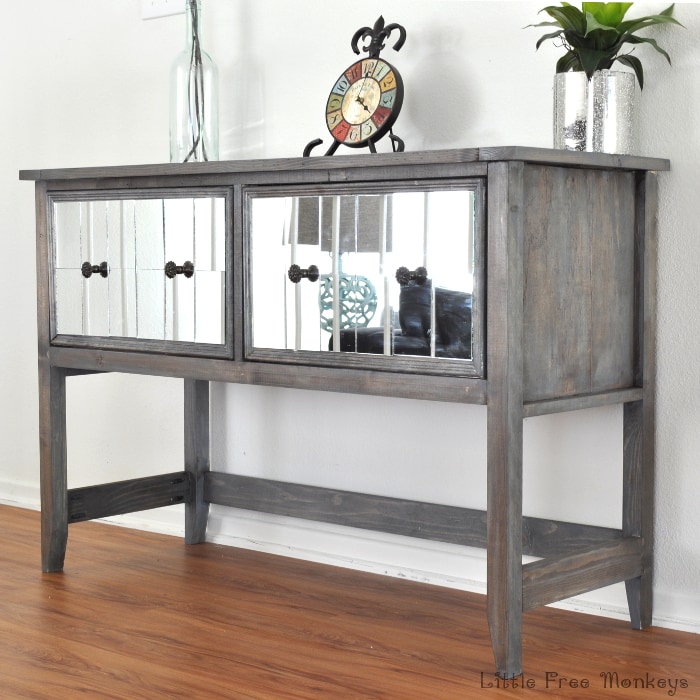
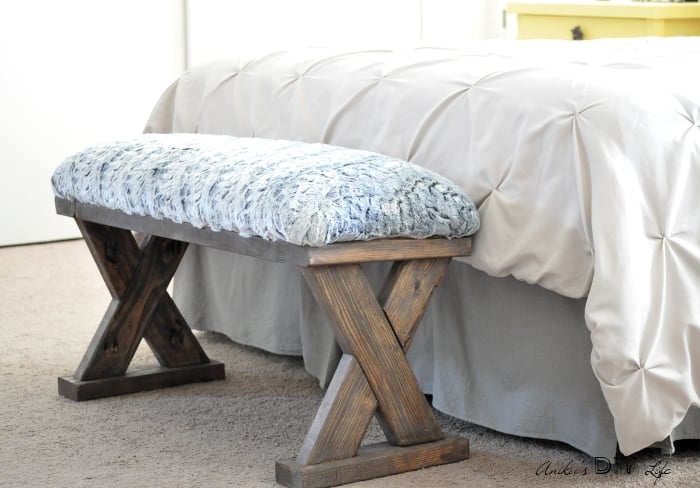
Sometimes I love creating my own projects too like this simple upholstered X-bench which is a versatile piece and makes a great weekend project.



Anika's goal is to inspire and empower beginners with woodworking, DIY, home improvement, and home decor ideas.
She wants everyone to unlock their creative potential and experience the feeling that comes with making something. Nothing feels better better than seeing something and saying "I can make that!"



Anika I am speechless. Truly. What a beautiful piece of furniture. I have so many ideas running through my head right now and all are inspired by you and Jen 🙂 We are a lot alike in that I like to stare at my projects! I also have a tough time waiting for paint to dry! I am pinning this with the intention of building it for sure! I haven’t built anything with drawers yet, so this might be my first! We should work on something together this summer!
Thank you so much Janice!! You can totally do drawers… just get started! I would love to work with you on a project! Let us definitely plan something for the summer!
Gorgeous! Amazing! to say you made it yourself, has got to be such a source of pride. I have a few questions about your nemesis – the drawer. How did you know that the 16 inch drawer slides would work? did you build your drawers with these in mind? If so, how did you account for them? I mean how did you build the drawer for this type of slide?
Thank you Cathy!! 🙂
The drawers were 17″ so the closest drawer slides were 16″. The drawer slides come with instructions and they will always tell you what the space between the drawer and cabinet should be. In this case it was 1/2″ on each side… since the cabinet had 18″ space, the drawers had to be 17″.
You did an amazing job. It looks fabulous.
Are you kidding? What an awesome project! You knocked this one out of the ballpark! Saw your project on UnCookieCutter in her round-up and I had to stop by and see it. Love! Shared and pinned!
Thank you so much Wendi!! 🙂
This is such a beautiful piece of furniture! You must be SO proud of yourself (you should be!) I could not make this in a million years! It really is absolutely gorgeous. Thanks for sharing at Vintage Charm. xo Kathleen | Our Hopeful Home
Thank you Kathleen!! Trust me anyone can make it! It just looks huge… but it really is quite straightforward!