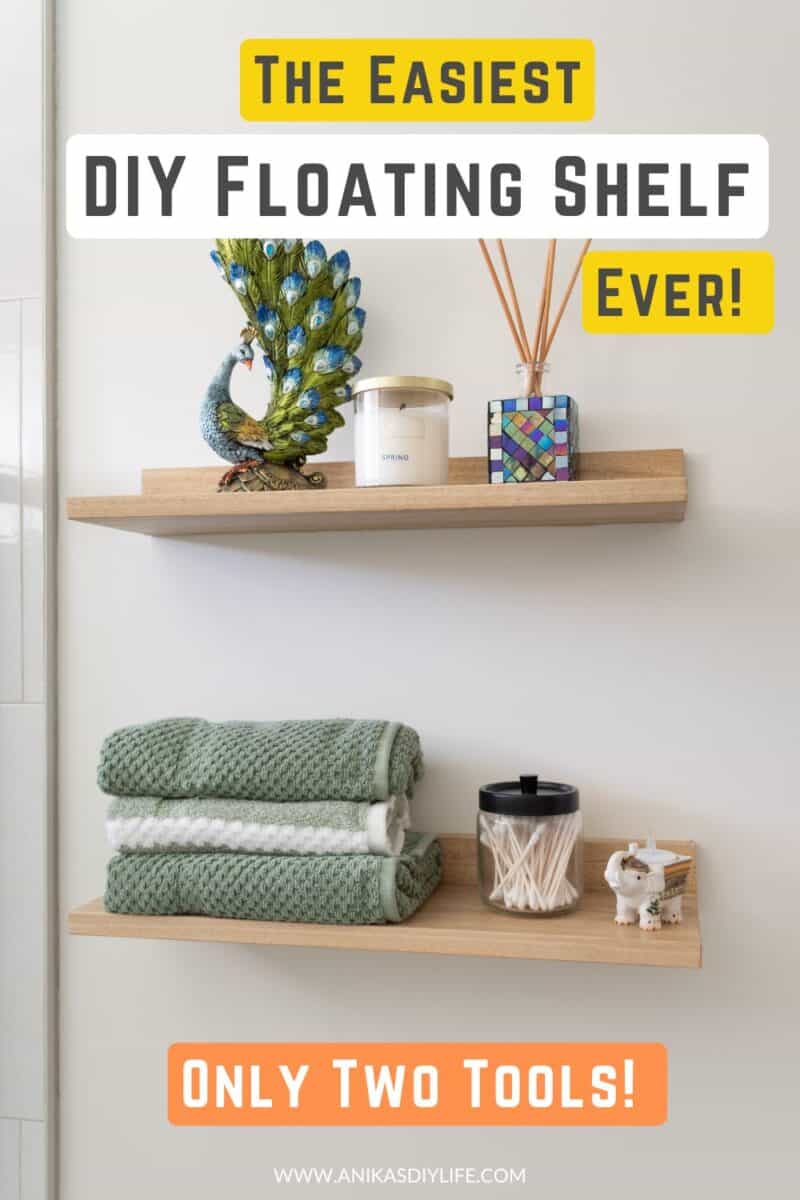
How to Build the Easiest DIY Floating Shelves Ever (Only 2 Tools Needed!)
Learn how to build the easiest DIY floating shelves with just two power tools! A quick, beginner-friendly tutorial for strong shelves without a table saw.
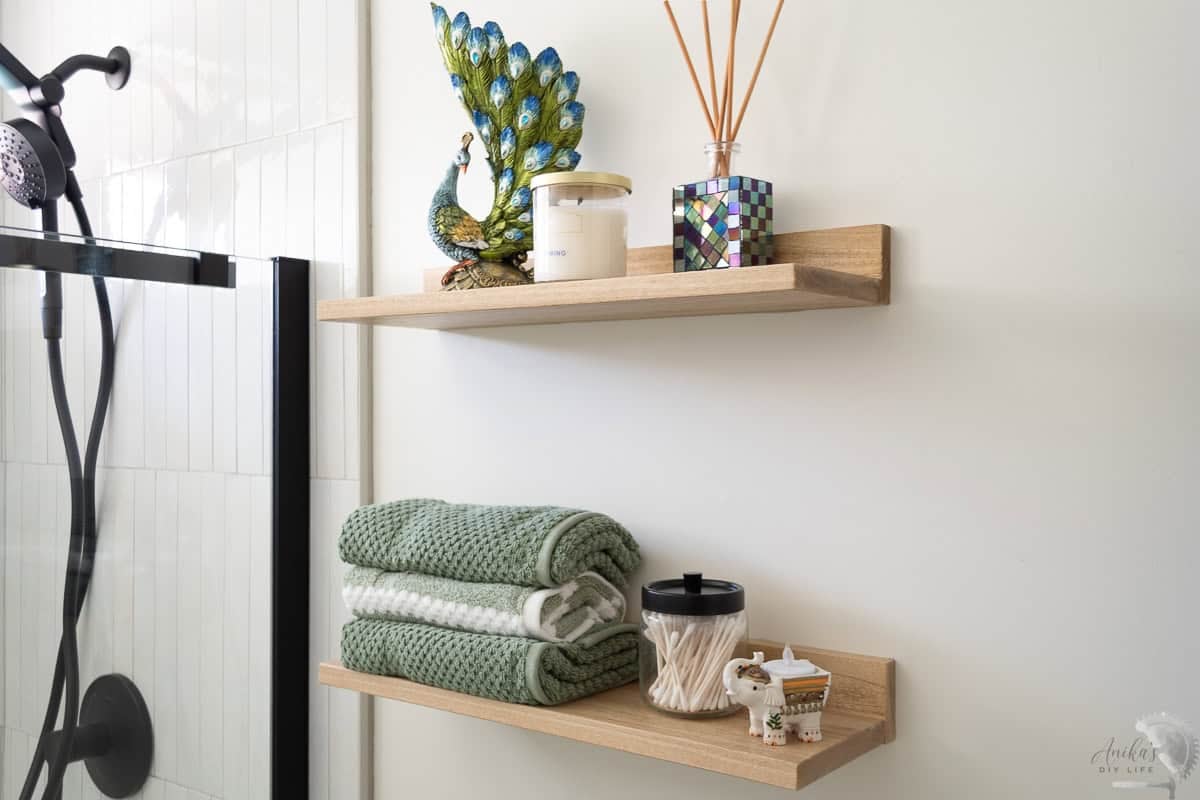
Shelves are the perfect way to add some extra storage and character to a room. And if you think about it, building them should be quick and straightforward to make.
If you have ever searched for floating shelf tutorials online, you have probably run into the intimidating ones: table saws making pristine mitered cuts, intricate box assemblies, and complex cleat systems.
Don’t get me wrong. I have built those heavy-duty, high-end shelves for my kitchen a few years ago, and they have their place. But sometimes you don’t need a multi-day project, you just want a fast, simple win.
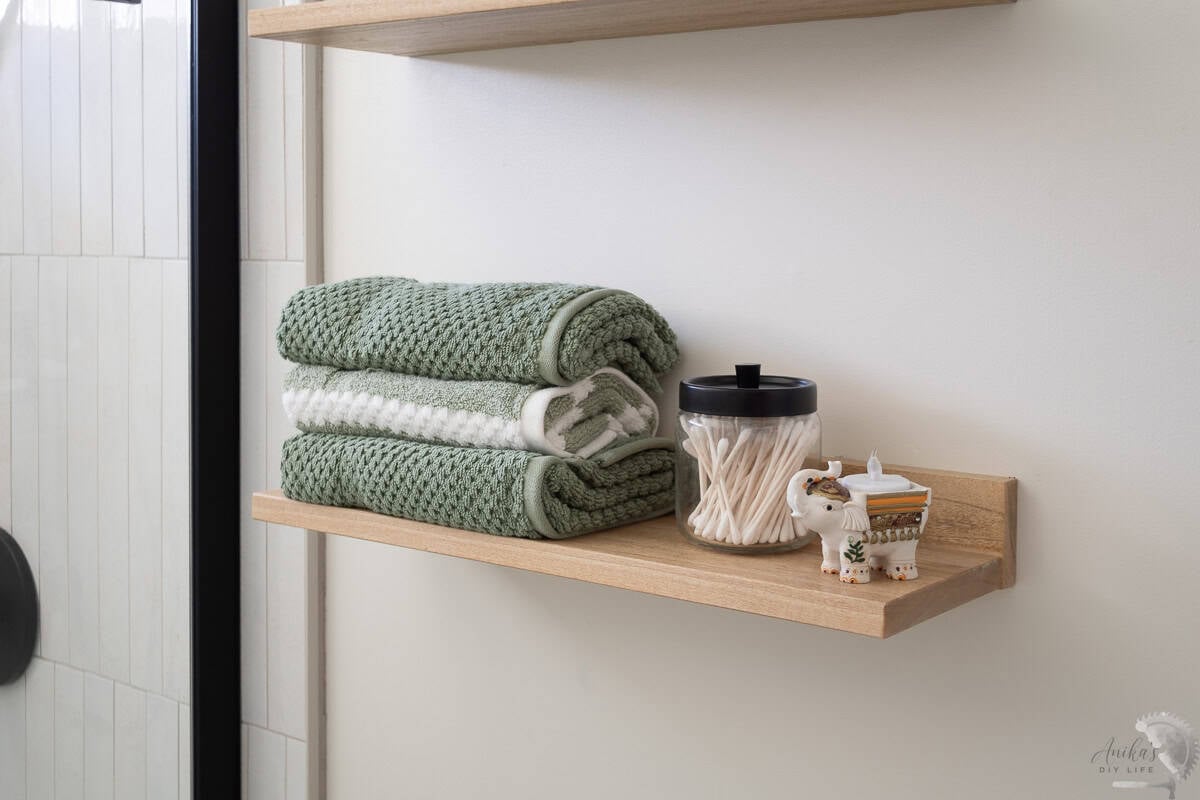
I recently needed some thin floating shelves for my bathroom and wanted a build that was as quick as it was clean. The result? The easiest DIY floating shelf you will ever make.
The best part? You only need two tools – something to cut with, and something to join with. And I will also show you exactly how to install it on the wall so its nice and strong.
Project Overview
- Skill Level: Beginner
- Estimated Time: 1–2 Hours (plus stain/top coat dry time)
- Approximate Cost: Under $20
***This post contains referral or affiliate links. It is a way for this site to earn advertising fees by advertising or linking to certain products and/or services. Please read my full disclosure here ***
Materials Needed
- Lumber – 1×6 and 1×3
- Wood glue
- Fasteners ( 1 ¼” brad nails or 1¼”wood screws)
- Sandpaper in various grits
- Pre-stain wood conditioner.
- Wood stain of choice. I was matching my vanity so I used a combination of 3 stain colors.
- Top coat. I used this one. See my guide on picking your favorite top coat.
- Heavy-duty structural screws (for mounting to studs)
- Good quality drywall anchors
- Stud finder
- Level
Tools Needed
- A Saw. Anyone of the below:
- Circular saw. What I use | Beginner Option
- Mini-circular saw
- Miter saw. What I use | Beginner Option
- or even a Miter Box.
- Brad Nailer What I use | Beginner Option (optional)
- Drill
- Sander – What I use – I have had this since 2015 and still going strong!
How to Build Easiest DIY Floating Shelves
As always, you can watch the full video tutorial below to see every step in action. The detailed written tutorial follows below.
Step 1: Cut the Boards to Length
- Cut the 1×6 and 1×3 boards using a saw. I used a miter saw, but a circular saw or even a miter box works.
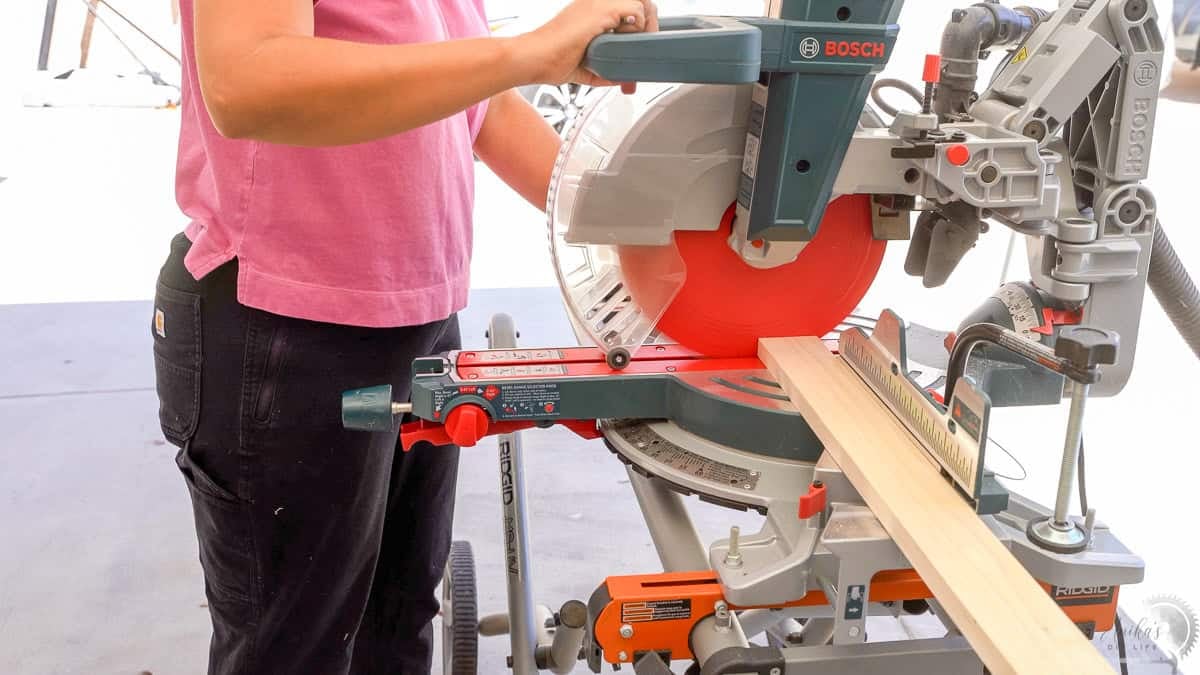
For my bathroom space, I built two shelves that are 15 inches long each. I cut both my 1×6 and 1×3 Poplar boards into two sets of 15-inch pieces.
I specifically chose Poplar wood for this project because it had the exact grain structure I needed to complement my existing bathroom vanity. You can easily substitute pine or common board if you plan to paint or use a darker single-step stain! Or you can use hardwood!
Pro Tip: No matter what saw you choose to use, always remember to pay attention to the kerf (thickness) of the blade when making your cuts so your boards turn out exact. See more tips here.
Related Tutorials:
Step 2: Sand the Wood
Sanding before assembly is one of the most critical steps in any woodworking project. Once you stain the wood, any leftover scratches will show right through!
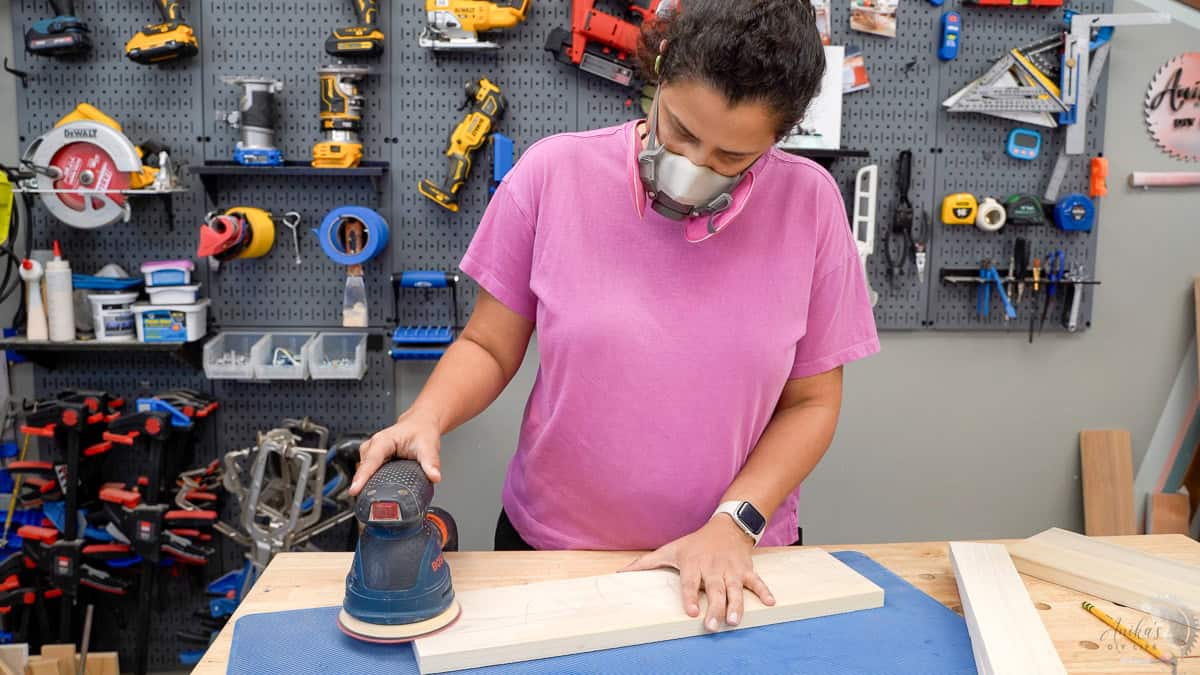
Step down through each sandpaper grit systematically. Start with an 80 or 120 grit depending on how rough the board is to start with. And then step up no more than 60 grit at a time, all the way up to 220 grit.
👉🏼 See more about How to Get Professional Results When Sanding Wood
Step 3: Glue and Join the Boards
Assembly couldn’t be simpler!
- Apply a generous, even layer of wood glue along the edge where the 1×6 and 1×3 boards meet. The wood glue does most of the heavy lifting for overall strength.
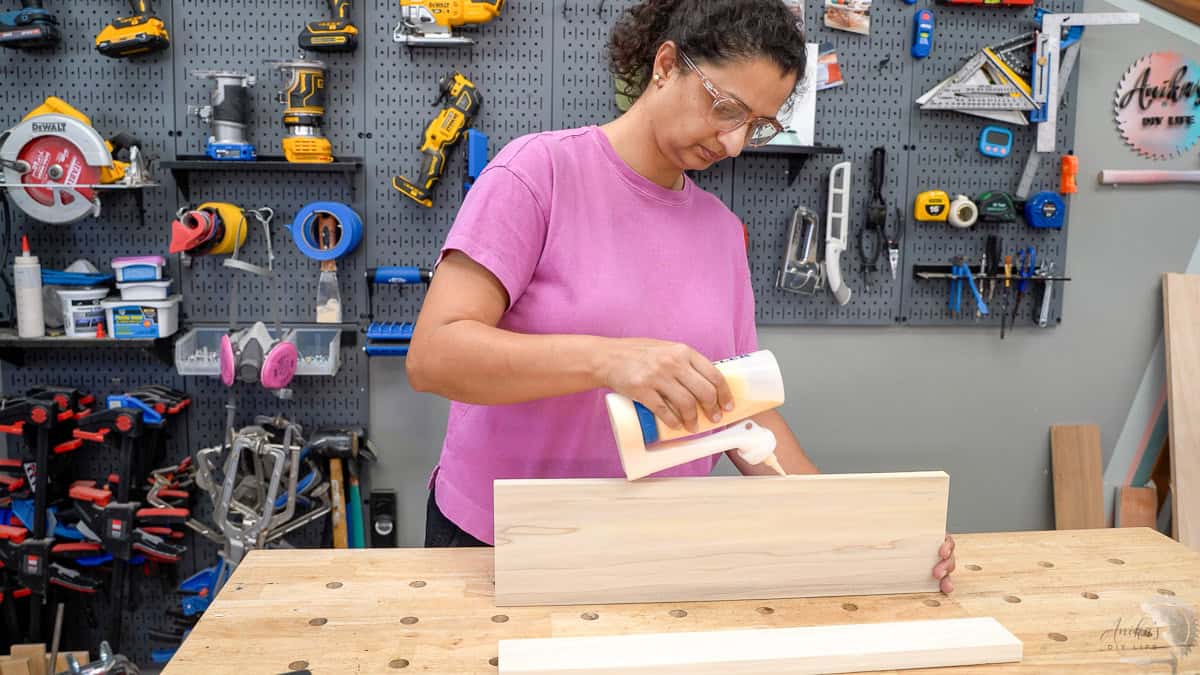
- Align the boards so they form an “L” shape at a 90-degree angle
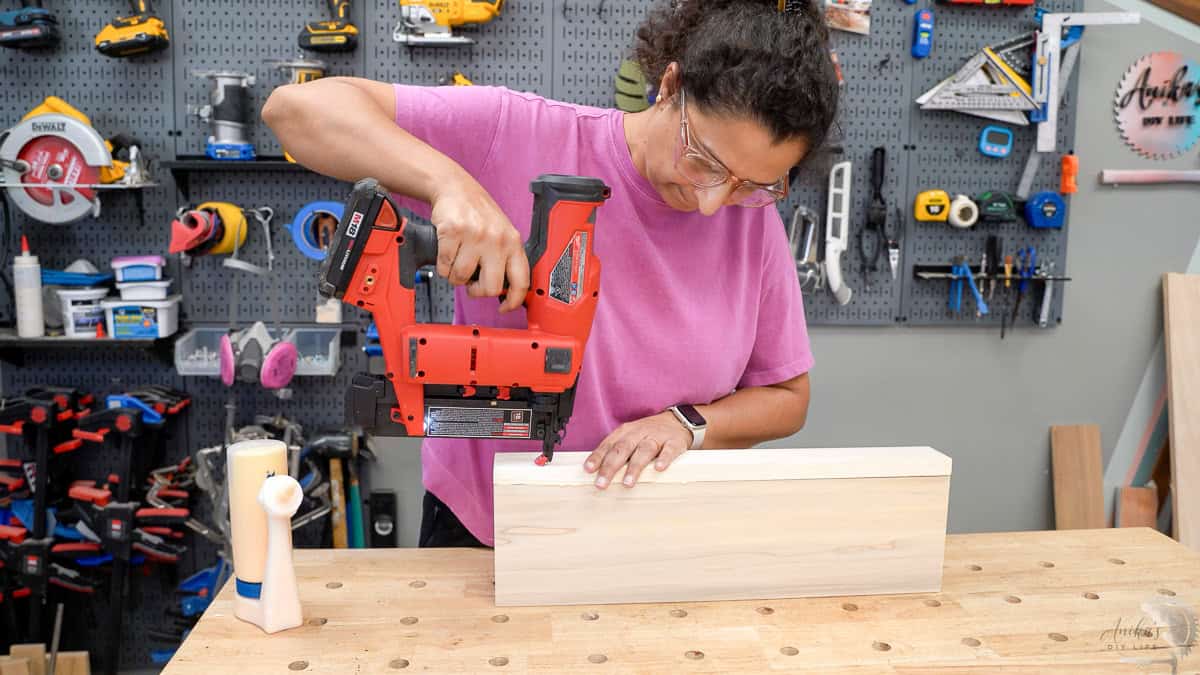
- Tack them together with a few brad nails using a nail gun. If you don’t have a nail gun, you can skip straight to screws. The brad nails just help keep the wood from sliding around while you drill.
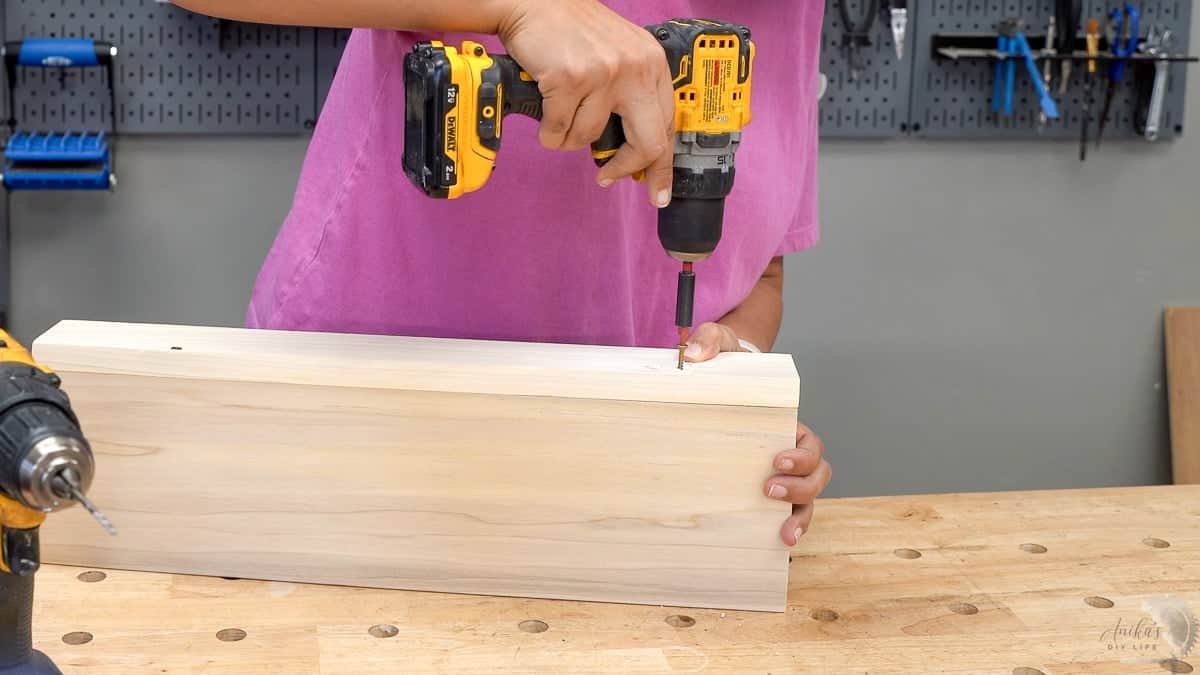
- Pre-drill pilot holes along the back and drive in countersink wood screws. Make sure the screw heads sit slightly below the surface of the wood. Learn when and how to use pilot holes in your project.
Important: Immediately wipe away any glue squeeze-out with a damp cloth! Leftover wood glue creates a barrier that prevents stain from penetrating the wood
Step 4: Apply the Finish
Poplar (and most softwoods) can absorb stain unevenly if not prepped correctly.
- Coat the wood thoroughly with pre-stain wood conditioner and allow it to dry.
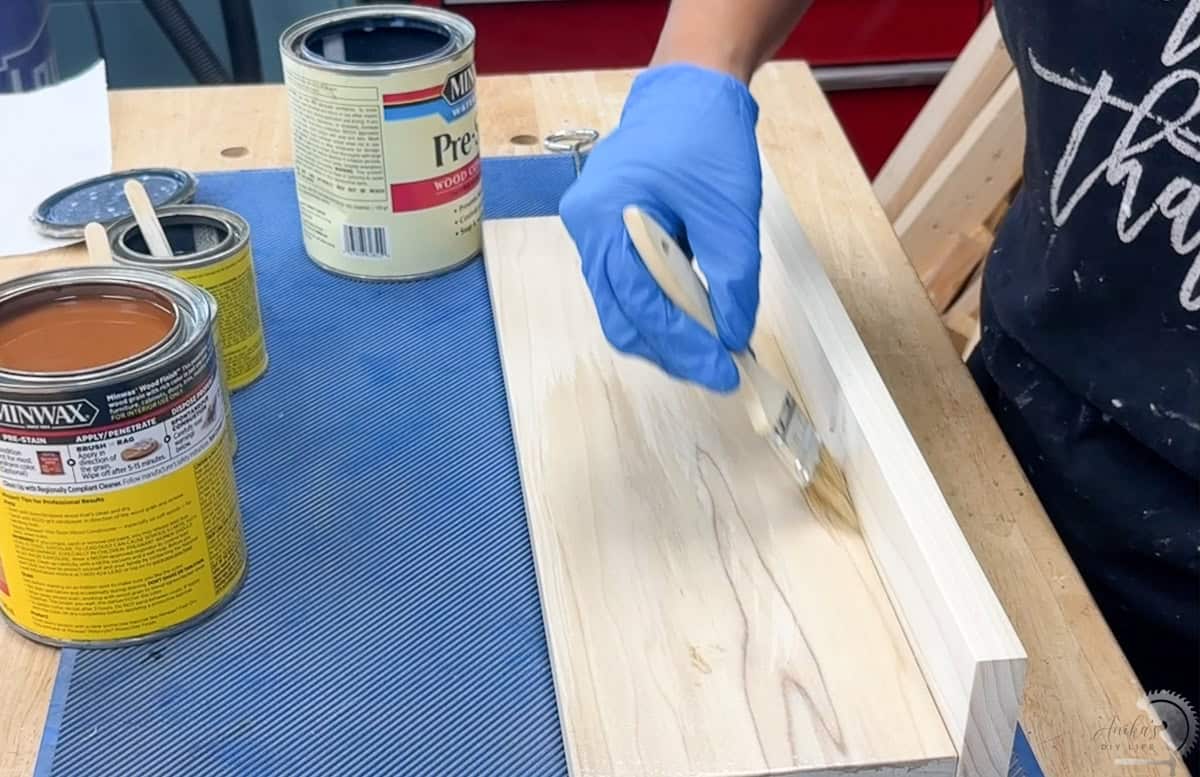
- Use a 220-grit hand sanding block or a detail mouse sander to lightly smooth out any raised wood grain, paying special attention to the inner right-angle corners.
- Apply the stain.
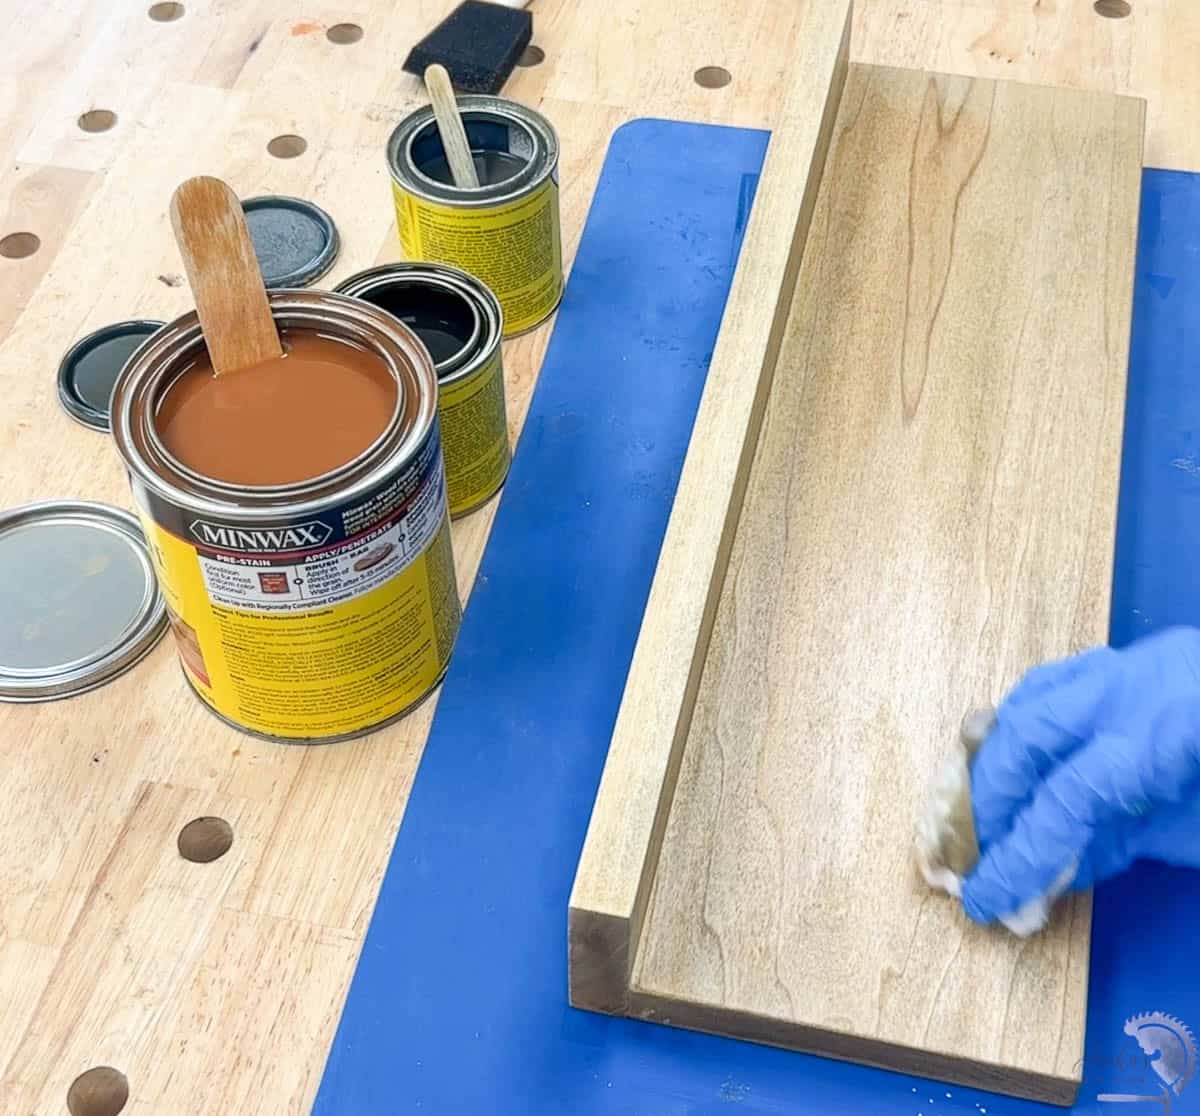
- Once the stain is completely dry, seal the shelves with your favorite protective clear top coat. I used this top coat.
Since I was trying to match my vanity, I went through a bunch of trial and error to find the correct color. I found that I had to apply the stains in this exact sequence: Oak Gray, American Walnut, and then Fruitwood.
Step 5: How to Hang the Floating Shelves
The secret to a floating shelf that can hold real weight comes down to hitting at least one wall stud and using high-quality drywall anchors for the rest. Here’s how to hang these shelves –
- Use a stud finder to locate a stud on your wall and mark where you want the shelf to sit.
- Mark the exact stud location on the shelf. Mark a second hole location equal distance from the opposite edge for the wall anchor.
- Drill through the shelf and into the wall at the stud location. Hold the shelf level using a spirit level, then drill the second hole into the wall for your anchor.
- Insert a heavy-duty drywall anchor into the pre-drilled wall hole.
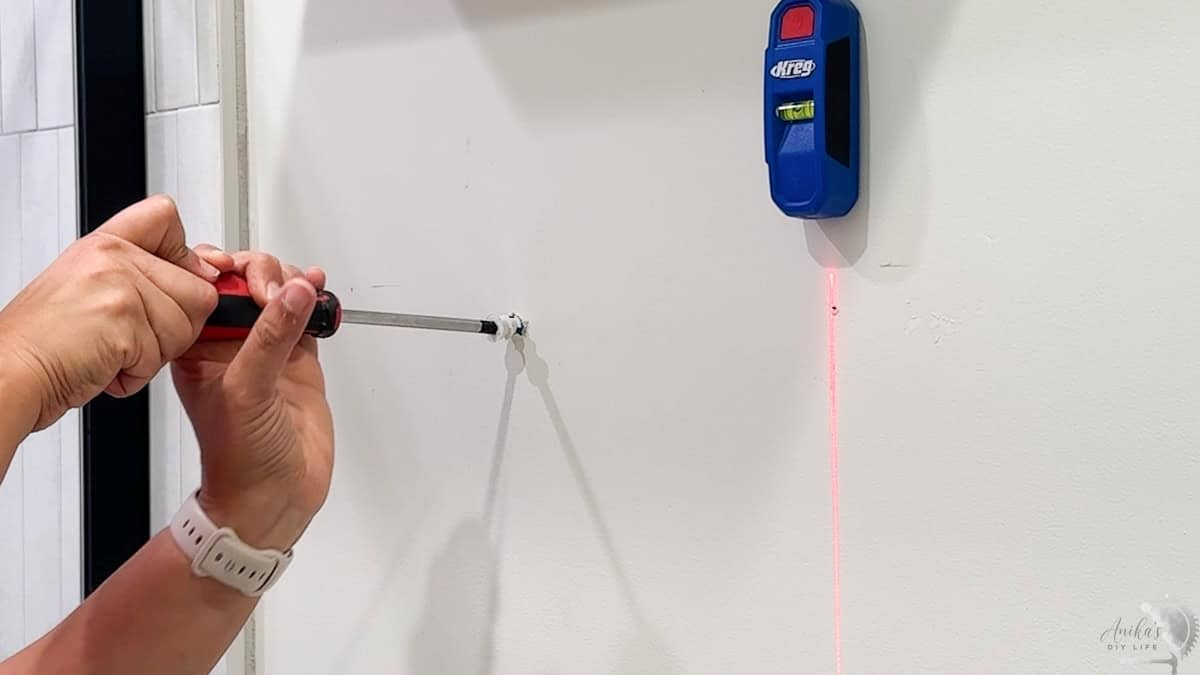
- Start driving the screw through the back of the shelf. Line it up with the wall anchor and drive it in partway. Verify that the shelf is completely level, then drive the remaining screw straight into the wall stud and tighten both fully.
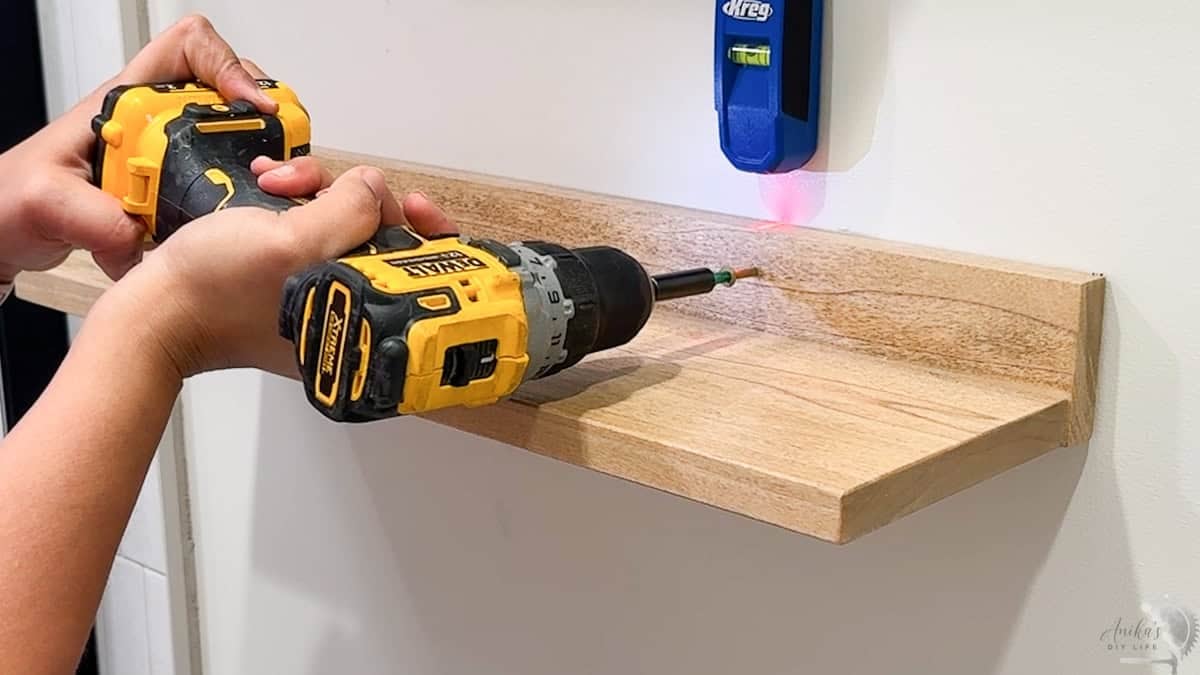
Make sure that both screw heads are countersunk flush or slightly below the surface.
The screw heads do remain slightly visible on the shelf, but the decoration (and toilet paper) I will be putting on the shelves will hide them. For how fast, accessible, and budget-friendly these shelves are, it is 100% worth it. And they are super strong too!
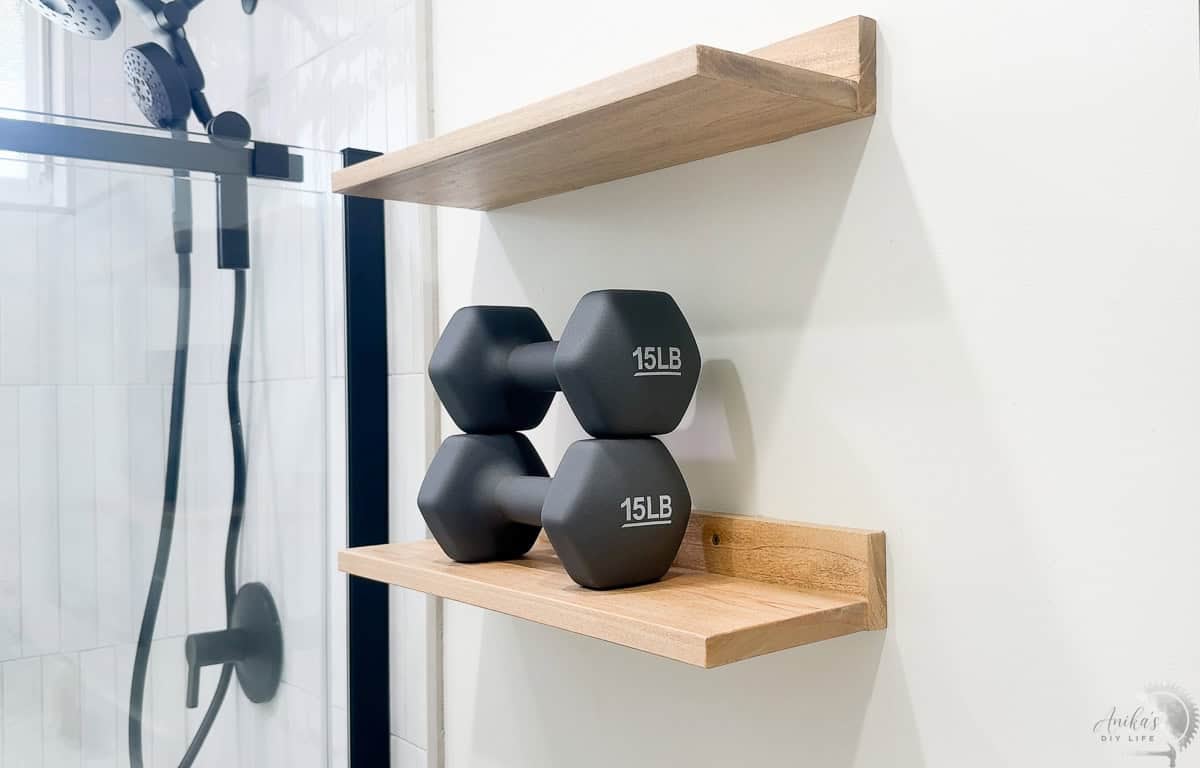
They add the perfect touch of functional storage and character, and matching them to my vanity was 100% worth the stain trial-and-error. Can you believe how quick and straightforward they were to build?
I hope this project proves that you don’t need a massive workshop or an intimidating table saw to create gorgeous, custom pieces for your home. Remember: you cannot watch your way into confidence. The only way to stop feeling intimidated by power tools is to put a tool in your hand, turn it on, and get building!
And if you are ready to take the next steps, be sure to check out my step-by-step courses designed to help you cut down the learning curve (and save you $$$ on wasted material and time).
You might also like:




Anika's goal is to inspire and empower beginners with woodworking, DIY, home improvement, and home decor ideas.
She wants everyone to unlock their creative potential and experience the feeling that comes with making something. Nothing feels better better than seeing something and saying "I can make that!"