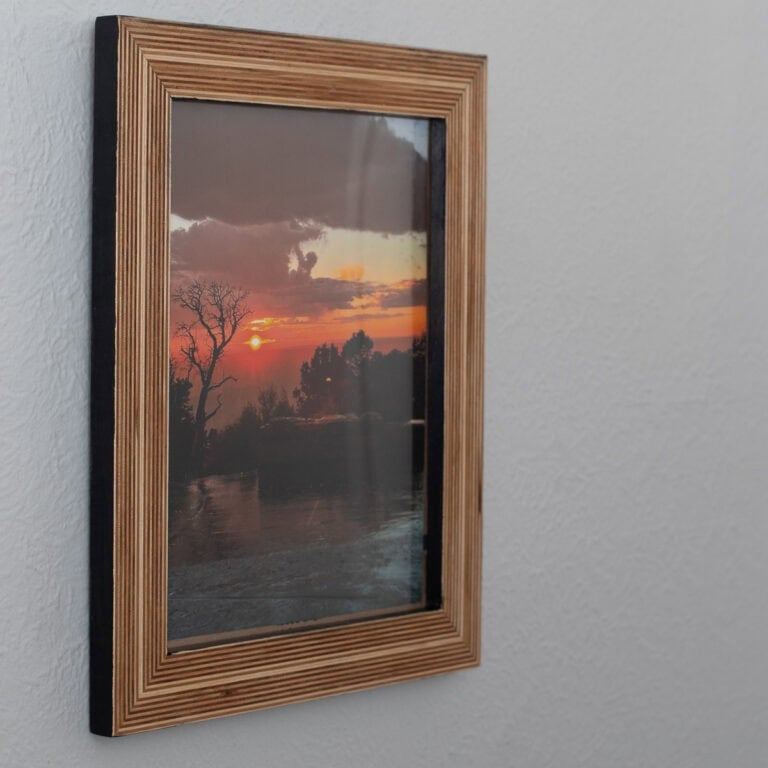
How to Make a Simple Photo Frame
How to make a simple photo frame. This step by step tutorial shows you how to make plywood and plexiglass frames to display pictures or fun holiday printables!
These are really fun to make and display your favorite pictures, printables.
Or you can make them as a gift!
DIY Custom Picture Frames
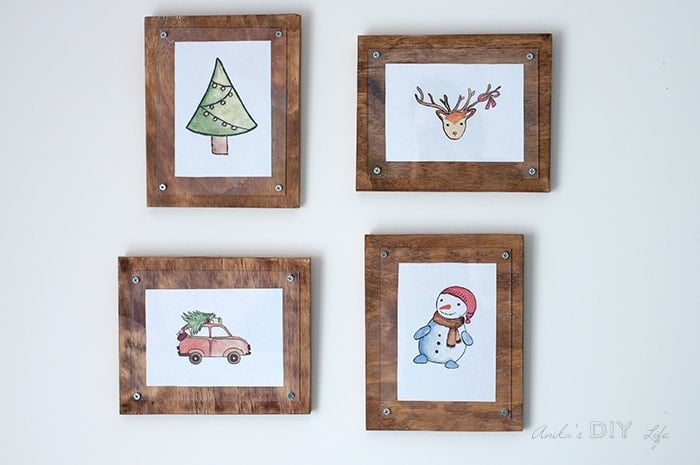
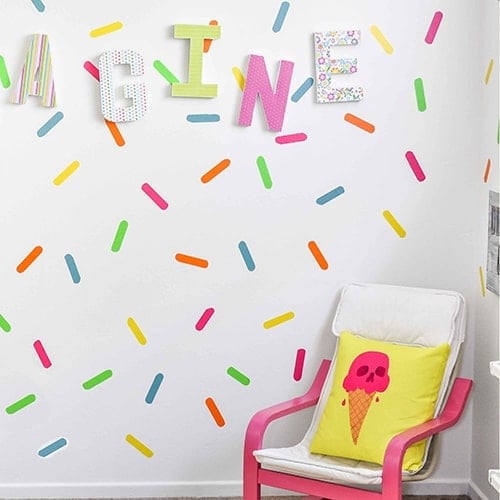
I am using these with Christmas printables for now but these will finally go on the white wall opposite the colorful accent wall in the kids’ room.

With all that color going on, I wanted to bring in some warm wood tones. but we have a very special set of baby pictures of the kids that have been in their room forever! I asked them if they wanted me to change them out but both unanimously agreed they still wanted them!
We had been using plain white Ikea frames so I decided to use this opportunity to create fun frames and also use up some scrap plywood in the process. (There is something about the satisfaction you get from using scrap wood…)
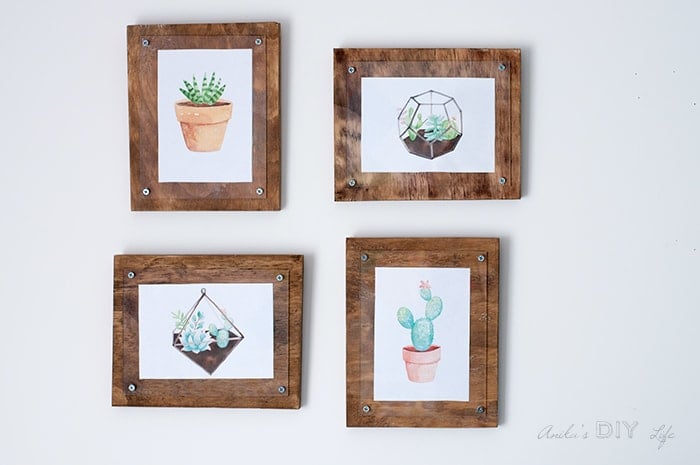
The pictures can be easily switched out by just taking off those screws! I added some succulent printables just for fun.
Rustoleum sent me their white and black wood grain enhancer to try out and I love the effect it adds.

Take a look closer! It’s pretty cool!
***This post contains affiliate or referral links. It is a way for this site to earn advertising fees by advertising or linking to certain products and/or services. Please read my full disclosure here ***
Materials needed to make the simple photo frame:
- Plywood – cut to size. I used 8″x10″
- Plexiglass – cut to size. I used 7″x9″
- Masking tape
- ¾” wood screws
- Stain of your choice – I used Golden Oak by Varathane
- White wood grain enhancer
- Black wood grain enhancer
- Steel brush
- Straight edge and box cutter – to cut the Plexiglass
- (optional) BladeRunner X2 – to cut the Plexiglass
- Drill
- Screwdriver

If you are a visual person like me, here are the dimensions –
Making the frames is pretty simple and straightforward. However, I learned a few things working with plexiglass for the first time. I have highlighted that below. Just pay attention to those and making these display frames will be a snap!
Here is the full video tutorial on how t make the frames. The full written instructions follow.
How to make the wood and plexiglass frames –

Step 1 – Start by staining the plywood in the color of your choice. I used Golden Oak because it closely matches the Hardwood flooring in the room.

Step 2 – If you are using the grain enhancer, wipe the surface with water to help pop the grain. When the surface is still wet, scrub it with the steel brush. This is very important to get the grain enhancer to work.

Step 3 – Once the surface is dried, wipe it well and apply the wood grain enhancer against the grain. Wipe it off after a few minutes with a light hand in the same direction you applied it.
Step 4 – Get your plexiglass ready. To cut the plexiglass, you can use a straight edge and a box cutter to score 7-8 times and snap. It creates a pretty clean cut. I needed to make 4 of the frames so I decided to bring out my BladeRunner X2 which helped make the process a bit faster.

Step 5 – Measure the location and place the plexiglass on the plywood. I used masking tape to hold it in its spot. Then I measured and marked the spots for the screws.
Step 6 – Use a drill bit that is large enough for the screw to go through easily. I used a 5/32″. Drill very slowly! The masking tape keeps the plexiglass from cracking. Once you hit the wood on the bottom, you will feel resistance. Stop when you have created a pilot hole in the wood.


Step 7 – Place the picture or printable on the plywood. Use double-sided tape to hold it in place. Remove protective covering from the plexiglass and attach with the wood screw. It is important to use a manual screwdriver so you have control on the pressure and how far the screw goes. If not, you can end up cracking the plexiglass.

Add Sawtooth hangers on the back and hang them up!
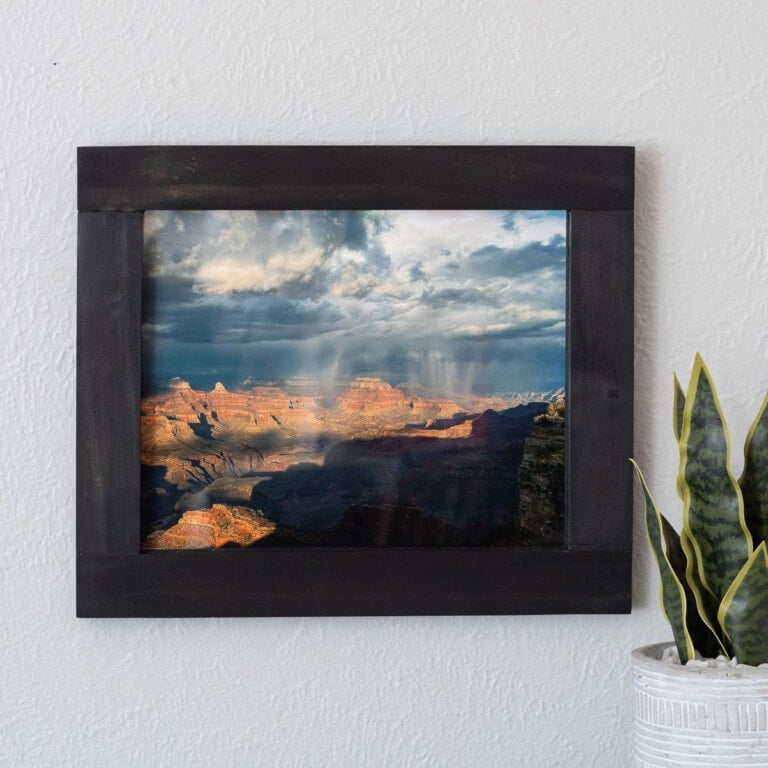
The wood grain enhancer adds a cool effect! I used the black wood grain enhancer on two and the white on two.

I can’t decide if I like the black more…

Or the white…

Pretty and Cheap Picture Frames
Guess what! I only had to buy the plexiglass for this project so it cost me about $10. Love an easy and cheap project that looks amazing AND uses up scrap wood too!!
Where would you use these picture frames, and what would you put in them?


You may also like:
Anika's goal is to inspire and empower beginners with woodworking, DIY, home improvement, and home decor ideas.
She wants everyone to unlock their creative potential and experience the feeling that comes with making something. Nothing feels better better than seeing something and saying "I can make that!"


We have tons of scrap wood and even some scrap plexi, so I am def putting these on my “to-make” list! Thanks for sharing!
These frames are so cute, and I love those pictures too!
I love these! So simple and pretty.. great idea to put in printables!
Super cute. Thanks for the tips on working with Plexiglass – my first thought was “I wonder how easy it is for that to crack”.
And if we are voting, I like the black enhancer better.
I was actually surprised that plexiglass wasn’t that hard to work with at all. The black enhancer sure looks very pretty!
Amazing frame,
This is a great post. Really, Thanks for the important information. Step by step is very helpful tips. It is making so simple and look is very beautiful.