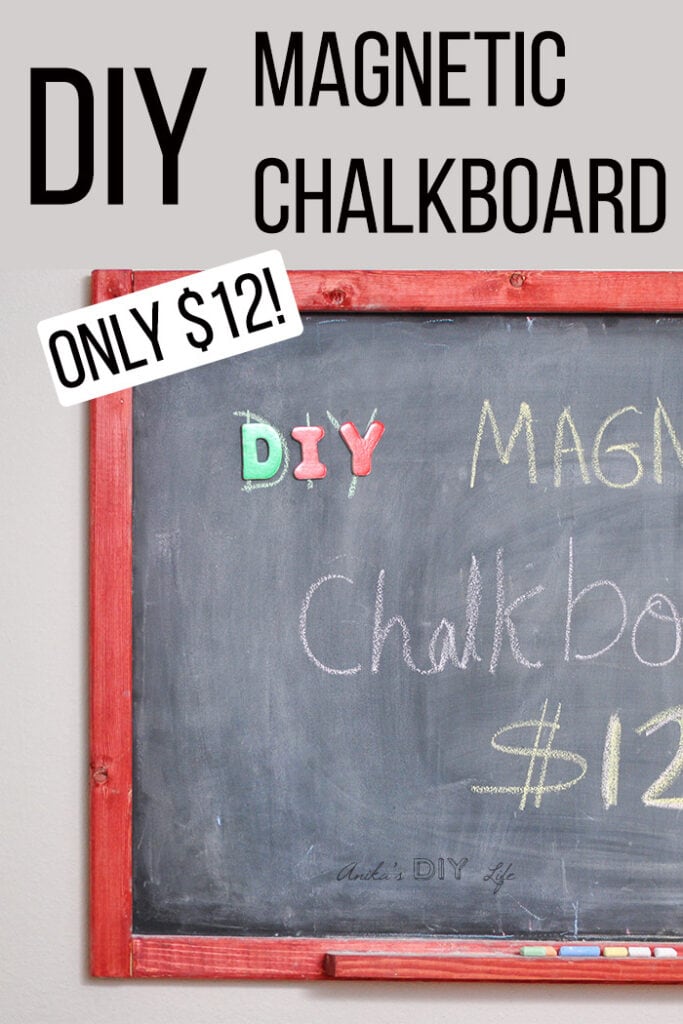
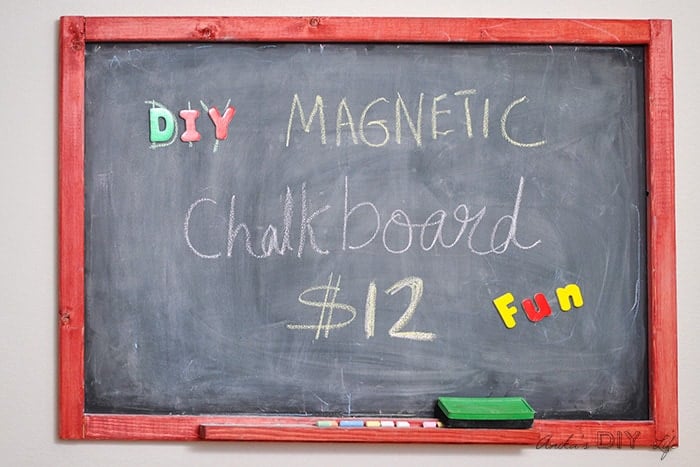
Easy DIY Magnetic Chalkboard – How to Make Under $12
Learn how to make an easy DIY Magnetic Chalkboard in under $12 with this detailed tutorial. It makes a great addition to any office or playroom!
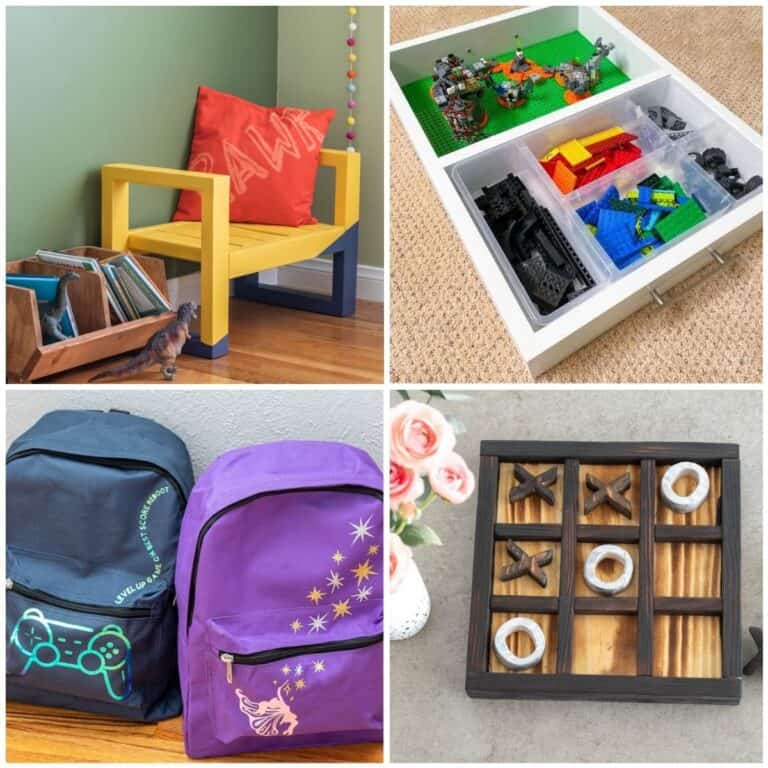
You will also love DIY rain gutter bookshelves and 5-in-1 Kids art center.
A DIY Magnetic chalkboard provides hours of fun for any space.
Especially a playroom. And that is exactly what we needed on the one blank wall!
Online research yielded – the use of magnetic sheet metal coupled with pre-existing frames like this and this, or added simple frames around it like this or this.
I needed a large one to fit the wall so I decided to build my own frame.
Plus, it needed to be super sturdy to be able to stand up to the test of my rough 2-year-old boy!

Best of all – it took only about half an hour of active work and the cost was only $12 for the sheet metal and furring strips!
Now that is an amazing deal for the hours of fun!
RELATED: Check out this version I made for the kitchen!
DIY Magnetic Chalkboard Using Sheet Metal
***This post contains affiliate or referral links. It is a way for this site to earn advertising fees by advertising or linking to certain products and/or services. Please read my full disclosure here ***
Materials for the DIY Magnetic Chalkboard
- 2 – 1″x 2″ x 8′ common board. I used furring strips.
- 2′ x 3′ galvanized sheet metal – I got mine at home depot
- Spray Primer
- Chalkboard paint. – I used the brush-on version, you can also use the spray can.
- kreg jig ( See my full guide on how to use a Kreg jig)
- 1 1/4″ Pocket hole screws
- D-ring hangers and/or command strips to hang to the wall. I use these Monkey hooks in the wall to hang stuff.
Cut List –
- [email protected]″ – short sides
- [email protected] ” – long sides
- 1 @ 20″ – shelf
How to make a magnetic chalkboard
Step 1 – Prep the sheet metal
- Start by roughing up the sheet metal with a ball of steel wool. This gives the primer and paint something to grip to. You don’t need a lot of “sanding”. Just a light rough up will do.
- Apply a couple of coats of primer. I like to use the Zinsser primer.
Step 2 – Apply Chalkboard Paint
Paint the sheet metal with chalkboard paint using a roller.
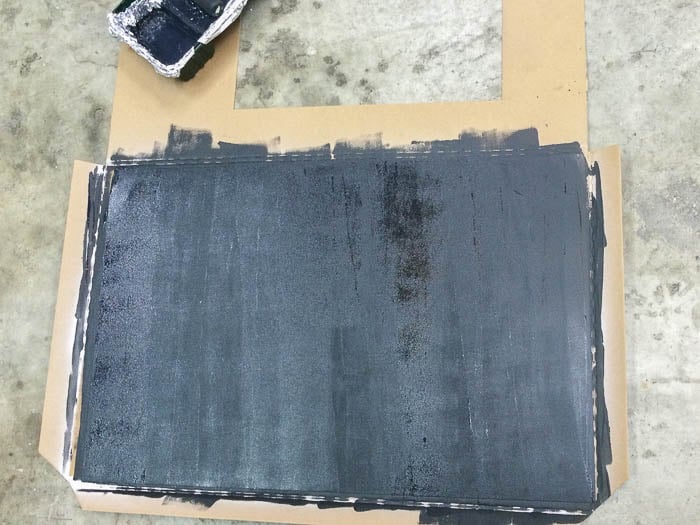
I needed about 3 coats of paint to get even coverage.
You can also use chalkboard spray paint if you like.
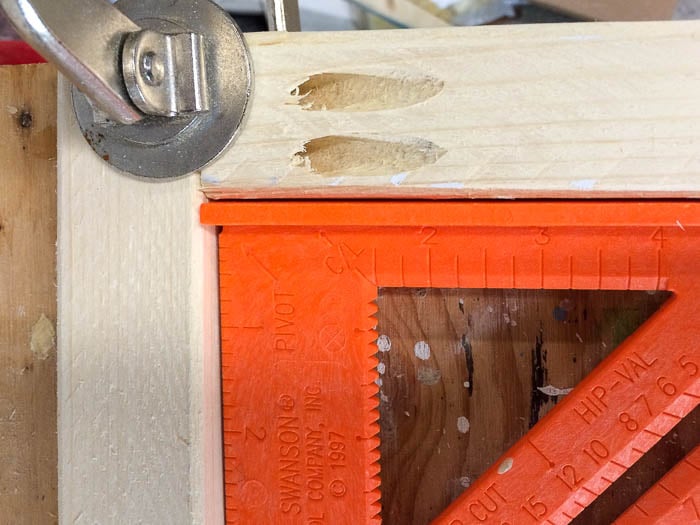
Step 3 – Prep the lumber
Cut the furring strips and make the pocket holes using the Kreg Jig on both ends of the long sides.
Step 4 – Build bottom lip
On the bottom strip, attach the 20″ shelf using wood glue and finish nails or countersink screws from the back.

Step 5 – Build the frame
Build the frame using 1-1/4″ pocket hole screws and wood glue. Make sure everything is square.
Be sure to have the pocket holes on the back of the frame!
Stain or paint the frame. I used Minwax tintable stain in “Spice” that I had from a previous project.
Step 6 – Attach the metal sheet
Use liquid nails to glue the frame and the magnetic chalkboard together.
I put some of my bazillion books to good use.
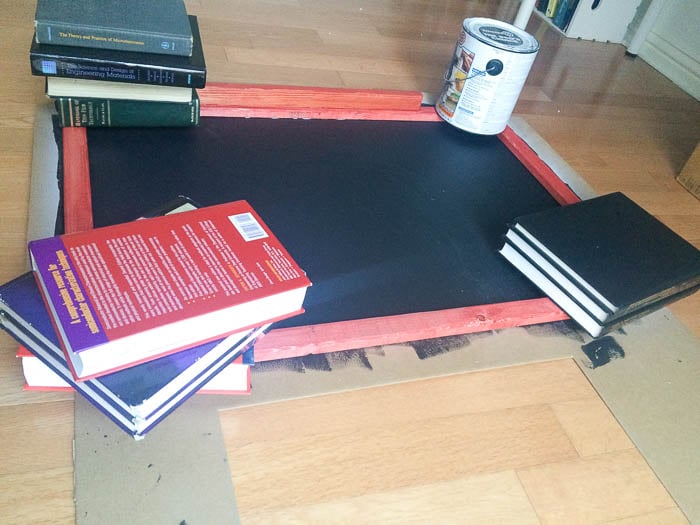
24 hours later we have the fun magnetic chalkboard ready!
Step 7 – Mount it on the wall.
I used d-rings, picture wire on the chalkboard and monkey hooks on the wall.
I added some heavy-duty command strips to the bottom so the kids don’t pull it forward.
That is it!
This magnetic chalkboard has been the center of so much fun for the kids and playdates in the last couple of weeks that it has been on the wall!
If you build it, I would love to see it! Feel free to email photos to me at [email protected] or tag me on Instagram @anikasdiylife for a chance to be featured on social media! I can’t wait to see what you build!
More Like DIY Magnetic Chalkboard
Anika's goal is to inspire and empower beginners with woodworking, DIY, home improvement, and home decor ideas.
She wants everyone to unlock their creative potential and experience the feeling that comes with making something. Nothing feels better better than seeing something and saying "I can make that!"


Anika, I love this magnetic chalk board. How creative!! Are you selling these on your etsy store yet? Thanks much, and keep the posts coming! I love reading them.
Niki
Thanks Niki! Was not thinking of selling it… but will give it some thought 🙂
Thank you Deanna! Let me know how it turns out if you make one. 🙂
Just shared my daughter’s art birthday party in the new link party.
Anika, this is a great project! I’m sure your kids will get hours of fun use from it and entertain them while you build and create more awesomeness!
I’ve been trying to decide what to use on a big piece of glass I have to make part of it magnetic and sheet metal might be my answer ????
Oh my gosh! I love this. I have always wanted to have a magnetic chalkboard and for this step by step DIY, I can get what I want.
Oh Anika..this is just the cutest thing! I bet your kids love it. You make the most darling things. Stumbling and pinning, of course. Susie from The Chelsea Project