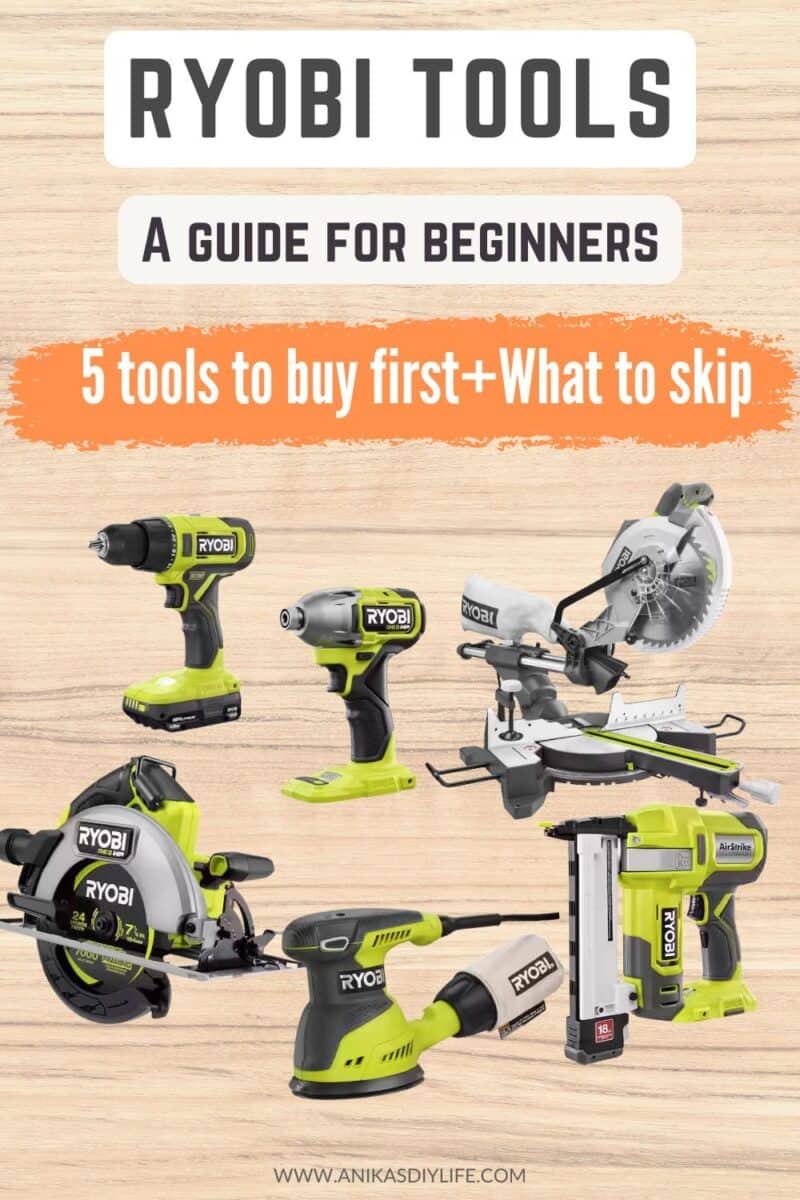
5 Best RYOBI tools for beginners (And the Exact Order to Buy Them)
Stop wasting money on massive toolkits. Here is the ultimate step-by-step RYOBI tool starter setup for beginner DIYers, tested over 15 years.
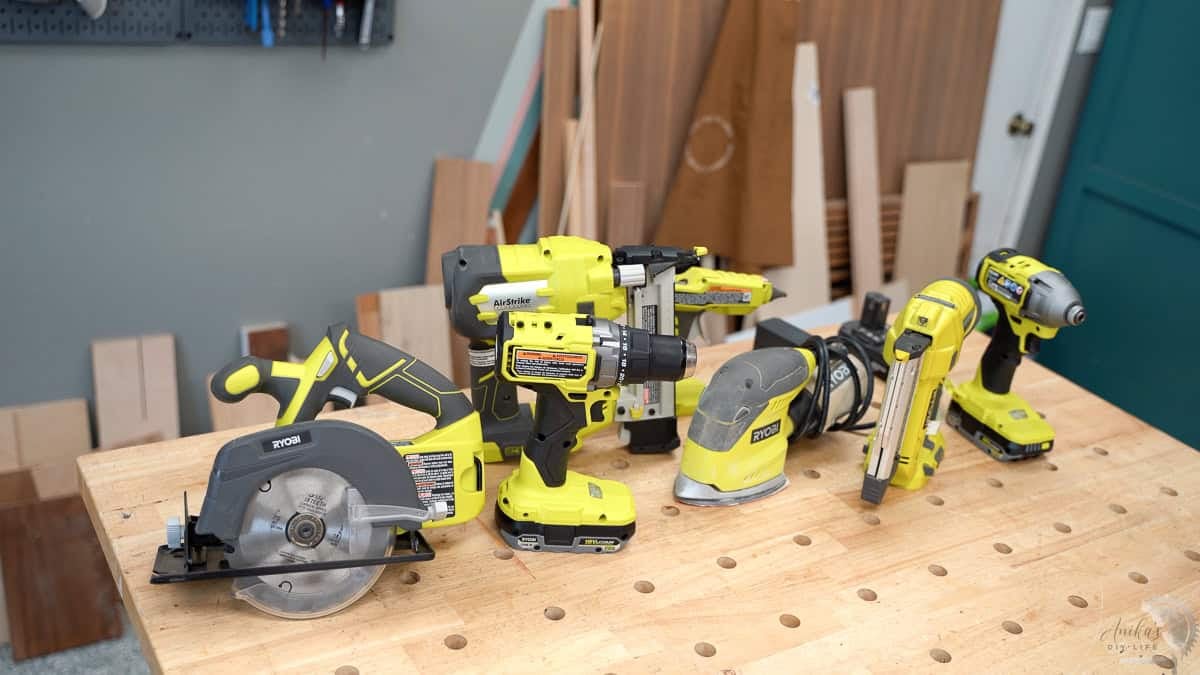
That wall of green in Home Depot is a lot! Finding the best RYOBI tools for beginners gets confusing when $59 drills sit right next to $159 options, combo kits, and technical jargon. Most people freeze or grab the biggest kit on sale and hope for the best.
I started woodworking about 15 years ago with a RYOBI miter saw – back when RYOBI tools were dark blue. I have bought, used, and worn out a lot of their tools since then. And I still have several of them in my workshop today.
If I were starting over, here is the exact roadmap I would follow to buy RYOBI tools as a beginner.
Note: This guide is RYOBI-specific. If you are still figuring out which tools you need in the first place, start with my guide to the tools every beginner woodworker needs, then come back here to decide what to actually buy.
Table of Contents
***This post contains referral or affiliate links. It is a way for this site to earn advertising fees by advertising or linking to certain products and/or services. Please read my full disclosure here ***
Quick note before we get into it: RYOBI did not sponsor this post and has no say in what I recommend. I bought these tools myself, and a few of the links below are affiliate links, so I earn a small commission if you buy through them.
Quick Guide: Beginner RYOBI Starter Setup
The full setup listed below can run between $800 and $1000. See the full list below.
|
Tools |
Recommended Format |
HP Brushless needed? |
Ideal Battery Size |
Where to buy |
|---|---|---|---|---|
|
Drill and Impact driver |
Starter Kit (tool+battery+charger) |
Yes |
2 Ah |
|
|
Miter Saw |
Corded (Standard plug-in) |
N/A (Plug-in) |
N/A |
|
|
Circular Saw |
Bare Tool or Corded |
Yes (highly recommended) |
4Ah or higher |
|
|
Random Orbital Sander |
Corded. |
Yes for cordless version |
2Ah or 4 Ah |
|
|
Airstrike Brad Nailer |
Bare Tool |
No |
2 Ah |
|
|
Jig Saw |
Bare Tool |
Yes (recommended) |
4Ah or higher |
RYOBI Batteries and Tech
Before buying your first tool, understanding how RYOBI’s battery platform and motor choices work will save you hundreds of dollars.
- The 18V ONE+ System: Focus exclusively on the 18V ONE+ line for woodworking. RYOBI introduced ONE+ in 1996, and today’s batteries still fit those original tools. Do not buy 40V batteries for woodworking. It is a separate system strictly for outdoor lawn equipment. Their USB Lithium system is for small hobby tools.
- Kits vs. Bare Tools: Buy a kit (tool, battery, and charger) for your very first cordless tool. After that, buy “bare tools” (tool only) to save money. But keep an eye out for deals because sometimes you can get extra batteries almost free.
Math Rule: If a kit costs more than the bare tool plus an individual battery, and you don’t need more batteries, buy the bare tool. - Amp-Hours (Ah): Ah measures battery fuel tank capacity, not motor power. A higher number means it is holding more energy, and that means longer runtime. But it also means a heavier battery. A 2Ah battery keeps drills light in your hand, while a 4Ah battery provides the runtime required for high-demand saws.
- HP Brushless vs. Standard: Brushless motors run cooler, deliver more torque under load, and last longer because they lack carbon brushes to wear down. Pay extra for HP Brushless on tools that run continuously (saws, drills) and stick to standard brushed motors on tools that fire in short bursts (nailers).
The 5 RYOBI Tools I Would Buy First, In Order
1. Drill and Impact Driver
You can technically start with just a drill, and I did for years. But RYOBI runs so many promotions on these kits that if the price gap is small, take both. Once you are drilling a pilot hole and driving a screw a hundred times over, having one tool set up for each job saves you from swapping bits all afternoon.
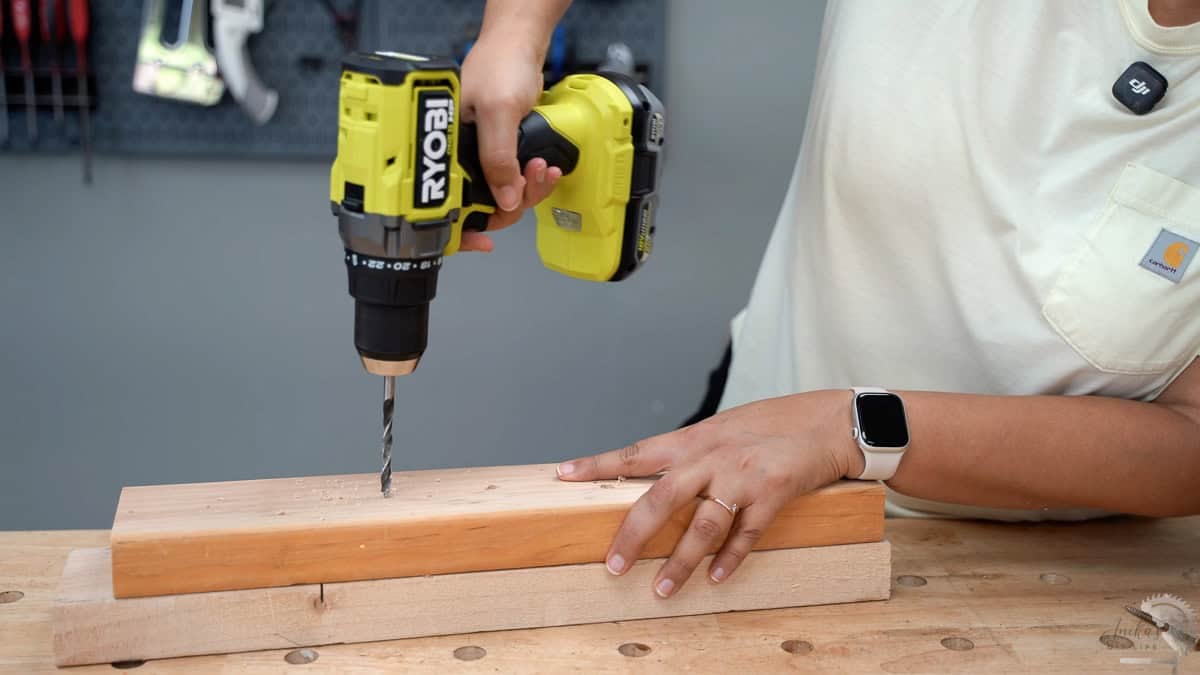
This is the one place I would not skip brushless. My first RYOBI drill was a brushed one from a giveaway kit, and it felt big and heavy in my hand. I would not buy that version again.
Buy this one as a kit, since it is your first cordless purchase and you need the battery and charger anyway.
Learn more about how to use a drill.
My recommendation: RYOBI 18V ONE+ HP Brushless Drill and Impact Driver Kit
2. 10″ Sliding Compound Miter saw
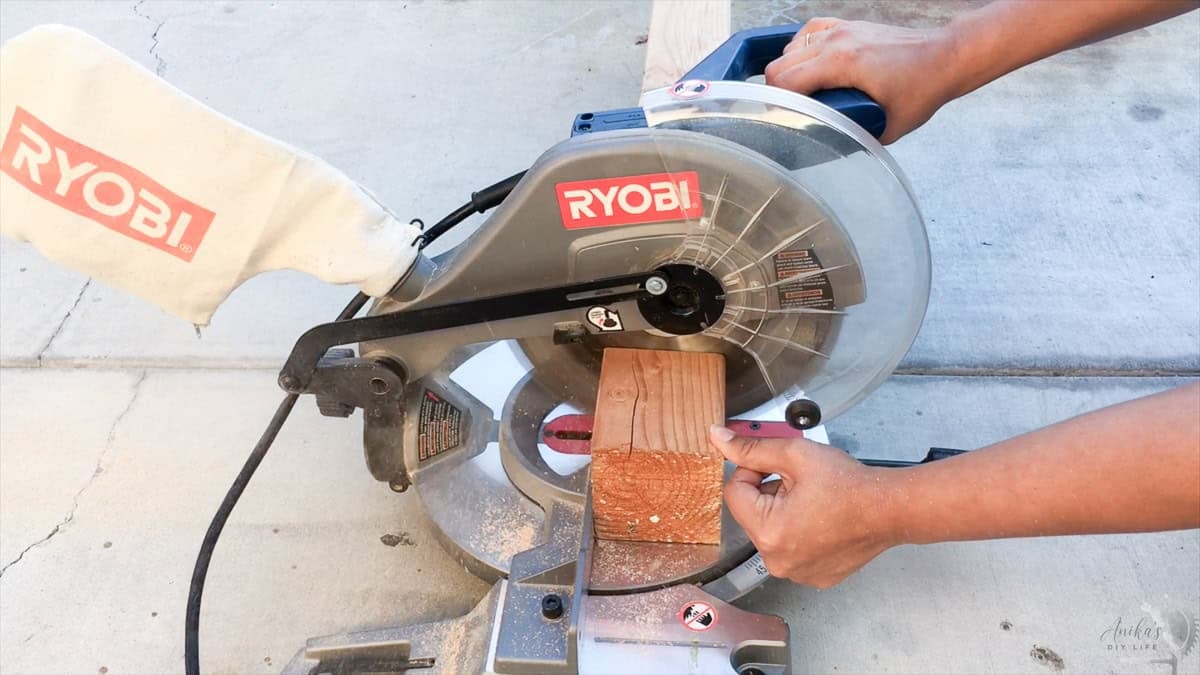
Most beginner projects use 1x2s, 1x4s, 1x6s and 2x4s, and those cuts on a miter saw are about as simple as it gets.
Save money by choosing a corded model, since a miter saw sits stationary near an outlet.
My first tool 15 years ago was an 8″ blue RYOBI non-slider; I used it for 5 years until topping out at 6″ board widths, then upgraded to a RYOBI 10″ sliding miter saw that served me for years. Neither ever failed. I simply outgrew their width capacity.
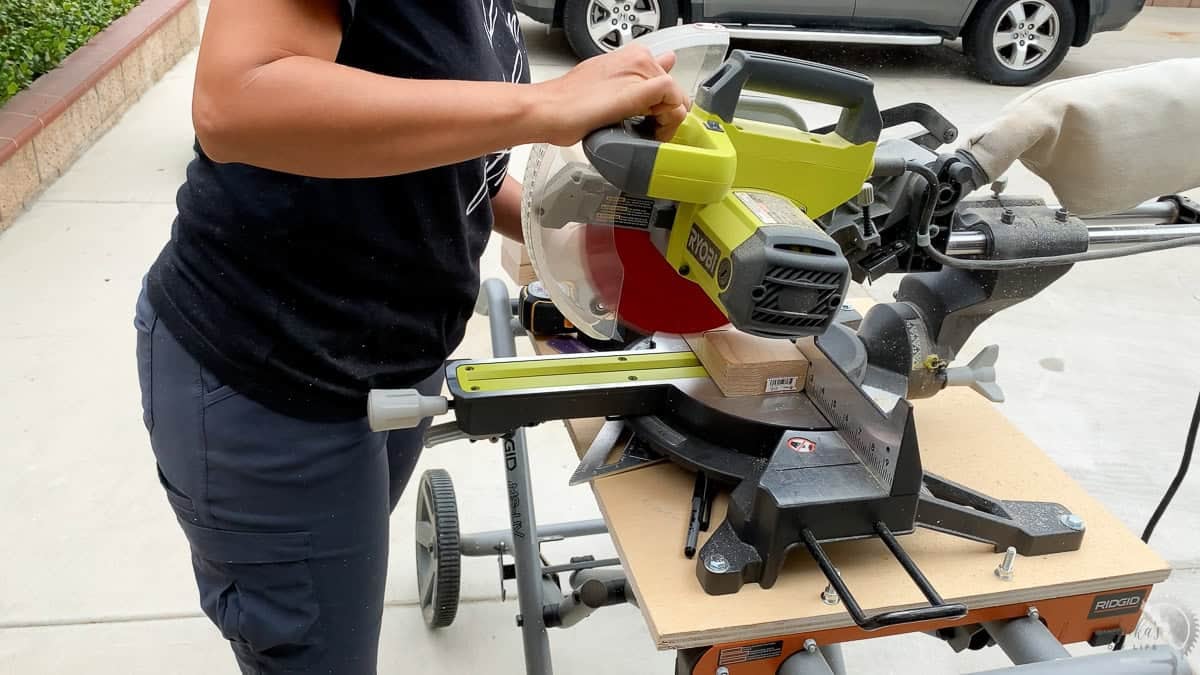
Learn about how to use a miter saw.
My recommendation: RYOBI 10″ Sliding Compound Miter Saw
3. 7 1/4″ HP Brushless Circular Saw
A circular saw helps you break down plywood, which opens up cabinets, bookcases, desks, storage projects, and larger furniture. I used a RYOBI circular saw for a long time to cut down my sheets of plywood. If you are building solo, here is how I cut full plywood sheets by myself with a straight edge and supports.
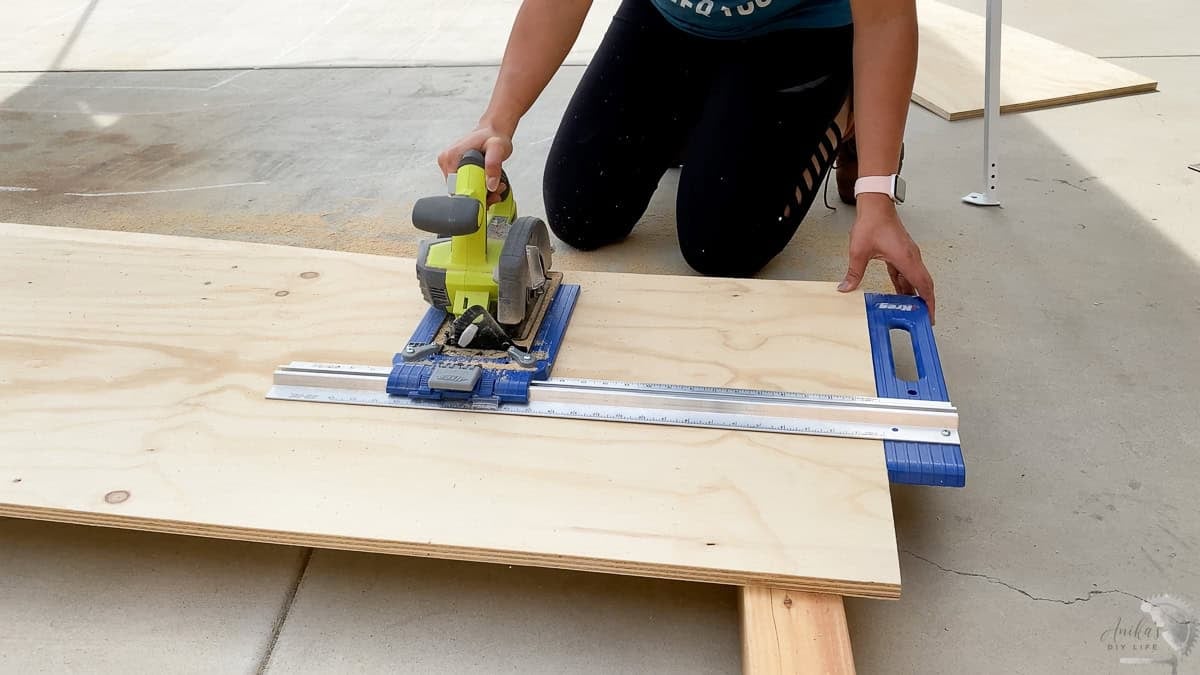
This is the tool I would pay for HP Brushless. A circular saw works continuously through the entire cut, and I want it to hold blade speed the whole way. It is also where that 4Ah battery earns its keep. See how to use a circular saw.
My Recommendation: RYOBI 18V ONE+ HP Brushless 7-1/4 in. Circular Saw
4. 5″ Random Orbit Sander
Sanding is extremely important to get a professional finish on the projects.
Skip detail, sheet, or belt sanders. I own a corner detail sander that has sat untouched in my shop for nearly 9 years.
Start with one 5″ random orbit sander. Buy it corded because you should connect your sander to a shop vacuum for dust extraction anyway, making a cordless battery unnecessary weight.
Learn to actually use it, working through your grits and figuring out how much pressure to apply to get a good finish. Check out my wood sanding guide for beginners to master grit progressions
My recommendation: Corded RYOBI 5 in. Random Orbit Sander
5. AirStrike Brad Nailer
A brad nailer holds pieces together while glue dries, attaches trim and backs, etc. The AirStrike technology uses the ONE+ battery to compress air internally, so there is no compressor to buy and no hose to drag around your shop.
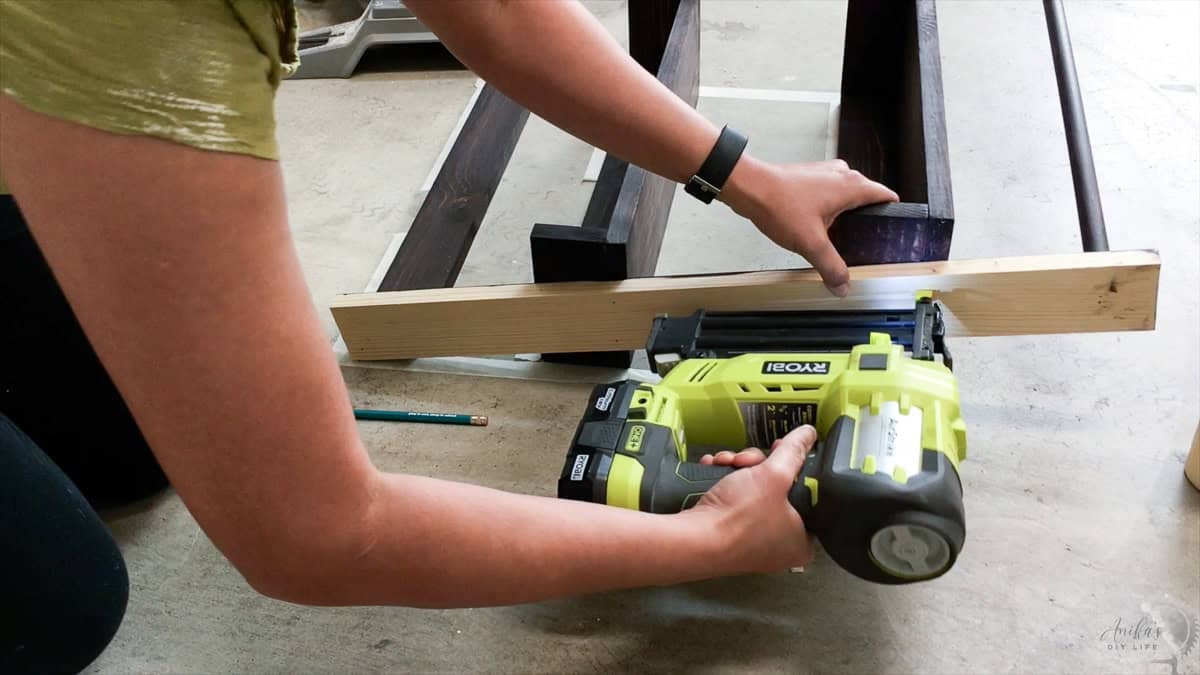
Skip the extra cost of brushless here, as nailers fire in quick bursts. I bought my RYOBI AirStrike in 2017 and ran it hard for 8 years before it finally quit. (My RYOBI staple gun, pin nailer, and hot glue gun are all still going strong!).
Read my guide on the types of nail guns and how to use a Brad nailer safely.
My recommendation: RYOBI 18V ONE+ AirStrike 18-Gauge Brad Nailer
Free Download: Get the Essential Tools List – a guide to getting started with confidence. It includes everything you need to get started on your first project, including brand recommendations and shopping lists.
Bonus 6th tool: HP Brushless Jigsaw
While the first five tools cut strictly straight lines, a jigsaw allows you to cut curves, shapes, and custom cutouts.
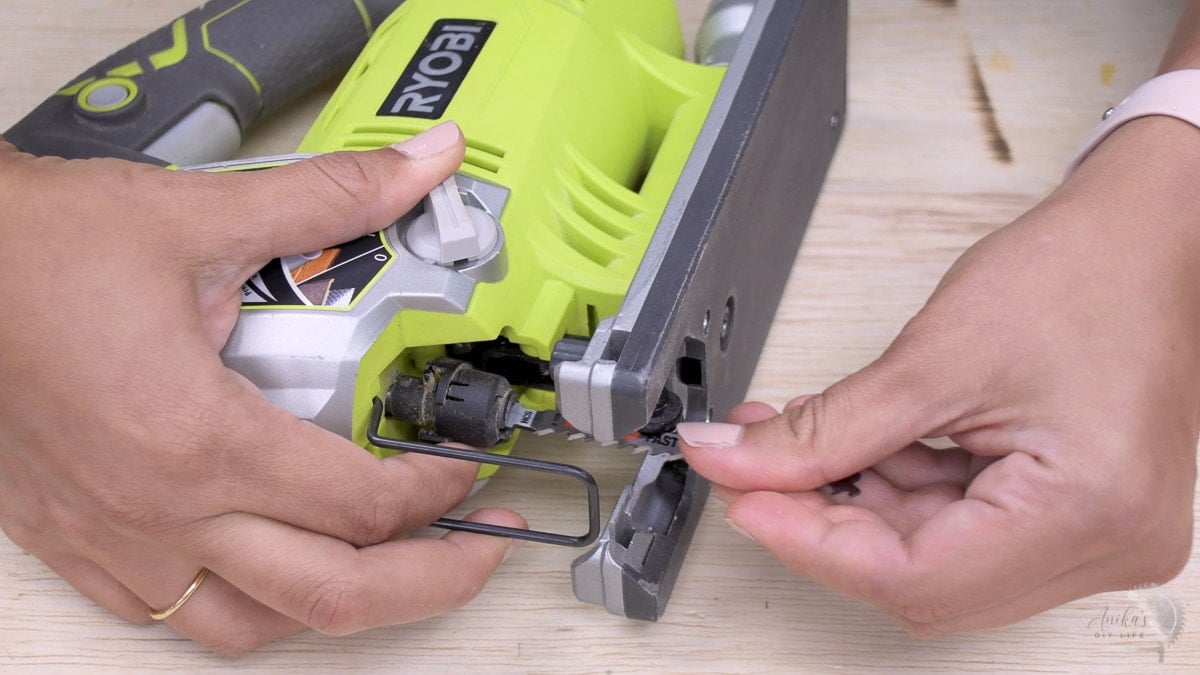
This one I would buy cordless. I used a corded RYOBI jigsaw for years, and it worked great, but when you are following a curve, you are constantly turning the tool, and the cord ends up fighting you. Take a look at my beginner’s guide to a jigsaw.
My recommendation: RYOBI 18V ONE+ HP Brushless Jig Saw
What to Skip (And Kit Traps to Avoid)
The Combo Kit Trap
A 6-tool kit for $200 looks tempting, but only count the tools you will actually use.
Years ago, I won a RYOBI giveaway kit with a drill, circular saw, reciprocating saw, and flashlight (plus a couple of batteries and a charger). The drill got used, the circular saw got a lot of action, while the reciprocating saw has sat on my shelf unused for 5 years because demolition tools aren’t built for furniture making. So in the end, only 2 of the 4 tools got used. I would have rather bought them separately and saved money.
Kits can sometimes be a very good deal. Run the numbers on the tools you actually want and ignore the rest of the box before making the decision.
Table Saws
Don’t buy a table saw just because you think “real” woodworkers need one. I bought an entry-level RYOBI table saw years ago and returned it because it felt flimsy to me. That was an older model, and their lineup has changed since then, so I am not going to tell you that every RYOBI table saw is bad based on one saw.
But what I am going to tell you is to build with a miter saw and a circular saw first until your project demands force an upgrade.
Routers
Routers are great for edge profiles and grooves, but hold off on them initially. I used a RYOBI router for 4–5 years on light work, and it worked well. While the collet eventually began sticking on heavy hardwoods, their router bits remain a staple in my shop today. When you are ready, here are my recommendations:
My recommendation: RYOBI 18V ONE+ HP Brushless Compact Router
My recommendation: RYOBI Router Bit Set
See more about how to use a router
See my guide to router bits
Specialty Sanders
Avoid buying detail, sheet, or belt sanders early on. A single random orbital sander covers 95% of DIY woodworking needs.
Are RYOBI Tools Actually Worth It?
After 15 years of woodworking, almost none of my RYOBI tools were replaced because they broke. I replaced them because my skills evolved and I required higher capacity, tighter precision, or specialized features.
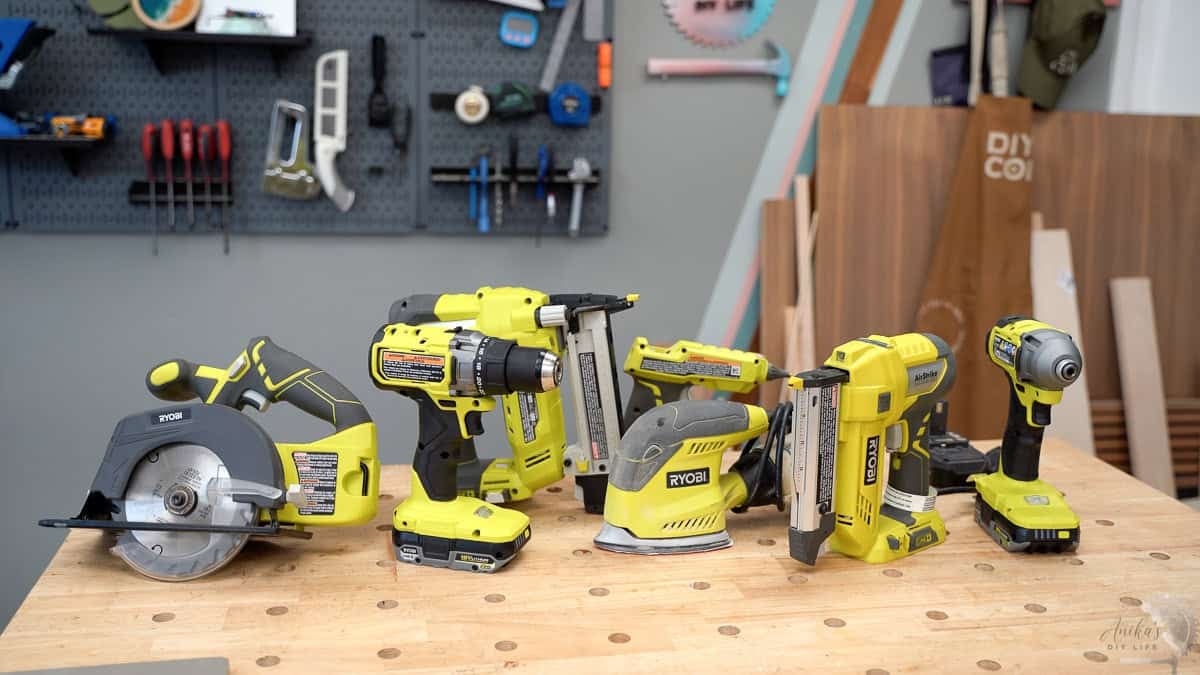
RYOBI tools let you setup a functional workshop at a fraction of the cost, so you can build real furniture like benches, tables, shelving, and cabinets this weekend rather than saving for months for a single “professional” brand tool.
Build a few things. Notice which tools you reach for constantly and which ones collect dust. Notice what your current tools stop you from doing.
Then, when you upgrade, you will know exactly why, instead of spending hundreds of dollars today because someone on the internet told you the “professional” version was the real one.
You will be upgrading because you have the experience to know what you need.
Owning more tools does not make you a better woodworker. Using them does.
And if you want to learn how to build and get those tools off the shelf, check out my program, The Fearless Woodworker, where you get the support you need to start building and learning skills with confidence.
Frequently Asked Questions
Are RYOBI tools good enough to build real furniture?
Yes. I have built benches, tables, shelving, and cabinets with RYOBI tools, and the limit you eventually hit is capacity and precision, not whether the tool can do the job. A beginner building a nightstand is nowhere near that limit.
Should I buy RYOBI or spend more on a premium brand?
If you are new and not sure yet what you like building, RYOBI lets you get three or four tools for what one premium tool costs. Getting more of your shop covered matters far more early on than owning one very good drill and nothing to cut with.
Where do I buy RYOBI tools?
Home Depot, in store and online. RYOBI is sold exclusively through Home Depot in the US, so you will not find them at other big box retailers.
How much does a beginner RYOBI setup cost?
Expect roughly $800 to $1000 for all five tools, depending on how many you catch on sale. The drill and impact driver kit is your biggest single purchase because it includes the battery and charger. After that, buying bare tools keeps each addition cheaper. You do not need to buy all five at once, and most people spread it over several months as projects demand them.
How many batteries do I actually need?
Three is the sweet spot to start. Your first kit comes with one or two 2Ah batteries. Add another 2Ah battery, so you have a spare to charge while you work. Add a 4Ah battery when you buy the circular saw, so you have runtime for longer cuts.
You might also like:


Anika's goal is to inspire and empower beginners with woodworking, DIY, home improvement, and home decor ideas.
She wants everyone to unlock their creative potential and experience the feeling that comes with making something. Nothing feels better better than seeing something and saying "I can make that!"