How to Use a Stop Block on a Miter Saw for Perfect Repeatable Cuts
Learn how to make accurate, repeatable cuts on your miter saw using a simple stop block setup and a temporary extended fence for longer boards.
Have you ever finished assembling a table frame or box, only to discover it turns out wobbly, crooked, or slightly out of square? You measured carefully, marked your lines, and made your cuts. So what went wrong?
When beginners need to cut four identical pieces, they usually fall into one of two traps:
Re-measuring every single time
Every single time you pull out your tape measure and bend down to look at those tiny tick marks, human error sneaks in.
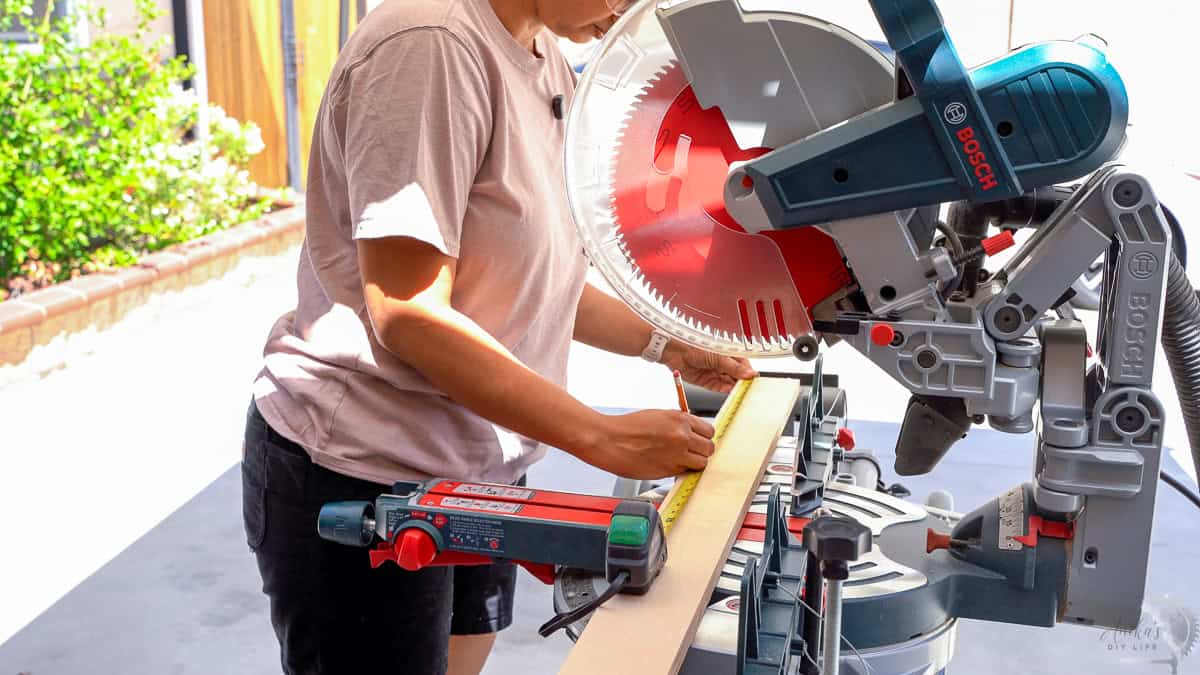
Your eye might look at the tape from a slightly different angle this time, or your pencil mark might sit a hair to the left. A 1/32″ mistake on board one and a 1/16″ mistake on board two means your project is already out of alignment.
Tracing your first cut piece onto the next board
This feels like a smart shortcut. You cut one piece, lay it on top of the next raw board, and trace the edge with your pencil.
Don’t do this! Woodworkers call this a “compounding error” or “stacking error.”
If your first board is a tiny fraction off, and your pencil lead adds another fraction of thickness when you trace it, your second board is even wider.
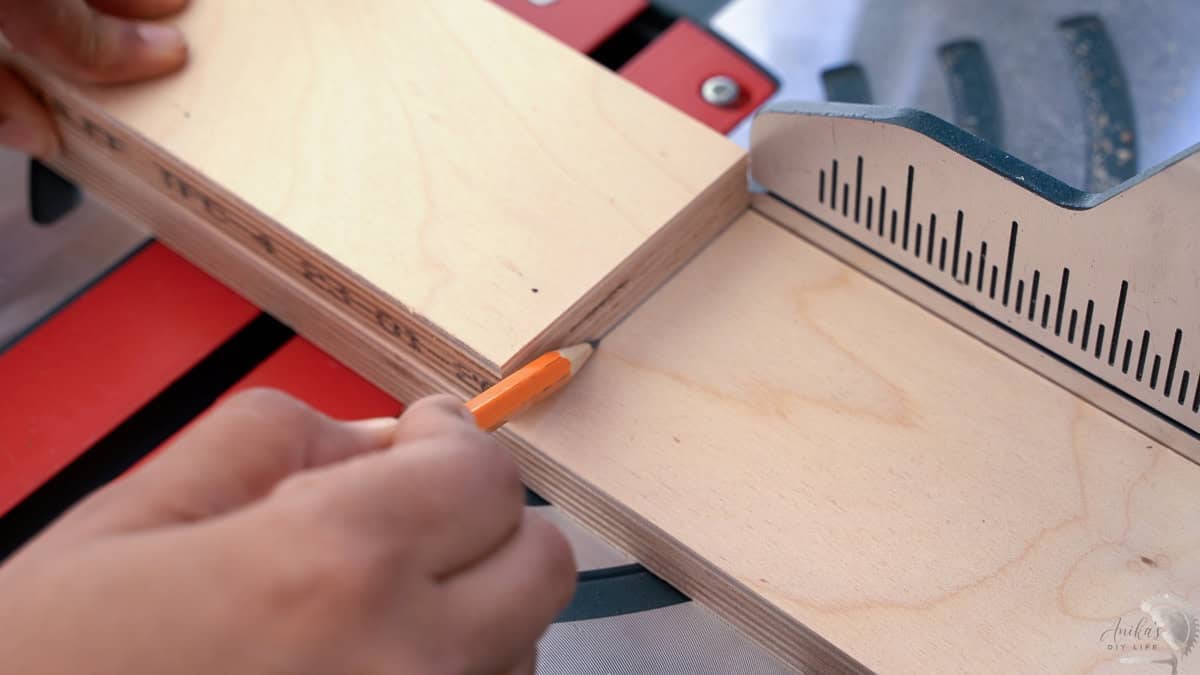
By the time you trace and cut your fourth piece, it will be a completely different length than the first one. It’s basically a game of “woodworking telephone”.
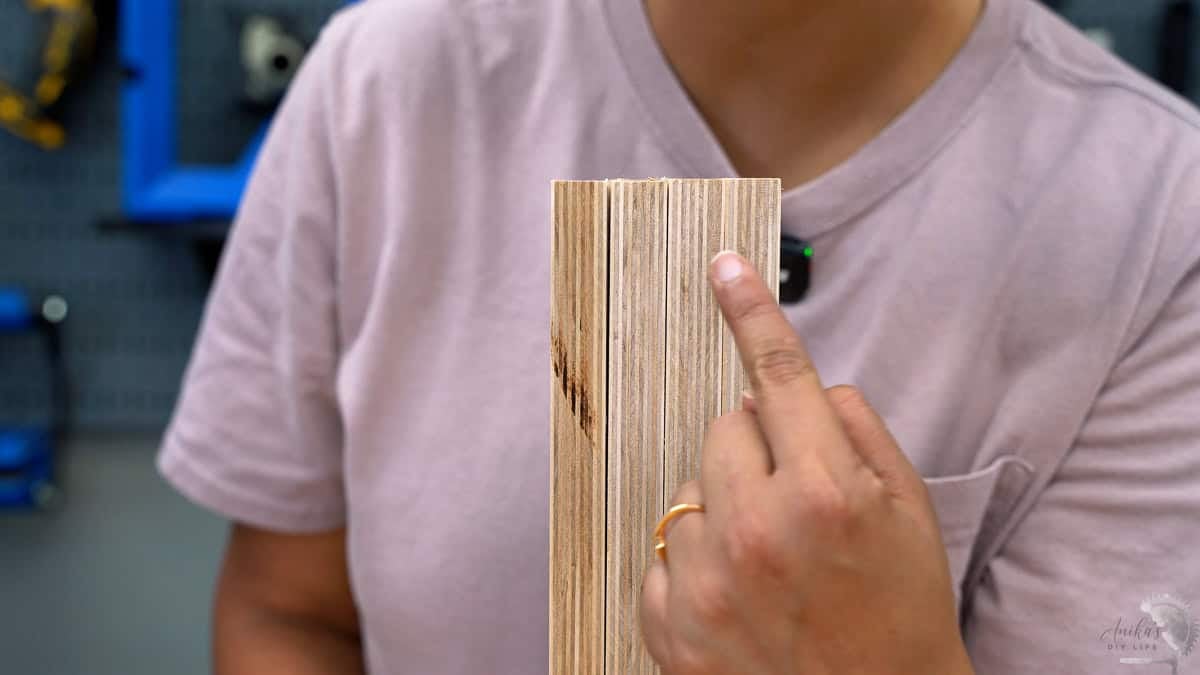
The Fix
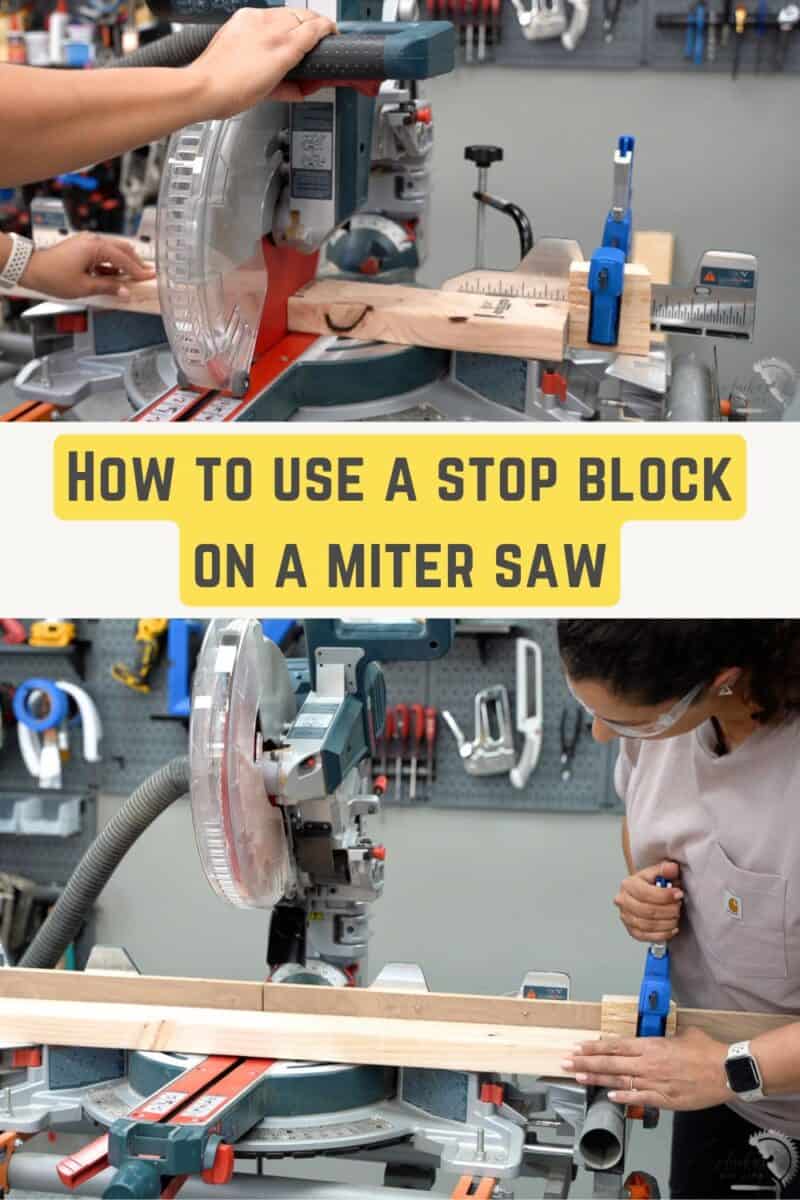
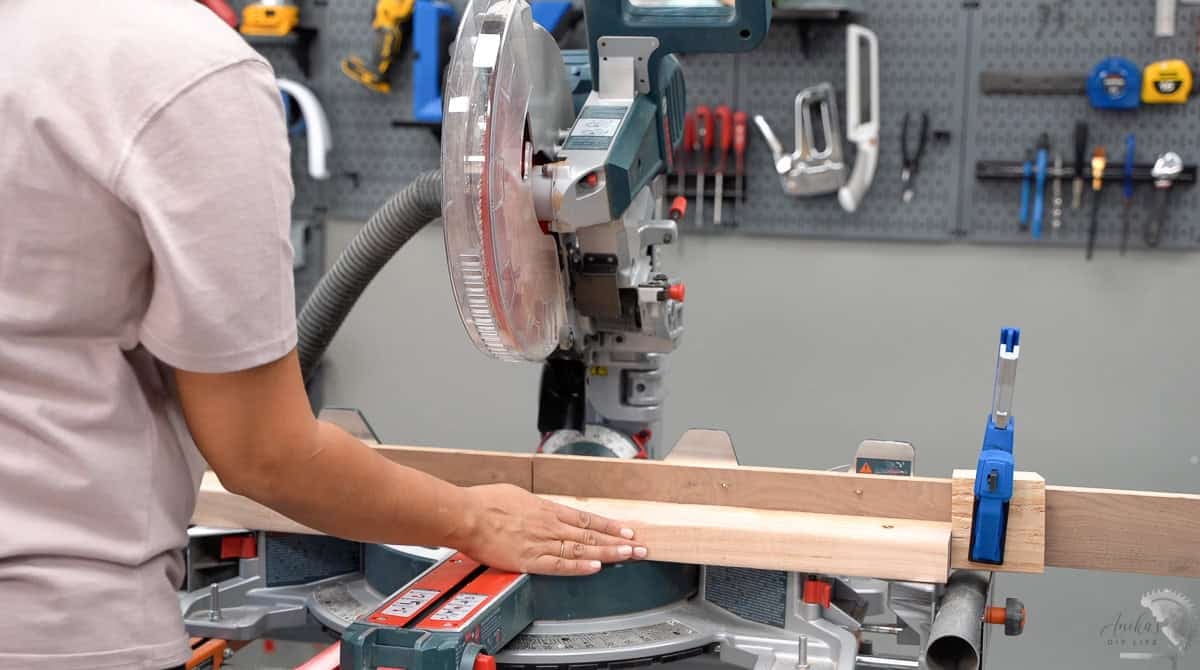
Stop measuring every piece individually! Instead, use a stop block so every single board hits the exact same physical stop.
Watch the video
If you are a visual learner, I have a detailed video walking you through exactly why you get the inconsistencies in the cuts and how to set up the stop block.
Method 1: Setting up a Stop Block for Short Cuts
If the length of the board you are cutting is shorter than your miter saw’s standard factory fence, setting up a stop block takes less than two minutes.
Step 1: Measure and Align the First Cut
- Measure your target length on your board (for example, 12 inches) and draw a straight cut line across using a speed square.
- Lower your saw blade (with the motor off!) and carefully align the saw blade teeth with your mark, making sure to account for the blade kerf. Learn about what is Kerf and how to account for it.
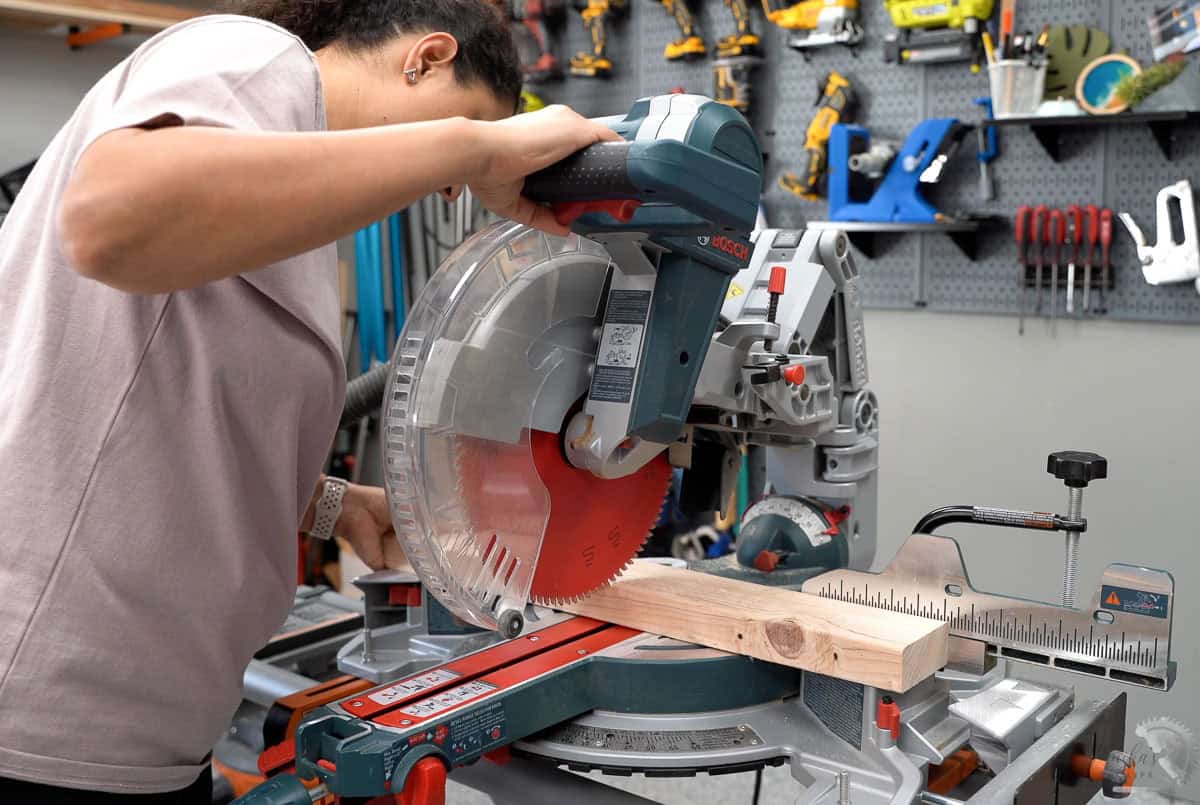
Step 2: Lock the Board and Position the Stop Block
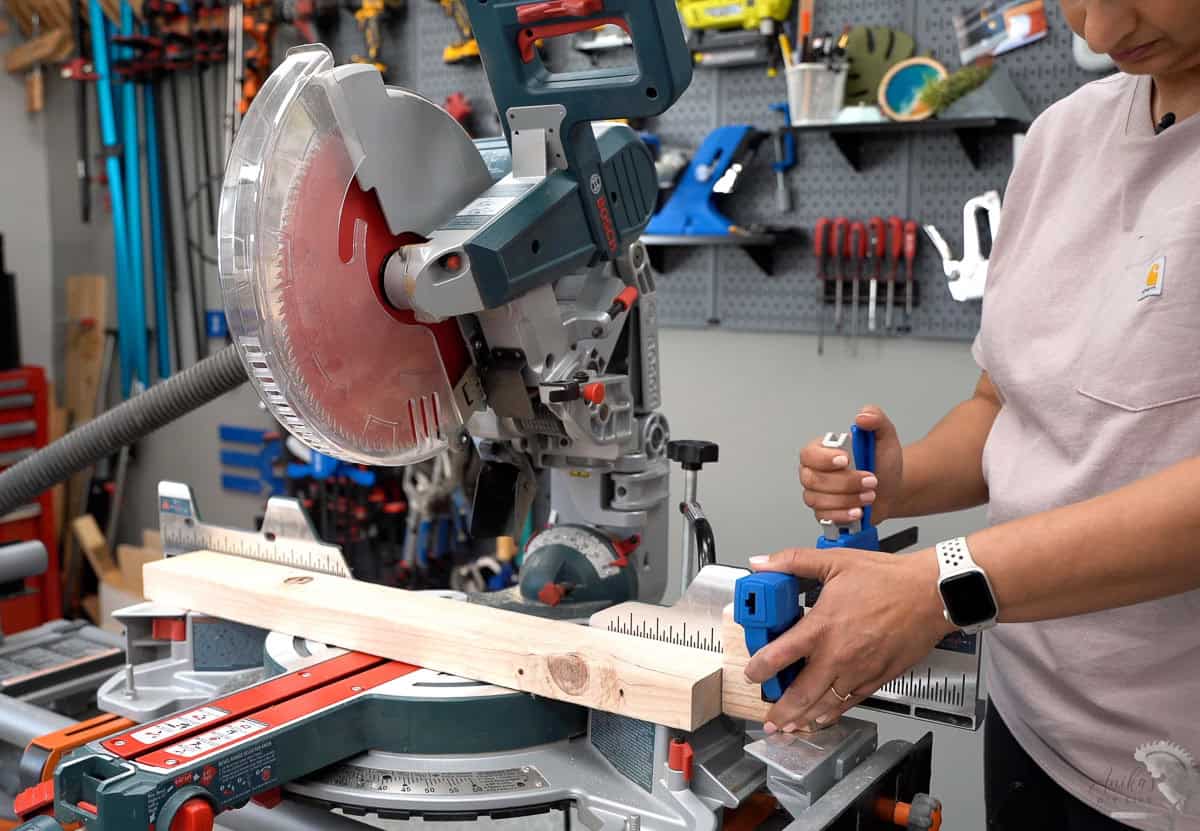
- Hold the aligned board completely still against the fence. Do not let it shift even a millimeter.
- Take a piece of flat scrap wood with a clean, square 90-degree end, and place it flush against the end of your target board.
Step 3: Clamp It Down
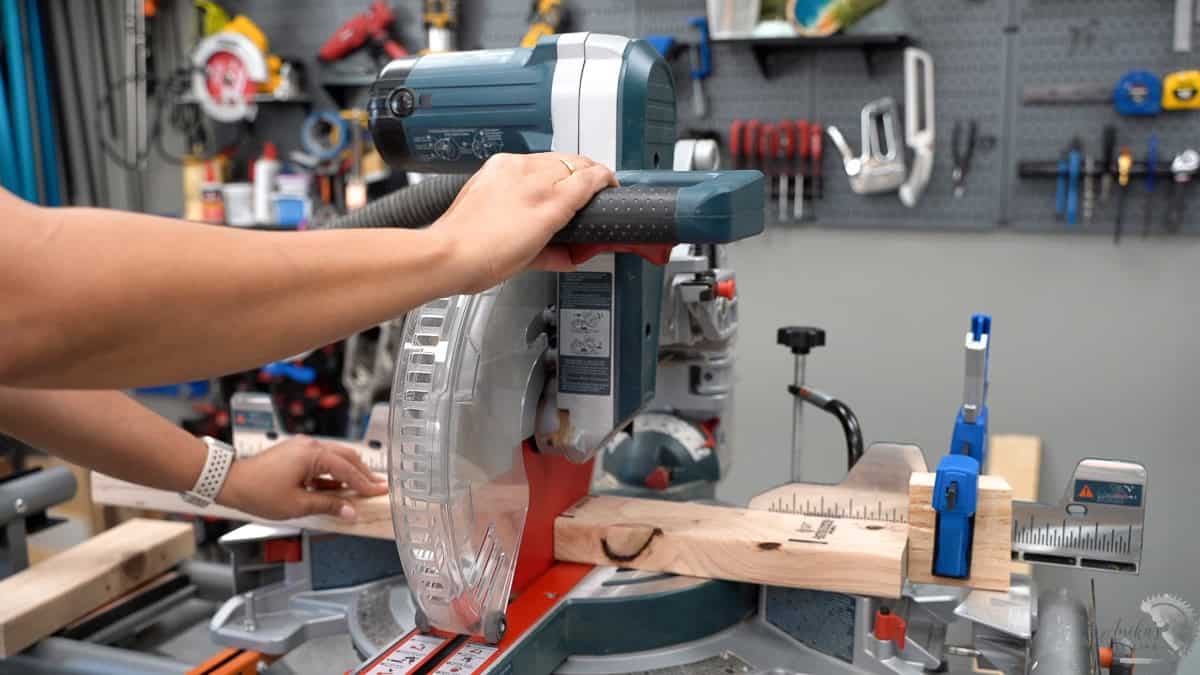
- Firmly clamp the scrap block to your saw’s fence using an F-style clamp, C-clamp, or your saw’s built-in clamp.
- Re-check your alignment against the blade teeth to ensure clamping didn’t shift the block.
- Make your first cut. Now, simply slide your stock up against the stop block for every subsequent piece to make batch cutting identical pieces effortless!
Ready to Stop Watching and Start Building?
Learning tips from articles and videos is great, but you cannot watch or read your way into confidence. The only way to stop being intimidated by power tools is to put a tool in your hand and get some sawdust on your floor!
If you want structured, step-by-step guidance without the fear of getting stuck, check out The Fearless Woodworker Program! It is a hands-on, project-based course designed to take you from intimidated beginner to confident builder – complete with a 24/7 community group and live monthly Q&A calls.
Method 2: Building a Temporary Extended Fence for Long Cuts
What if you need to make repeated cuts that are longer than your saw’s built-in fence (e.g., 16″ or longer)?
You do not need an expensive built-in workshop miter station. You can easily build a temporary extended fence right on your portable saw.
Step 1: Choose the Right Material
Select a very flat, straight piece of material. 3/4“ plywood works best because manufactured plywood is typically flatter and less prone to warping than standard dimensional lumber.
Step 2: Span the Fence Completely
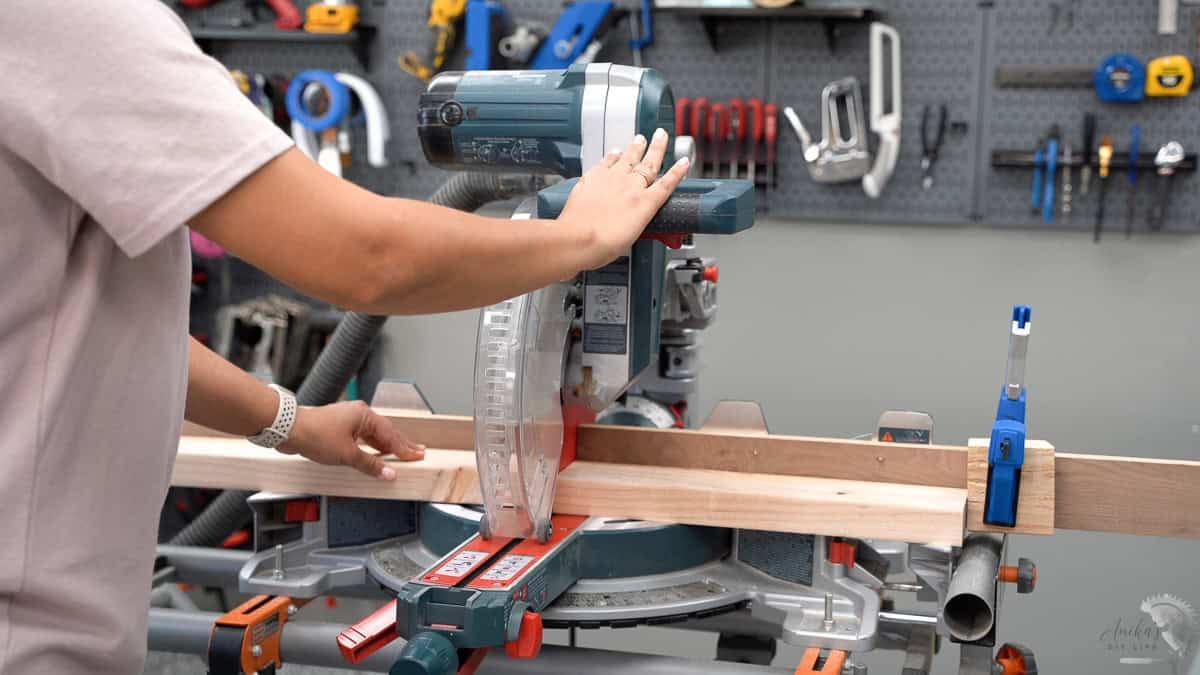
Your extended fence board needs to extend out far enough on one side to reach your desired stop block distance, and extend across to the end of the factory fence on the opposite side.
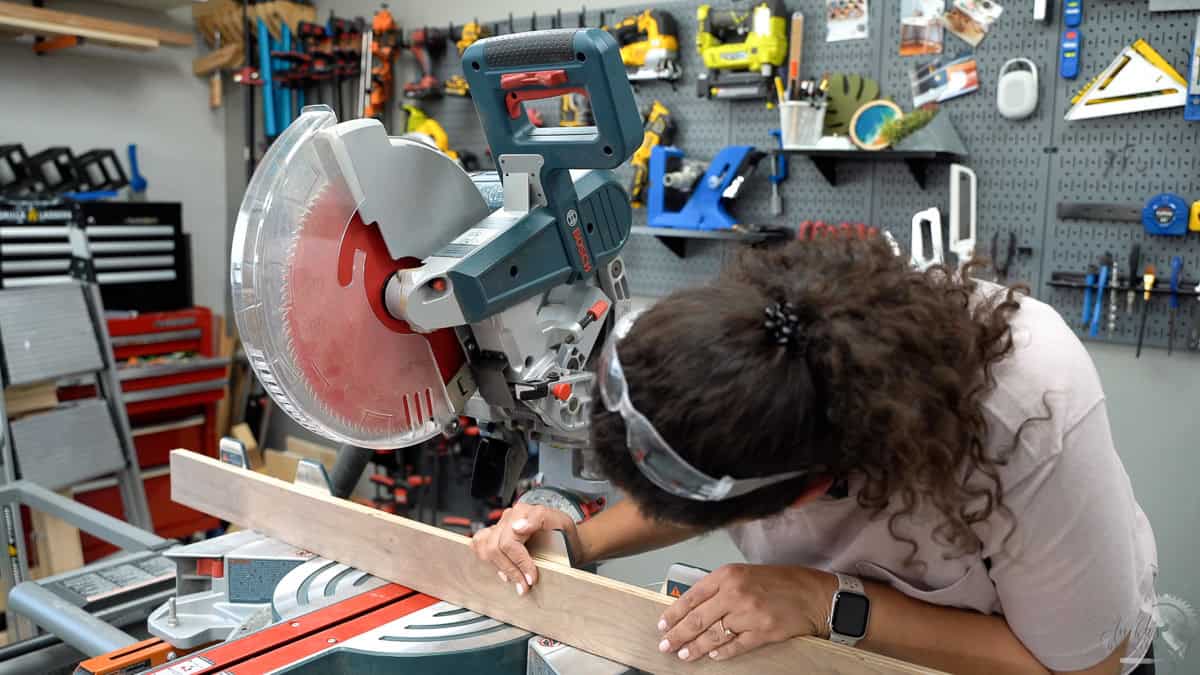
Why? You need a continuous, straight support surface to hold your board flush on both sides of the blade while cutting
Step 3: Attach the Fence
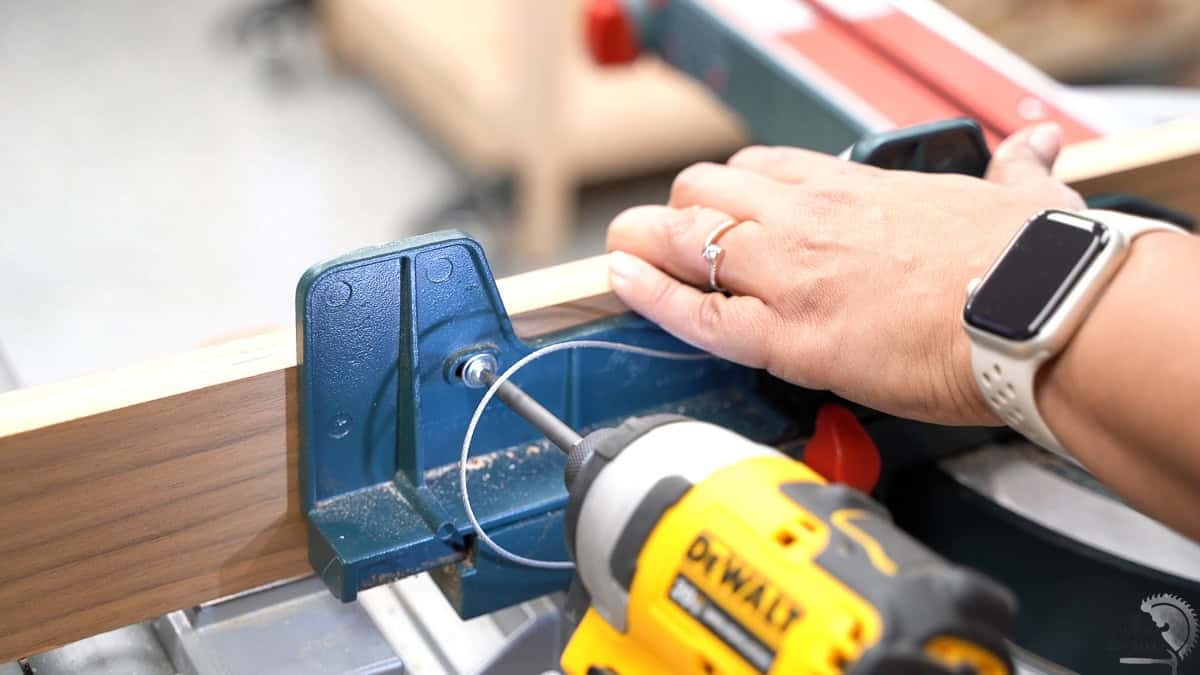
- Locate the factory mounting holes on the back of your miter saw fence.
- Secure your extended plywood board from behind using wood screws (e.g., 1-1/4″ screws). Make sure that the board is snug and flat against the factory metal fence.
4. Cut the Blade Path & Set the Stop
- Turn on the saw and make a pass through the plywood fence to create a clean kerf line.
- Trim the rough edge off your stock board first (you can even use this trimmed piece as your new stop block!).
- Measure your target long cut (e.g., 16″) from the kerf line, align your board, clamp your stop block to the extended plywood fence
- Make the cuts!
⚠️ Importantsafety Tip for Batch Cutting
When making multiple cuts using a stop block, always let the saw blade come to a complete stop before lifting the blade handle.
If you pull the blade up while it is still spinning, the teeth can catch the trapped offcut between the blade and the stop block, launching the wood directly toward you at high speed.
Using a stop block is one of the easiest ways to stop guessing and make identical cuts, but it is only one piece of the precision puzzle.
If you want to dial in your cuts even further and get super accurate results every single time you pull the trigger, check out my guide on 8 Things You Can Do to Get the Best Accurate Miter Saw Cuts.
***This post contains referral or affiliate links. It is a way for this site to earn advertising fees by advertising or linking to certain products and/or services. Please read my full disclosure here ***
Tools Shown:
You might also like:



Anika's goal is to inspire and empower beginners with woodworking, DIY, home improvement, and home decor ideas.
She wants everyone to unlock their creative potential and experience the feeling that comes with making something. Nothing feels better better than seeing something and saying "I can make that!"