7 Must-Know Tips for Working With Plywood (Before You Cut!)
If you are planning to build a project using plywood, these 7 things about working with plywood will save you a lot of time and money.
Plywood is one of my favorite materials to build with. It is affordable, it comes in big sheets, and you can build real furniture with it without needing a shop full of tools.
It can also be frustrating if you do not know a few things going into the build. The wrong sheet, one bad saw blade, or one aggressive sanding pass can turn an $80 sheet into scrap wood.
None of that is hard to avoid. It just comes down to knowing plywood’s quirks before you cut into it, instead of after.
I have been building with plywood for years, and these seven things are what separate a project that looks store-bought from one that looks homemade. Here is what to know before your next build.
***This post contains referral or affiliate links. It is a way for this site to earn advertising fees by advertising or linking to certain products and/or services. Please read my full disclosure here ***
Full Video
Prefer to watch? Here is a detailed video for you.
1. The Actual Thickness of 3/4″ Plywood (And Why It Ruins Your Joinery)
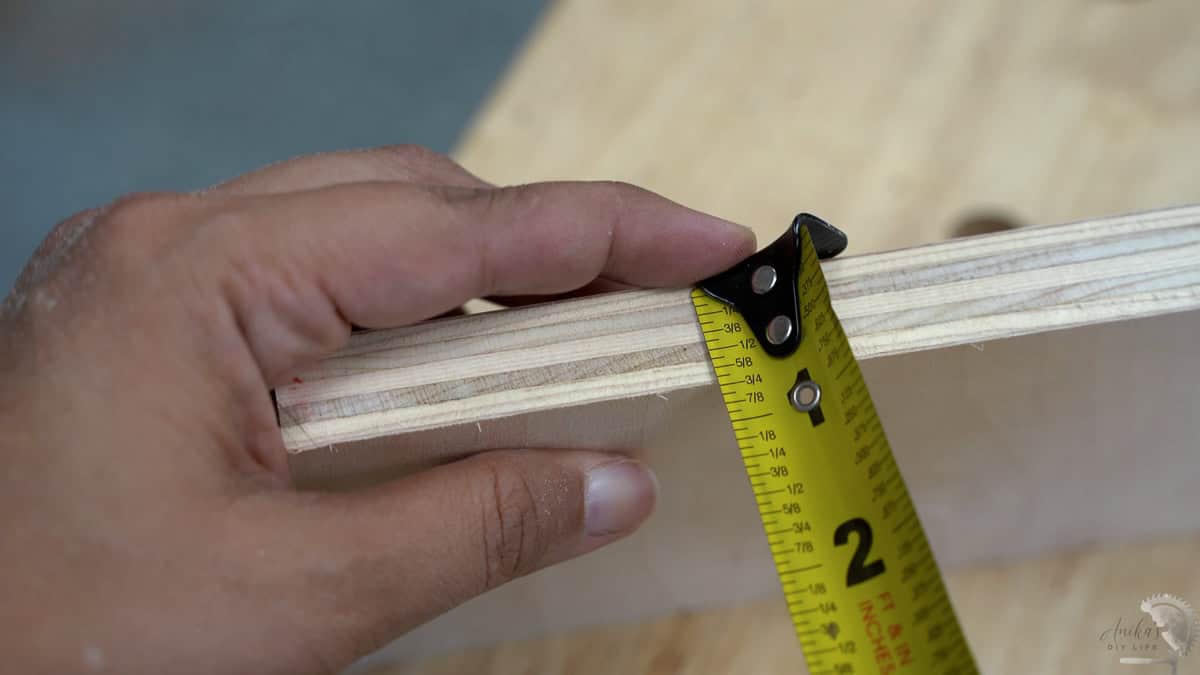
Here is one of the weirdest things about sheet goods: plywood sold as 3/4″ is almost never actually 3/4″ thick (there are, of course, some exceptions)
If you grab a tape measure and measure a sheet, you will find it is slightly thinner. The actual thickness of 3/4″ plywood is usually around 23/32″ (roughly 18 mm). While a fraction of an inch might not sound like a big deal, ignoring this deviation will completely throw off your project’s math!
- Drawer Boxes: If you calculate drawer dimensions assuming exactly 3/4″ material, both sides being slightly thinner will leave you with a 1/16″ gap per side. Add in a cabinet built from that same thin plywood, and your drawer is suddenly 1/8″ off. That is enough to make drawer slides stick, bind, or drop right off their tracks.
- Dado Joints: Cutting a standard 3/4″ router dado where a plywood shelf would sit will leave you with a loose, sloppy joint that lacks structural support.
- Pocket Hole Joinery: Standard settings might not give you the tight, flush grip required for strong joints.
Pro Tip: Always measure the actual thickness of your specific sheet before making joinery cuts or setting up your dado blades so you can account for any deviations.
2. Buy for the Finish, Not Just Your Budget
Plywood isn’t just plywood. Different types of plywood are manufactured for specific uses, and choosing the wrong type will ruin the final look of your project, regardless of your woodworking skill.
- Hardwood Veneer (Oak, Birch, Walnut): Smooth, beautiful real-wood grain faces. Best for high-end furniture, stained builds, and showcase pieces.
- Cabinet/Project Grade (Birch): Very smooth, uniform surface. Ideal for painted furniture, built-in cabinets, and smooth shelving.
- Sanded Plywood: Moderately smooth with minor surface defects. Great for workbenches, garage storage, and shop jigs.
- Construction Grade: Rough surface, knot holes, and core voids. Strictly for sheathing, subfloors, and temporary framing.

For projects I plan to paint, my go-to choice is almost always Birch plywood because of its smooth, tight grain. When I plan to stain a piece, I reach for hardwood veneer options like Walnut, oak, or Birch to let the natural wood grain shine through. I would never use construction-grade plywood to build nice furniture for my home.
Learn more: I break down every grade, core type, and size in my complete guide to types of plywood.
3. Plan Your Cuts Around Grain Direction
When you are ready to cut, you cannot simply lay out pieces to fit as many as possible on one sheet. You must pay attention to the grain direction, especially if you plan to stain your build! If you are painting, this is much more forgiving.

If you are cutting out drawer fronts for a dresser, you want the wood grain to run in the same direction horizontally across every single face. For the box of your cabinet, you want the grain pattern to flow naturally from one side to the other.
I have made my own share of mistakes here. When I built my 5-drawer dresser, I completely forgot to check the grain direction on the side panels, and it ended up running the wrong way! I would have liked it to run up and down instead of sideways because that would go with the leg grain and make the dresser feel taller.
What to do about it – before you cut, sketch your layout on paper and draw arrows showing which way the grain runs on each piece. Mark the sheet itself with a pencil and an arrow as you go. It costs you five minutes and a little more waste, and it is the difference between a piece that looks intentional and one that looks pieced together.
4. How to Break Down a Sheet of Plywood Solo
Wrestling a heavy 4×8 sheet of plywood onto a table saw by yourself is not only difficult, but it’s also dangerous and often leads to crooked cuts. You don’t need a table saw to handle large sheets!
Here is exactly how to break down a sheet of plywood solo:
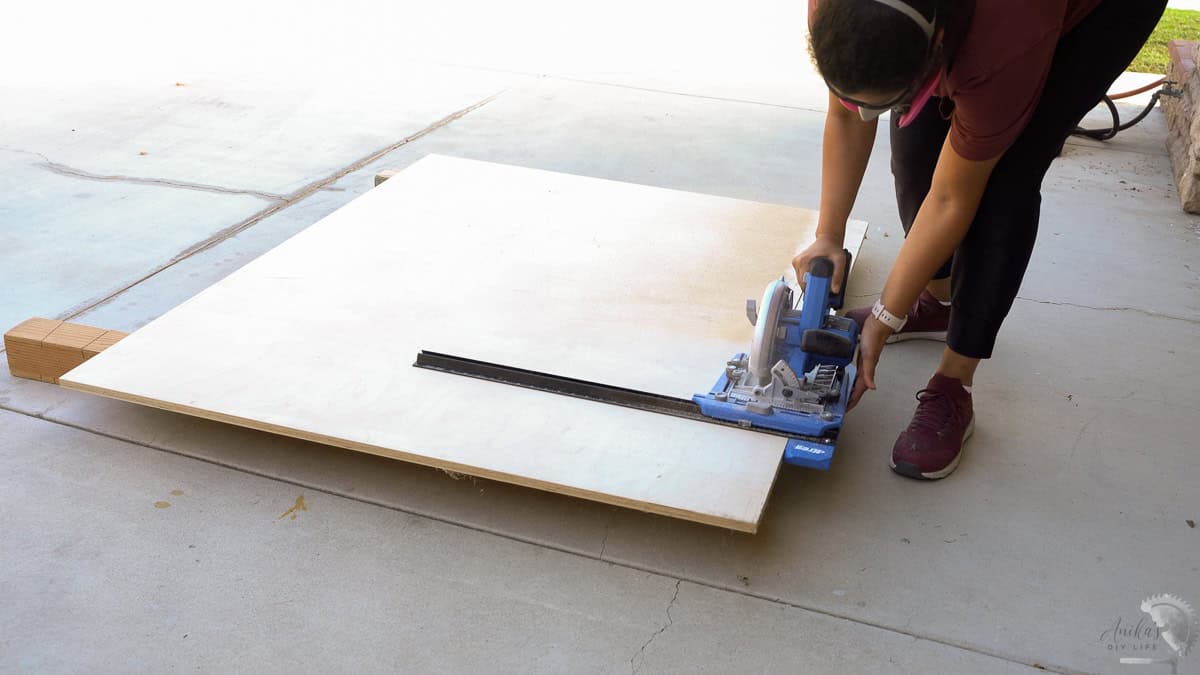
- Lay the sheet flat on the floor. Support the entire sheet using either 2-inch-thick rigid foam insulation or, as I do in my case, a grid of 4×4 boards to elevate the plywood slightly off the floor.
- Cut with a circular saw. Pair your circular saw with a straight-edge guide or a rip-cut attachment (like the Kreg Rip-Cut) to get perfectly straight cuts super easily.
Tip: Use a sheet carrier. It is a total lifesaver and makes transporting heavy sheets around your workshop so much easier.
Once the panels are broken down into smaller, easier-to-handle pieces, you can make your final precision cuts on the table saw. OR, you can just cut them to their final size right there on the floor with your circular saw! I have built dozens of projects using this exact method before I even owned a table saw.
Learn more: my full walkthrough on how to cut plywood accurately and a beginner’s guide to using a circular saw if that tool is new to you.
5. How to Cut Plywood Without Splintering (Tear-Out)
Let’s talk about those cuts, because if you don’t do it right, you can get splintering (tear-out) that really doesn’t look good on your finished projects.
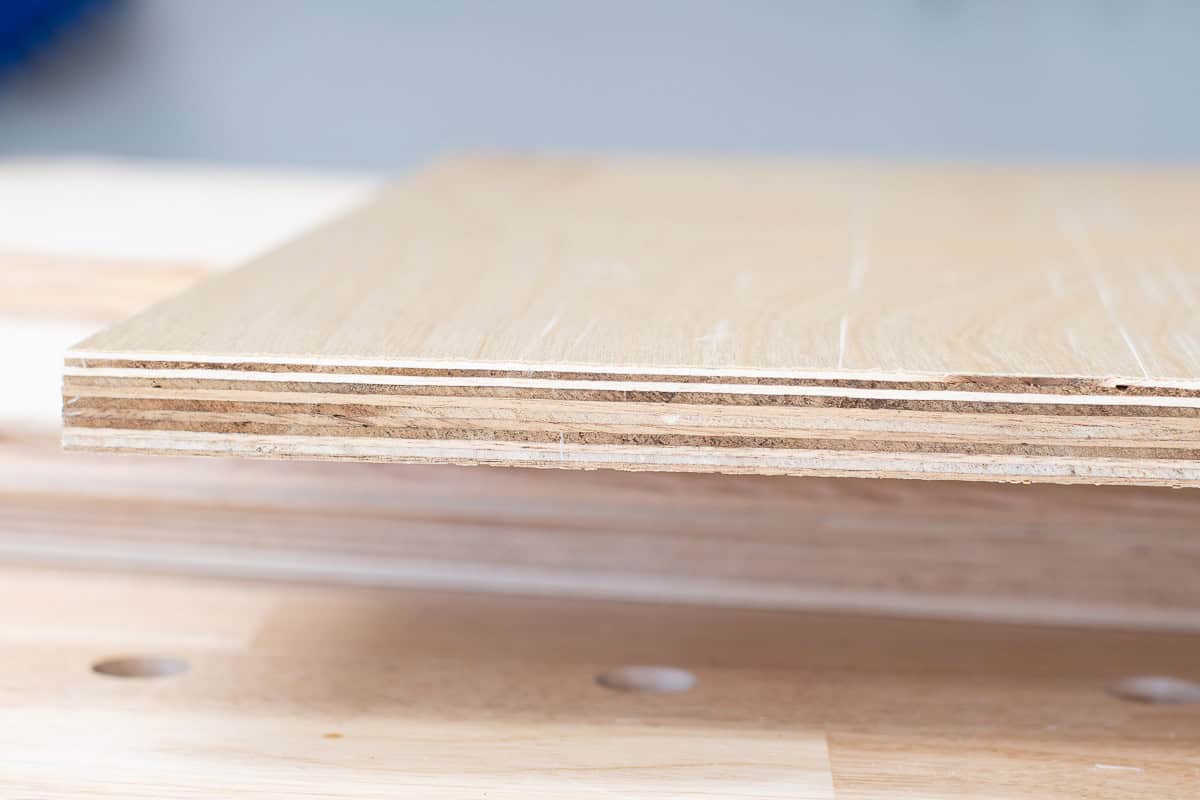
Plywood is built from thin alternating wood layers. High-speed circular saw blades cut in an upward motion, which tends to grab and shred that thin top layer as the blade exits the board. The top basically splinters out.
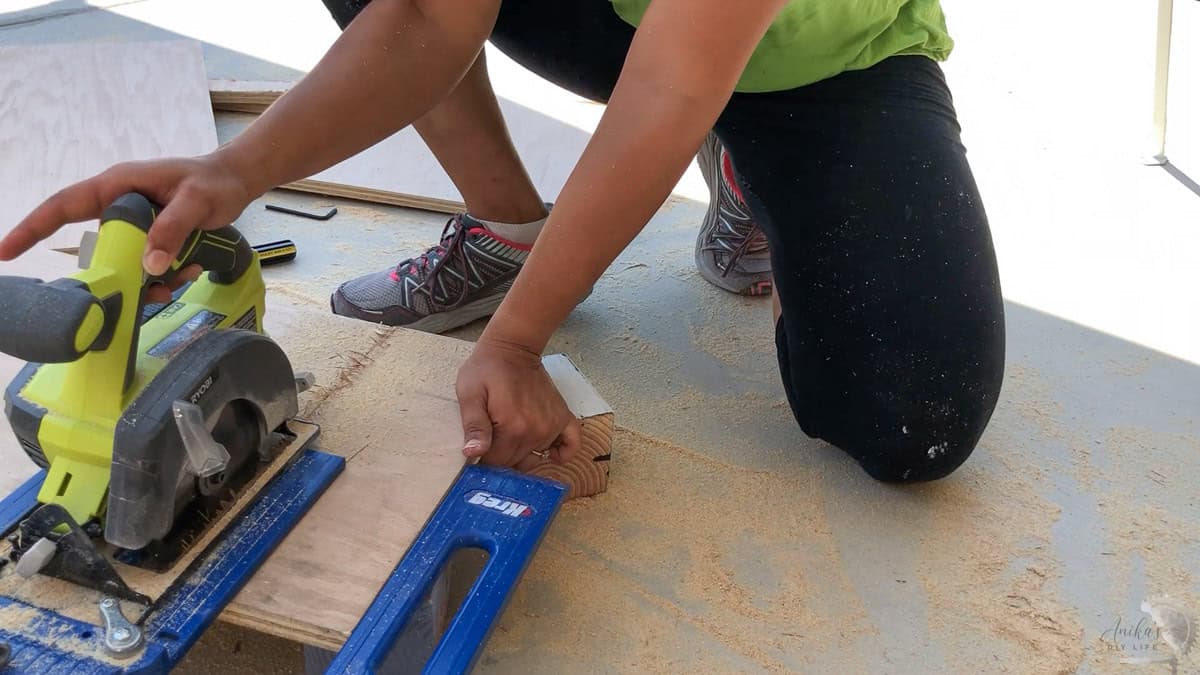
One option is obviously to turn the board around and cut face-down (so the “bad” splintered side is hidden inside the cabinet), but sometimes you need both sides to be visible.
Here are a few options to cut plywood without splintering:
- Use a High Tooth-Count Blade: Swap out standard construction blades for a fine-finish blade with at least 40 or 60 teeth in your circular saw, table saw, or miter saw (which is what I use).
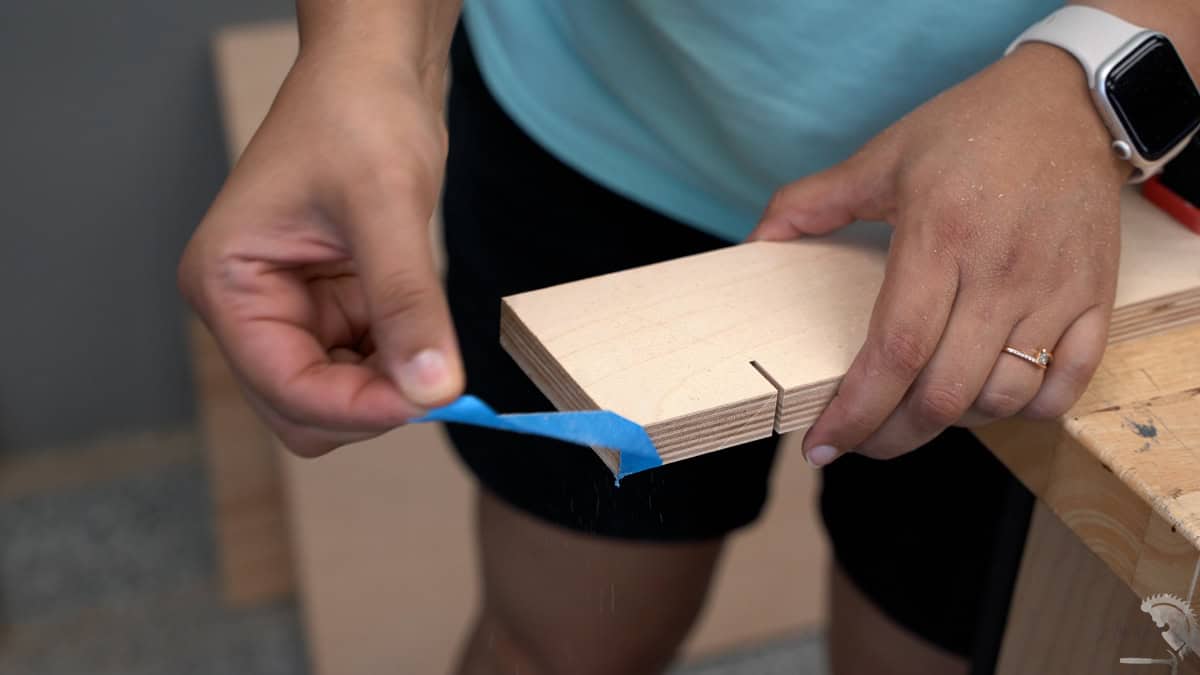
- The Painter’s Tape Trick: Apply blue painter’s tape directly over your cut line, press it down firmly, and cut right through it. The tape acts like a clamp, keeping the delicate veneer glued down as you cut so you don’t get tear-out.
6. Sanding Plywood Veneer
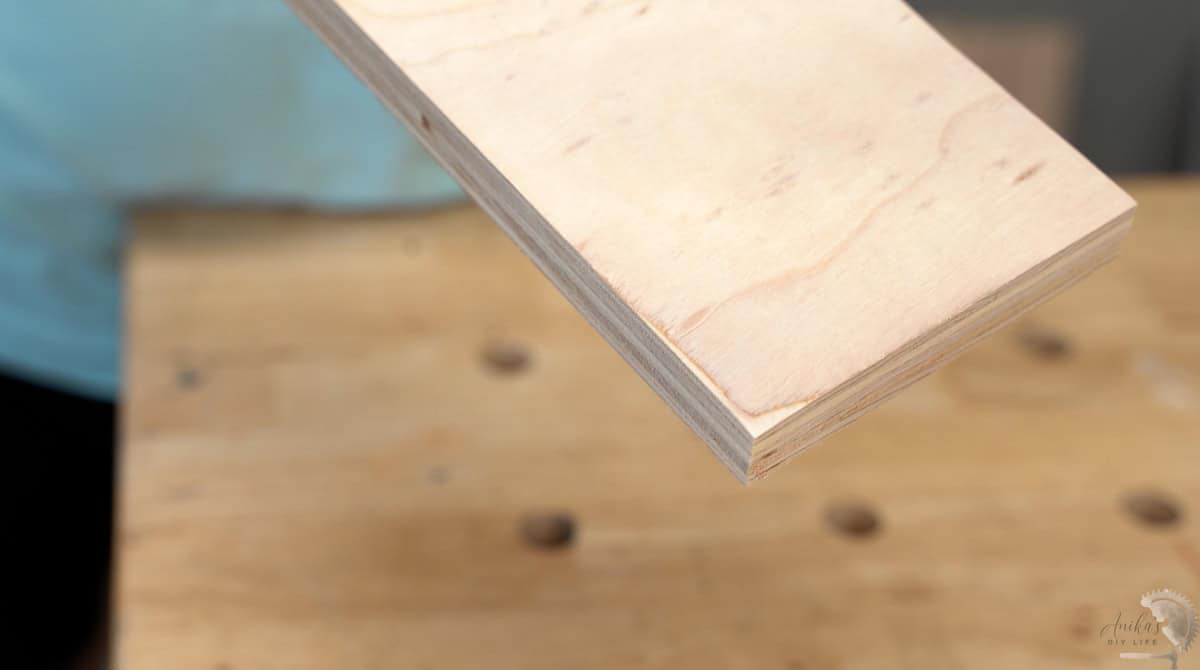
The other problem with having these thin veneers is that the top literally needs to be treated like gold leaf. Surface hardwood layers are often less than 1/32” thick.
If you take an aggressive orbital sander with 80-grit paper to it, you will burn straight through the wood finish into the dark core glue layer underneath. And trust me, there is no fixing that!
The Pencil Line Sanding Trick:
- Lightly scribble pencil lines across the entire plywood surface.
- Load your random orbital sander with fine 180-grit or 220-grit sandpaper.
- Apply minimal downward hand pressure and glide the sander across the board.
- Stop sanding the exact second those pencil marks disappear.
Learn more about how to sand wood properly here.
7. How to Hide Plywood Edges for a Seamless Look
Now, this last one is technically optional. Sometimes exposed plywood layers can be used intentionally to make something beautiful like the plywood bench or the patterned lazy susan, but more often than not, you want to hide those layers because they have voids or just don’t look finished.

Leaving raw edges visible screams “DIY,” but you will be surprised by how quickly and easily you can hide plywood edges. Here are a few options –
- Wood Filler – The quickest fix if you are painting. Just fill, let it dry, and sand flush.
- Iron-On Edge Banding – A thin strip of real wood veneer with heat-activated adhesive. You simply iron it onto the edge, and it matches the grain of your plywood seamlessly for stained builds. (Fun fact: Even IKEA gets away with edge-banding cardboard-filled cores and selling them to you!)
- Solid Wood Trim – Glue and nail a thin strip of solid hardwood trim over the edge to add serious durability to your furniture.
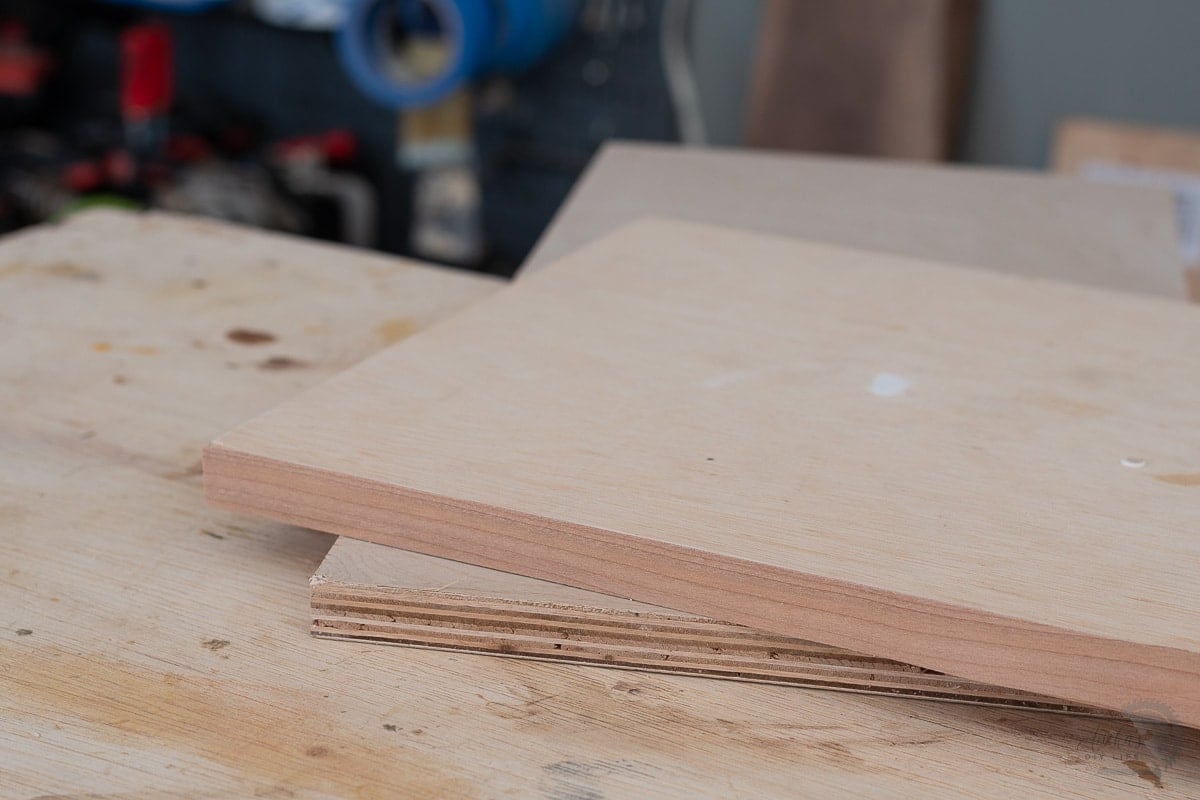
Learn more about how to cover plywood edges.
Covering the edge adds a few minutes to the build, but in the end, it will look like a seamless piece of solid wood, and no one will be able to tell it is plywood!
Plywood really is one of the best materials you can learn to work with. You can build so much with it, and once you understand these little quirks, sheet goods become a whole lot less intimidating and way more fun!
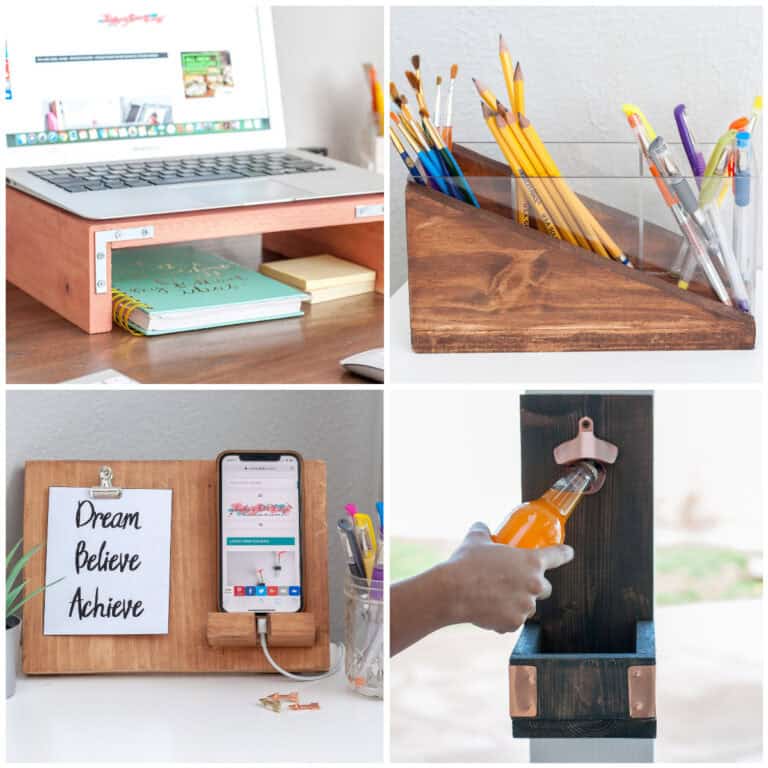
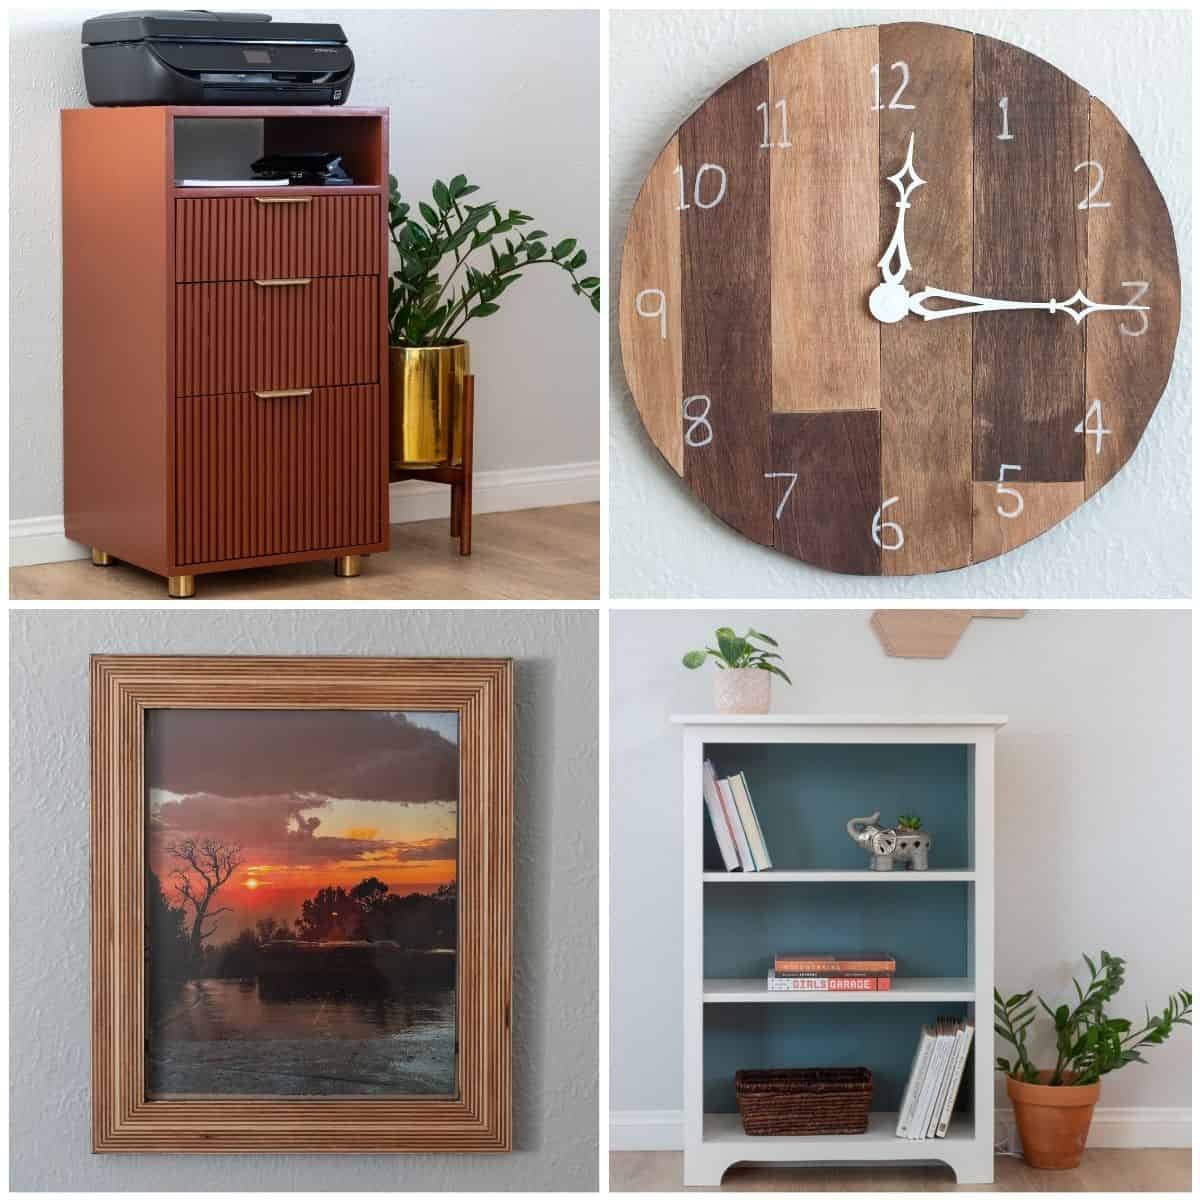
If you are still figuring out which tools to buy, start with my guide to the tools every beginner woodworker actually needs. And if you want project ideas to put all of this to work, here are 27 easy scrap plywood projects to get you started.
Take the Guesswork Out of Your Tools
If you’re just getting started with woodworking and feeling overwhelmed by what equipment you actually need to build projects like these, download my free guide – Power Tools Simplified. It breaks down the essential beginner tools, how to use them safely, and how to set up your shop without spending a fortune.
You might also like:


Anika's goal is to inspire and empower beginners with woodworking, DIY, home improvement, and home decor ideas.
She wants everyone to unlock their creative potential and experience the feeling that comes with making something. Nothing feels better better than seeing something and saying "I can make that!"