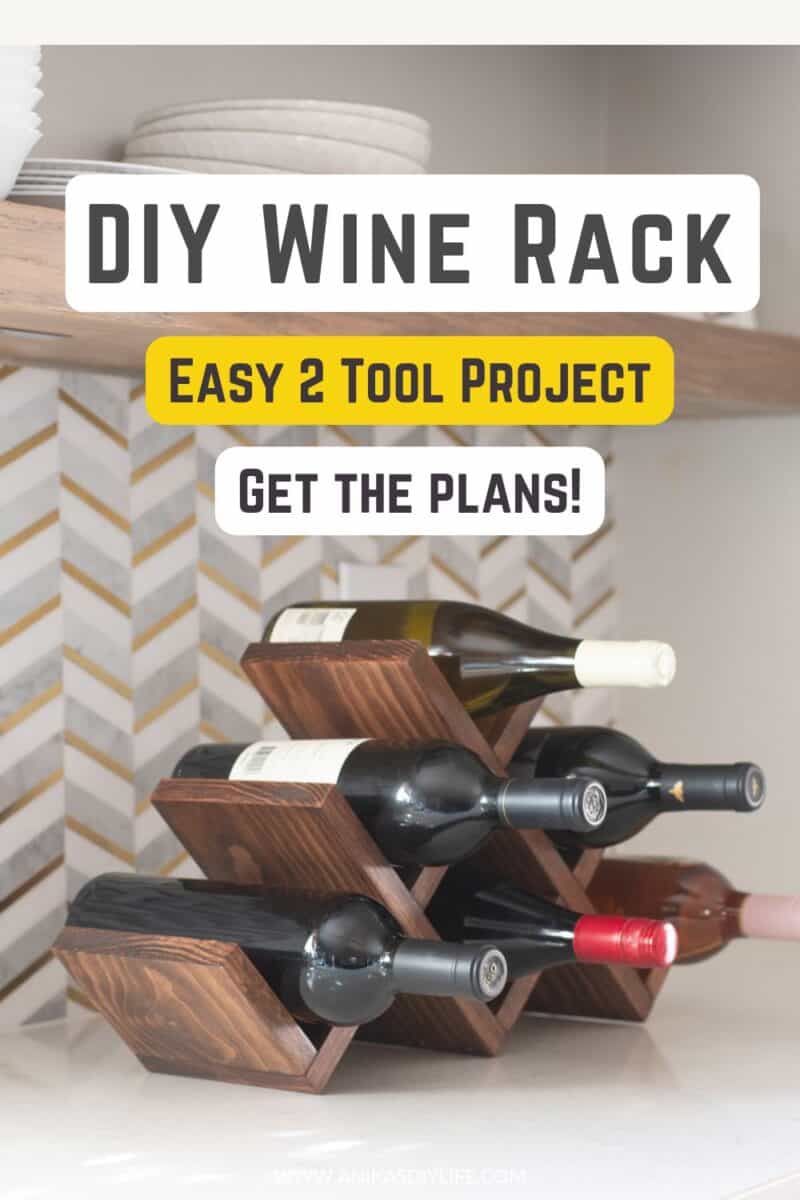
How to Build an Easy DIY Wine Rack for Your Countertop (Free Plans)
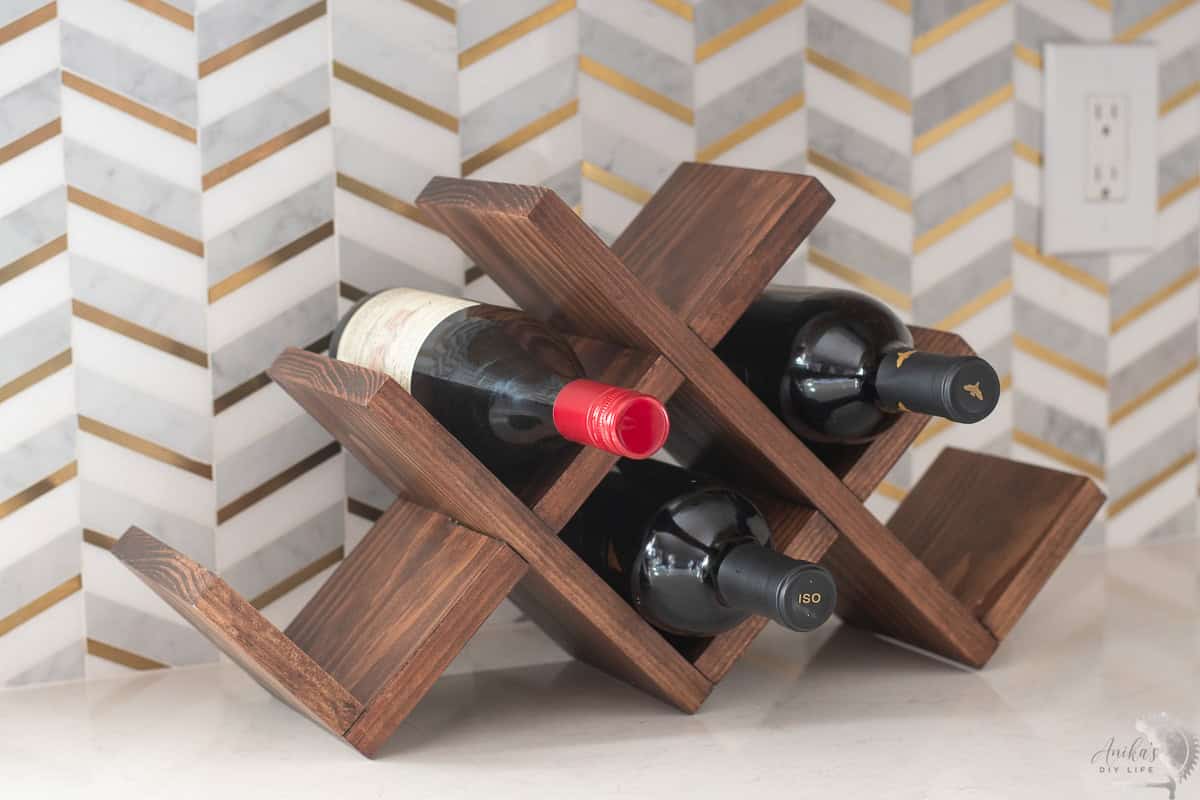
Build a modern countertop DIY wine rack from a single 1×6 board. This beginner-friendly X-shaped countertop wine rack holds 6 bottles and needs only straight cuts.
Project at a Glance
SKILL LEVEL
Beginner
BUILD TIME
1-2 hours
FINISHED SIZE
20″ x 5.5″ x 10.5″
CORE TOOLS
Miter saw (or circular saw), Jigsaw, Brad nailer, Sander
This DIY countertop wine rack is a fun woodworking project that looks much more complicated than it is!
The simple, modern geometric design uses angled boards to create an interesting pattern while holding wine bottles horizontally. Plus, it looks great sitting on a kitchen counter, bar cart, or buffet, even when it’s empty.
This DIY wine rack holds six standard wine bottles without taking up too much counter space. The angled compartments keep the bottles securely on their sides, which also helps keep natural corks moist.
You can customize it with your favorite wood and stain to match almost any decor. Pair it with a favorite bottle of wine, and you’ve got a thoughtful handmade gift!
***This post contains referral or affiliate links. It is a way for this site to earn advertising fees by advertising or linking to certain products and/or services. Please read my full disclosure here ***
Materials Needed
- Lumber per the plans – it uses only one 6-foot 1×6 board
- 1-1/4″ brad nails
- Wood Glue
- Sandpaper in various grits – starting at 80 or 120 grit depending on initial roughness down to 150 grit. See how to sand wood.
- Stain or paint of your choice. I used Dark Walnut.
- Pre-stain conditioner (if you are using a blotchy wood like pine)
- Top coat. I used this one.
Tools Needed
- Miter saw or circular saw to cut down the boards.
- Jigsaw with a top and bottom cut blade
- Random Orbital Sander
- Brad Nailer
How to Build the DIY Countertop Wine Rack
Step 1: Cut the Lumber
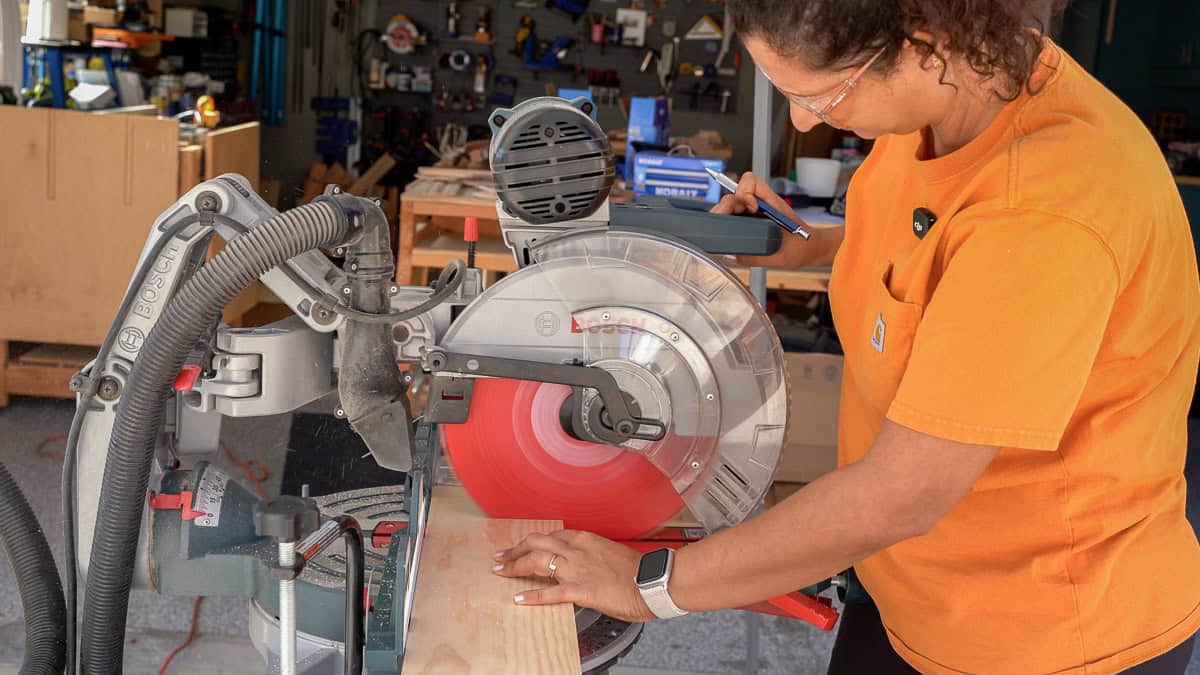
- Make all the cuts according to the measurements in the plans. I used a miter saw to make these cuts, but these can be made with any saw, like a circular saw or even a miter box.
Step 2: Cut the slit cuts
To make an interlocking design, we need to make some slit cuts in the boards.
- To make the interlocking X design, we need to cut slits in the boards so they slide together.
- Measure and mark each slit carefully using the measurements in the plans. These marks are critical because they decide how the wine rack comes together. If a slit is off, the X will not sit flat, or the wine rack will be wobbly.
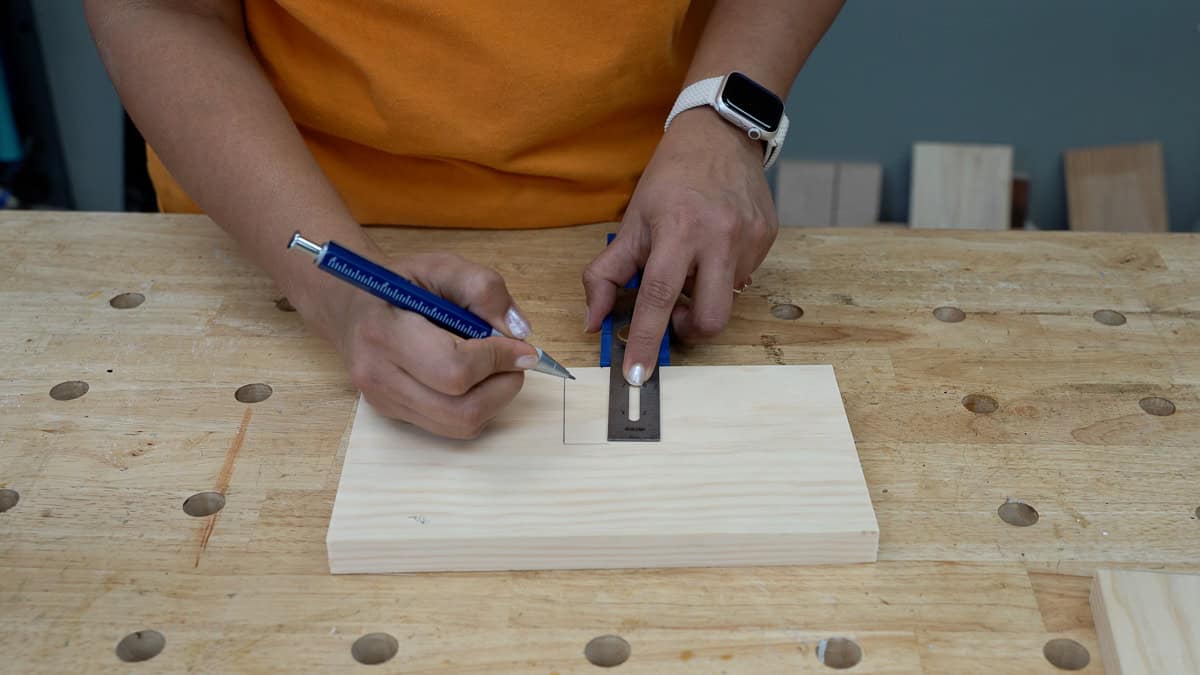
- Cut down both sides of the slit with a jigsaw, staying on the inside of your pencil lines.
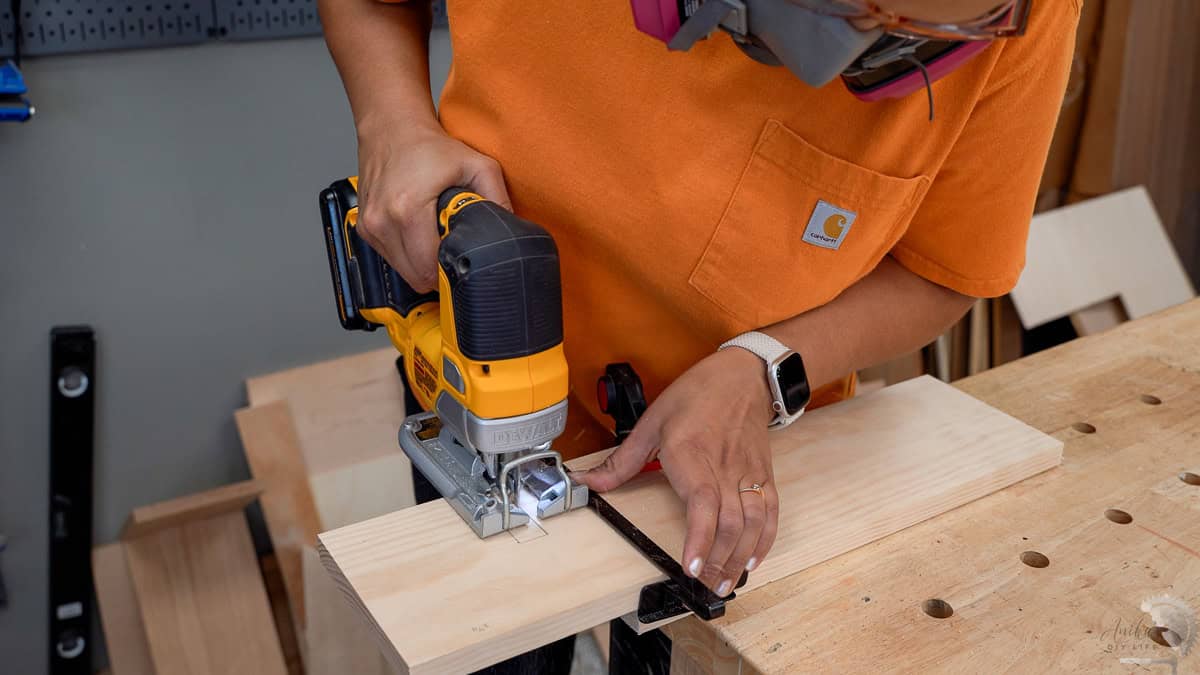
- To clear out the waste, make a curved cut from one side cut over to the bottom corner of the other. Then move the blade side to side along the bottom line to square it up.
Important: Use a straight edge to get the best possible cut. Make sure to account for the jigsaw blade’s kerf as you cut. This will guarantee that the slits are exactly the thickness of the board, so you get a tight fit. Learn more about kerf.
Tip: Cut a test slit in a scrap piece first and check the fit with another piece of the 1×6. It only takes a few minutes and saves you from recutting a full board.
Step 3: Prepare the boards
This is a good time to make sure all the boards are sanded and ready for finishing.
Usually, I prefer to stain wood after assembly so the wood glue can soak into the bare wood fibers and create a strong joint.
However, in this case, I went ahead and stained all the boards before assembly because it would be much harder to reach the tight spaces between the boards later. I made sure to use a pre-stain conditioner before staining for a uniform color.
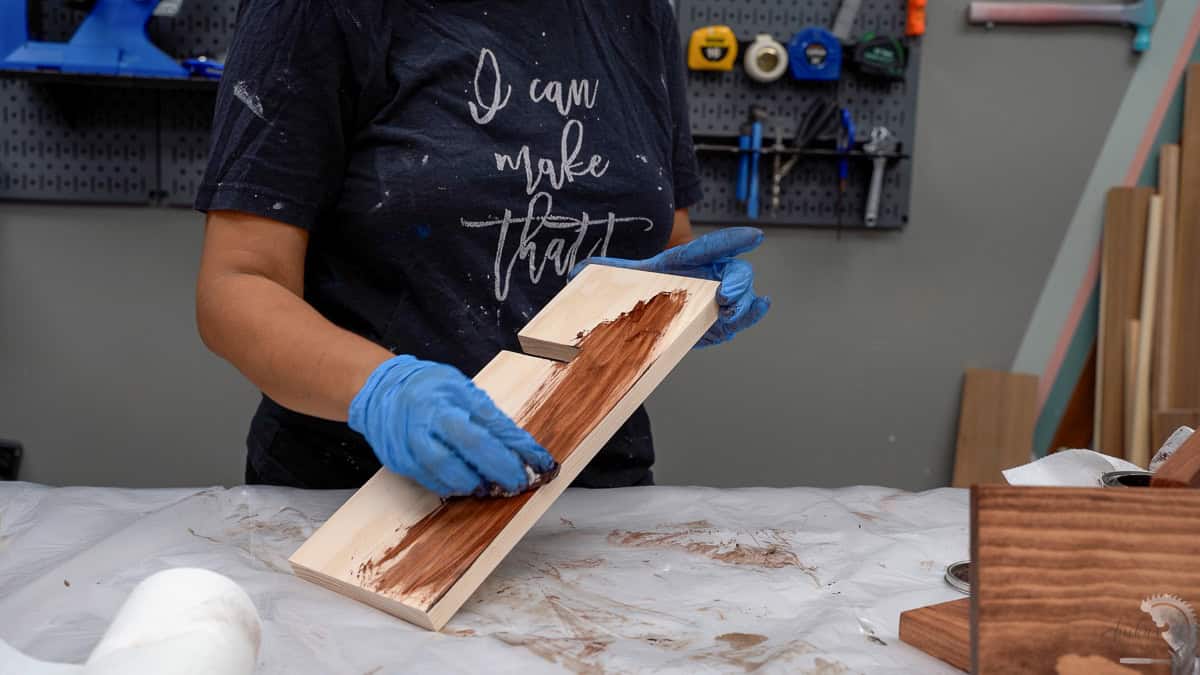
I chose a rich, dark wood stain to bring out the wood grain and give the rack a warm, modern look. You could also use a natural finish for a lighter look or paint it to match your decor.
I also considered applying a topcoat at this stage, but decided against it because it would seal the wood and prevent the glue from bonding properly.
Tip: If you’re staining before assembly, make sure to leave the areas where you’ll be applying wood glue unstained whenever possible. Wood glue bonds best to bare wood.
Step 4: Assemble and Attach
- Do a dry test fit and make sure you have them laid out the way they go together. See the plans for the details. This is your chance to catch a tight slit or a board that is turned the wrong way before the glue goes on.
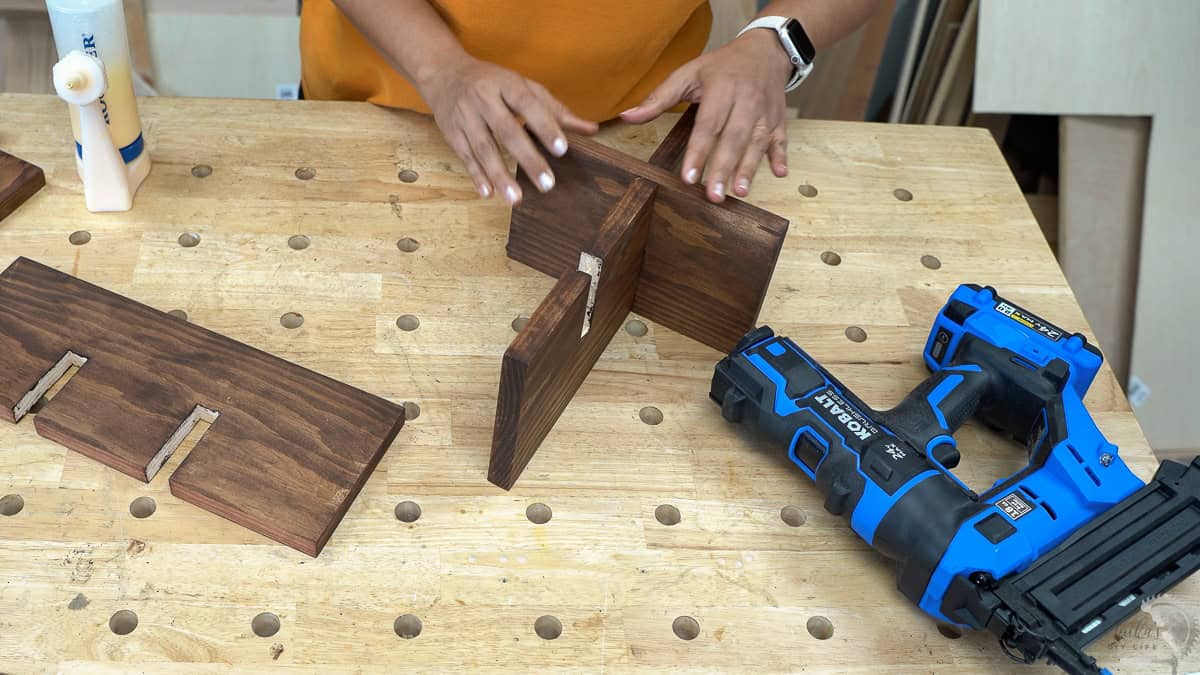
If a slit is too tight, sand the inside of it a little at a time until the boards slide together with light hand pressure.
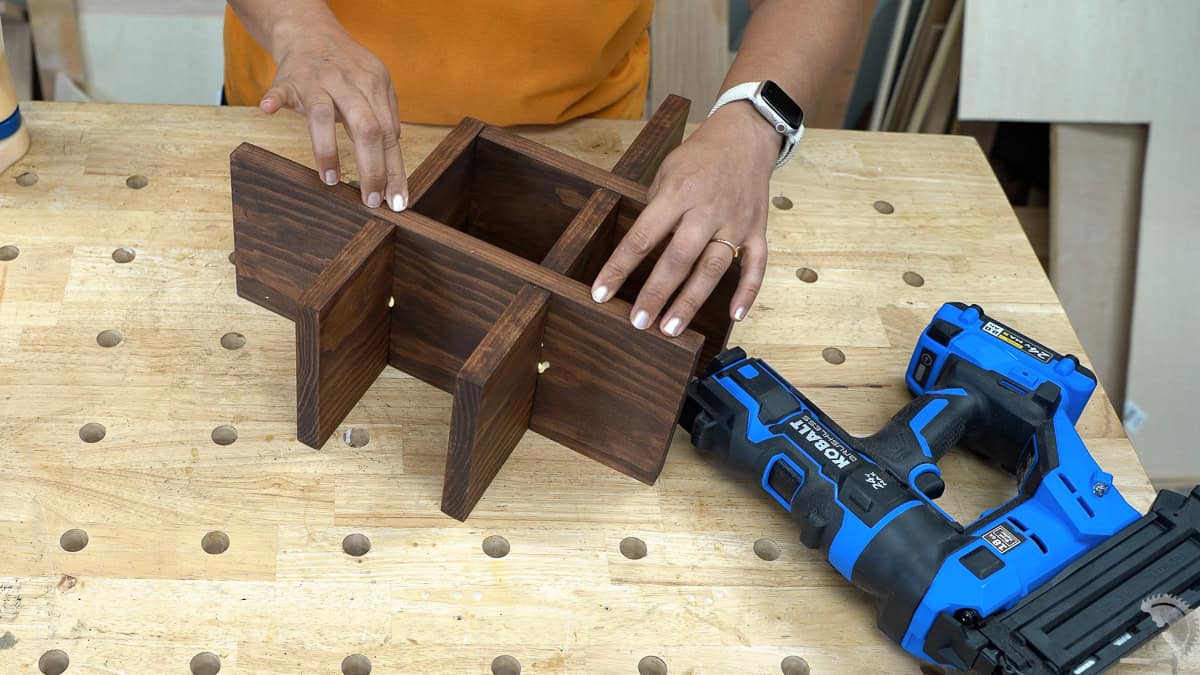
- Once you have them all configured and ready, use wood glue and put it together.
- Attach the end pieces with wood glue and 1-1/4″ brad nails.
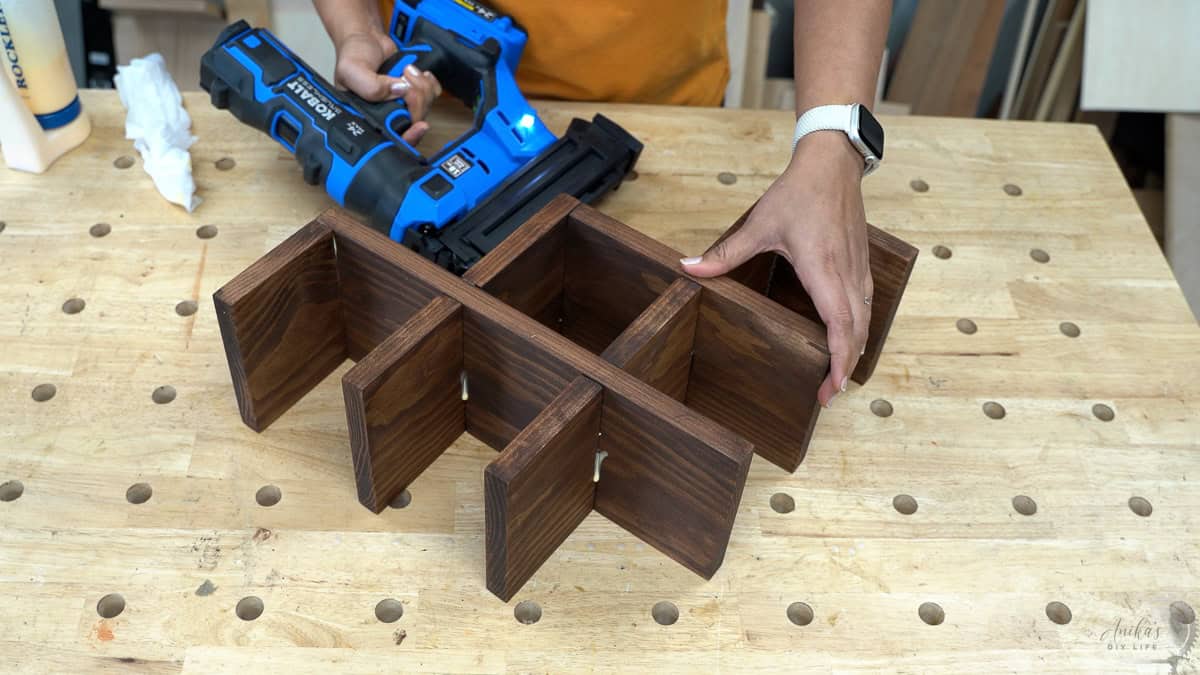
There are only a few nails on the bottom of the wine rack, so they will be hidden.
Important: Wipe off any glue squeeze-out right away with a damp rag. Since the boards are already stained, dried glue will leave light spots that the stain cannot cover later.
The wine rack is complete.
Tip: Let the glue dry fully before adding the topcoat or any bottles. Most wood glues need about 24 hours to reach full strength, even though they feel dry much sooner.
I went ahead and applied a couple of coats of top coat.
And that’s it!
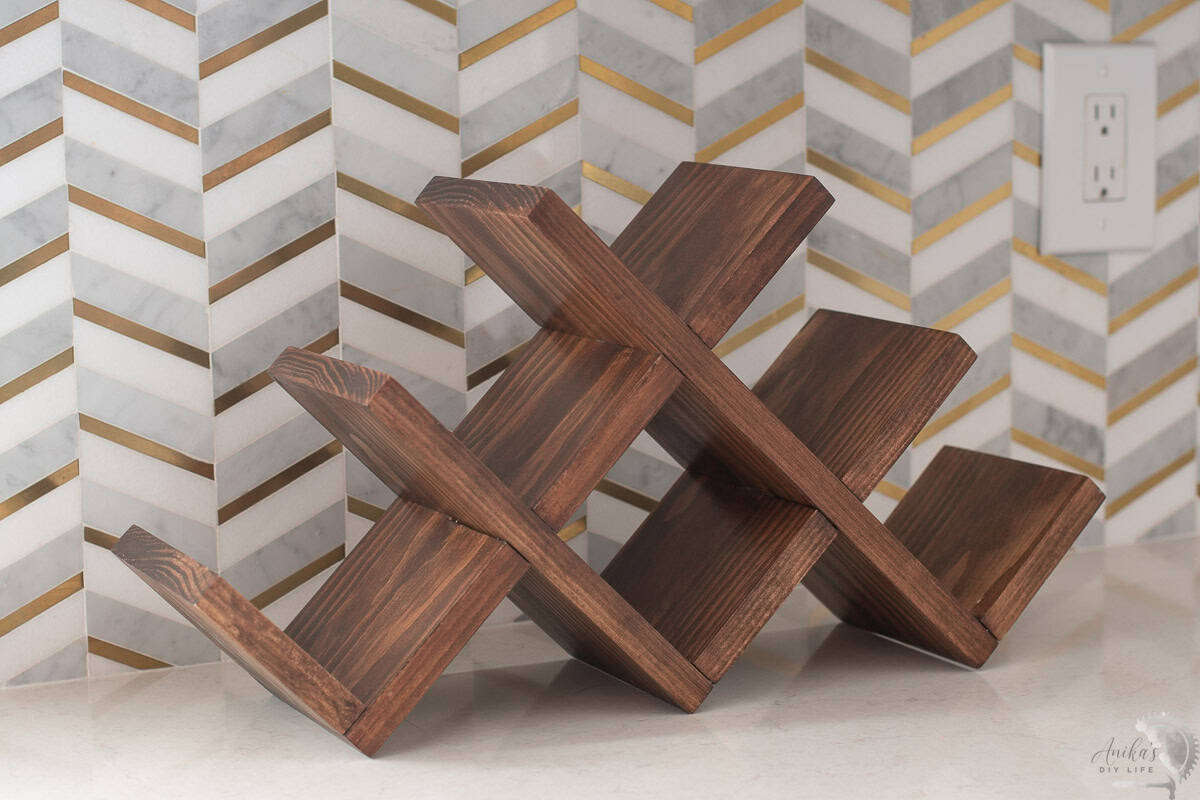
Once the finish is fully cured, place the wine rack on a flat, level surface and add wine bottles, or give it as a gift! It’s practical, handmade, and something they can use for years.
And even when the bottles are gone, the rack itself looks great sitting on the counter
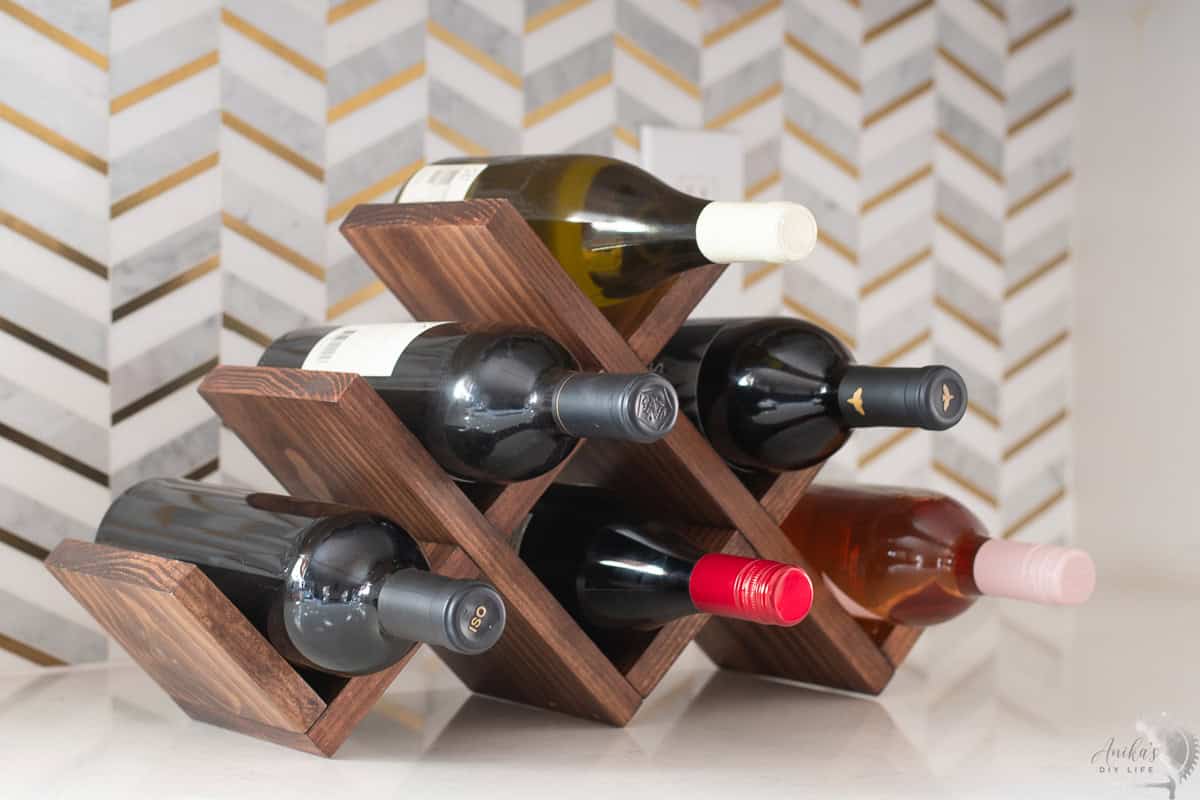
The angled compartments hold the bottles horizontally, and the open design makes it easy to grab one whenever you need it. I love how the finished wine rack looks like a little piece of modern wooden art!
Printable Plans for the Wine Rack
You can get step-by-step printable plans for this wine rack by clicking the link below.
Need more DIY Gift Ideas?
I am teaming up with my friends Shara from Woodshop Diaries and Kati from Houseful of Handmade to bring you new DIY gift ideas every day this week!
Just click on the project below to go check it out. Stay tuned for all the fun and easy DIY gift ideas this week.
Day 2 – DIY Gift Ideas
See Gift Ideas for Day 1 here.

Anika's goal is to inspire and empower beginners with woodworking, DIY, home improvement, and home decor ideas.
She wants everyone to unlock their creative potential and experience the feeling that comes with making something. Nothing feels better better than seeing something and saying "I can make that!"