
IKEA Ivar Cabinet Hack: How to Make a Sideboard
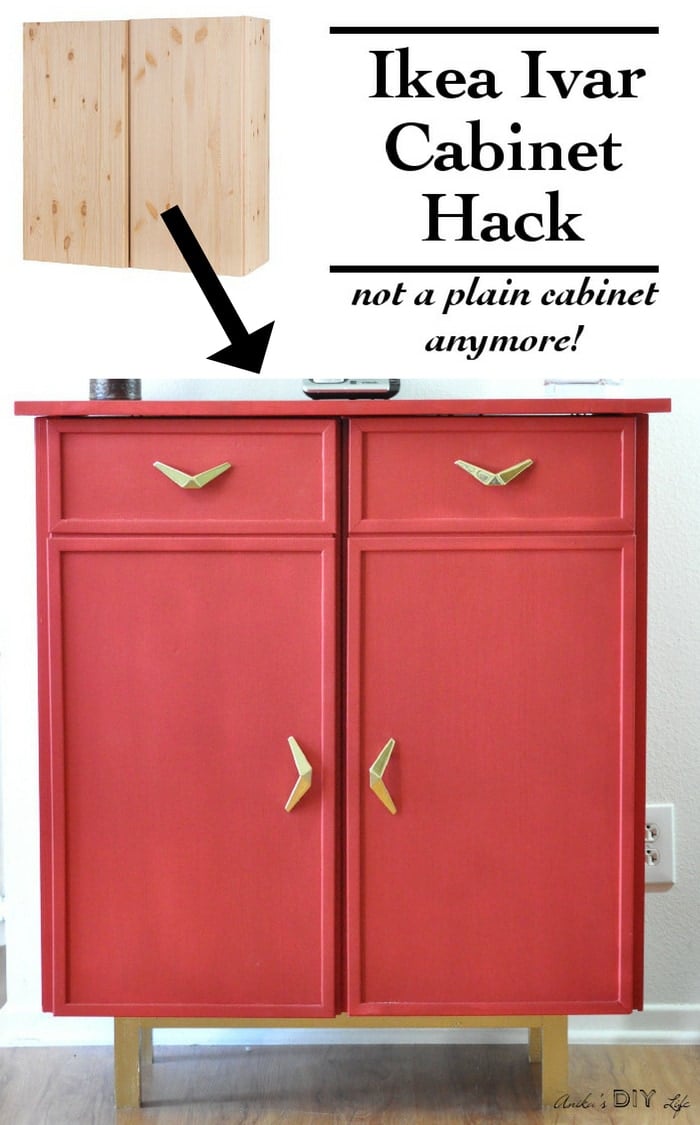
This Ikea Ivar cabinet hack adds a unique update to the plain Ikea Ivar cabinet. A full tutorial to make a sideboard from using the Ikea Ivar cabinet including how to paint the cabinet and more character with new hardware and molding.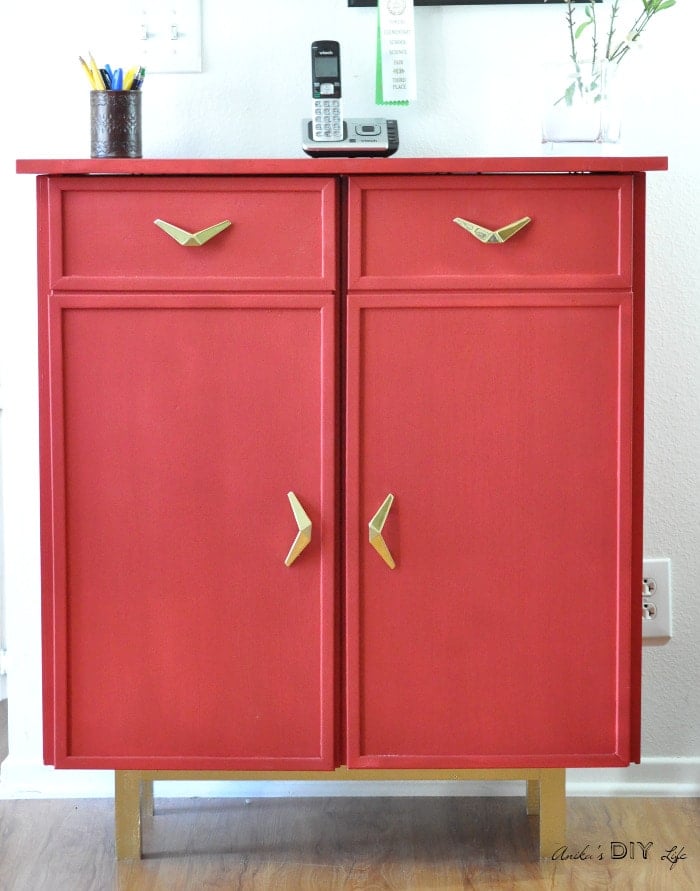
This Ikea Ivar cabinet hack is a long time coming!
This Ivar cabinet has been waiting for a makeover for a very very long time! And I think it has finally found its destiny!
***This post is sponsored by D Lawless Hardware and I received product and/or compensation in exchange for this post.***
***This post contains affiliate or referral links. It is a way for this site to earn advertising fees by advertising or linking to certain products and/or services. Please read my full disclosure here ***
The cabinet has definitely come a long way from where it started – a plain pine cabinet as part of the Ivar modular system.
I used it as an extension of my kitchen counter in one of our old rentals. I had spray painted it white (with the kind in a can) and added the two knobs to match the kitchen cabinets.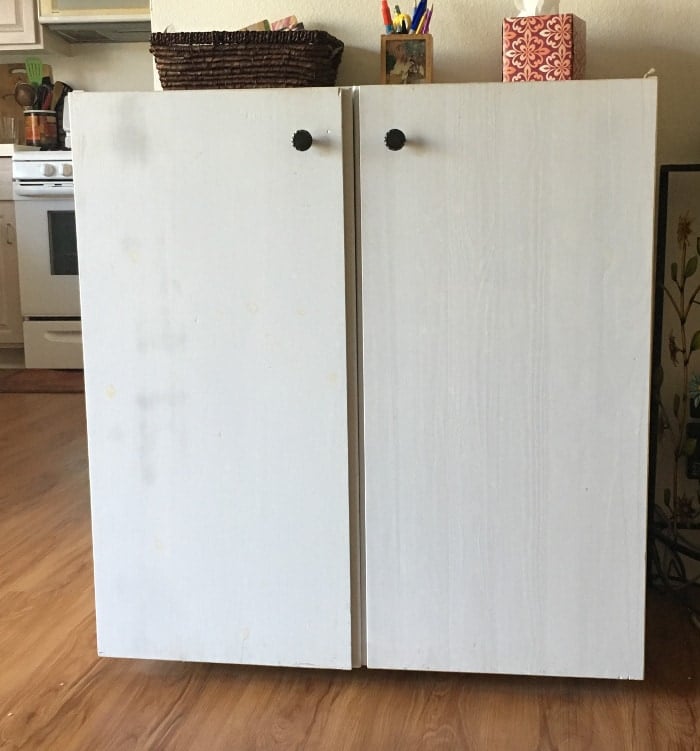
In the new place, it worked as a sideboard/command center in our eat-in kitchen.
It really was high time, it got a makeover to fit in with the rest of the decor.
The red is little bright by itself but it fits in very nicely because I have a little red theme going with the dining chairs and kitchen towels etc.

Materials Needed for IKEA Ivar Makeover –
- 1″ x 2″ x 8′ – Total 2
- 2″ x 2″ x 8′ – Total 1
- 1 x 3″ x 8′ – Total 1
- Screen molding – total 22′
- 3/4″ plywood – 30″ x 16″
- Paint – I used Red Bush by Olympic
- Oil based primer
- Matte Polyurethane
- Cabinet Pulls. These Mid Century Modern Chevron Cabinet Pulls are just the perfect ones!
- Gold spray paint
- Kreg jig pocket hole system
- 1 1/4″ pocket hole screws
- Wood glue
- 1 1/4″ finish nails or brads
- Hammer or Brad nailer
- 1 1/4″ Spax screws
Cut list –
- 2″ x 2″ @ 22.5″ and 10″ – total 2 each – base frame
- 2″ x 2″ @ 6″ – total 4 – legs
- 1″ x 3″ @ 32.5″ and 19″- 4 each – frames for the sides
- screen molding cut to required size to create fake drawer and cabinet front.
How to Make the IKEA Ivar Sideboard –
Step 1 – Build the base using wood glue and pocket holes. 
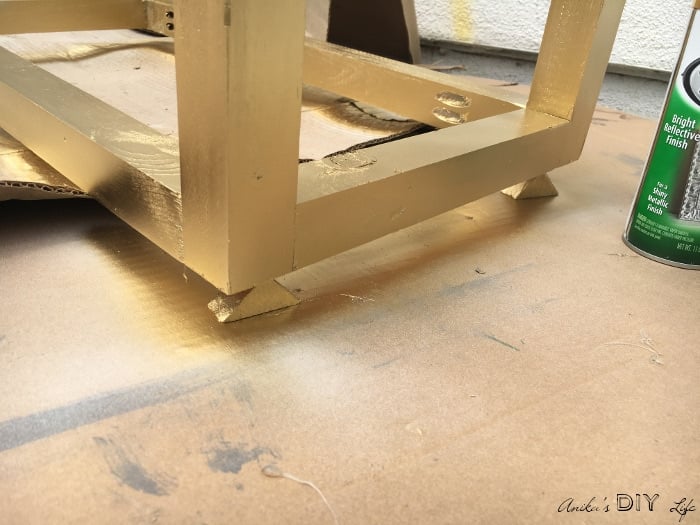
Step 2 – Prime and paint the base with the gold spray paint.
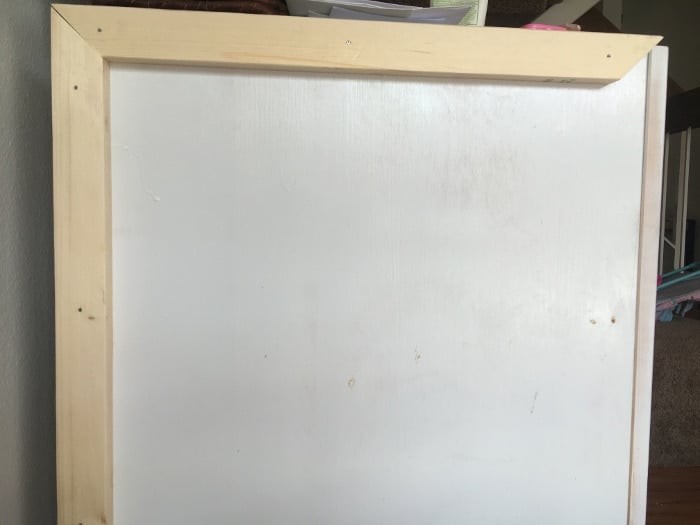
Step 3 – Attach the side frame for the cabinet. I like how they hide the visible screws from the Ikea assembly and also give the cabinet a finished look.
Step 4 – Attach the screen molding to the cabinet doors to create the fake drawer and cabinet front. I used wood glue and 5/8″ brad nails in a staple gun.
Step 5 – Caulk the gaps and fill any holes that are visible. My favorite caulk is the Alex fast dry caulk. I love this stuff and how it makes the joints look nice and continuous. I just use my finger to spread the caulk and then wipe off the excess using my favorite wipe. Read more about that in my favorite woodworking tools post.

Step 6 – Build the top using the 3/4″ plywood and the 1″ x 3″ boards. Use wood glue and pocket holes.
How to Paint IKEA Ivar
Step 7 – Prime and paint the cabinet and the top in color of your choice. Since I had spray paint on the cabinet previously, after a lot of research, I decided to use the following sequence – clean with TSP, rough up surface with sandpaper, paint with oil based primer and follow with latex paint. It seems to be holding pretty well. For the latex paint, I used my favorite painting tool – the Finish Max paint sprayer. It took only about an hour for 3 coats and went on so uniform and smooth! I cant even imagine painting without that thing anymore! 
Step 8 – Attach the top and the base to the cabinet. I used 1 1/4″ Spax screws. I love these because they are self drilling.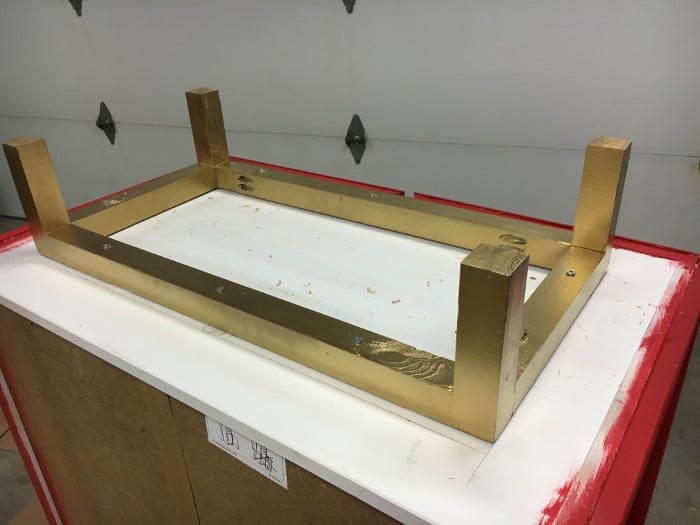
Step 9 – Attach the pulls and enjoy!!!
I have probably said this before but I am so totally in love with the pulls!
I chanced on them as I was browsing the D Lawless Hardware site. They are made from an original mid century mold. It was so fascinating but I don’t have midcentury style furniture so I passed on them but I just kept coming back to them.
I couldn’t get them out of my mind. I am so glad I decided to go ahead with them anyway! They are like jewelry and totally make this cabinet what it is!
I especially love their little angle on how the pull sticks off of the cabinet giving just the right amount of space to hold and pull it.
The sideboard fits in perfectly with my dining room and makes the little command center perfect.
Everything you see here is a DIY project from pre-blog days. The Ikea Skoj hack , the mail organizer, and the cork board. 
Have you ever done an Ikea furniture makeover? I would love to see. Share it below!
Need a simpler Ikea makeover idea? Check out this Easy Ikea Rast makeover –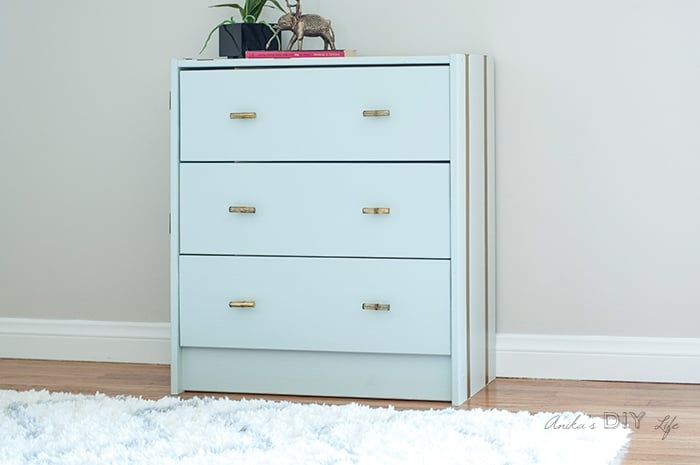
I love giving fun makeovers to Ikea furniture like this colorful Ikea Tarva dresser makeover –
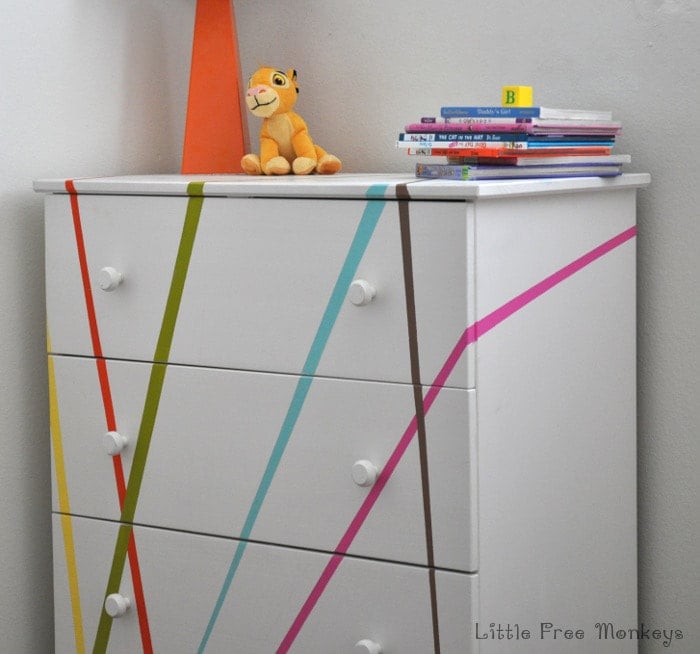
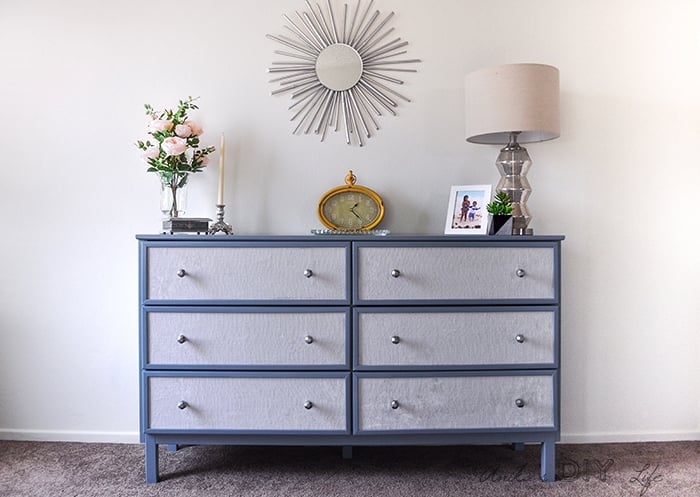
One of my all-time favorite Ikea hacks is this Fabric paneled Ikea Tarva dresser makeover –

Anika's goal is to inspire and empower beginners with woodworking, DIY, home improvement, and home decor ideas.
She wants everyone to unlock their creative potential and experience the feeling that comes with making something. Nothing feels better better than seeing something and saying "I can make that!"




Great job as always Anika!! Love the color you chose and the hardware is gorgeous, I love DL Hardware too!! I am thinking about buying a Kreg Jig, any recommendations?
Thank you Pili!! You should definitely go for the Kreg Jig K4 (my affiliate link – http://amzn.to/2bGxu47) . That’s the one I have and use. It does everything that I have come up with so far. It really is the best investment for building furniture so far!
Thanks, I will have a look in detail. Can I use ordinary screws or do I need special ones?
It does need special screws from Kreg Tool company.
Thanks so much, Anika. I tried to order it from Amazon but they say they don’t ship it to Spain… I have to figure out what I can do
Oh I am so sorry about that! I hope you find a way to get it… Maybe contact Kregjig directly.
When I saw the picture of the completed cabinet, I had no idea that it didn’t have drawers. What an amazing makeover and the pulls are a perfect choice!! Thanks for sharing at TaDa Thursday!!!
This looks amazing! I love the red with the gold. Thanks for sharing at the Wednesday Showcase. Pinned!!
Thanks Kati!!
Wow! You truly transformed this cabinet! Love your color choice and details! Blessings, Cecilia
Thank you Cecilia!!
I’m in love with your cabinet, Anika and will be featuring it tomorrow at Vintage Charm!
Thank you Diana! I will be there at the party!!