How to Make Wood Coasters: Easy Hexagon Scrap Wood Project
Learn how to make wood coasters from scrap wood with this easy hexagon design. A simple glue-up, a few miter saw cuts, and an oil and wax finish.
Project at a Glance
SKILL LEVEL
Beginner
BUILD TIME
1-2 hours of active work
FINISHED SIZE
4″ x 4.5″ x .75″
CORE TOOLS
Miter saw, Table saw, Sander
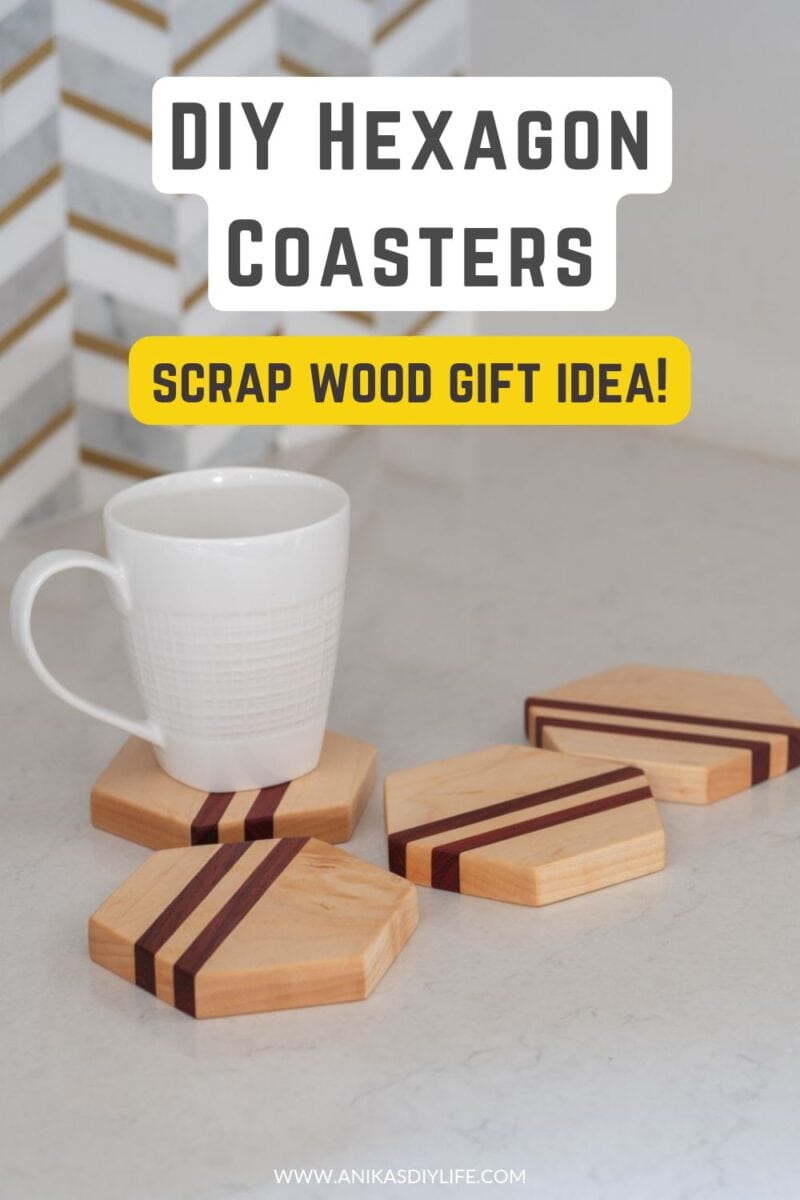
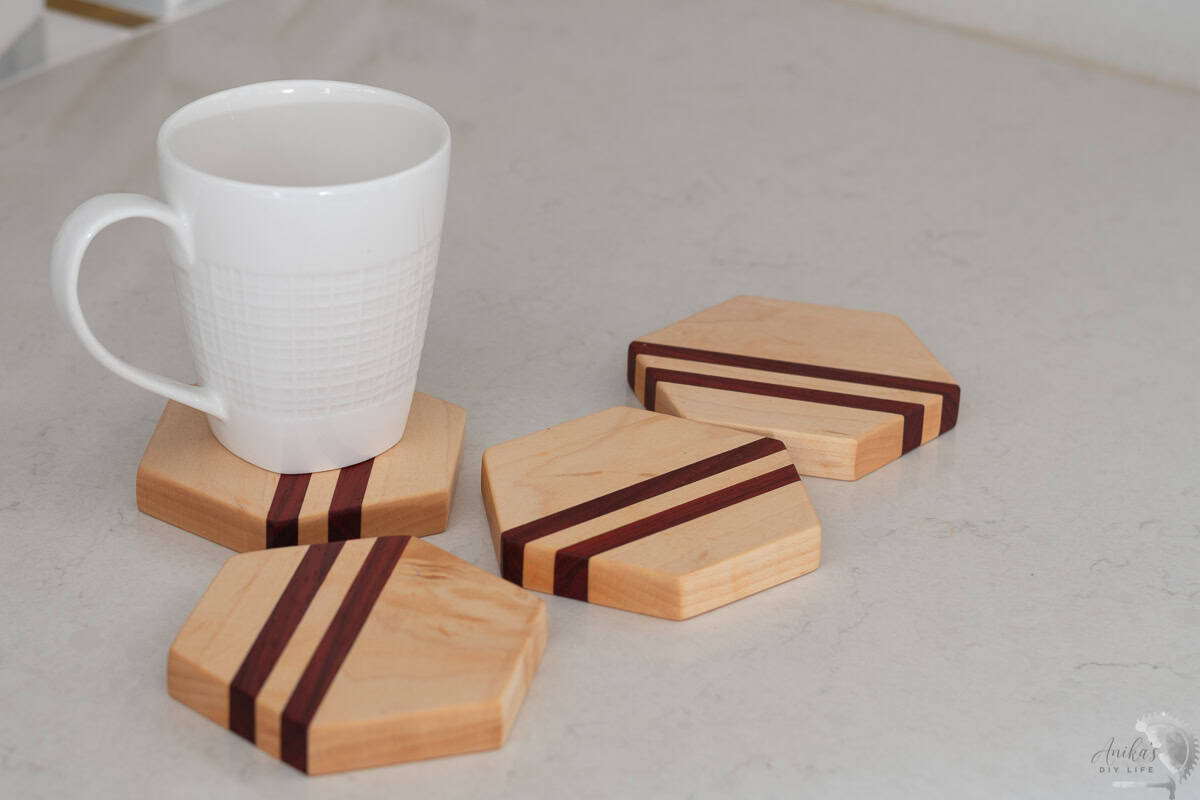
These DIY wooden hexagon coasters are a fun way to turn leftover wood scraps into something beautiful and useful! They also make easy and beautiful handmade gifts for just about anyone!
I used leftover maple and padauk to create a striped pattern, then cut the pieces into hexagons using my miter saw. I love how the two wood tones look together, and the hexagon shape makes these simple coasters look extra special!
The process is pretty straightforward. All you need is a little glue, a few cuts on the miter saw, some sanding, and an oil and wax finish to bring out the beautiful wood grain.
I will also show you how to cut the hexagons on a miter saw without a ton of math!
You can easily customize these using whatever wood scraps you have on hand. Make a set of four or six, tie them together with a pretty ribbon, and you have a thoughtful handmade gift that’s both practical and beautiful!
***This post contains referral or affiliate links. It is a way for this site to earn advertising fees by advertising or linking to certain products and/or services. Please read my full disclosure here ***
Materials Needed
- Boards of your choice. I used maple and Padauk scraps
- Wood glue
- Sandpaper in 120, 180 and 220 grit
- Tape measure and pencil
- Finishing oil
- Finishing wax
- Lint-free rags
Tools Needed
- Table saw (for ripping boards)
- Miter saw – What I use | Beginner option
- Planer (optional)
- Bar clamps or pipe clamps. These are my favorite clamps.
- Sander (I have had this sander since 2015!)
- Push block
- Dust mask
How to Make the Wood Coasters
Step 1: Choose Your Scrap Wood
- Pick two hardwoods with strong contrast. Light maple and red padauk make the stripes pop, even from across the room.
Important: Stick with hardwood for coasters. Softwoods like pine dent easily from mugs and glasses, while hardwoods hold up to daily use.
- Make sure all your pieces are the same thickness. If not, you might want to run them through the planer.
Step 2: Rip the Strips on the Table Saw
The table saw is the one tool this project really needs. It gives every strip straight, parallel edges, and glue joints only close tightly when the edges are perfectly straight.
- Rip the maple into wider strips and the padauk into thin strips for the accent stripes. Varying the widths makes the design look intentional instead of uniform.
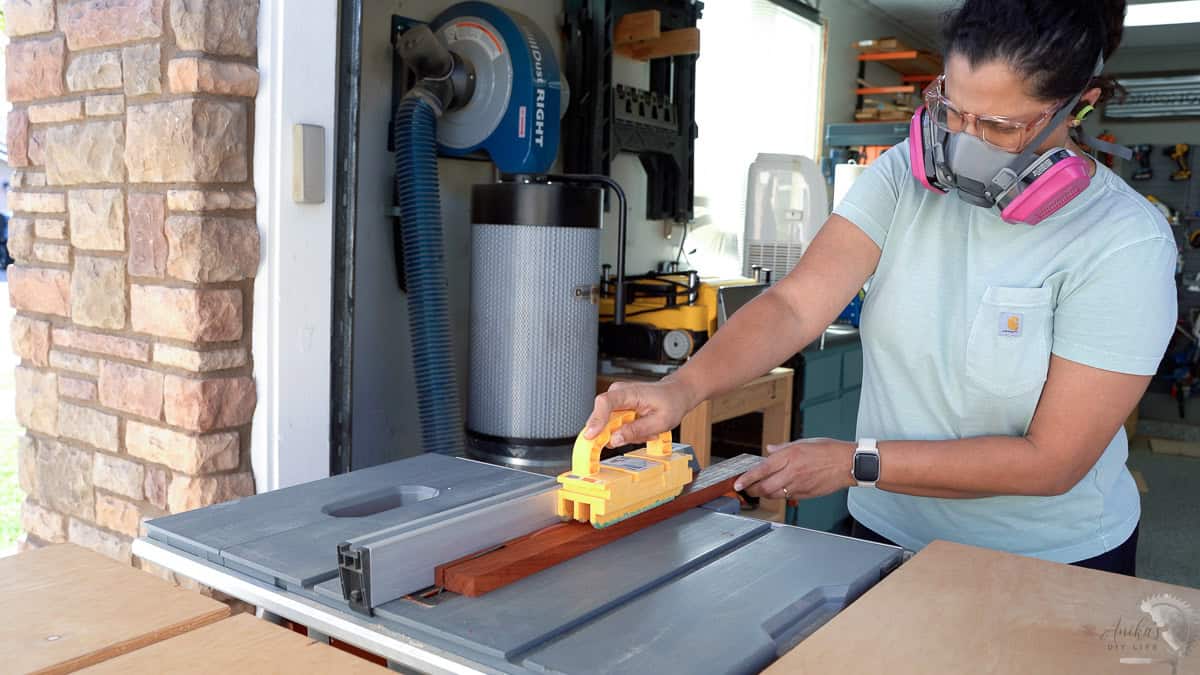
Be sure to use a push block and keep your hands well clear of the blade.
See how to use a table saw safely.
Step 3: Glue Up the Panel
- Lay out the strips in your stripe pattern before you open the glue. Placing the stripes slightly off-center gives the finished hexagons a more modern look.
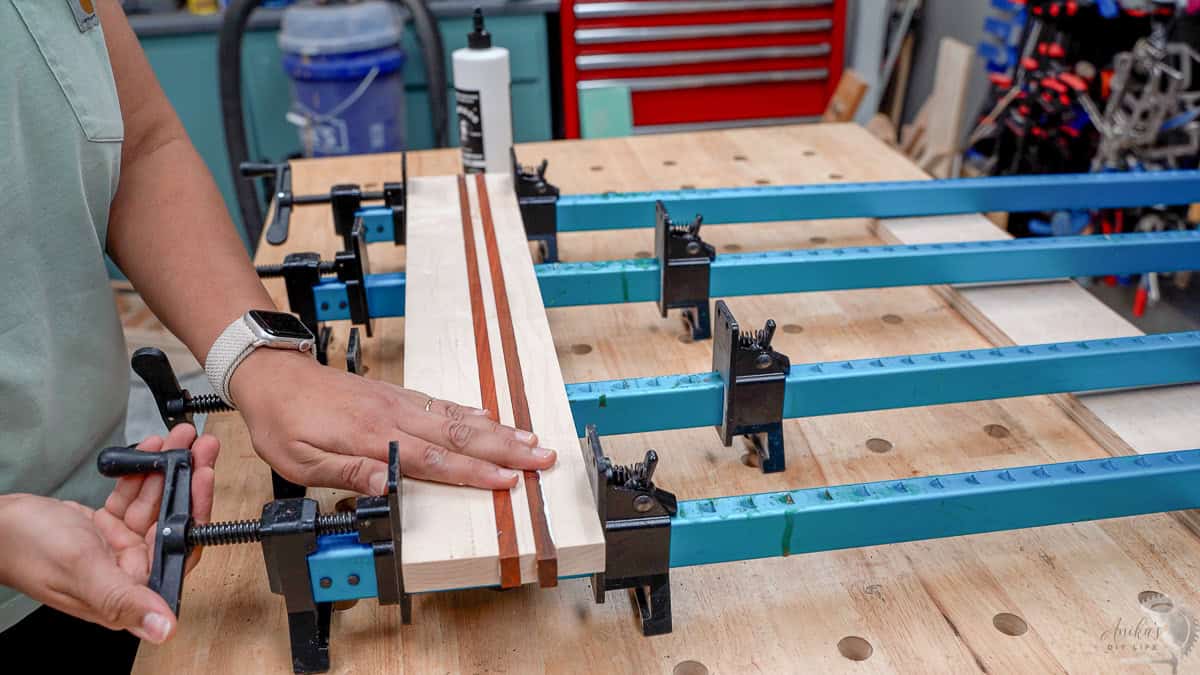
- Spread a thin, even layer of glue on each edge and clamp the panel together.
A small, even bead of squeeze-out along every joint means you used the right amount of glue. Scrape it off once it turns rubbery, then let the panel dry for the full time listed on your glue bottle before cutting.
I ripped strips to get an approximate width of the glued panel to be about 4.5″.
- Once the glue has cured, you can sand the entire board to make it flat and uniform. Or you can send it through the planer, as I did, and follow up with the final sanding with 220-grit.
Step 4: Cut the Hexagons on the Miter Saw
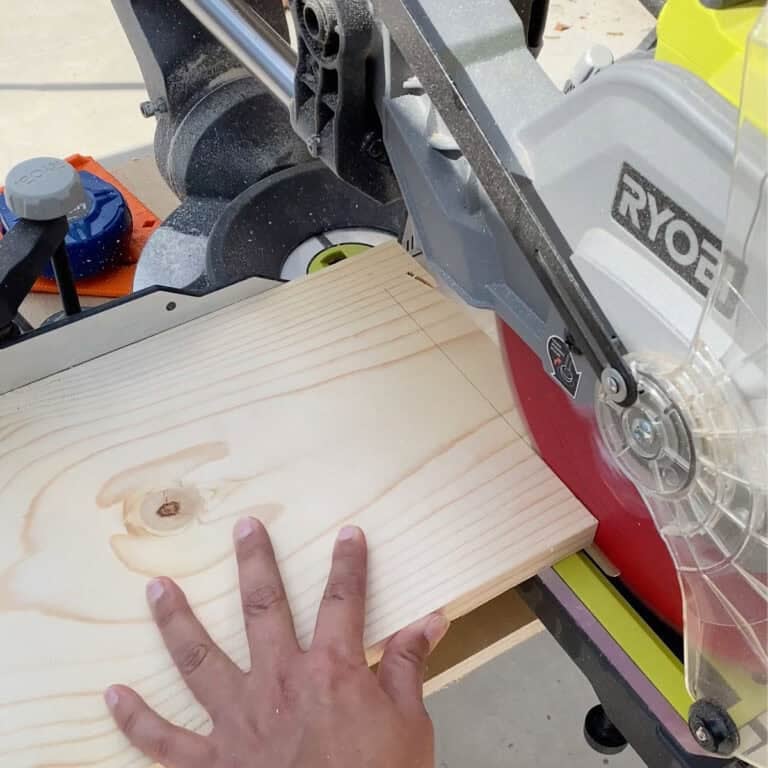
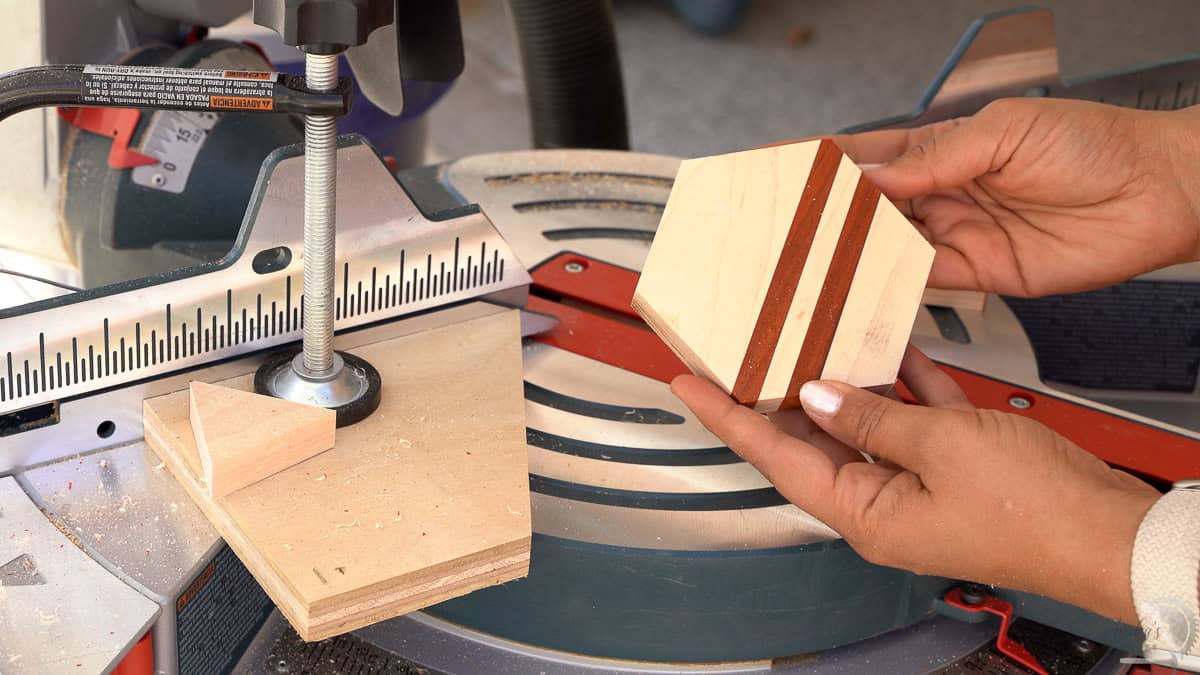
Cutting hexagons sounds tricky, but you do not need a fancy jig or any math. Every cut is made with the miter saw set to 30 degrees, and a simple stop block made from scrap wood sets the size of every side.
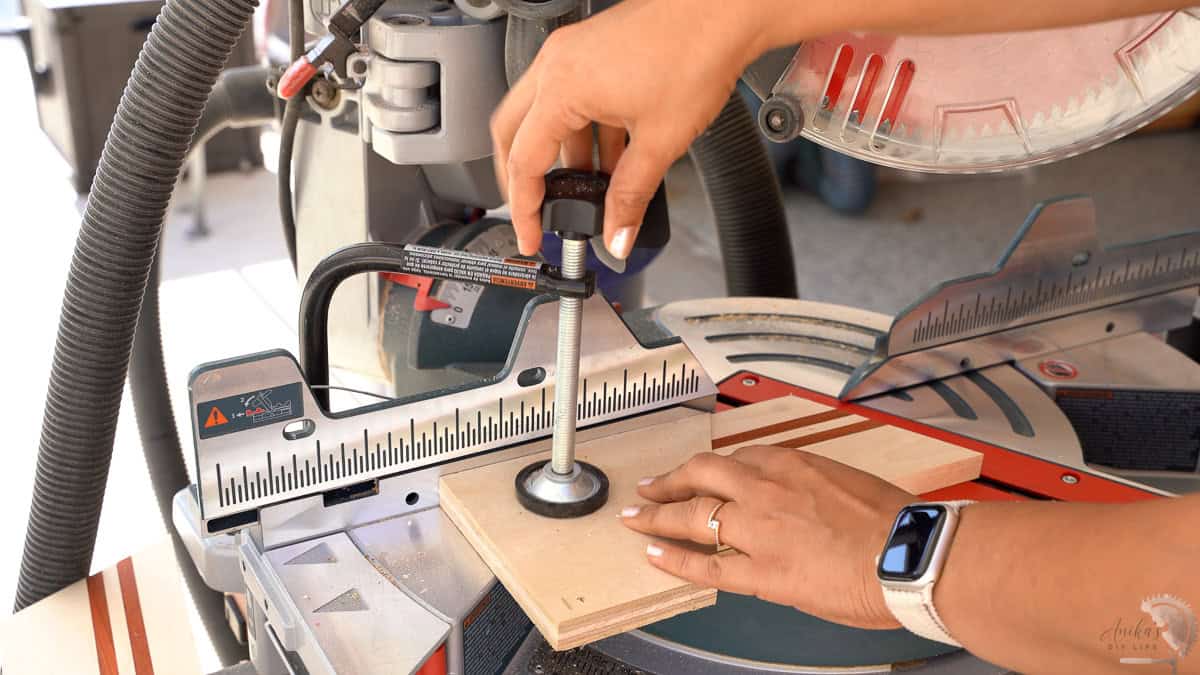
Once the stop block is in place, you just rotate the piece and cut until you have six even sides. Every coaster comes out the same size.
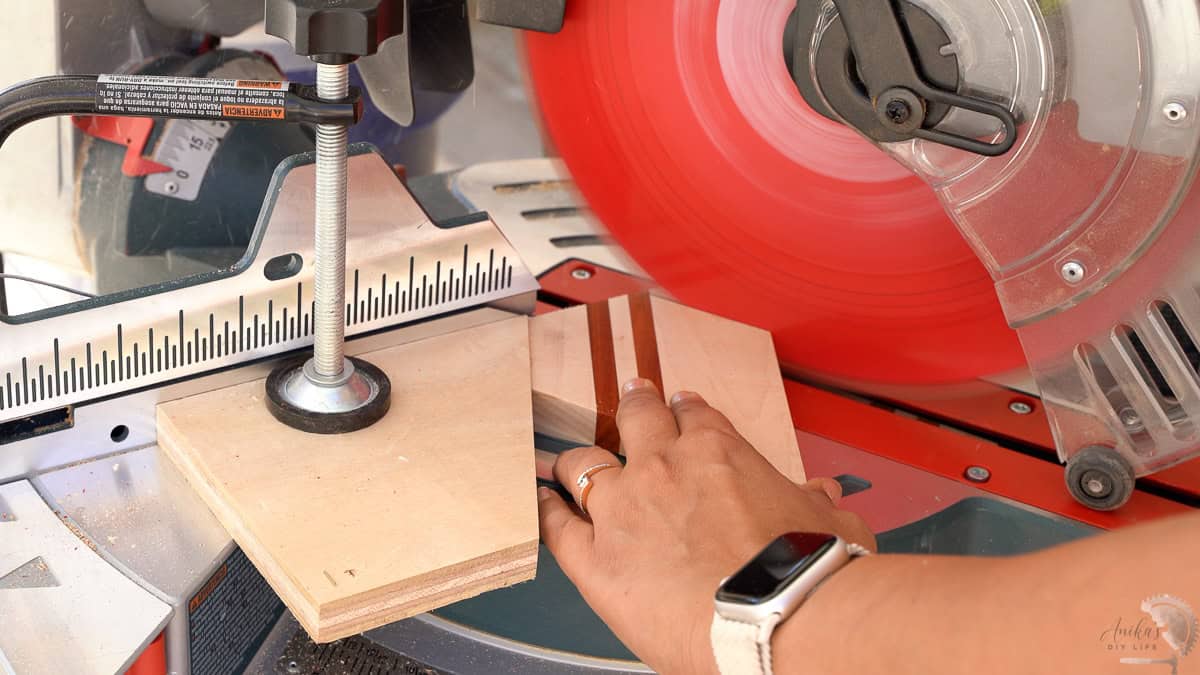
For the exact center-marking trick and stop-block setup, follow my full step-by-step guide on how to cut hexagons on a miter saw.
Step 5: Sand the Coasters
- Sand the tops, bottoms, and sides with 220 grit for a smooth surface.
- Finish by lightly sanding every edge so the corners feel soft and resist chipping.
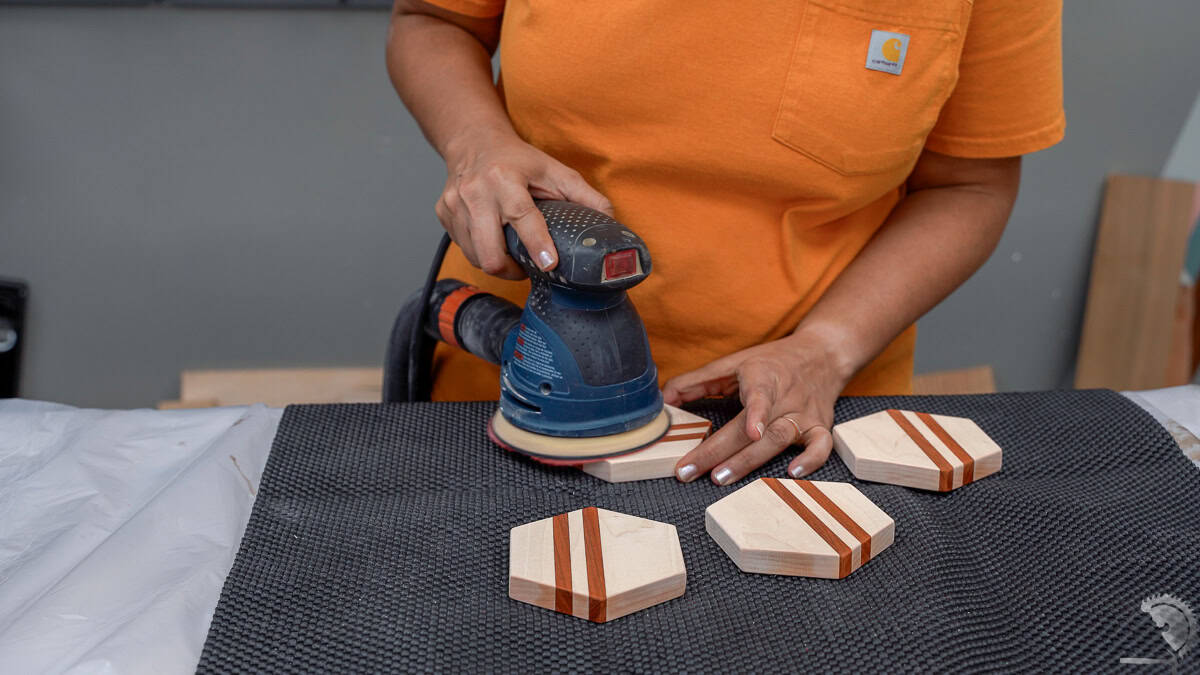
Padauk creates a fine red dust that can settle into the maple and tint it pink. Vacuum or blow off the dust between every grit, and use a dry cloth instead of a damp one so the color does not spread.
Padauk dust can also irritate your skin and lungs, so wear a dust mask while sanding.
Step 6: Apply an Oil and Wax Finish
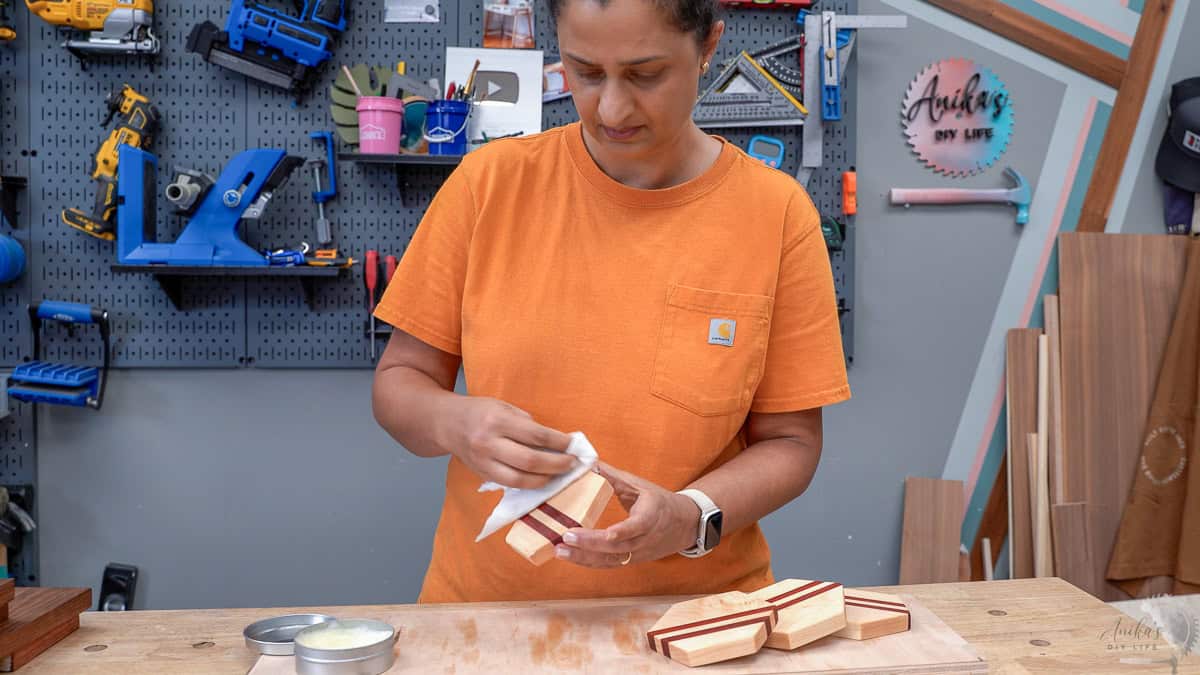
- Wipe on a coat of finishing oil and let it soak in for the time listed on the can. Wipe off all the excess, then let it dry completely. I used this oil.
The oil brings out the grain and makes the padauk glow.
- Rub on a thin coat of wax, let it haze over, and buff it to a soft sheen.
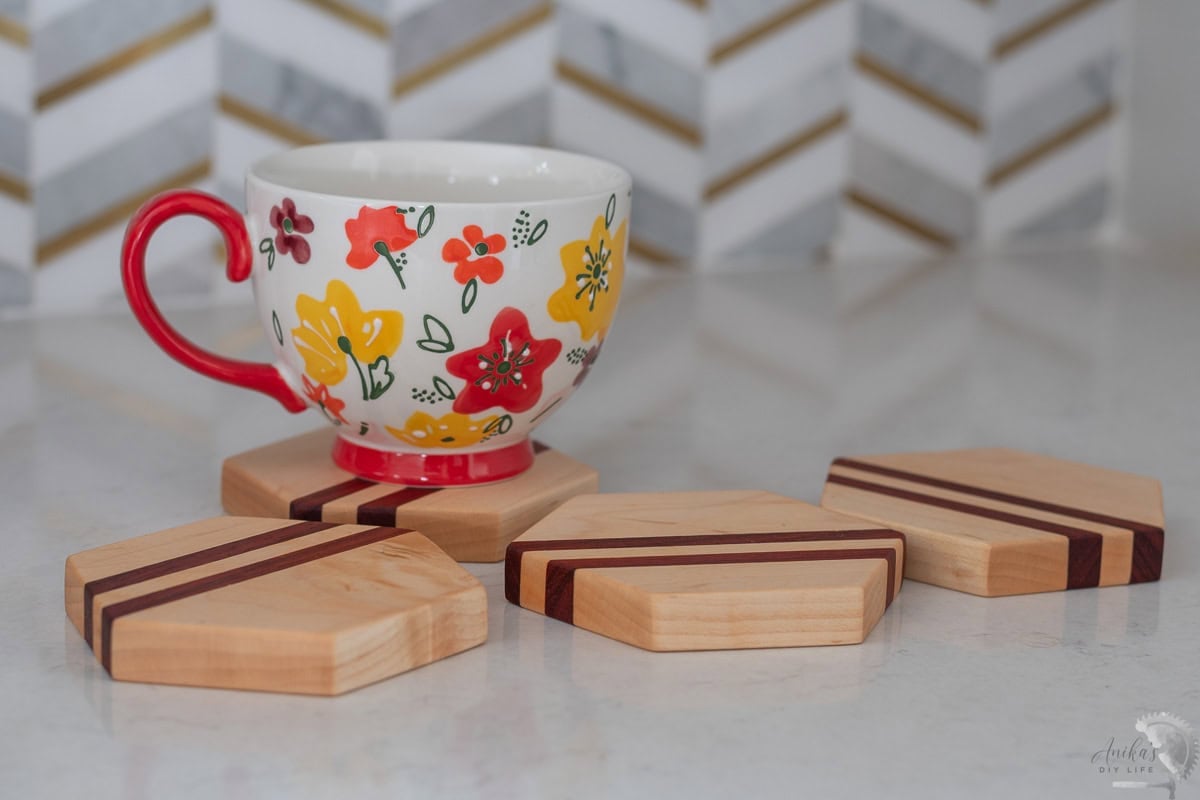
And that is it!
The coasters are done! They make amazing gifts!
Ways to Customize Your Coasters
Once you have made one set, small changes give you a completely new look.
- Swap the wood: Walnut and maple or cherry and maple give a softer contrast.
- Change the stripes: Try one wide center stripe or three thin stripes.
- Add pads: Cork or felt pads on the bottom protect furniture and keep the coasters from sliding.
- Make a gift set: A stack of four tied with twine makes an easy handmade gift.
Are these Wood Coasters Waterproof?
An oil and wax finish makes wood coasters water-resistant, not waterproof. Water beads up on the surface, which protects the wood from a sweaty glass or a quick spill.
Water left sitting for hours can still soak in and leave a mark. For everyday use, wiping your coasters dry is all it takes.
Once water stops beading on the surface, rub on a fresh coat of wax and buff it out.
Need more DIY Gift Ideas?
I am teaming up with my friends Shara from Woodshop Diaries and Kati from Houseful of Handmade to bring you new DIY gift ideas every day this week!
Just click on the project below to go check it out. Stay tuned for all the fun and easy DIY gift ideas this week.
Day 3 – DIY Gift Ideas

Anika's goal is to inspire and empower beginners with woodworking, DIY, home improvement, and home decor ideas.
She wants everyone to unlock their creative potential and experience the feeling that comes with making something. Nothing feels better better than seeing something and saying "I can make that!"