How to Cut Hexagons on a Miter Saw (Easy, No Math)
Learn how to cut hexagons on a miter saw with one 30-degree setting and a simple stop block. No math, and every piece comes out the same size.
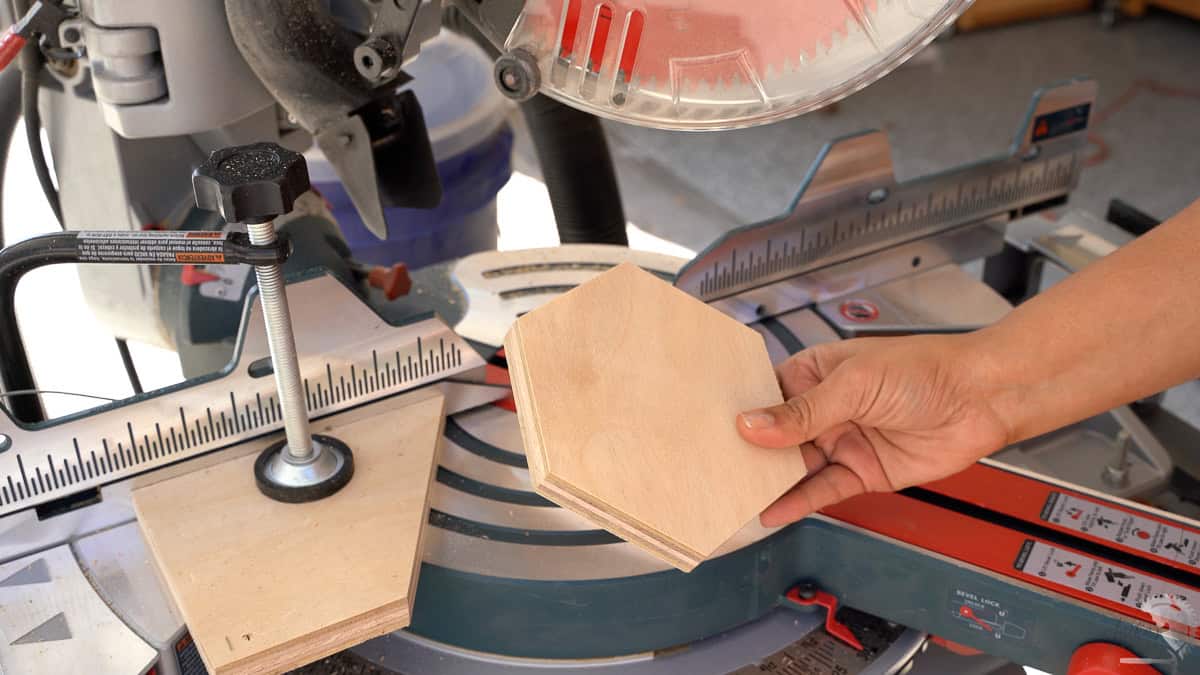
Cutting hexagons on a miter saw is actually much easier than you might think! All you need is one miter saw setting and a simple stop block made from scrap wood.
Once you have the stop block set up, you can cut one hexagon after another without having to measure each time. Just rotate the wood, make your cut, and repeat! This makes it easy to get consistent hexagons for coasters, trivets, wall decor, and more.
You may have seen people use table saws with special sleds and complicated jigs to cut hexagons, but you don’t need any of that! I’ll show you how to get the same results using just your miter saw and a scrap piece of wood.
Why This Method Works
Each inside corner of a hexagon is 120 degrees. Since a miter saw makes a straight 90-degree cut at 0 degrees, setting it to 30 degrees gives us the angle we need to create a hexagon.
The best part is that you only need to set your miter saw to 30 degrees once! You won’t have to keep adjusting the saw. Instead, you simply rotate or flip the board to make the next cut.
And this is where the stop block comes in! Instead of measuring every single side, the stop block helps you make consistent cuts. Once it is clamped in place, you can cut all six sides to the same length without pulling out your tape measure each time.
***This post contains referral or affiliate links. It is a way for this site to earn advertising fees by advertising or linking to certain products and/or services. Please read my full disclosure here ***
Tools and Materials
- Miter saw – What I use | Beginner option
- Clamp to hold the stop block. I used the clamp that came with the miter saw.
- Tape measure and pencil
- A scrap board for the stop block
- The board you want to cut into hexagons
Safety first: do not cut hexagons smaller than 3 inches wide on a miter saw. Smaller pieces put your hands too close to the blade. For smaller hexagons, choose a different tool or a different project.
How to make hexagons on a miter saw
Step 1: Make the Stop Block
- Set the miter saw to 30 degrees and lock it in place.
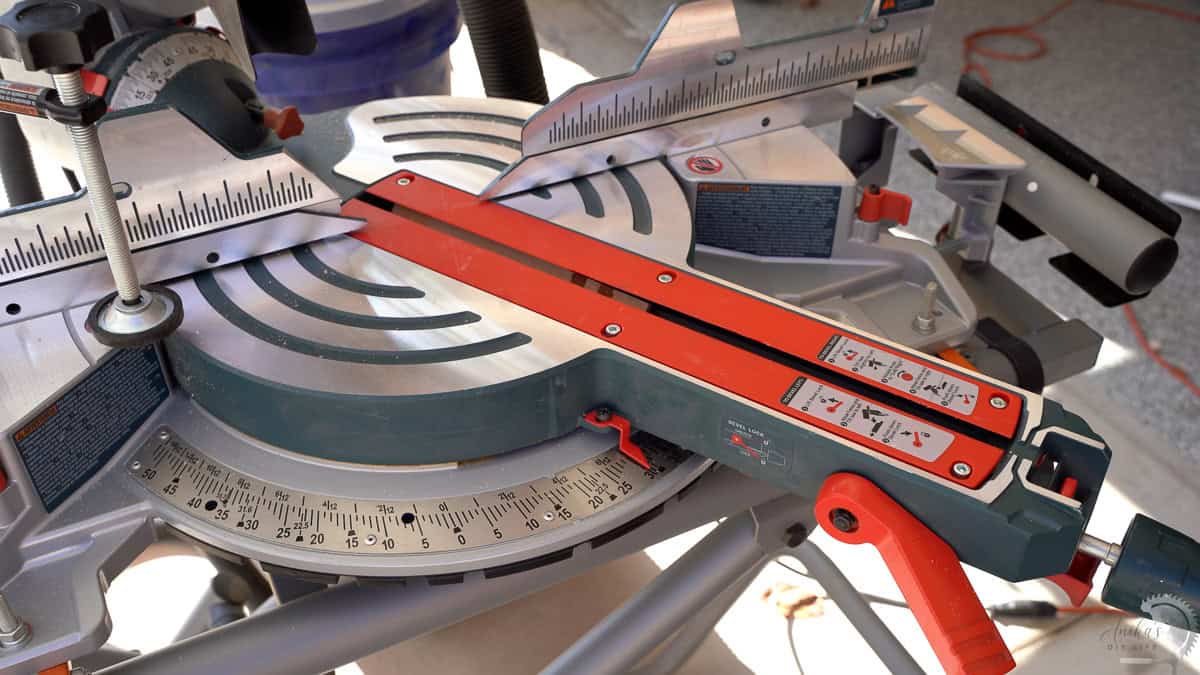
- Cut the end of a scrap board at this angle. Set this piece aside. Its angled edge becomes your stop block in Step 4.
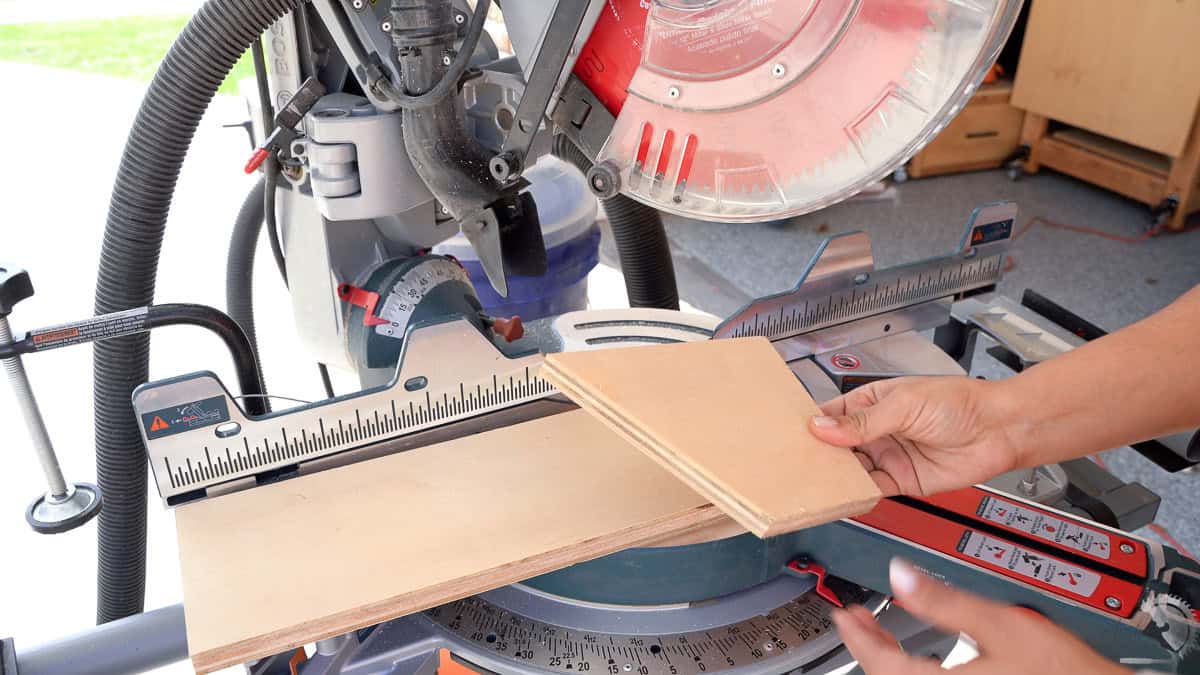
Step 2: Mark the Center Line
- Cut the end of your project board at 30 degrees.
- Measure the center of the board’s width and draw a line that extends all the way to the angled cut.
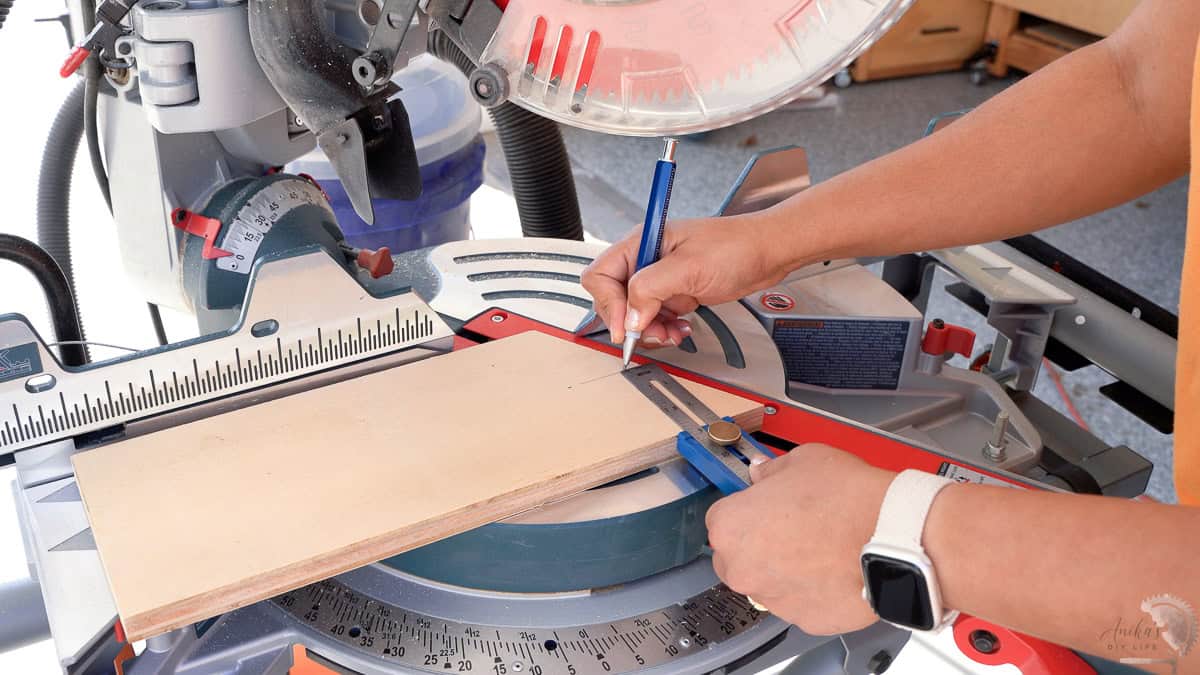
- Measure the distance from the top edge of the board to the spot where the center line meets the angled cut. Note this measurement.
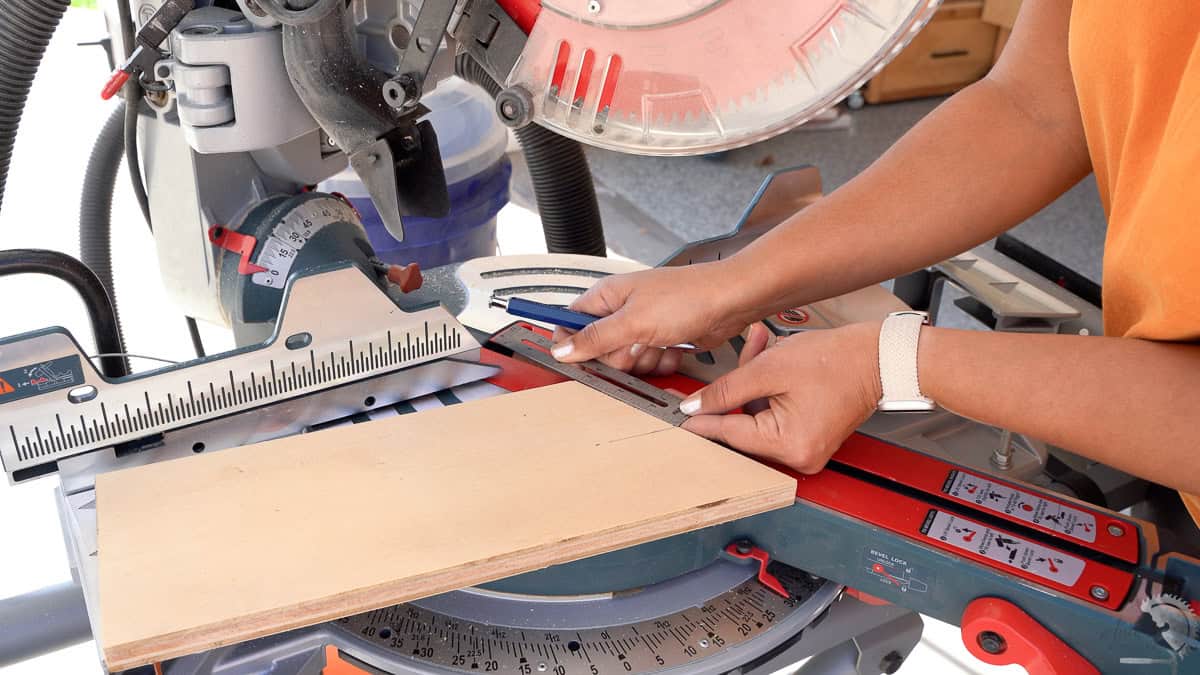
Step 3: Cut the First Point
- Flip the board over so the bottom is now towards the fence.
- Use the measurement from Step 2 and mark that distance from the edge of the board along the bottom of the board.
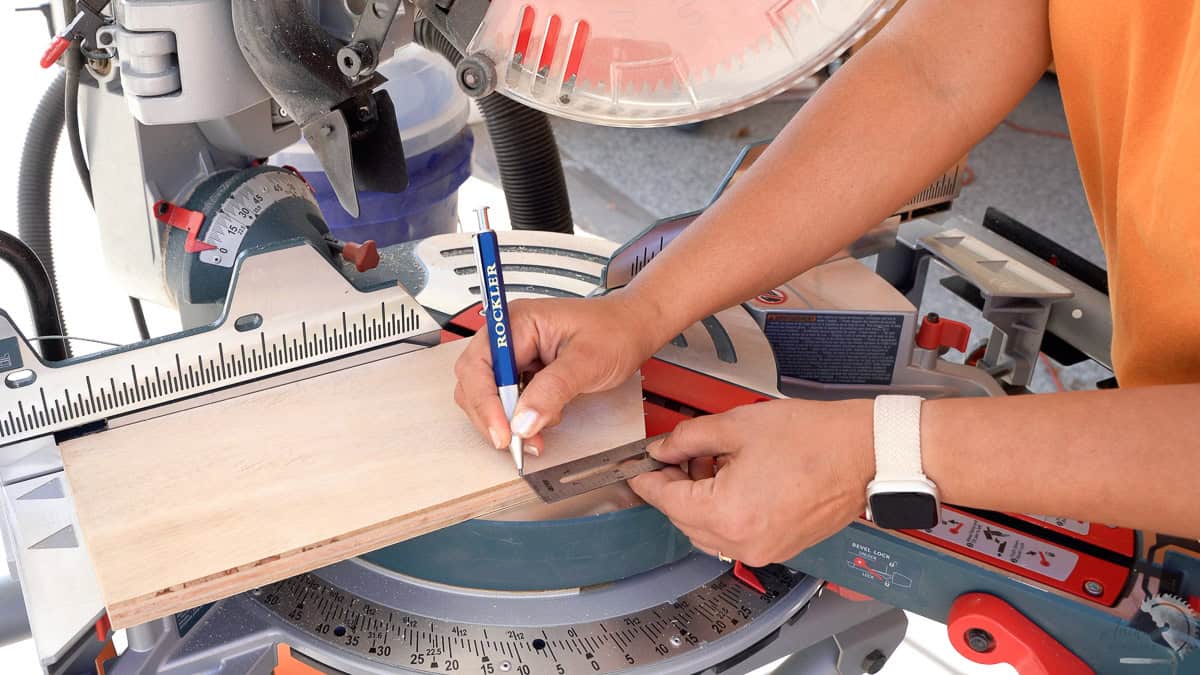
- Line up the blade with this mark and cut as accurately as you can. The board now has two angled sides.
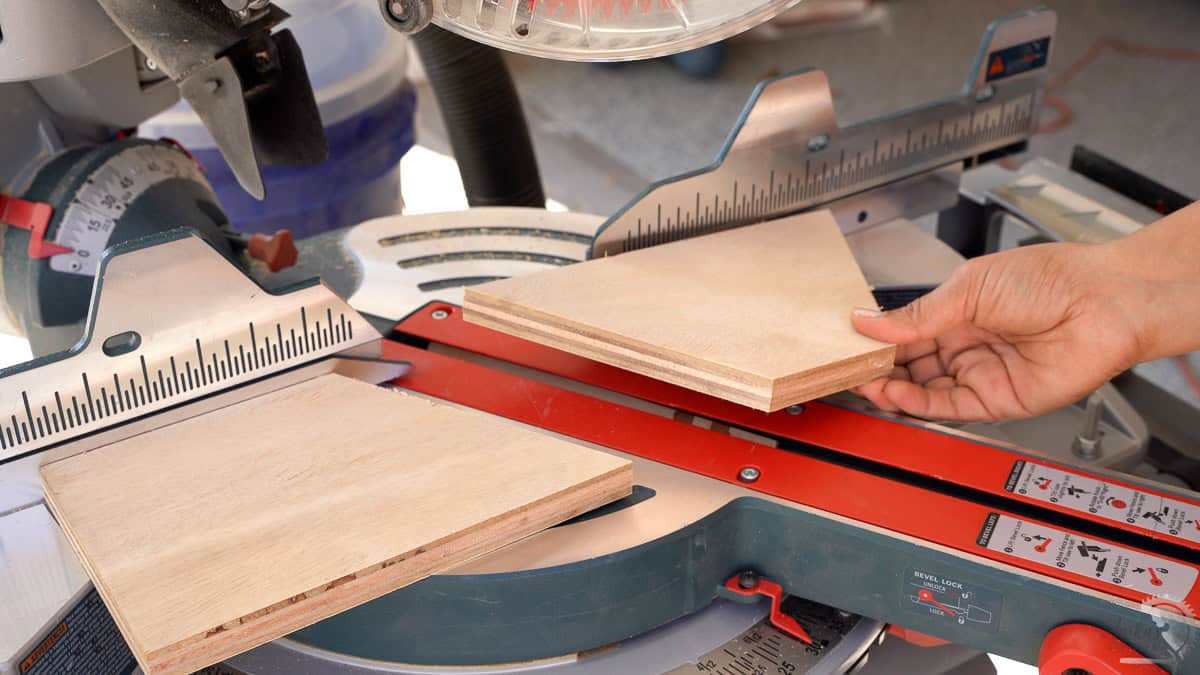
Step 4: Set the Stop Block
- Flip the board over so the longer side is at the bottom. Line up one angled side with the blade.
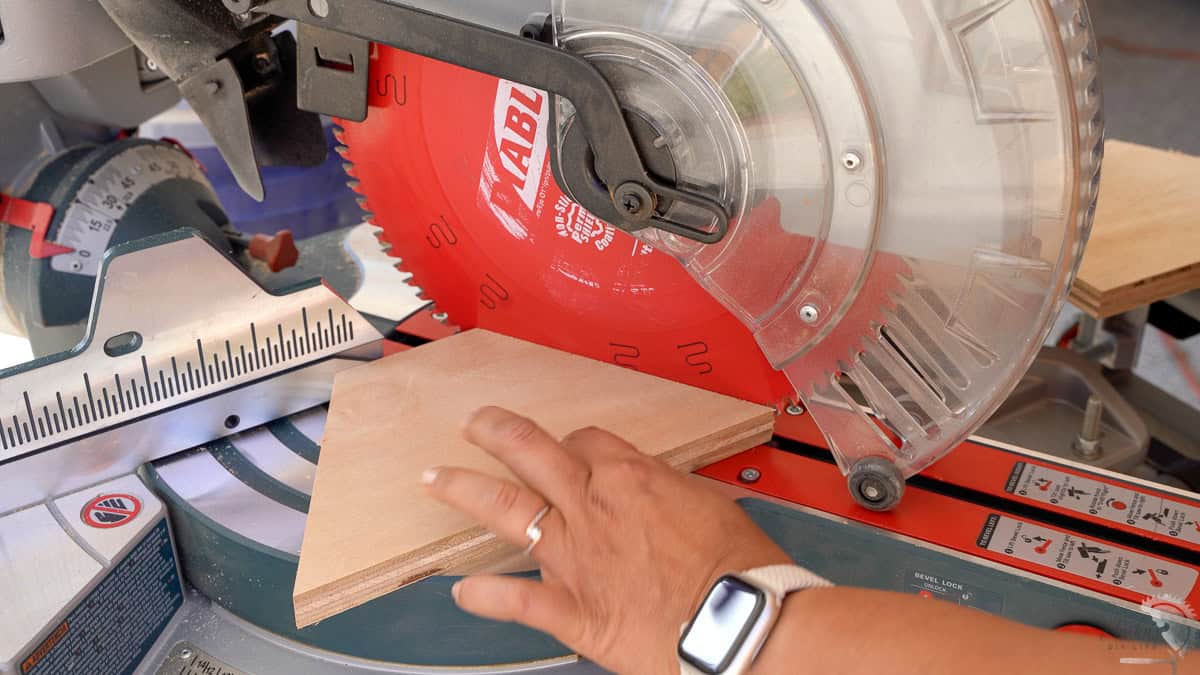
- Keep the board in that position and slide the stop block in until its angled edge lines up with the board. Clamp the stop block firmly in place.
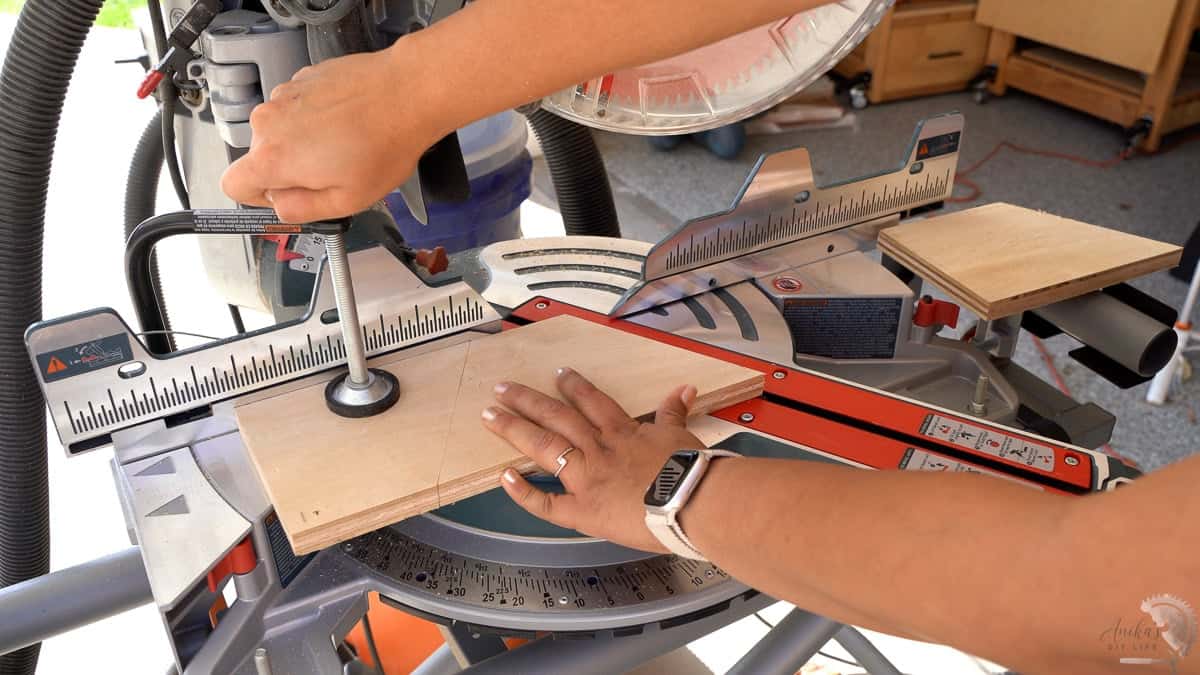
Step 5: Cut the Hexagons
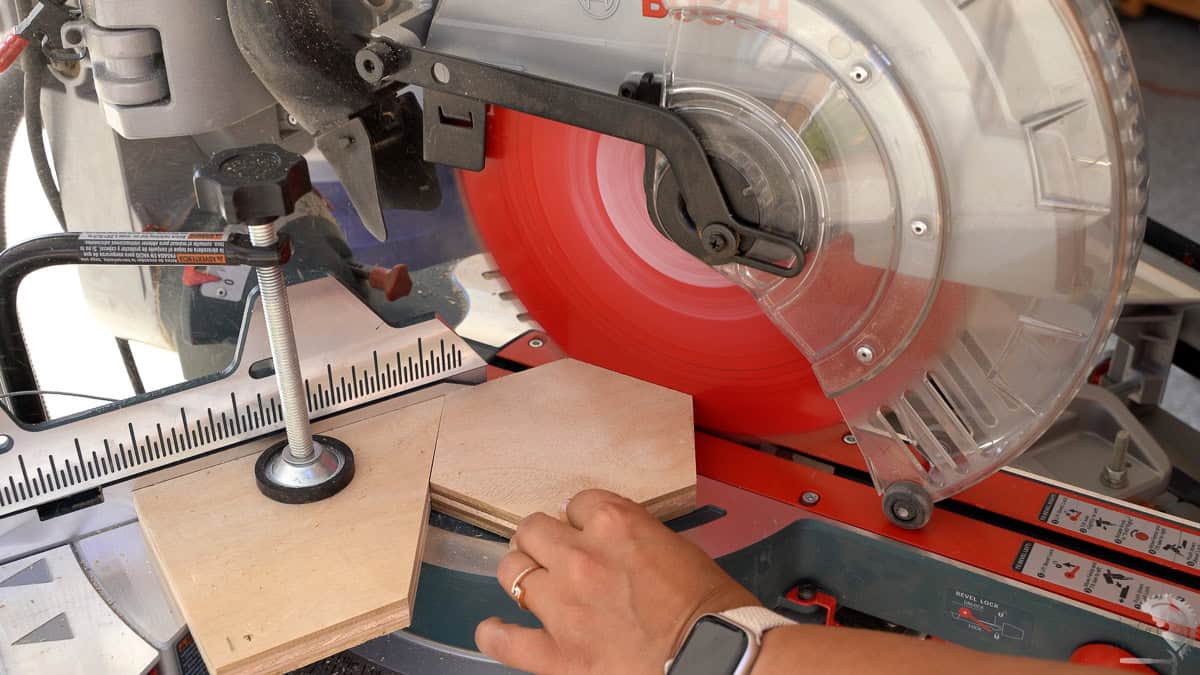
- Make your first cut. Then rotate the piece against the stop block and cut off each corner until you have a hexagon.
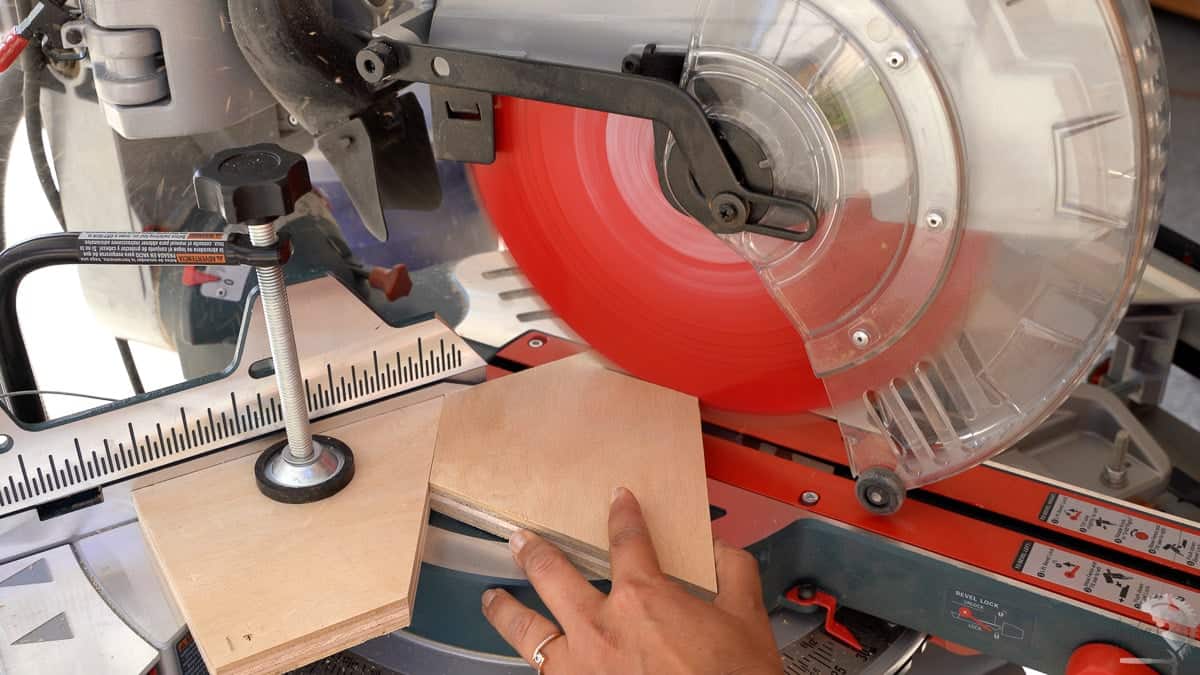
- For the next hexagon, line up the board against the stop block again, make the first cut, and repeat the cuts on all sides. Every piece comes out the same size because the stop block never moves.
Tips for Accurate Hexagons
- Lock the miter angle firmly. On many saws, 30 degrees is not one of the built-in stops, so the angle can drift if the lock is loose.
- Make a test hexagon first. Cut one from scrap and check that all six sides look even before you cut your good wood.
- Check the stop block between pieces. A stop block that shifts even slightly changes the size of every hexagon after it.
- Keep your hands clear on small pieces. Hold each piece firmly against the fence and let the blade stop completely before you lift it.
Frequently Asked Questions
How do I make bigger or smaller hexagons?
Start with a wider or narrower board and follow the same steps. The stop block is set from the board itself, so it sizes every hexagon to match your board with no measuring.
Can I cut hexagons on a table saw instead?
Yes. Set the miter gauge to 30 degrees and use the same stop block idea, though a crosscut sled is safer for small pieces. Most beginners find the miter saw easier because the board stays still.
Why don’t my hexagons fit together in a pattern?
A tiny angle error is easy to miss on one coaster but adds up when you join hexagons side by side. Dry fit a few pieces before gluing a pattern, and recheck your 30-degree setting if gaps show up.
Projects to Try with Hexagons

Anika's goal is to inspire and empower beginners with woodworking, DIY, home improvement, and home decor ideas.
She wants everyone to unlock their creative potential and experience the feeling that comes with making something. Nothing feels better better than seeing something and saying "I can make that!"